Back in August of last year, my local farmer’s market was running a peach pie contest. The entry was free and I figured I had nothing to lose to sign up. So, I did. I have always been of the belief that if you are not very good at something, you need to be really creative to get it noticed. My daughter and I did this a long time ago, before she honed in on her artistic talents. There was an art contest of some sort at her school. She was in second or third grade and her drawing and painting skills weren’t developed yet. (They are now!) I advised her to do something creative like make a collage. We researched how to make paper and decided to make a homemade paper collage. Well, she won third place. Now, there is the support for my theory.
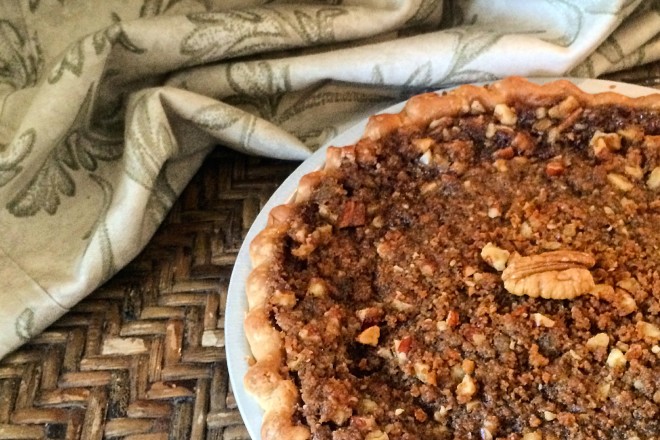
As I was thinking about my peach pie, I knew that I had always used a store bought frozen crust and I should really make my own. That idea was daunting. All the recipes I found looked very easy if you used a food processor. I had a barely-used mini-food processor. A pie crust wouldn’t fit in it. So, my first step was to buy a larger processor. I used a Cream Cheese Crust recipe taken from the Joy of Cooking. I wanted something out of the ordinary so that it wouldn’t compare side by side with the “real good pie baker’s crust”. It’s good and I have included the recipe below but please use any crust that you like. I don’t think this particular crust adds much. It is very buttery. Then, I had to think about what flavors would work best with peaches. Ginger! One of my favorite spices and I thought pecans would be a nice addition. That’s how I came up with the ginger streusel. Unfortunately, it was this combination that I think took me out of the running for the contest. I think the judges associated ginger and pecans with autumnal foods and they were really looking for summer tastes. This is what I tell myself anyway….
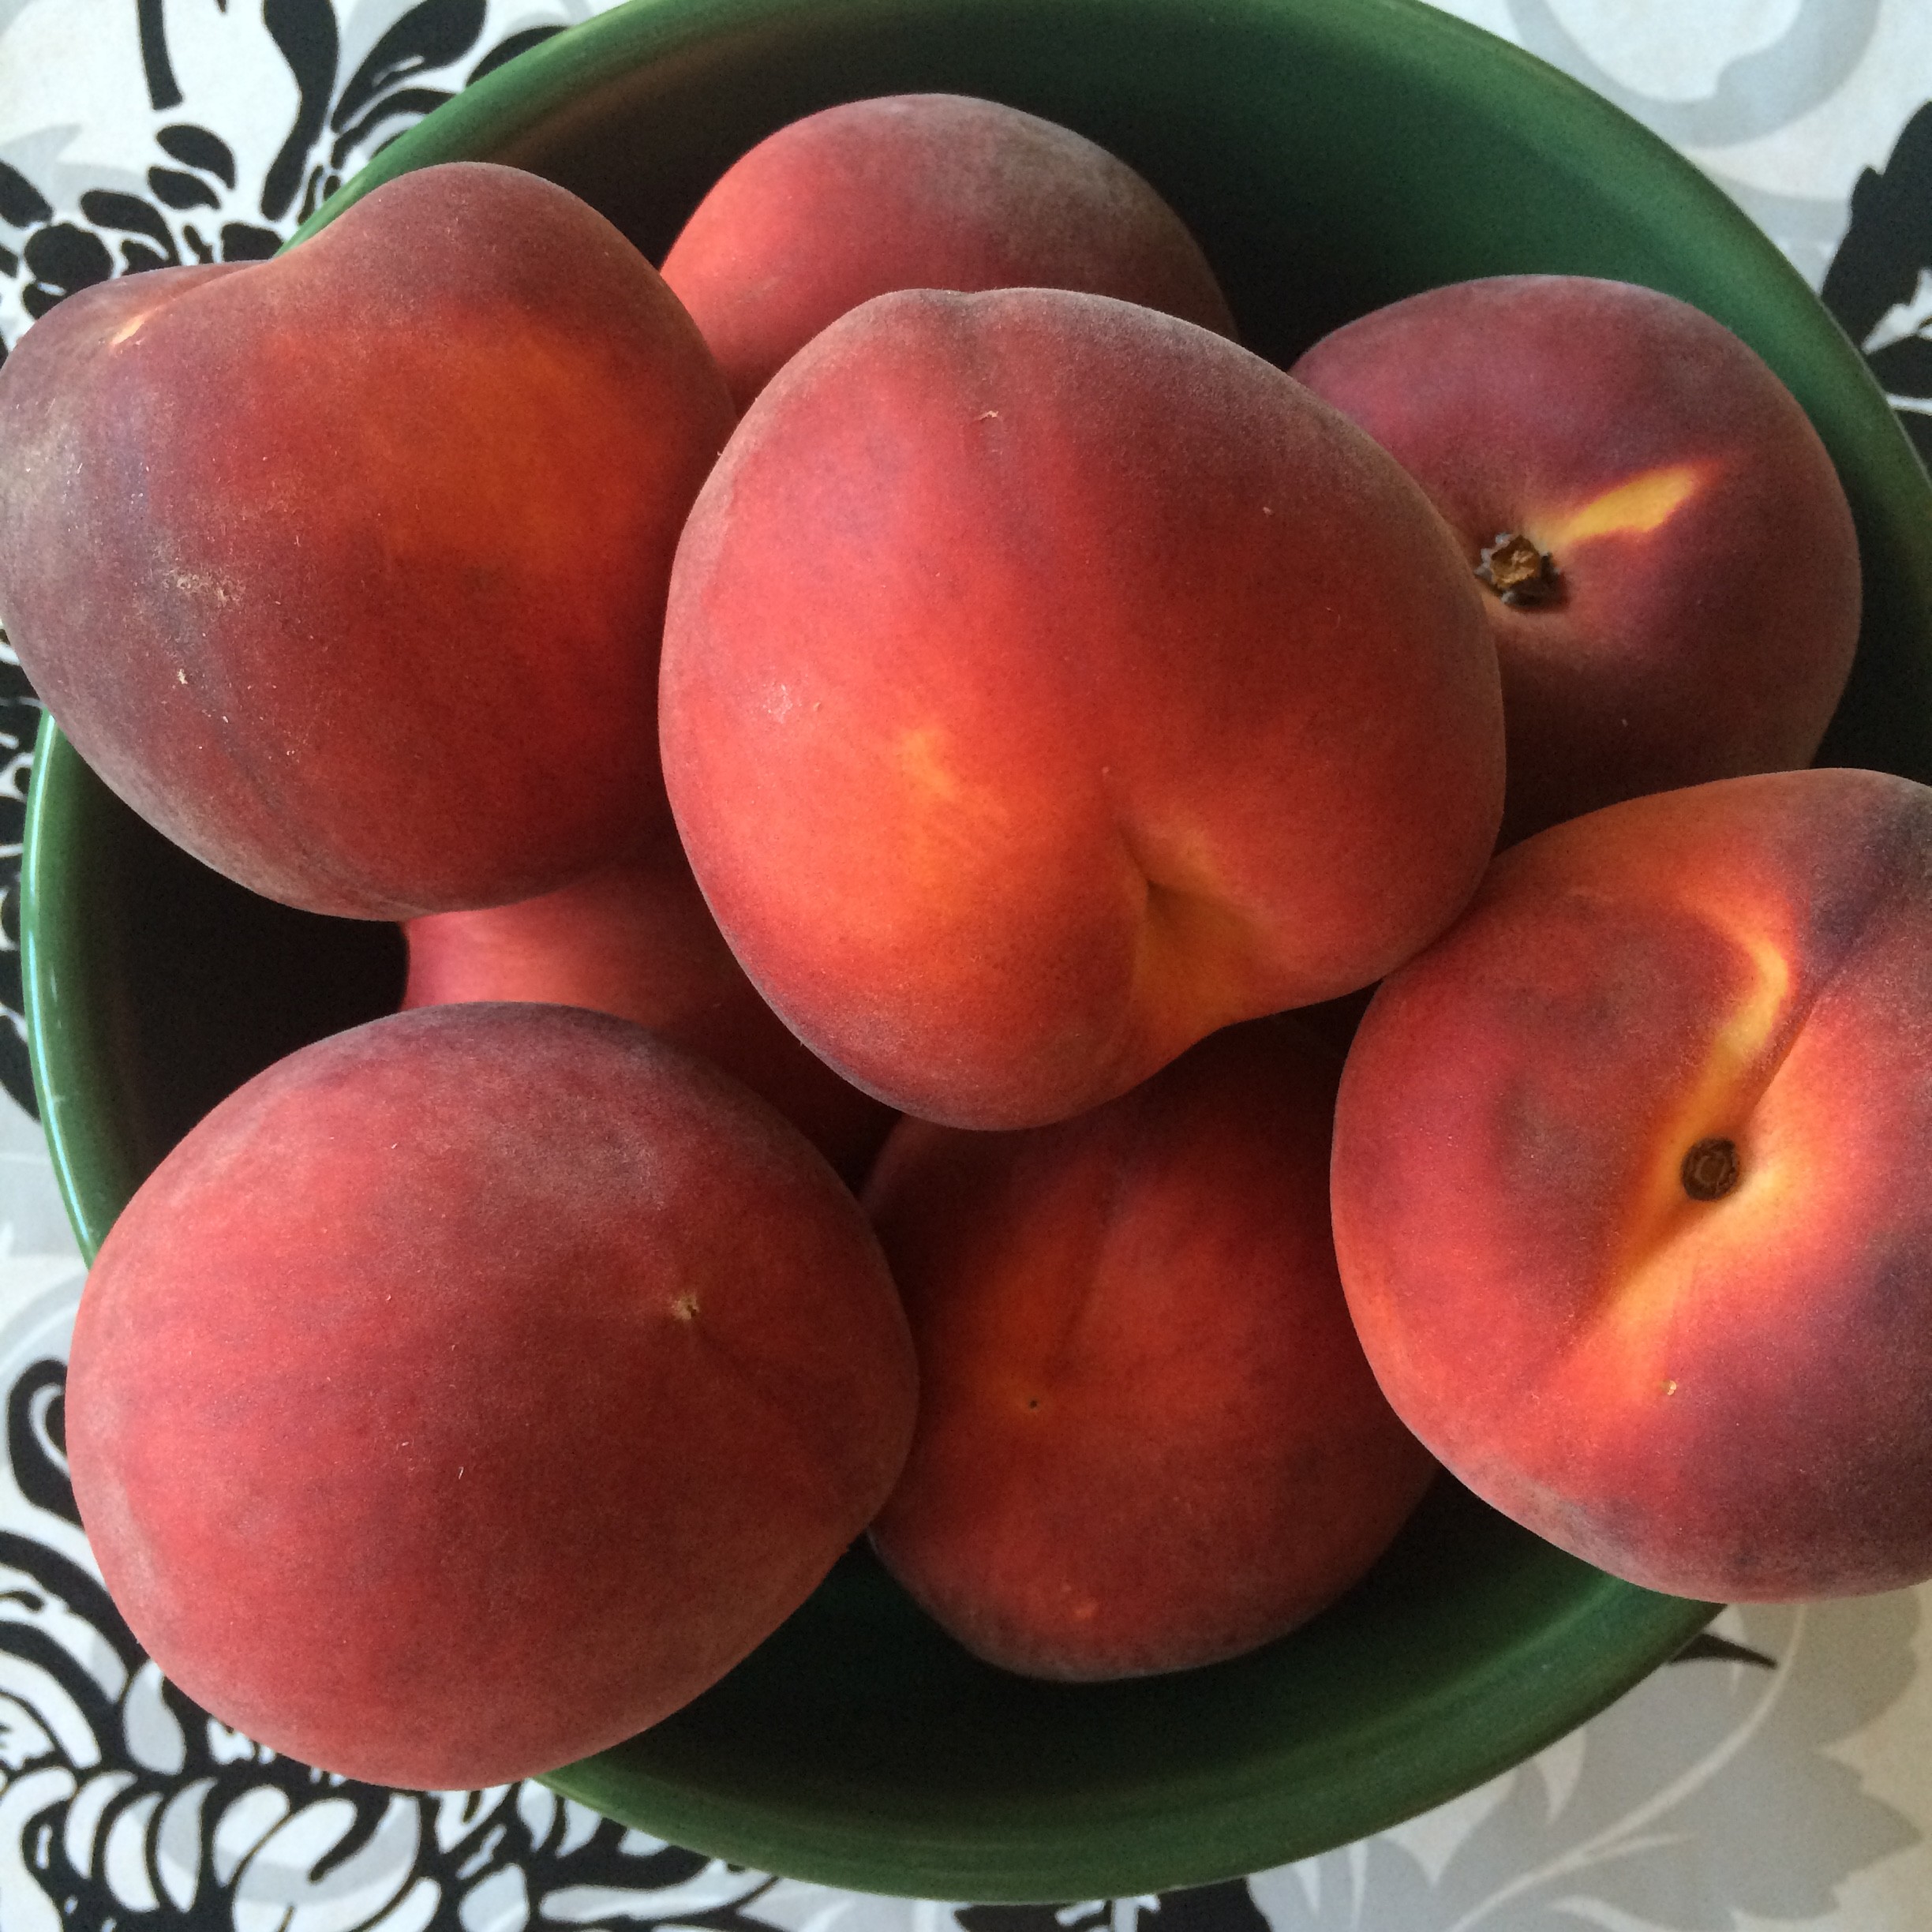
I got really excited about entering in this competition. I had never done anything like this before. I texted my daughter with the news. She asked, “When was the last time you baked a peach pie?” I answered – Never. That’s what I thought, she replied. You don’t bake pies. I had to laugh. She was right but I had so much fun doing it. I hope you enjoy trying it out. You could use frozen peaches until the summer comes. Don’t bother peeling them unless they are fresh. Everyone who has tried the pie, likes it. I sure hope you do, too.
Ingredients
Crust:
1 cup plus 2 Tbl. Unbleached Flour
2 Tbl. Powdered Sugar
1/4 tsp. Salt
6 Tbl. cold Unsalted Butter
3 oz. cold Cream Cheese
2-3 Tbl. cold Heavy Cream
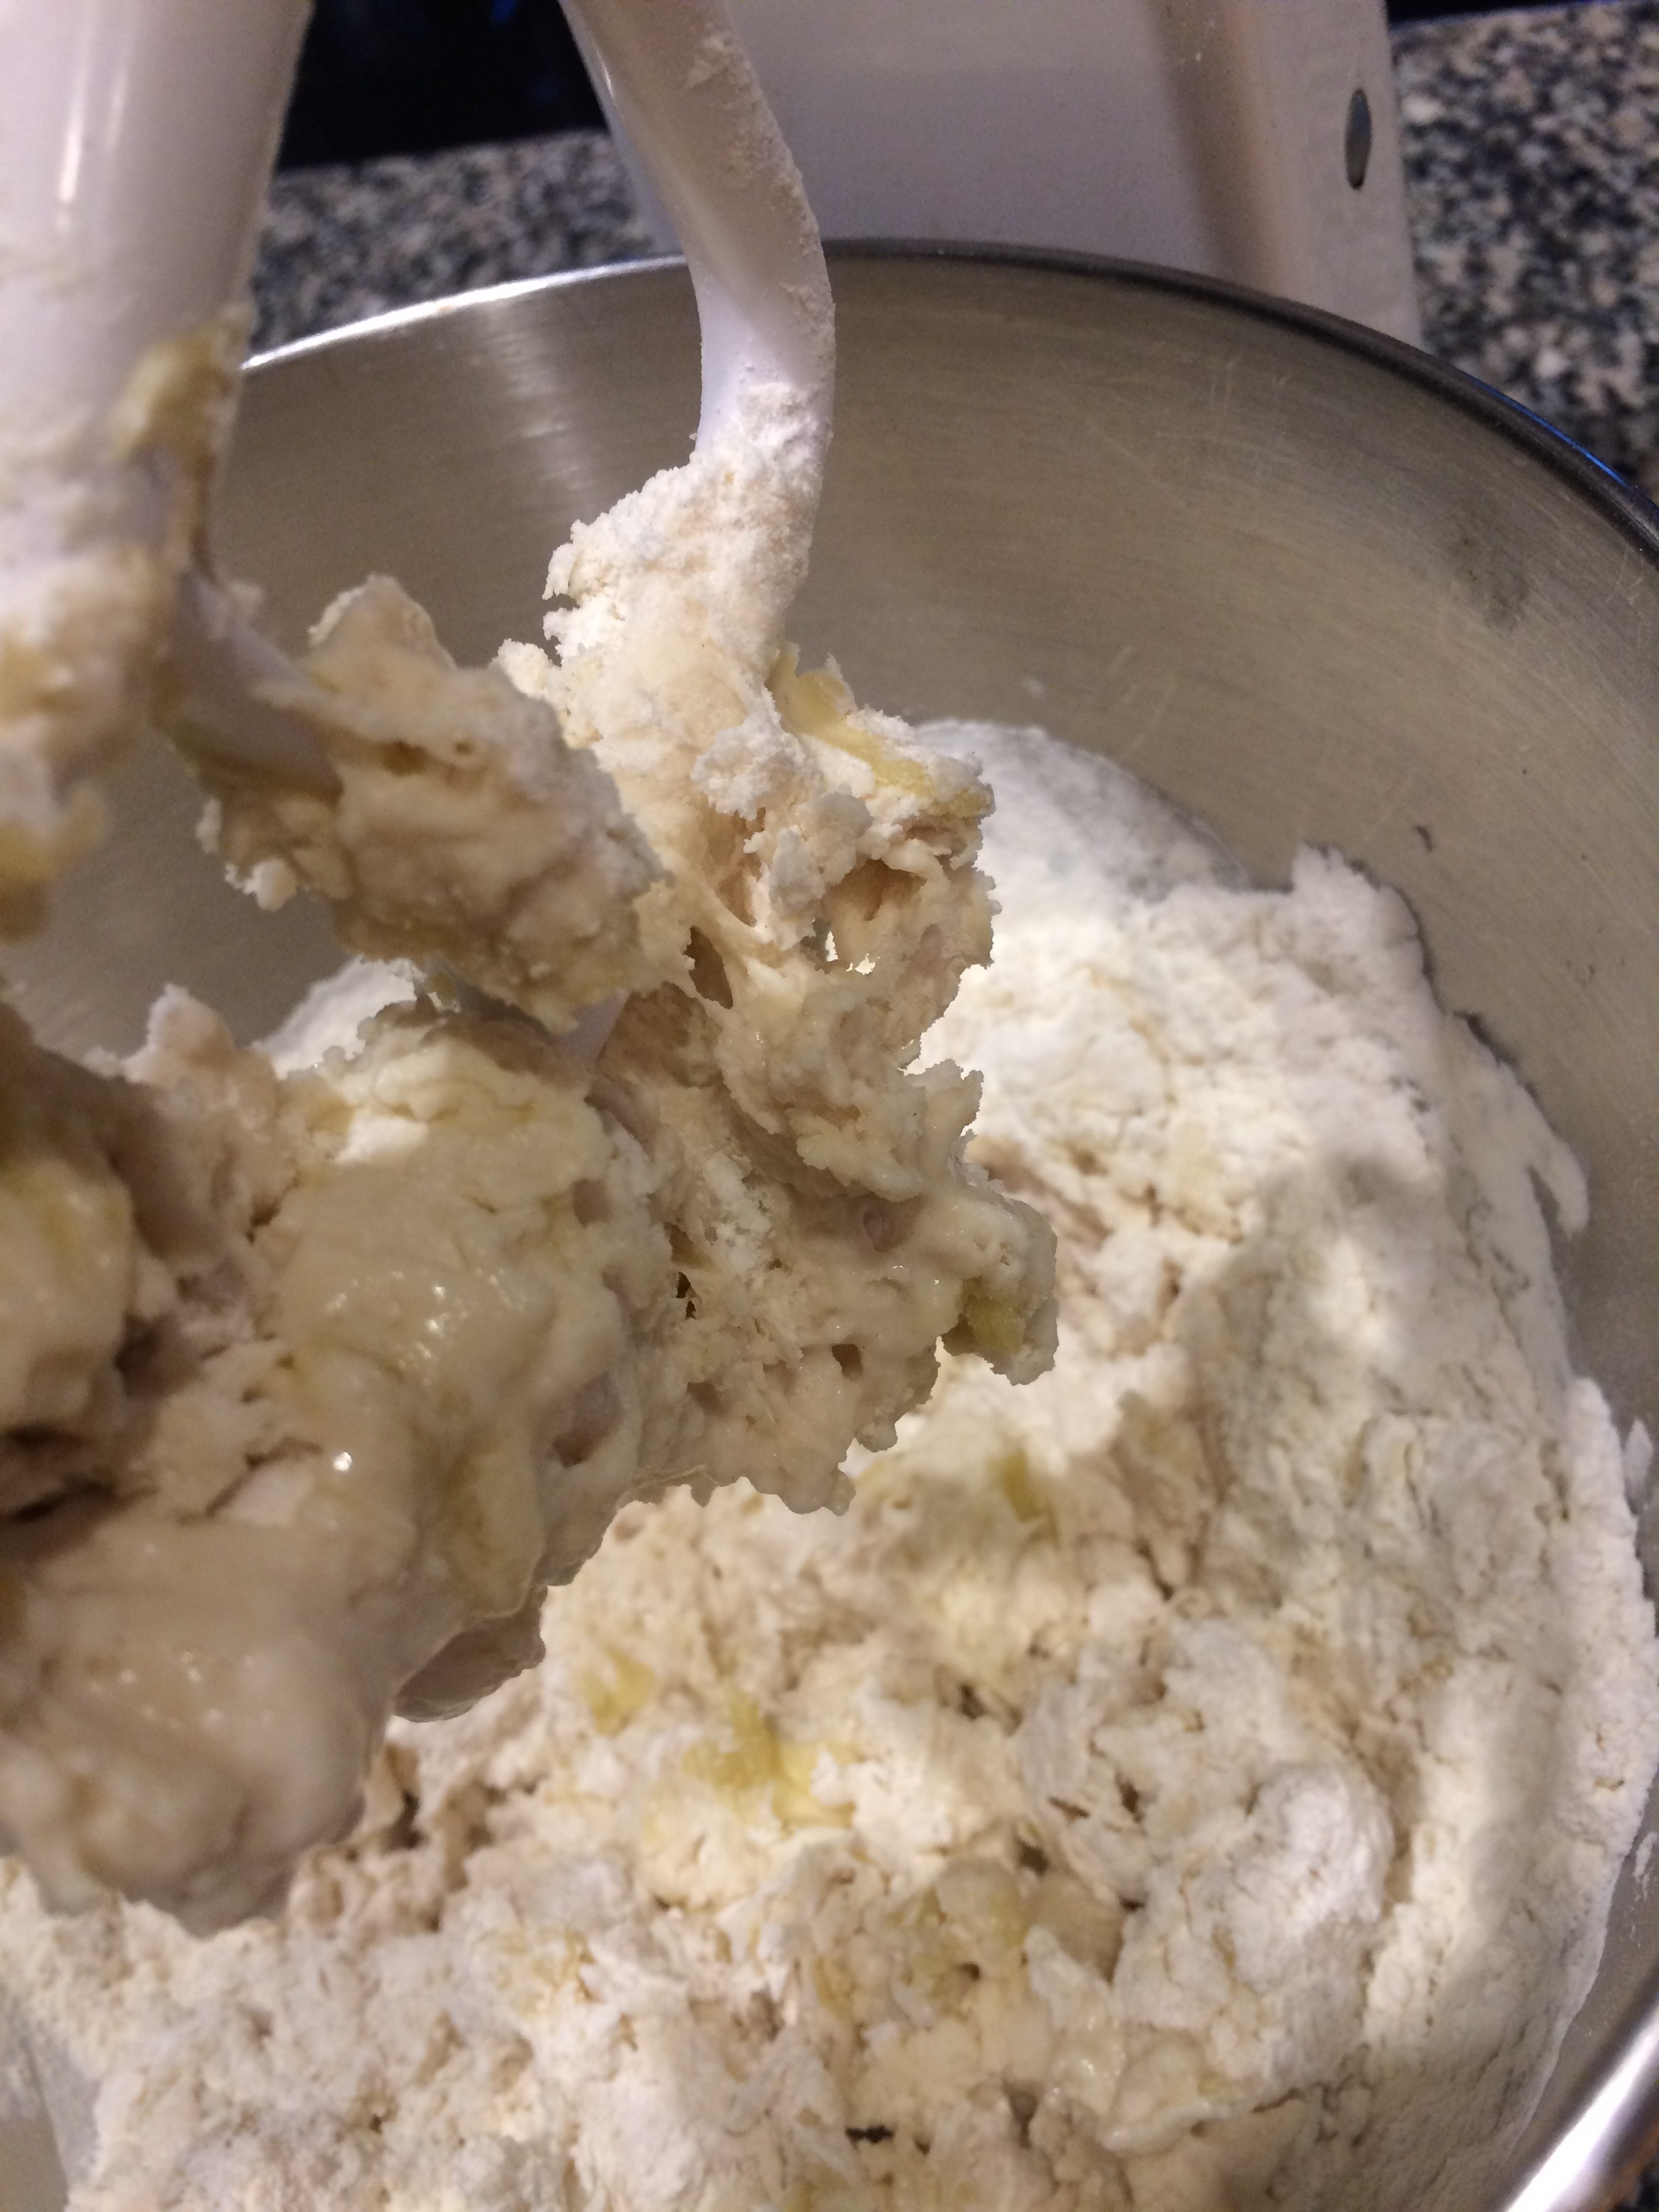
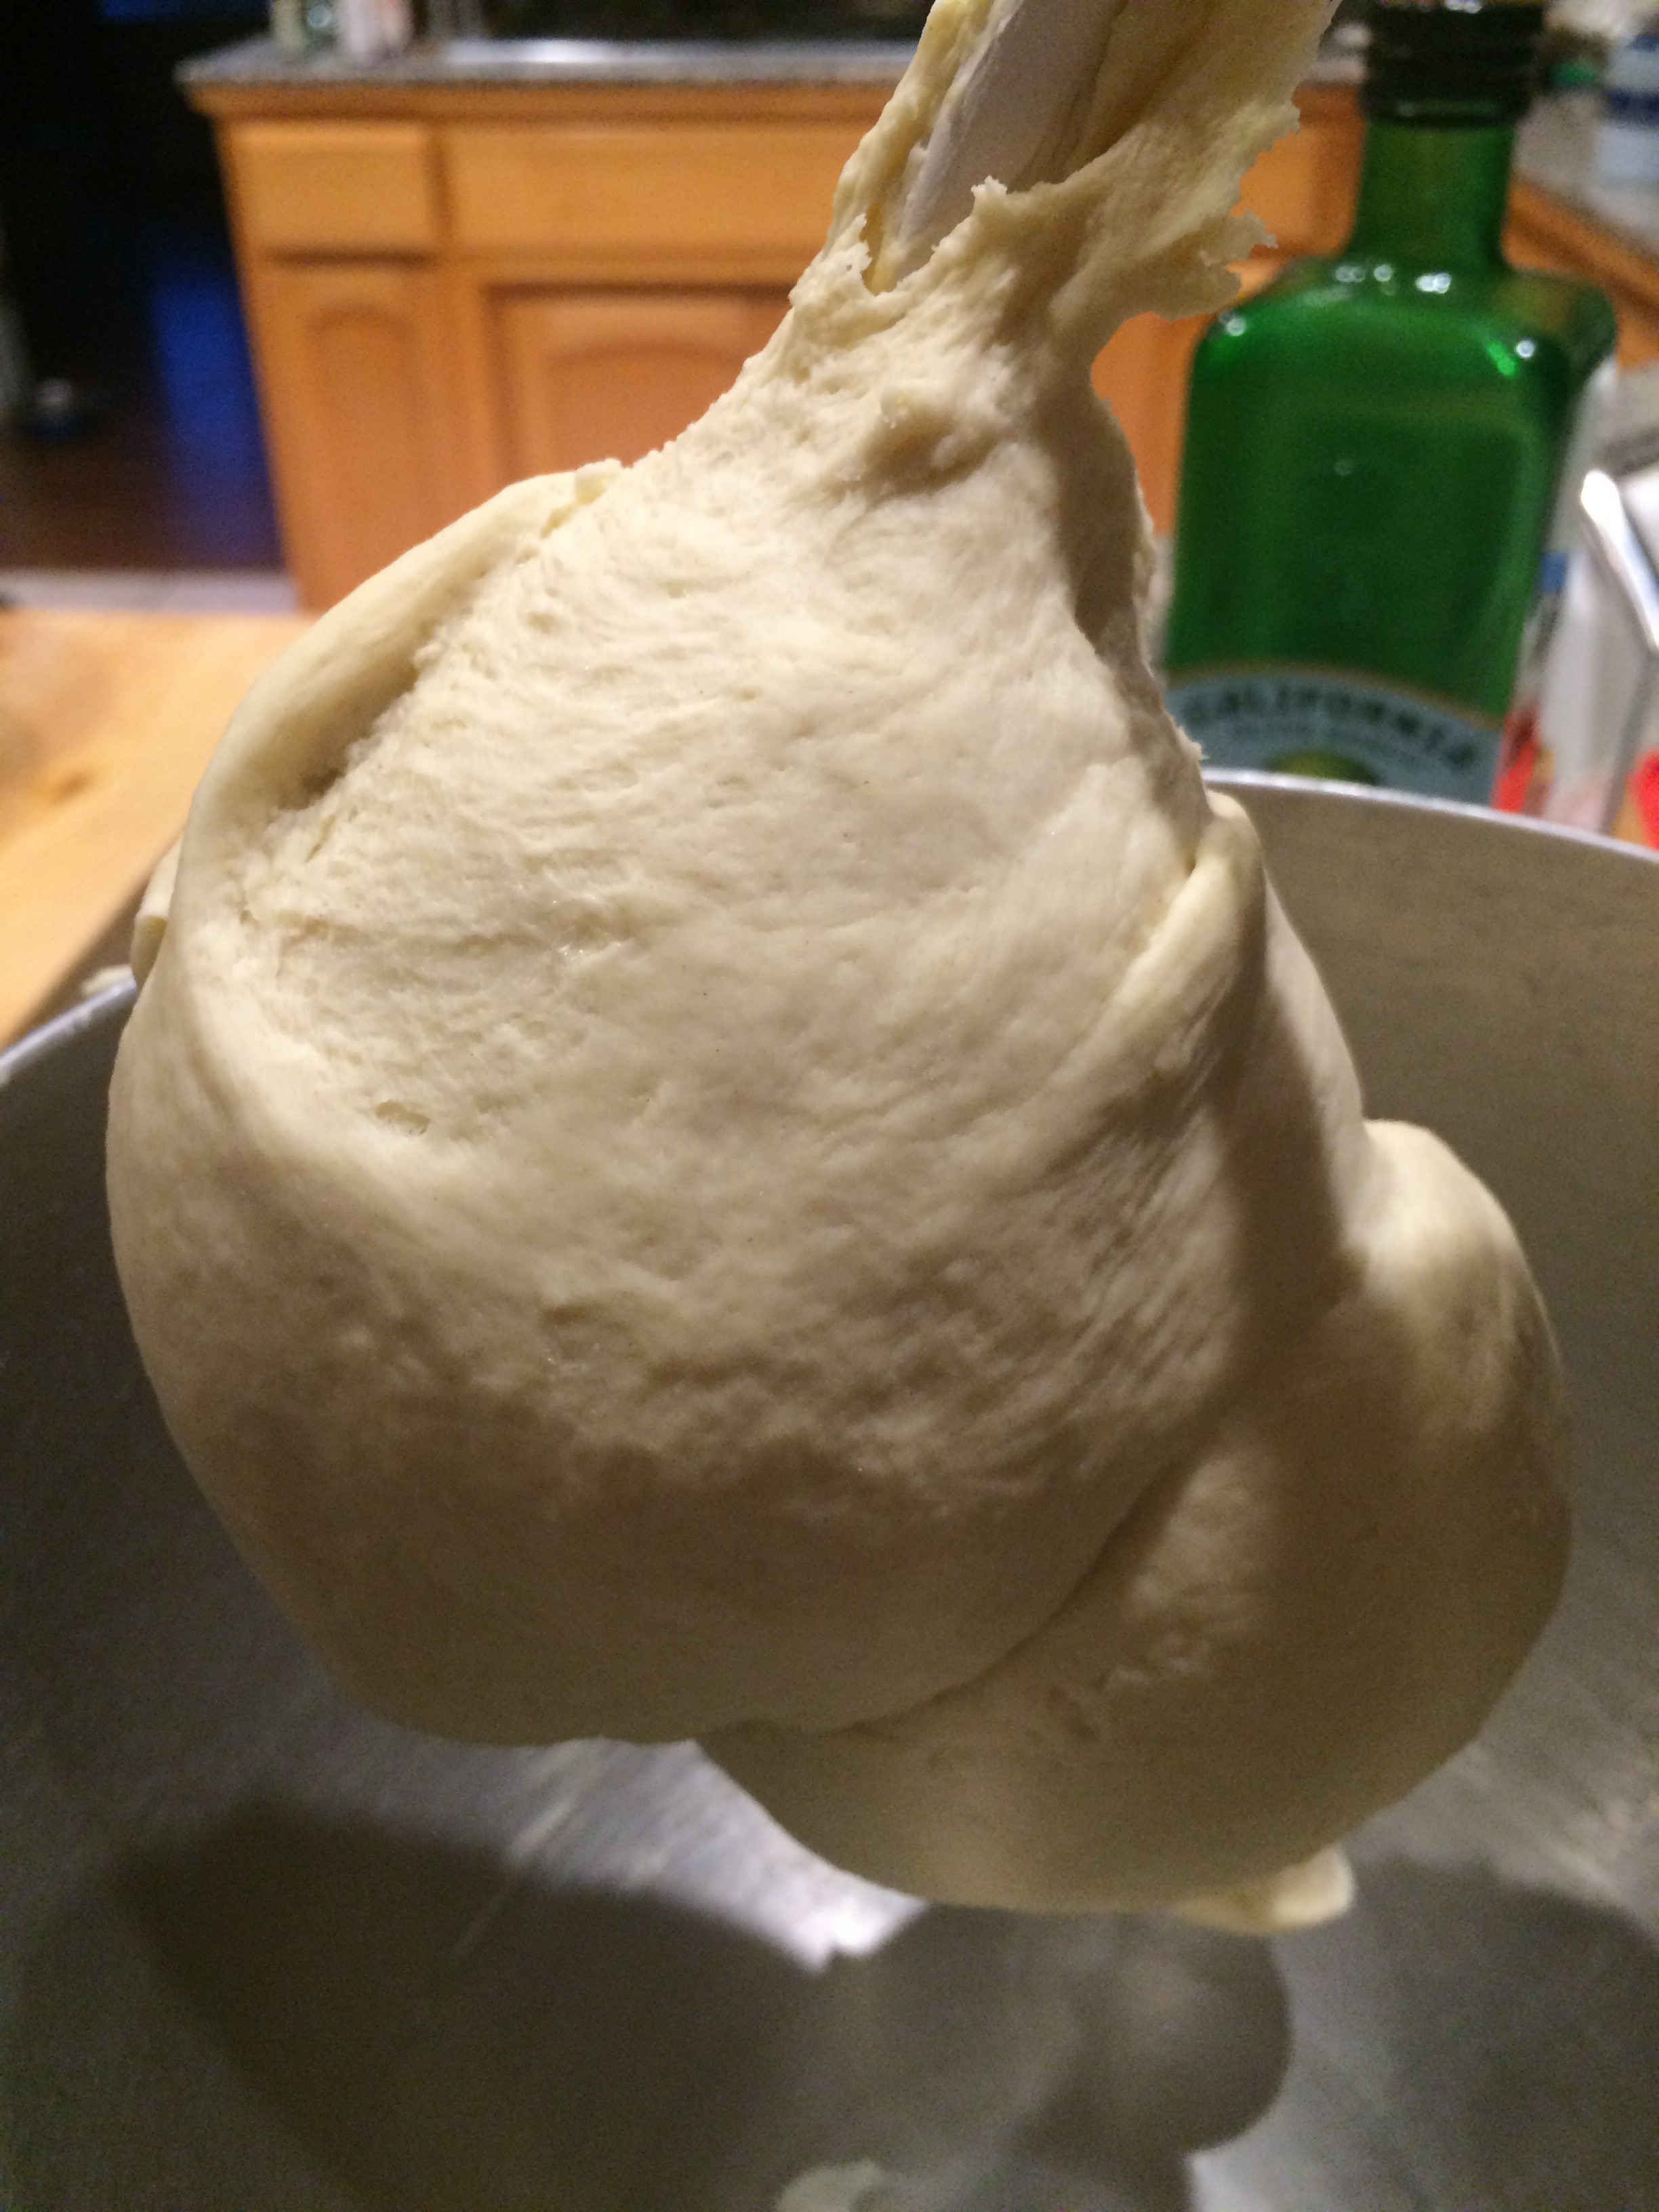
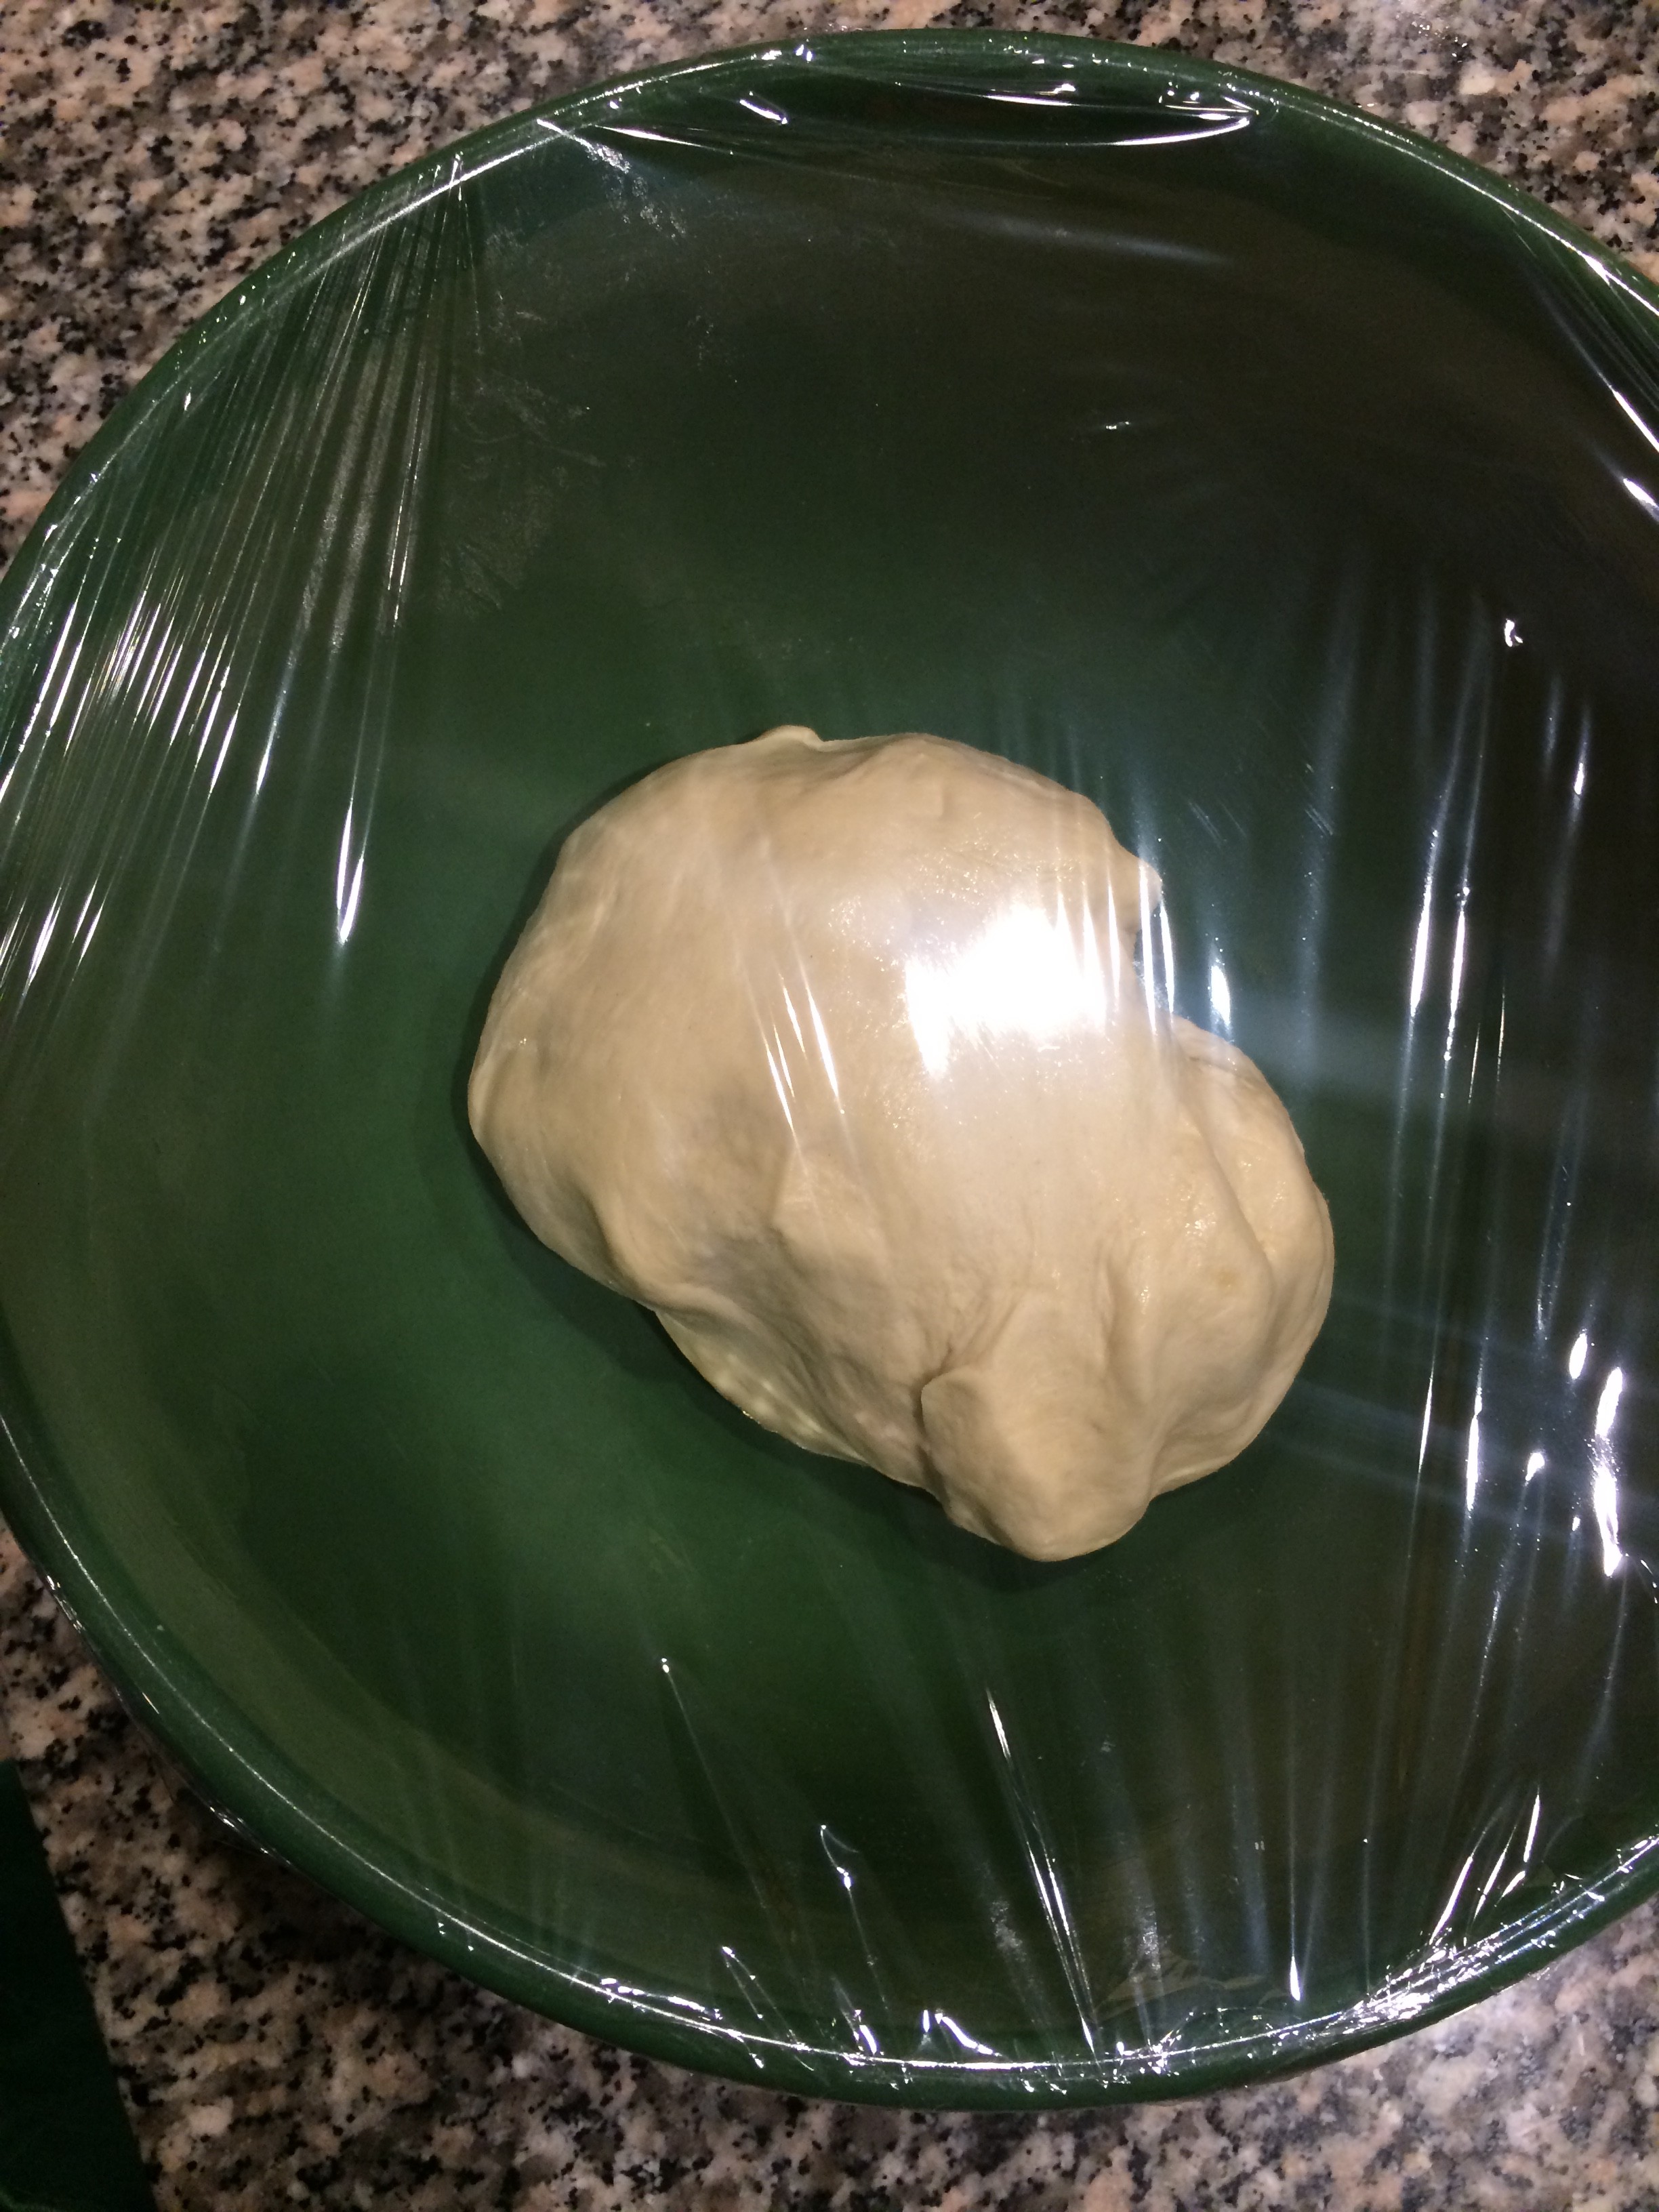
Combine dry ingredients in a food processor for 10 seconds. Cut the Butter and Cream Cheese into 1/2 in. chunks, scatter over the dry ingredients. Pulse in 1 – 2 second bursts until the size of peas. With the machine turned off, drizzle 2 Tbl. Cream evenly over the top. Pulse until the dough begins to clump. Press together and form a flat disk, wrap tightly in plastic and refrigerate for at least 1 hour.
Pie:

2 lbs. Peaches, peeled, pitted and slices 1/4 in. thick
1/2 – 3/4 cup Sugar
3 Tbl. Cornstarch
2 Tbl. fresh Lemon Juice
1/8 tsp. Salt
Roll dough into a 13 in. round and fit into a 9 in. pie plate. Refrigerate.
Preheat oven to 425 degrees.
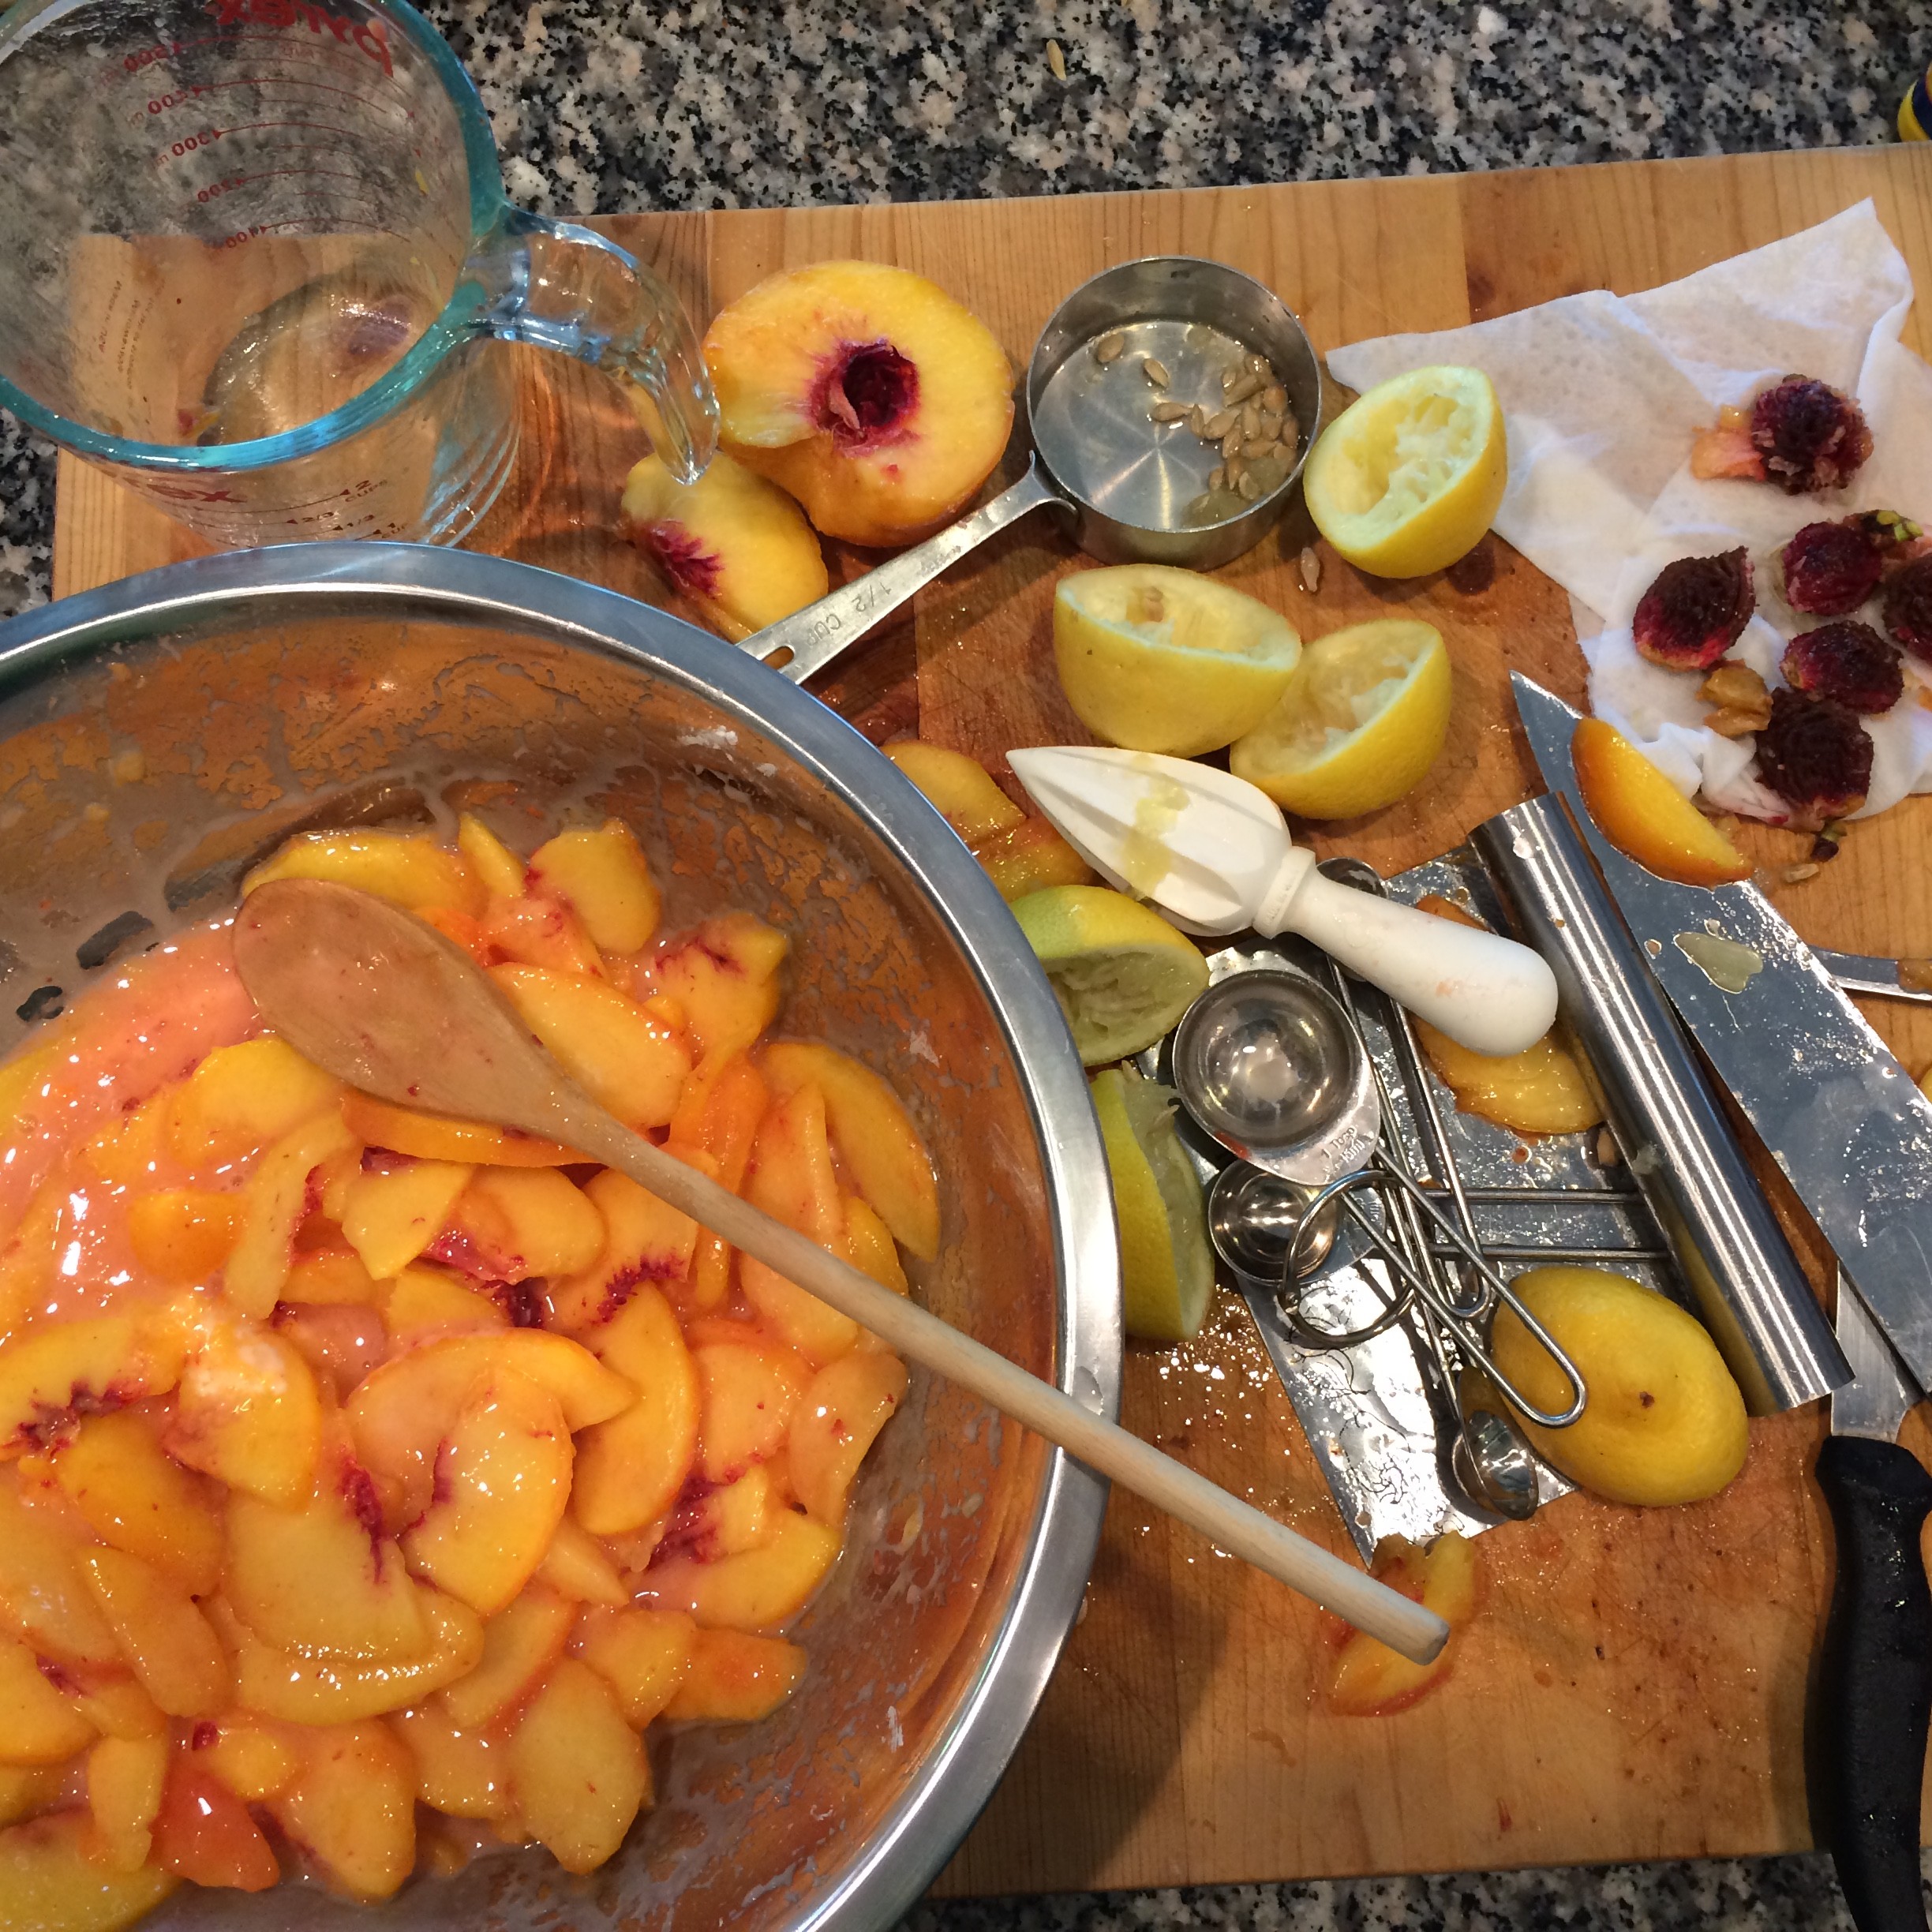
Measure 3 cups of Peaches and combine with Sugar, Cornstarch, Lemon Juice and Salt. Let stand for 15 min., stirring occasionally.

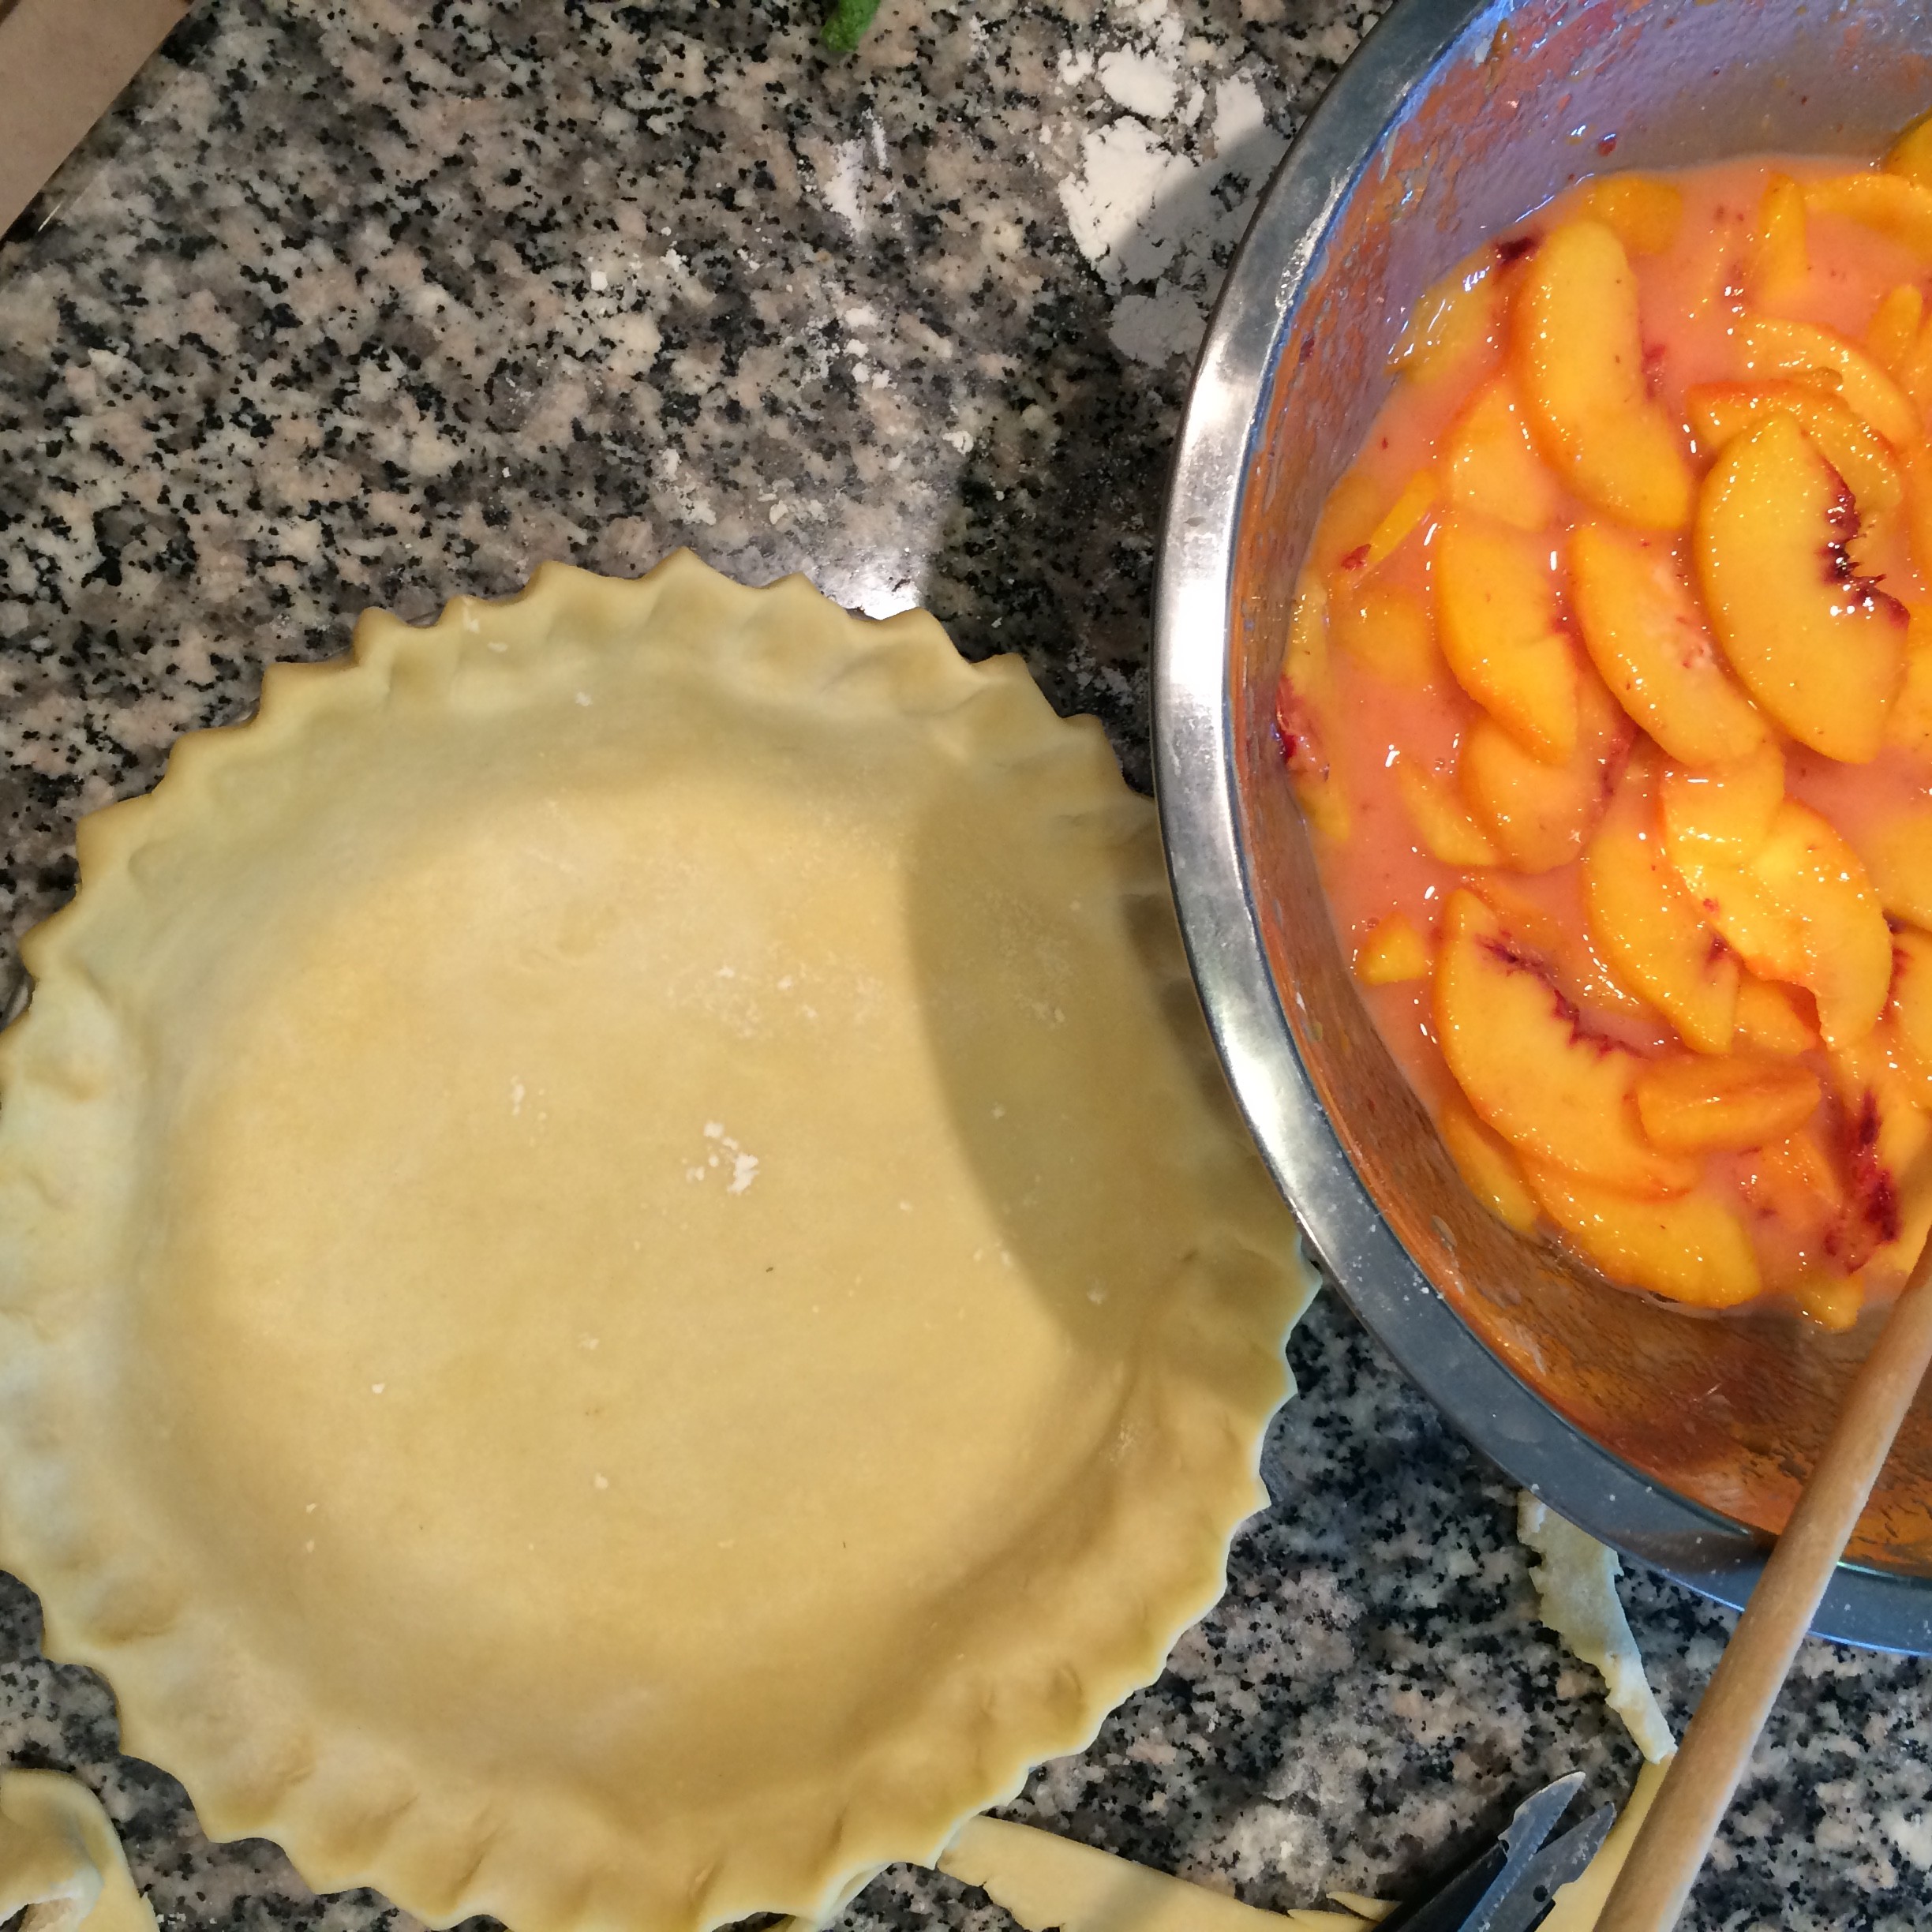
Pour into the crust. Place the pie on a baking sheet and bake for 30 min. Make Streusel topping.
Streusel:
2/3 cups Ginger Snap Crumbs (I used Anna’s)
1/3 cup Brown Sugar
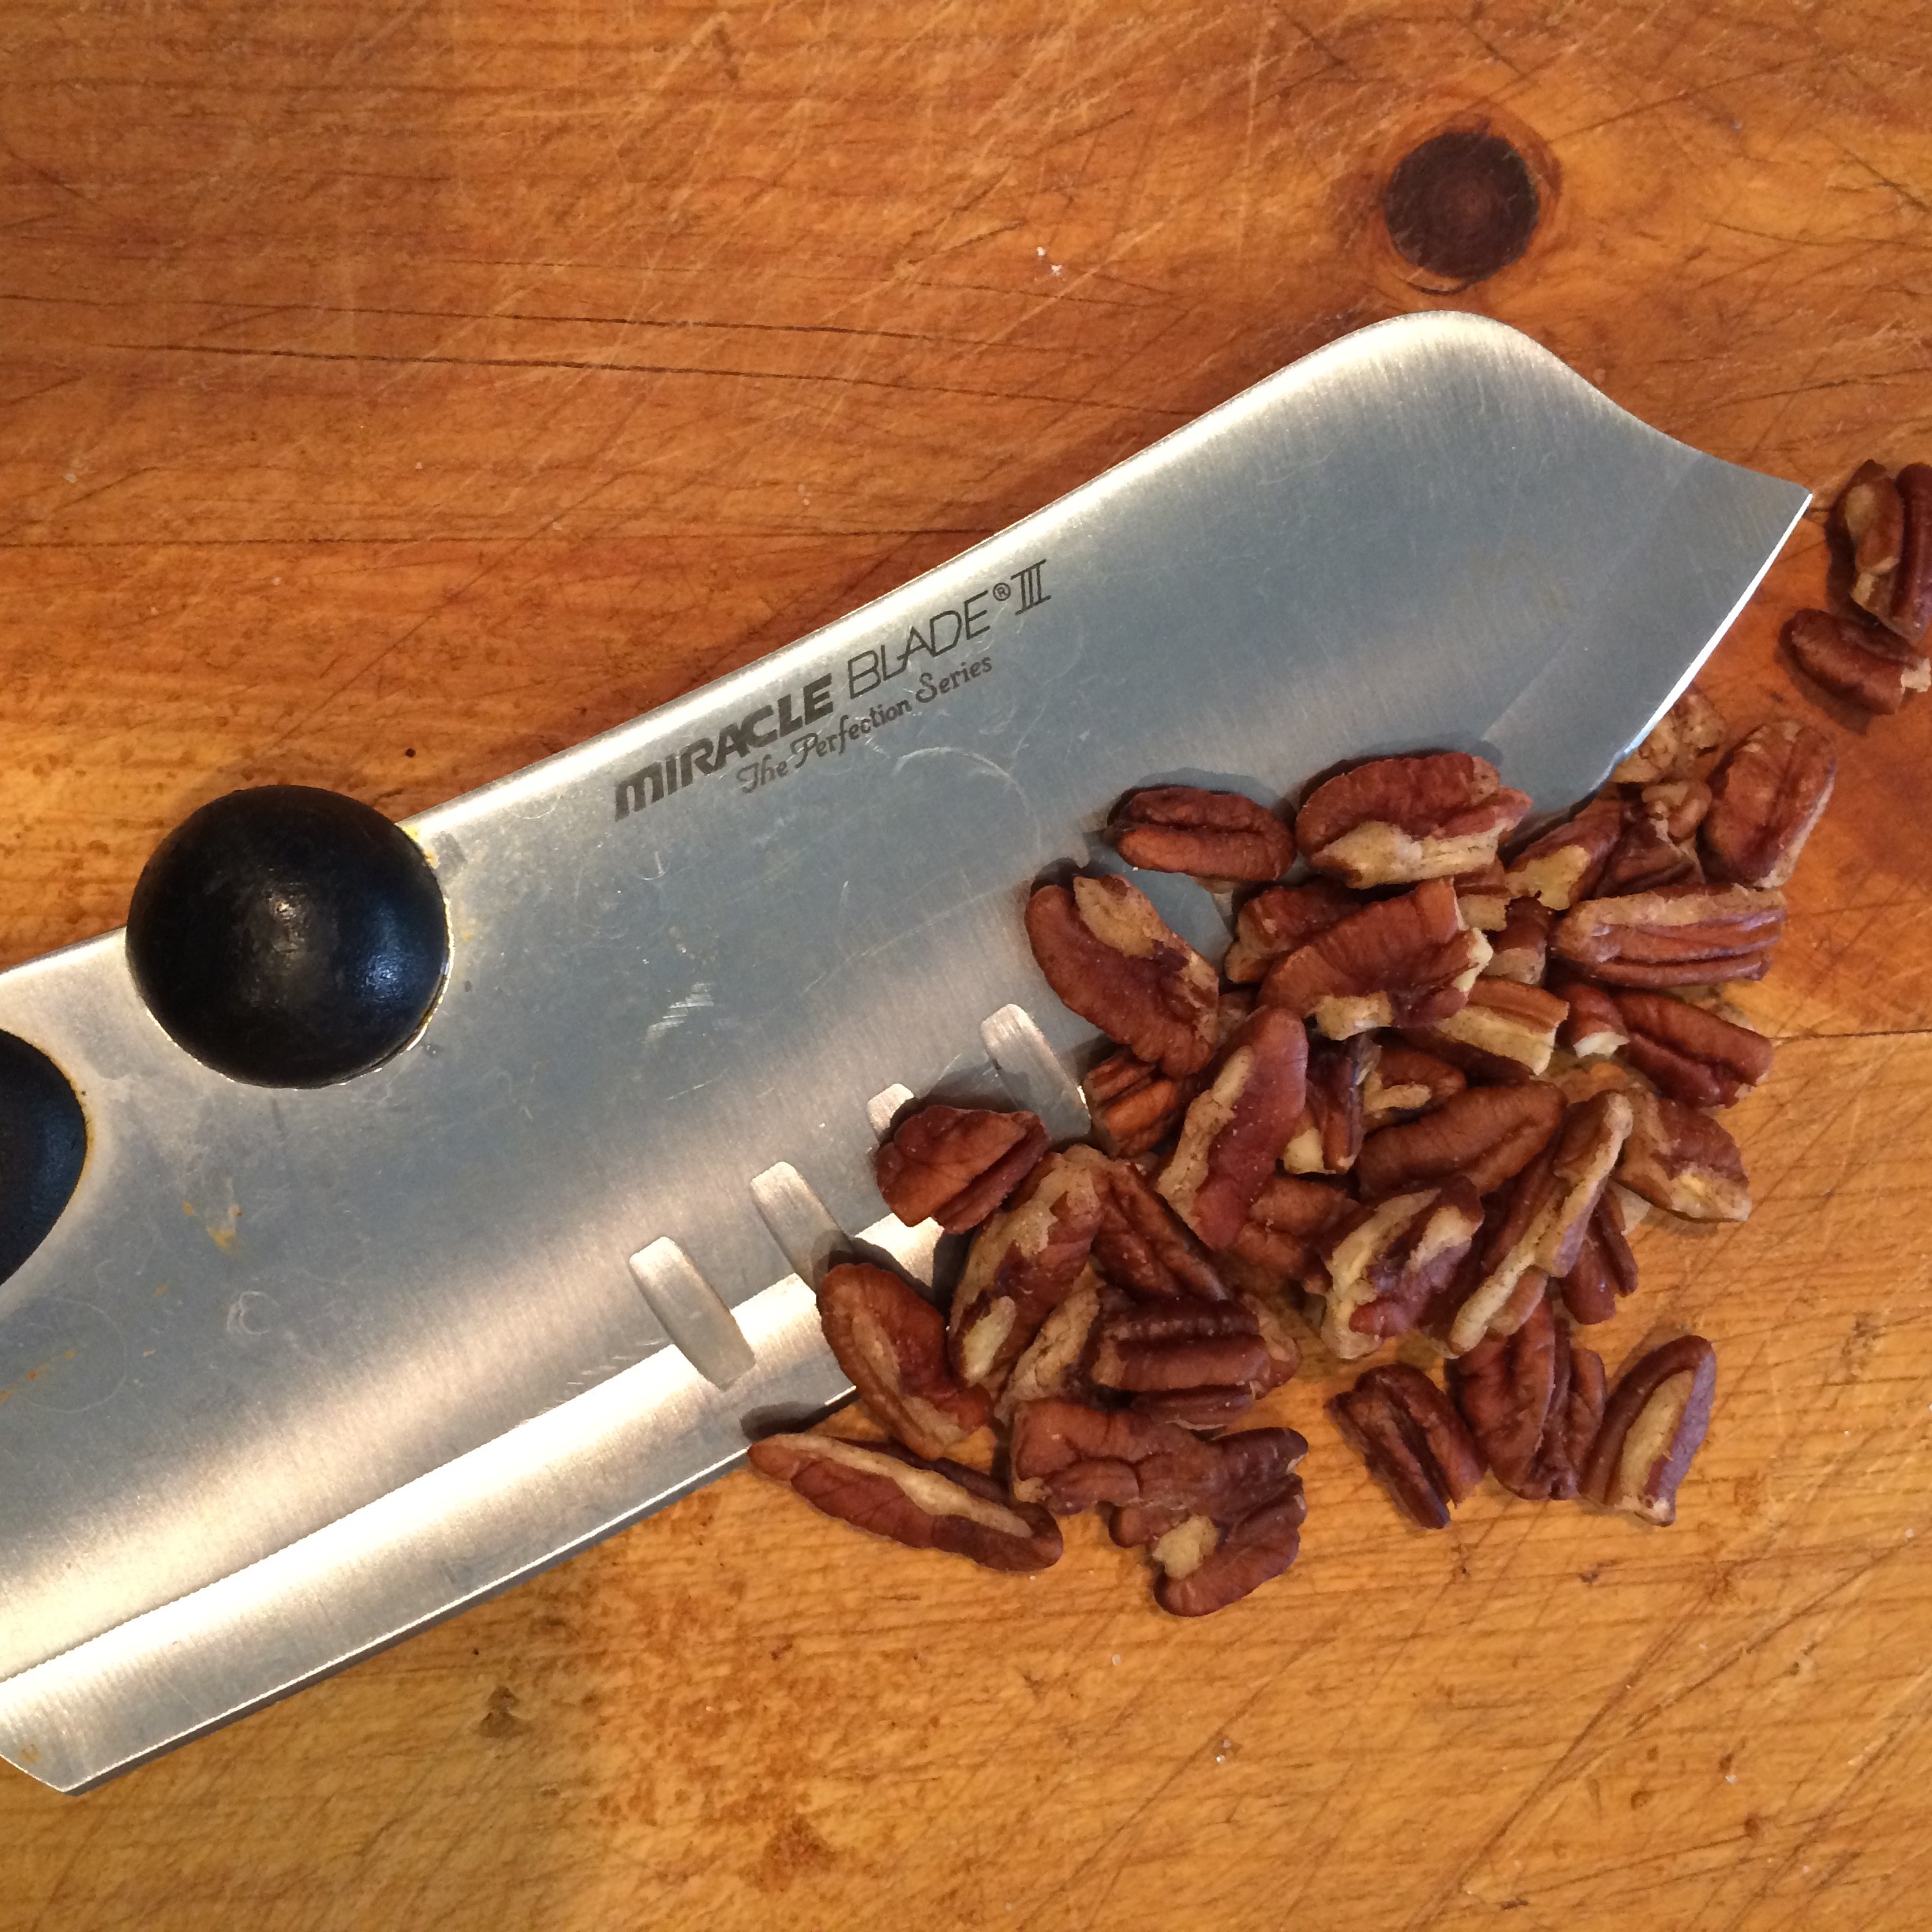
2/3 chopped Pecans
1-2 Tbl. finely chopped Candied Ginger
5 Tbl. Butter
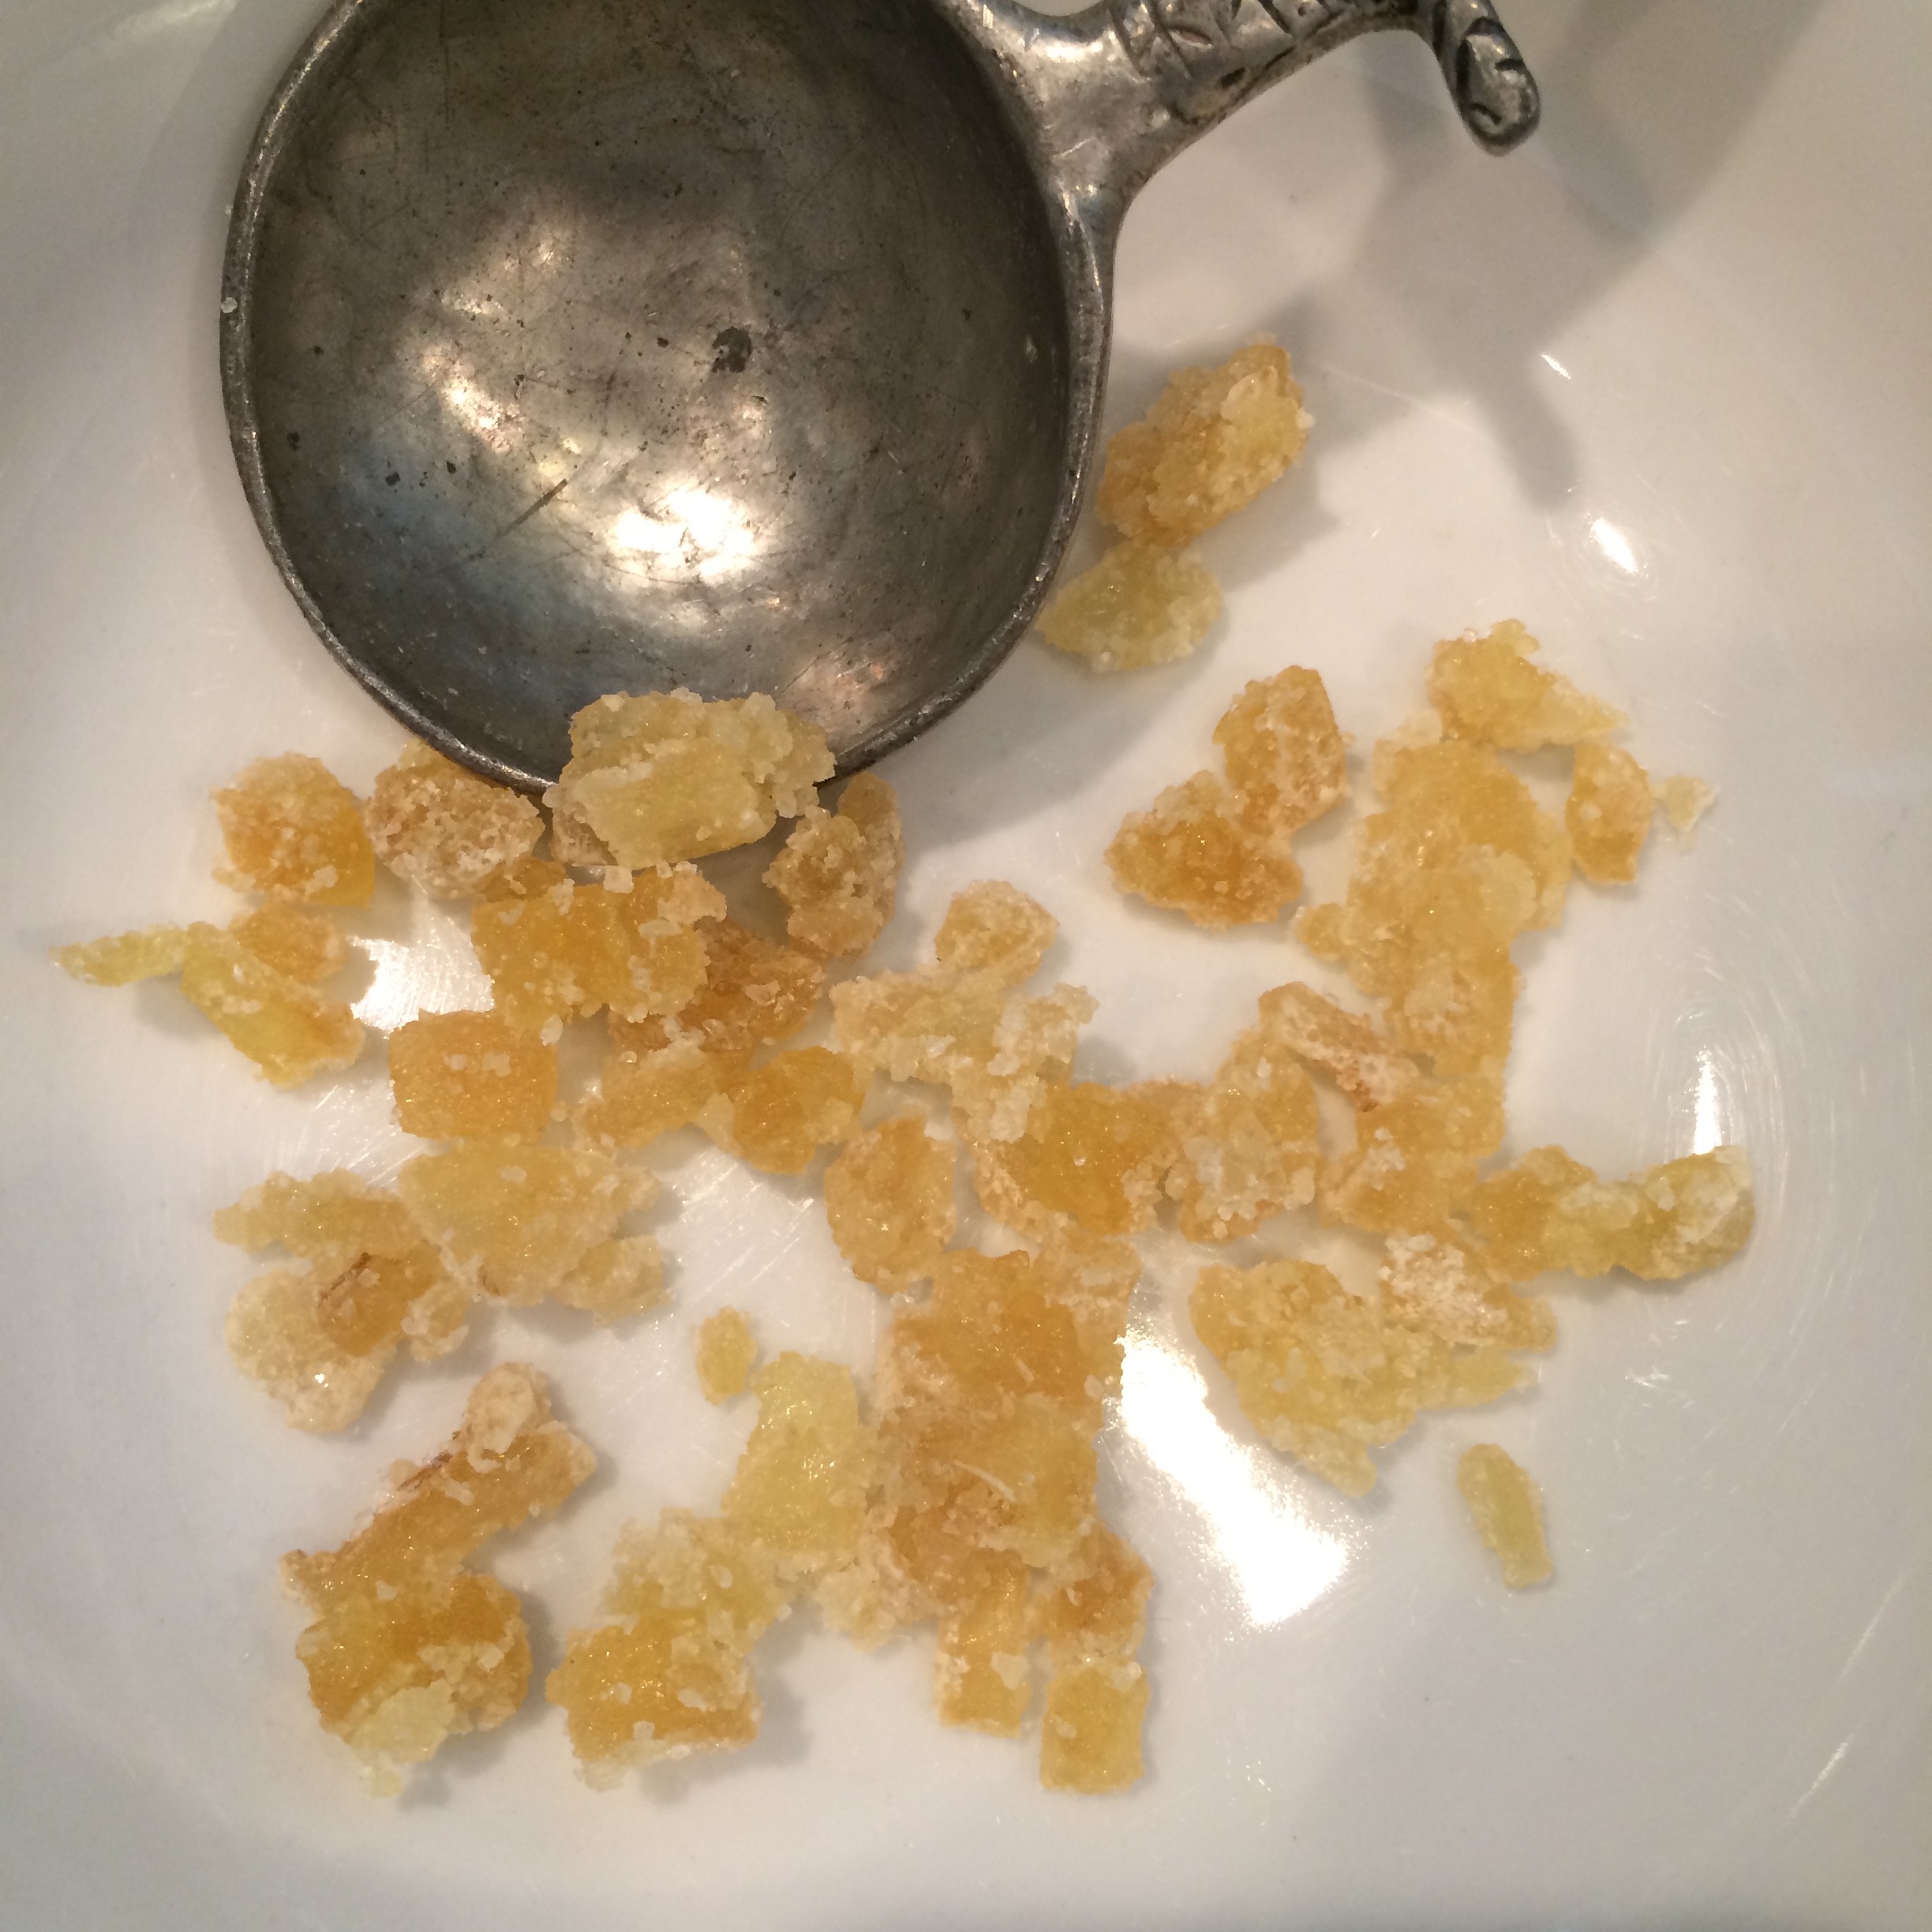
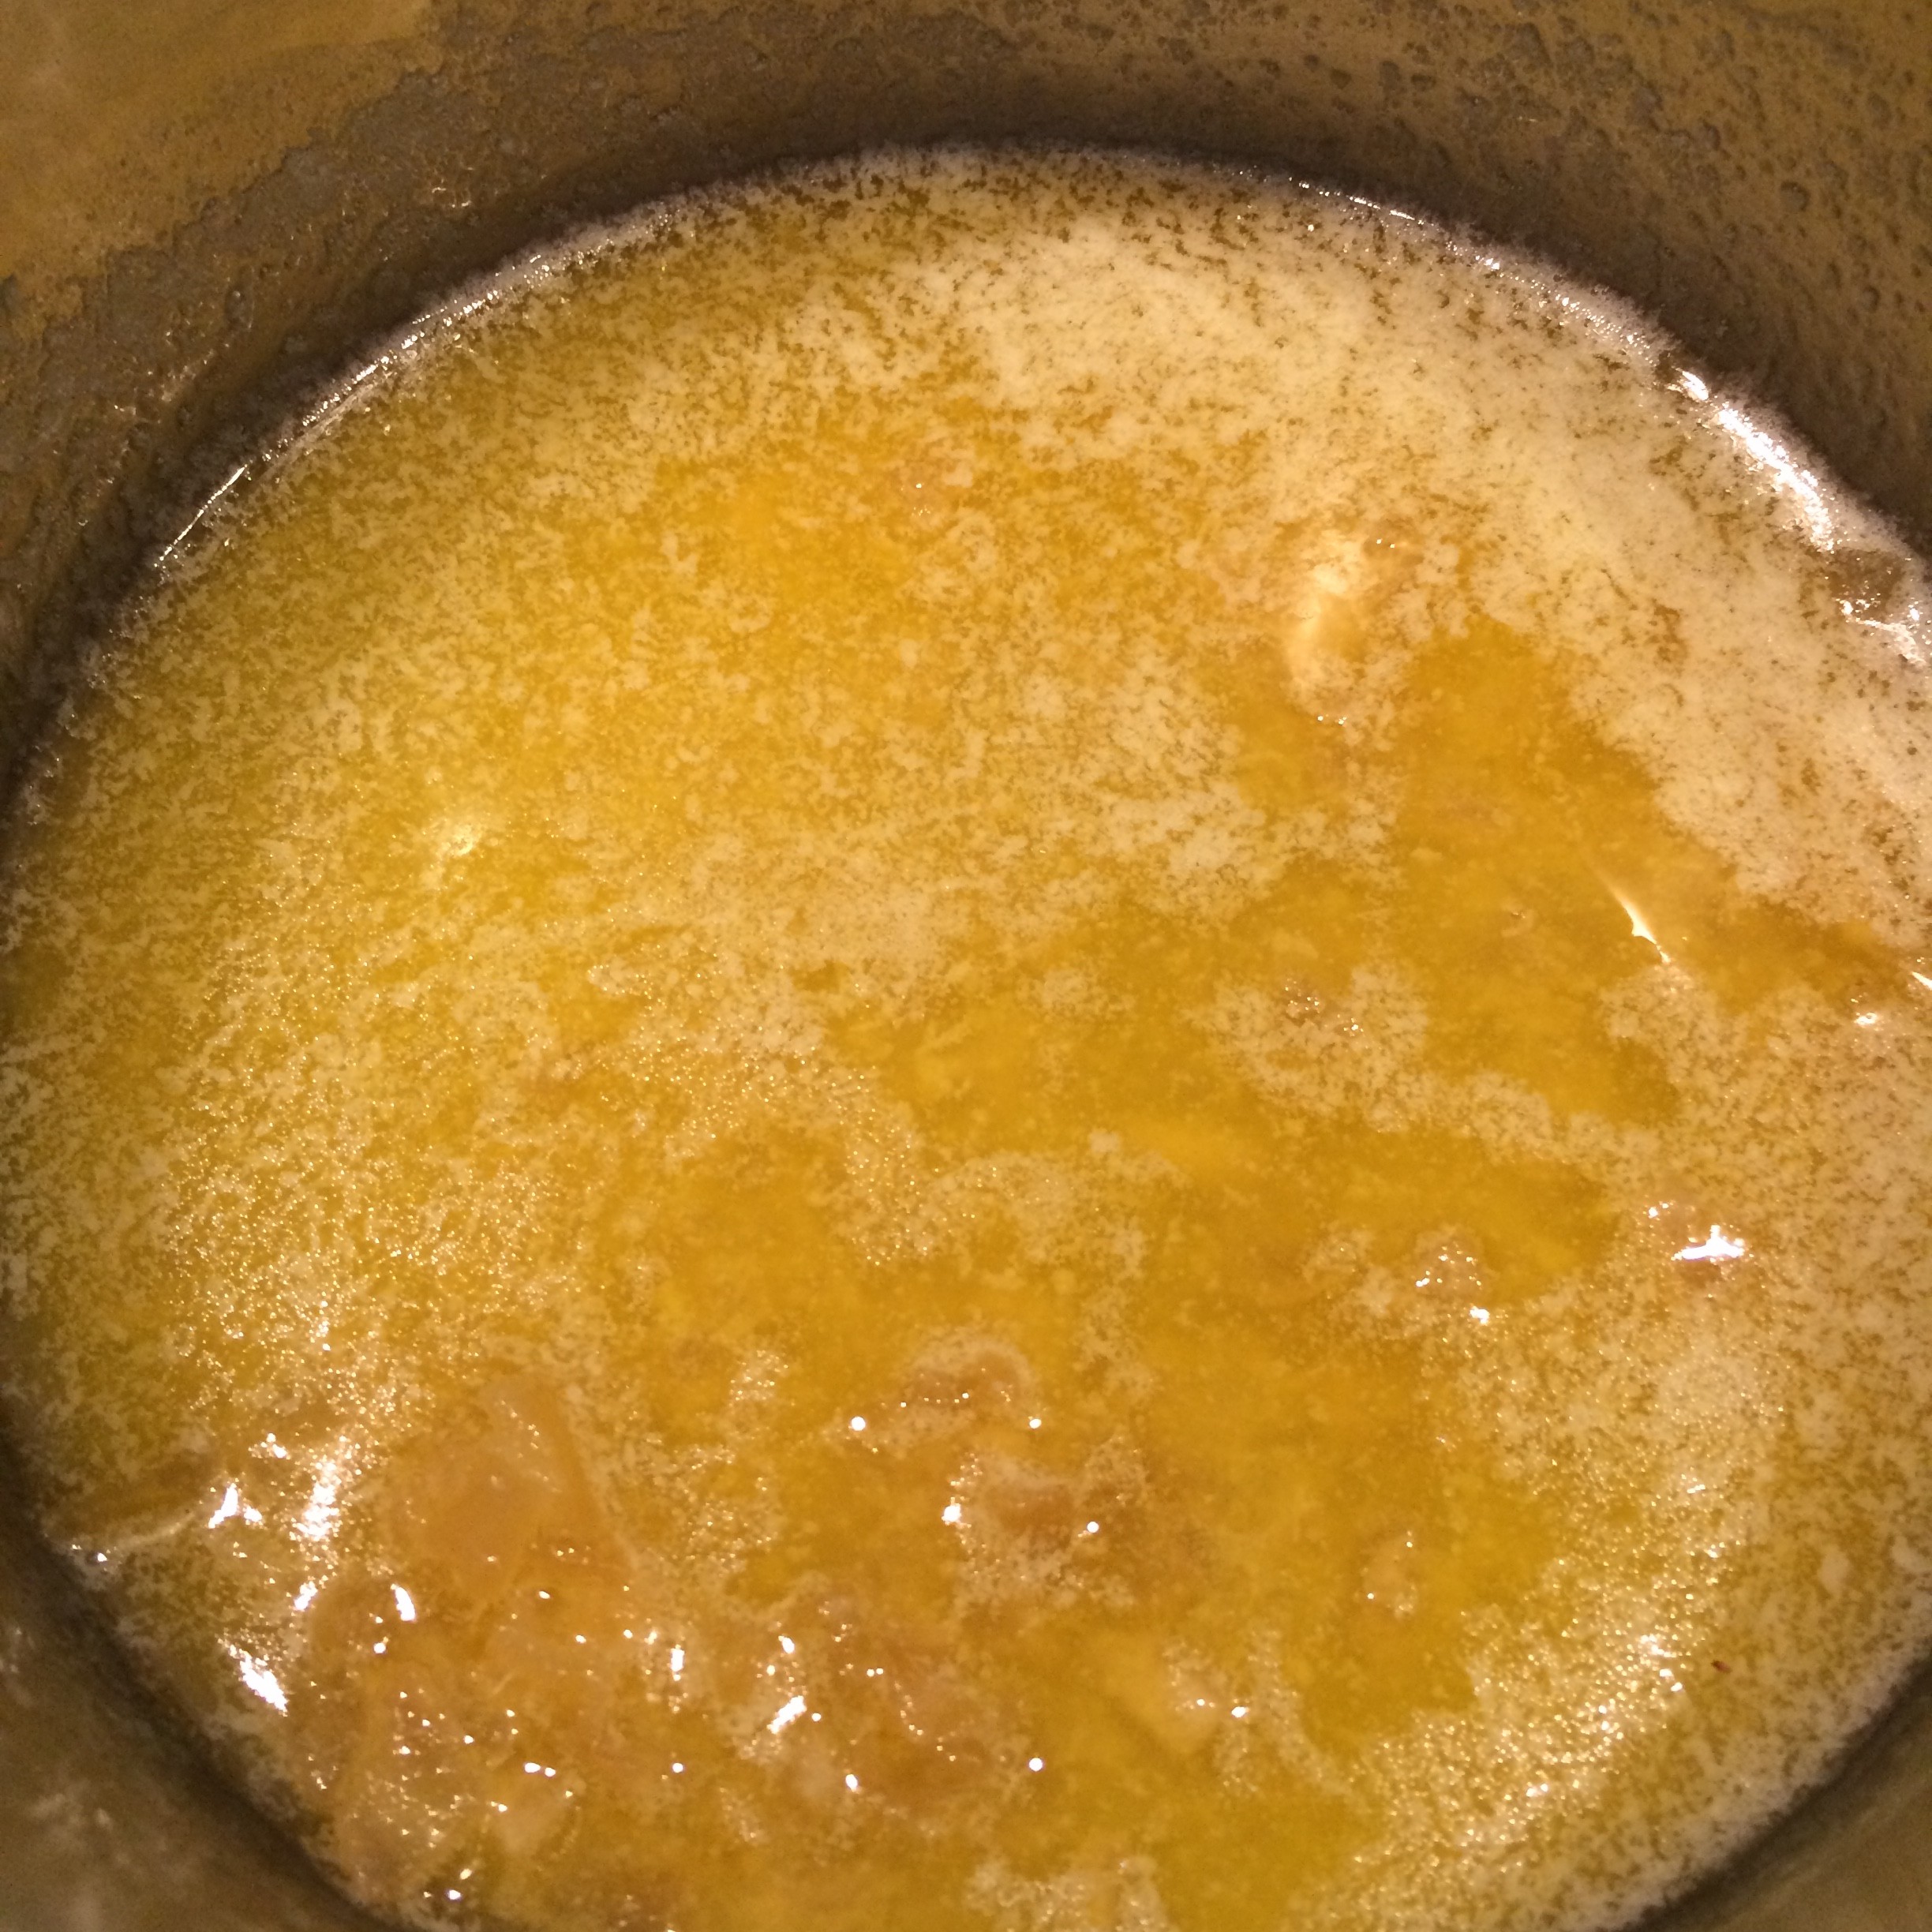
Melt Butter on low. Turnoff the heat and add Candied Ginger. Let Ginger and Butter sit for 2 minutes.
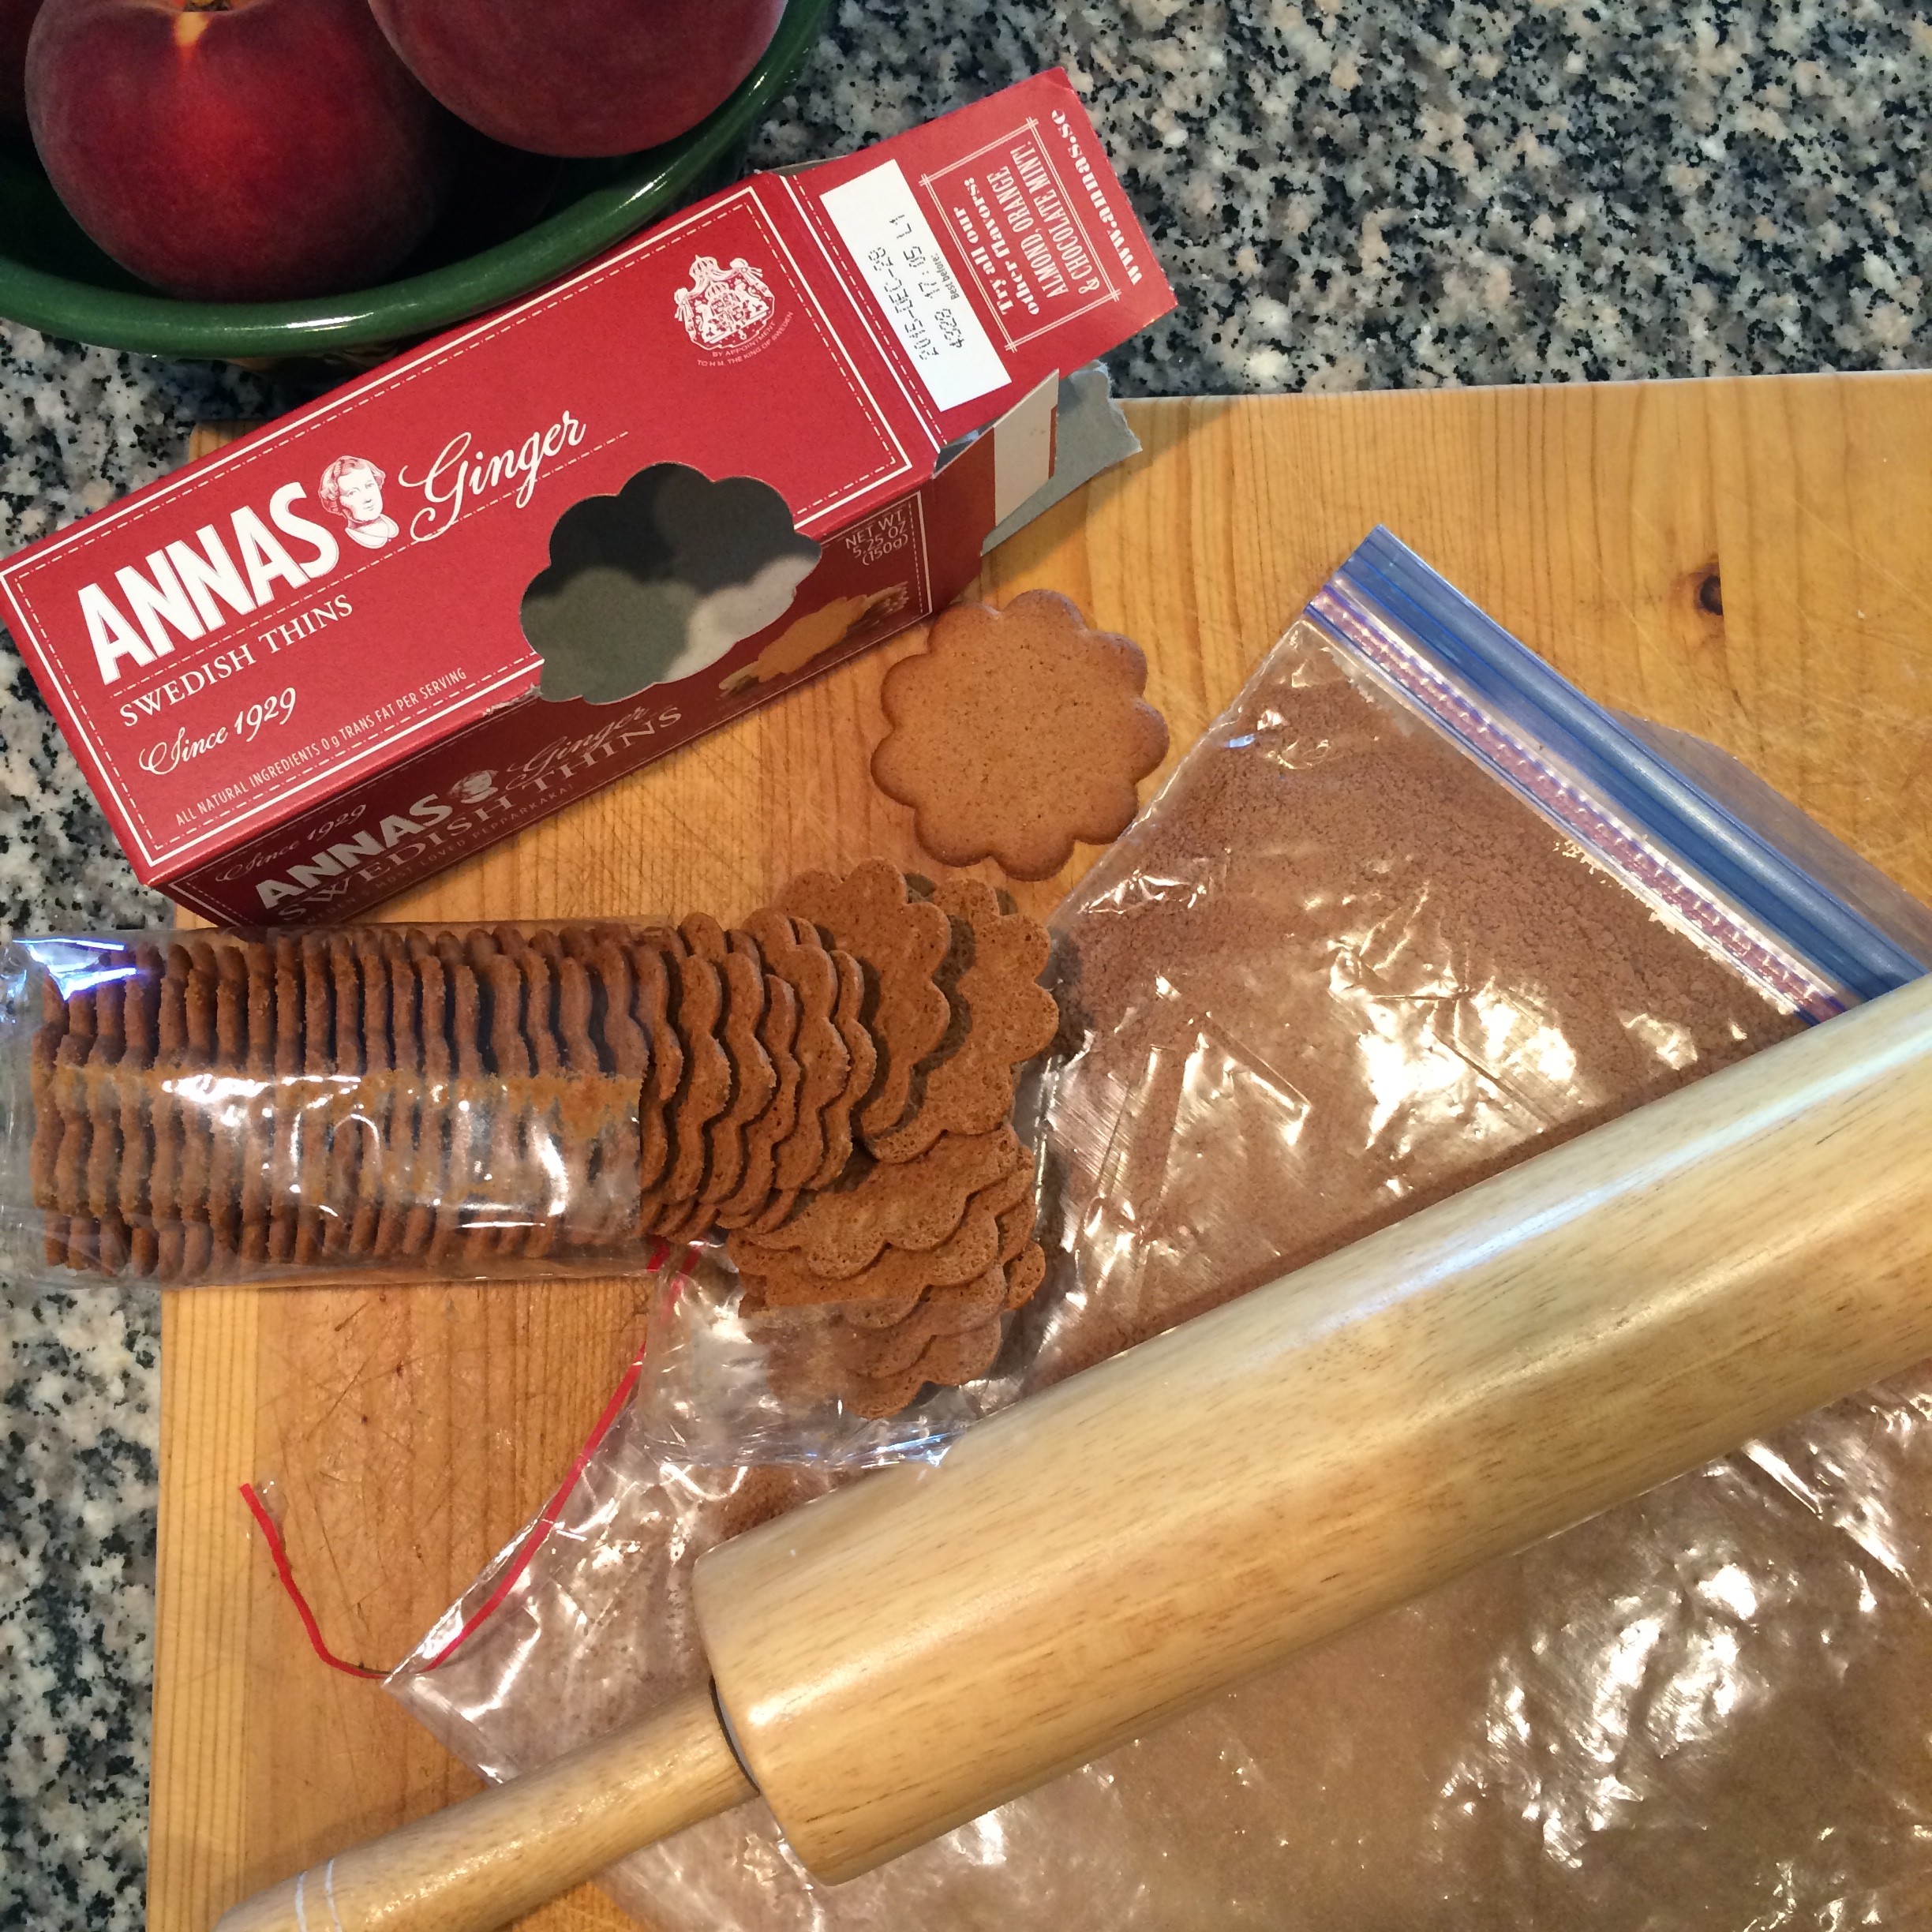
Meanwhile, put Ginger Snaps in ziploc bag and with a rolling pin make fine crumbs. You can use a food processor for this step.
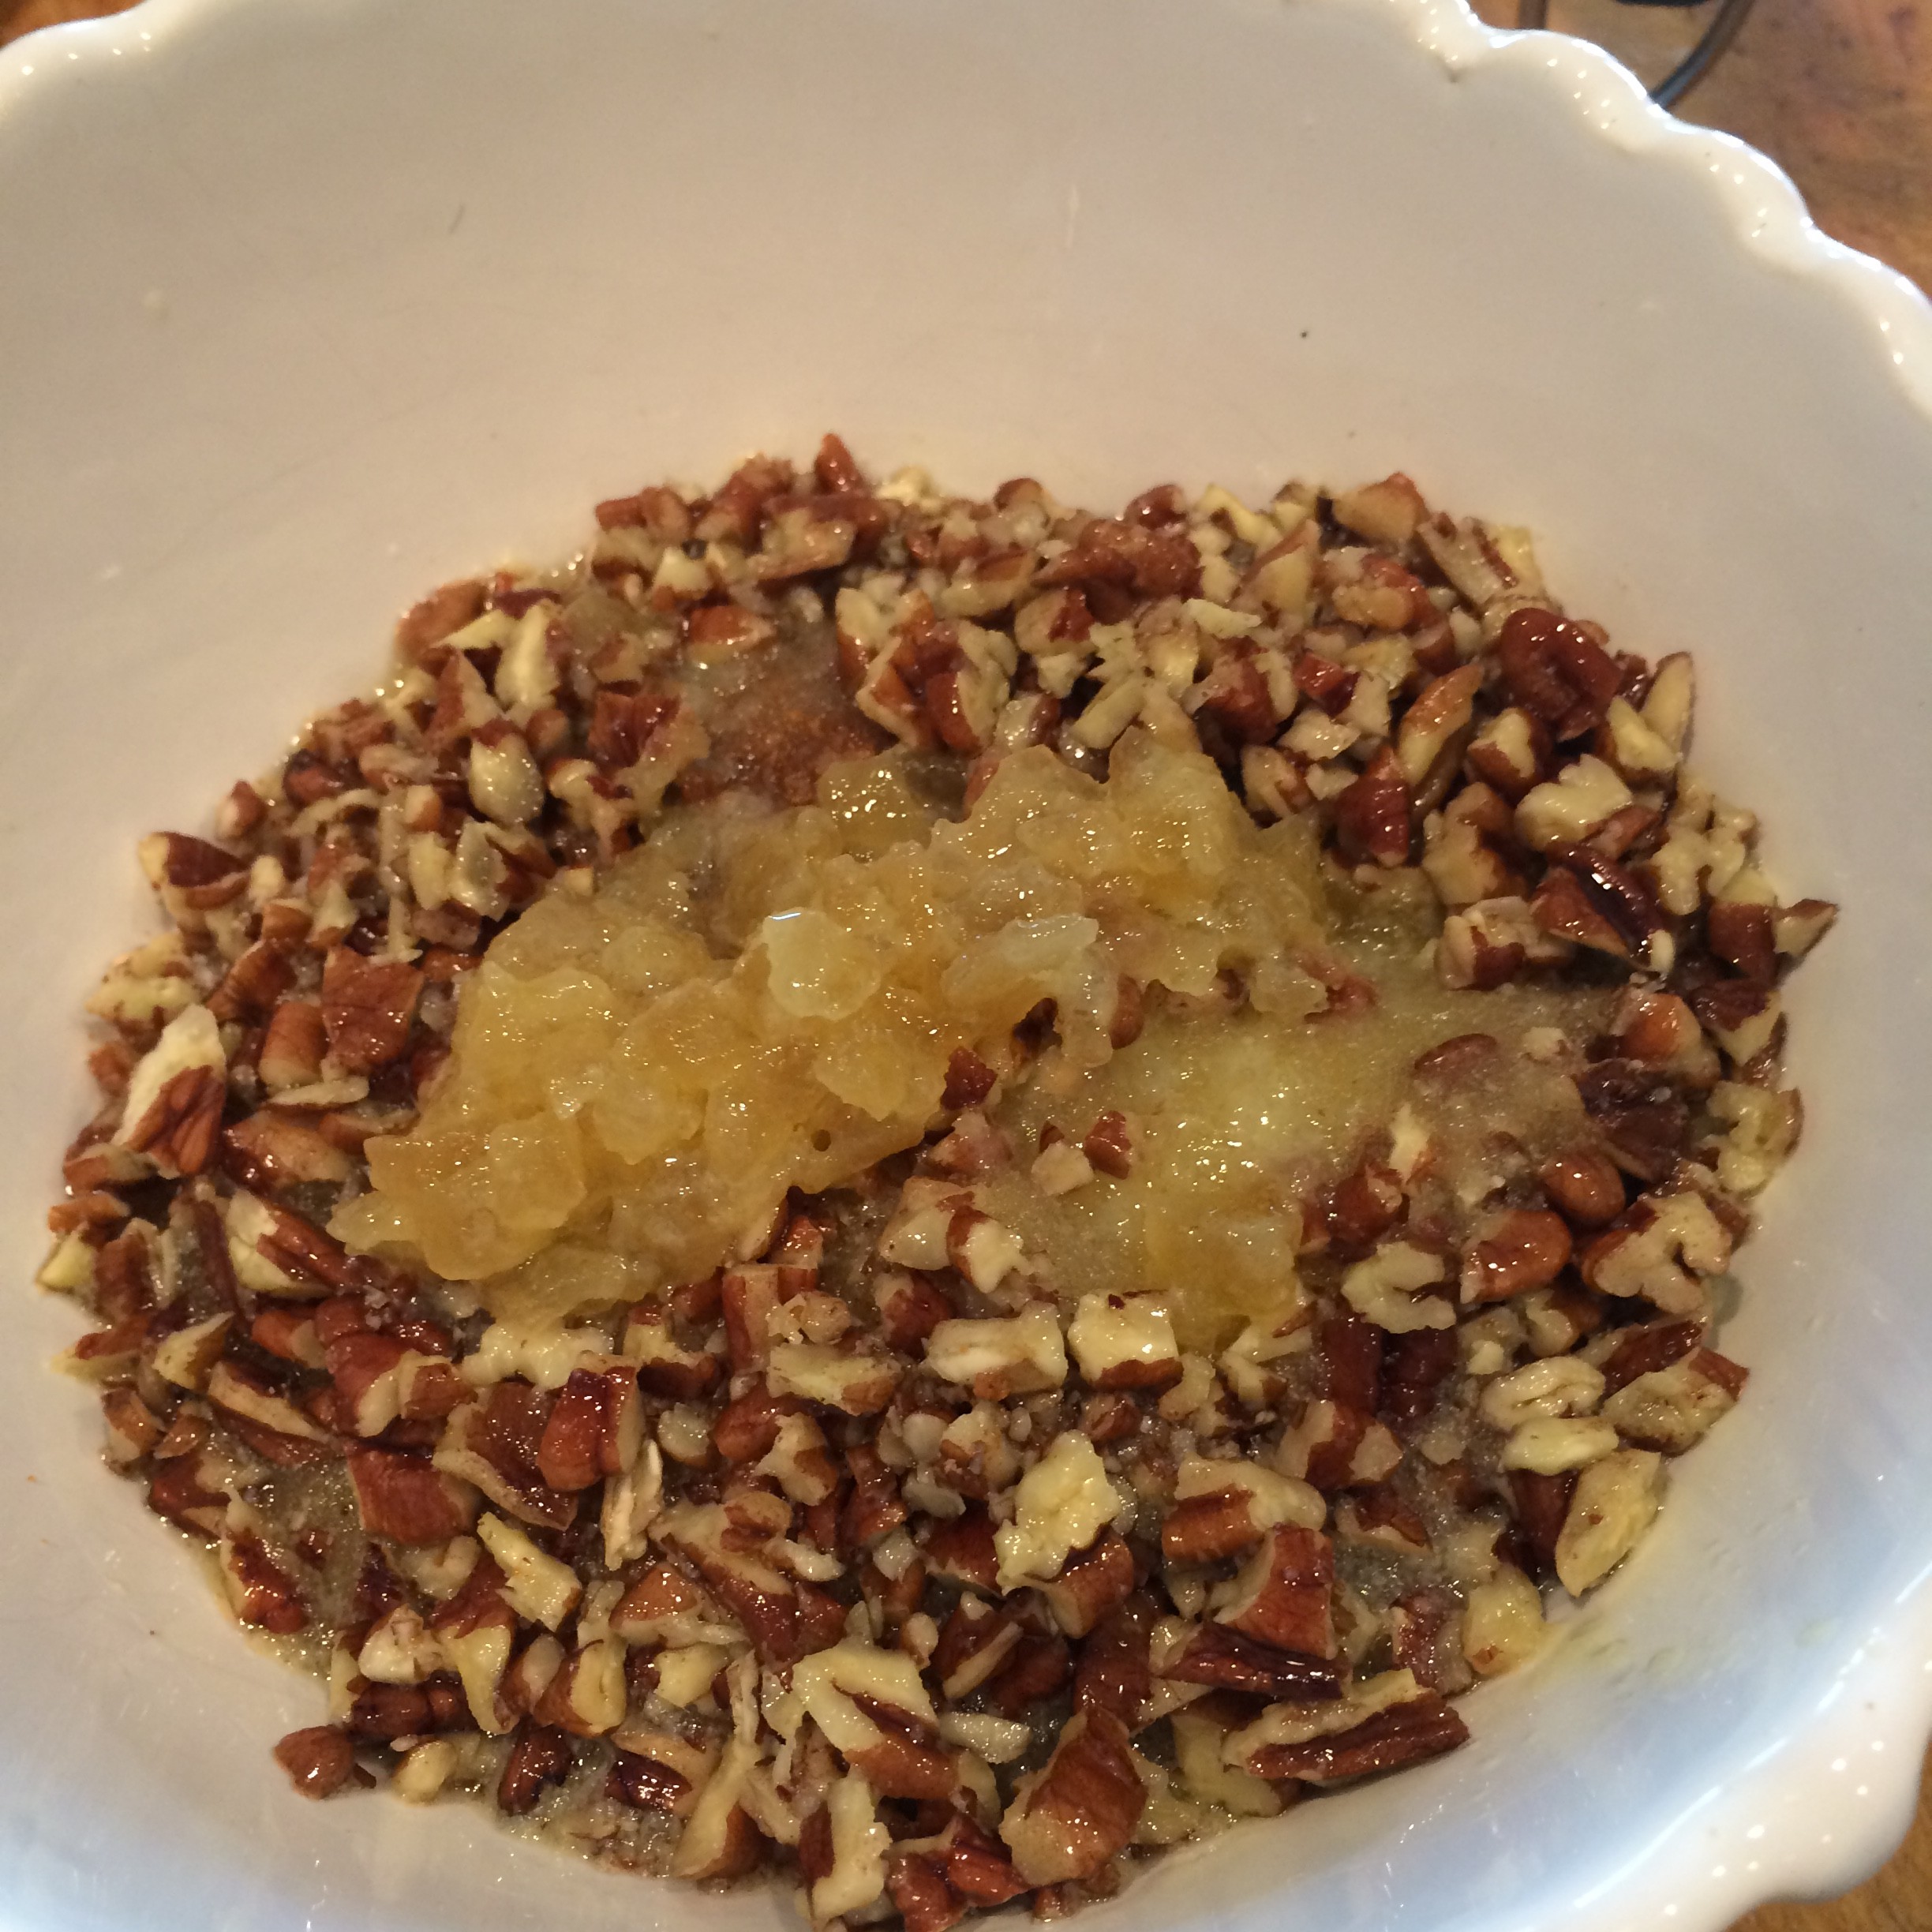
Pour crumbs into a small bowl. Add Brown Sugar, Pecans and Butter mixture. Combine well.
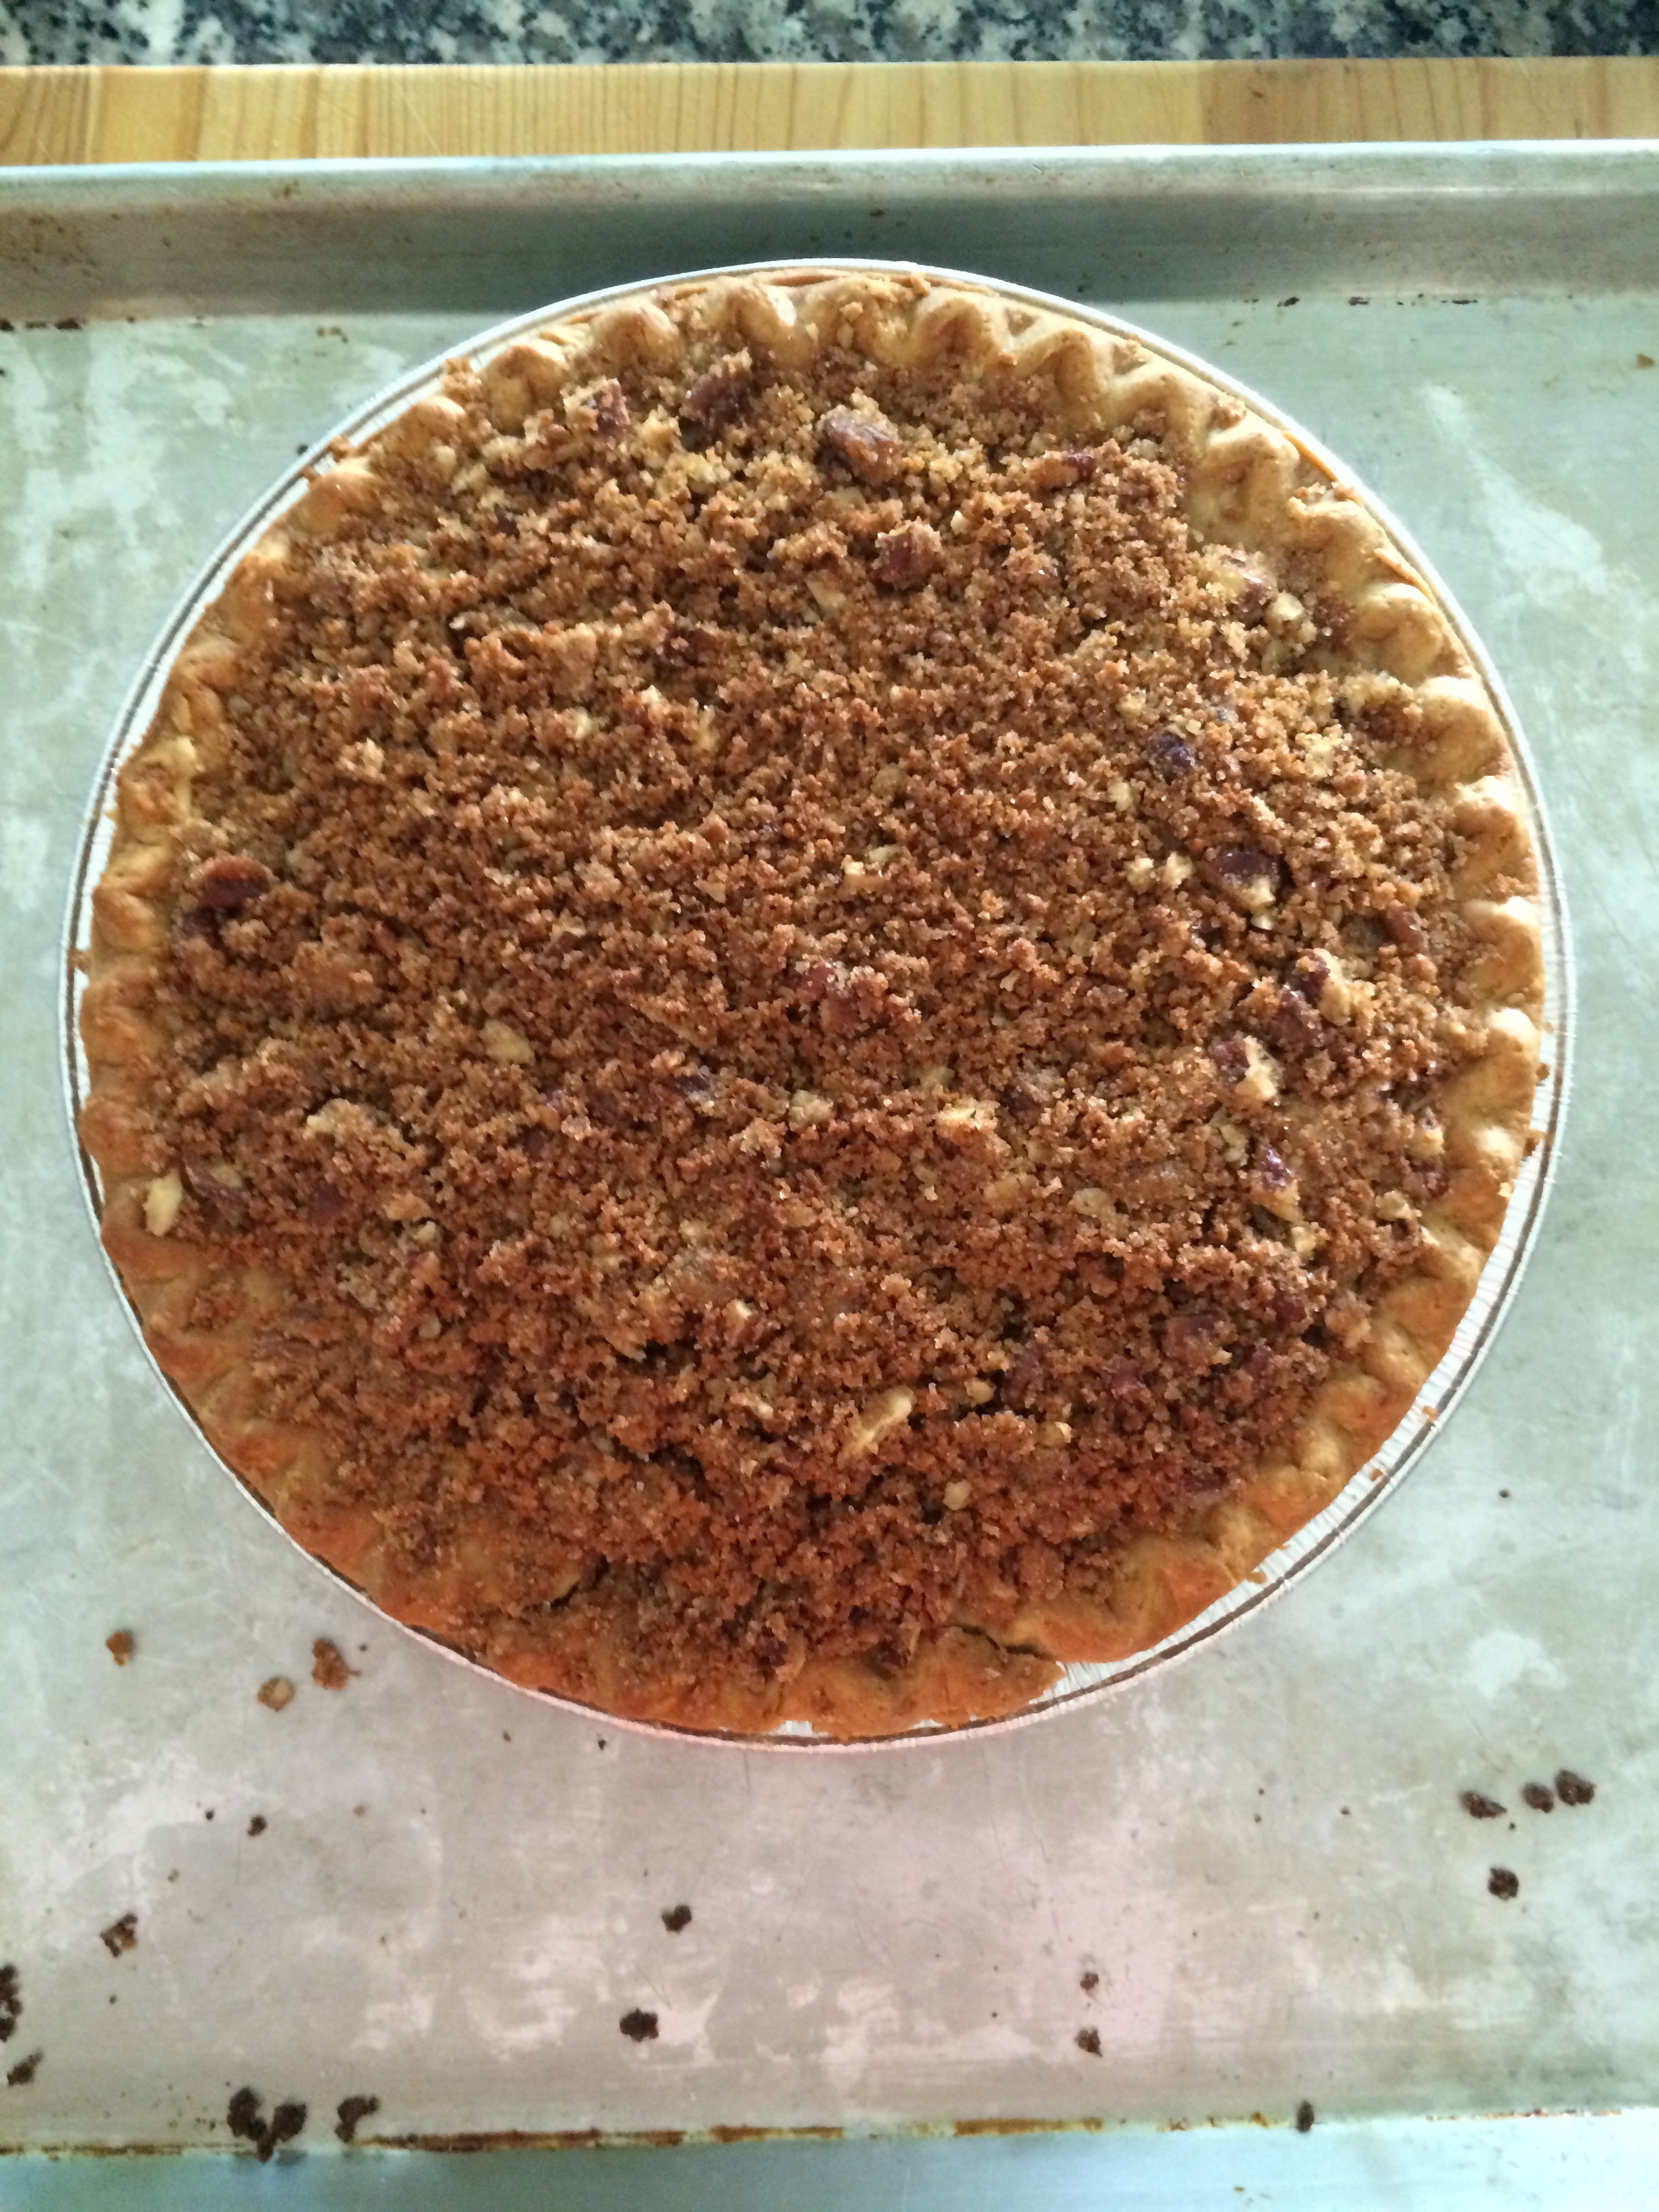
Lower the oven to 350 degrees and sprinkle the streusel on top. Bake another 25 min.
I always listen to Juanes Mi Sangre CD when I’m preparing this pie. I especially like his “Amame”song which I will listen to over and over again.