Cherries and I go way back. I have a friend who lives in the Seattle area but owns a Cherry Farm in Idaho. Imagine owning a Cherry Farm! Every year, after harvest, he goes to Montana to sell his crop. With the money he makes from the sales, he and his wife host a weekend party on the farm. How wonderful is that! Every year they send a postcard with some clever saying to invite people to the farm. We never have made it up there but still dream of doing so some day.
I love the idea of growing one’s own food. I have a vegetable garden that I tend to, mostly in the summer. I, also, have herbs that I love to incorporate in my dishes. Fruit trees are another way I grow food. I have a few citrus, one pomegranate and kiwis. I know the last one is a vine and not a tree. Anyway, I don’t have apples, cherries or peaches. I do go up the hill to get apples in the fall, at least once a year. You can’t get closer to farm to fork than if you pick your own and bring them home.
A few weeks back, I had the opportunity to hear Georgeanne Brennan speak. She is an author that I truly enjoy. She lives in this area and has a new cookbook out. I love her way in the kitchen. She is influenced much by the French country ways. The idea of eating what’s in season, better yet, eating what’s in your garden. All her ideas really resound with me. I think I am a country girl at heart. I know I feel so free and happy on a farm. I just don’t know if I could live on one. Well, back to Georgeanna, at her talk she spoke of the long meals with friends. She talked about how long it took her to write her last book and the difficulty she had in finding a publisher. Someone asked her if she had any ideas about what to do with the stone fruits that are coming ripe at the moment. Georgeanne answered that she had the perfect solution. It’s called a Bachelors’ Pot (I didn’t quite catch the second word.) or ???? -Something in French. I nearly failed my one and only semester of French in college, so… Basically, you get a large jar and fill it with the fruit of the season. So, you layer cherries and then apricots, plums, peaches, etc. Just layer the fruit through their season and with each layer you add brandy. By the end of the summer, you have some delicious fruit to put on ice cream or cheesecake or panna cotta, whatever you choose, and some great brandy to sip after dinner.
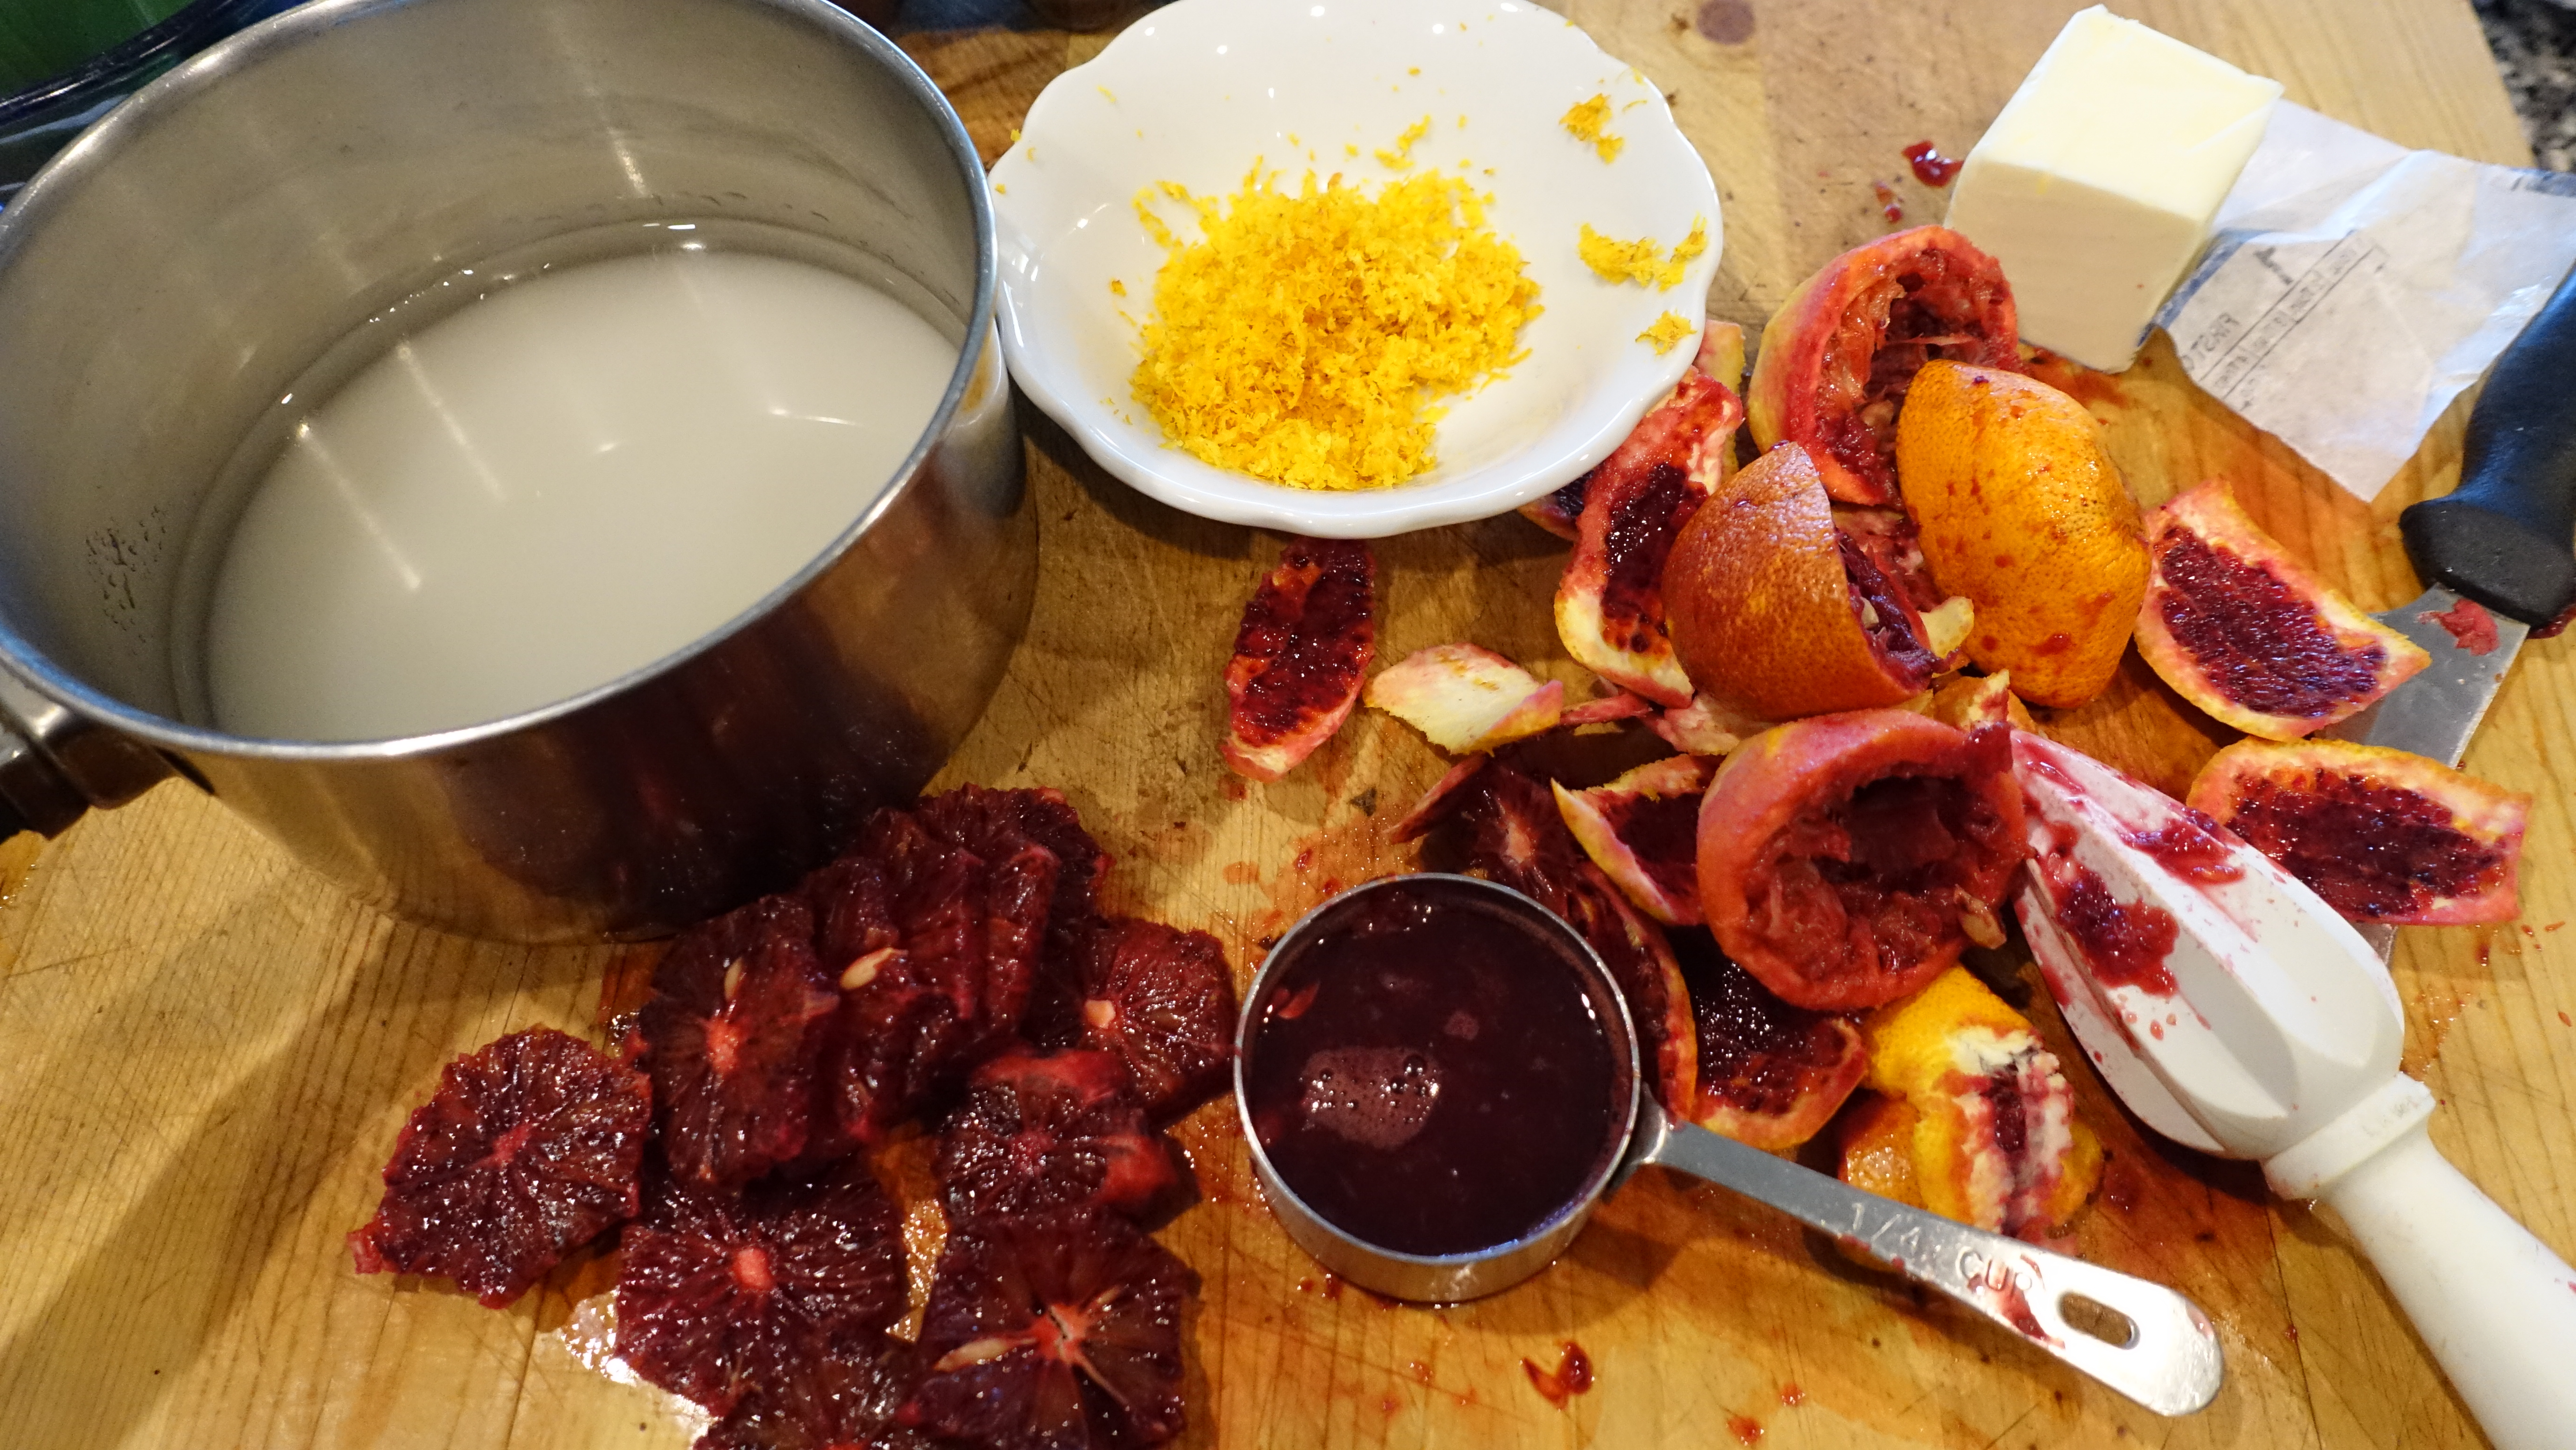
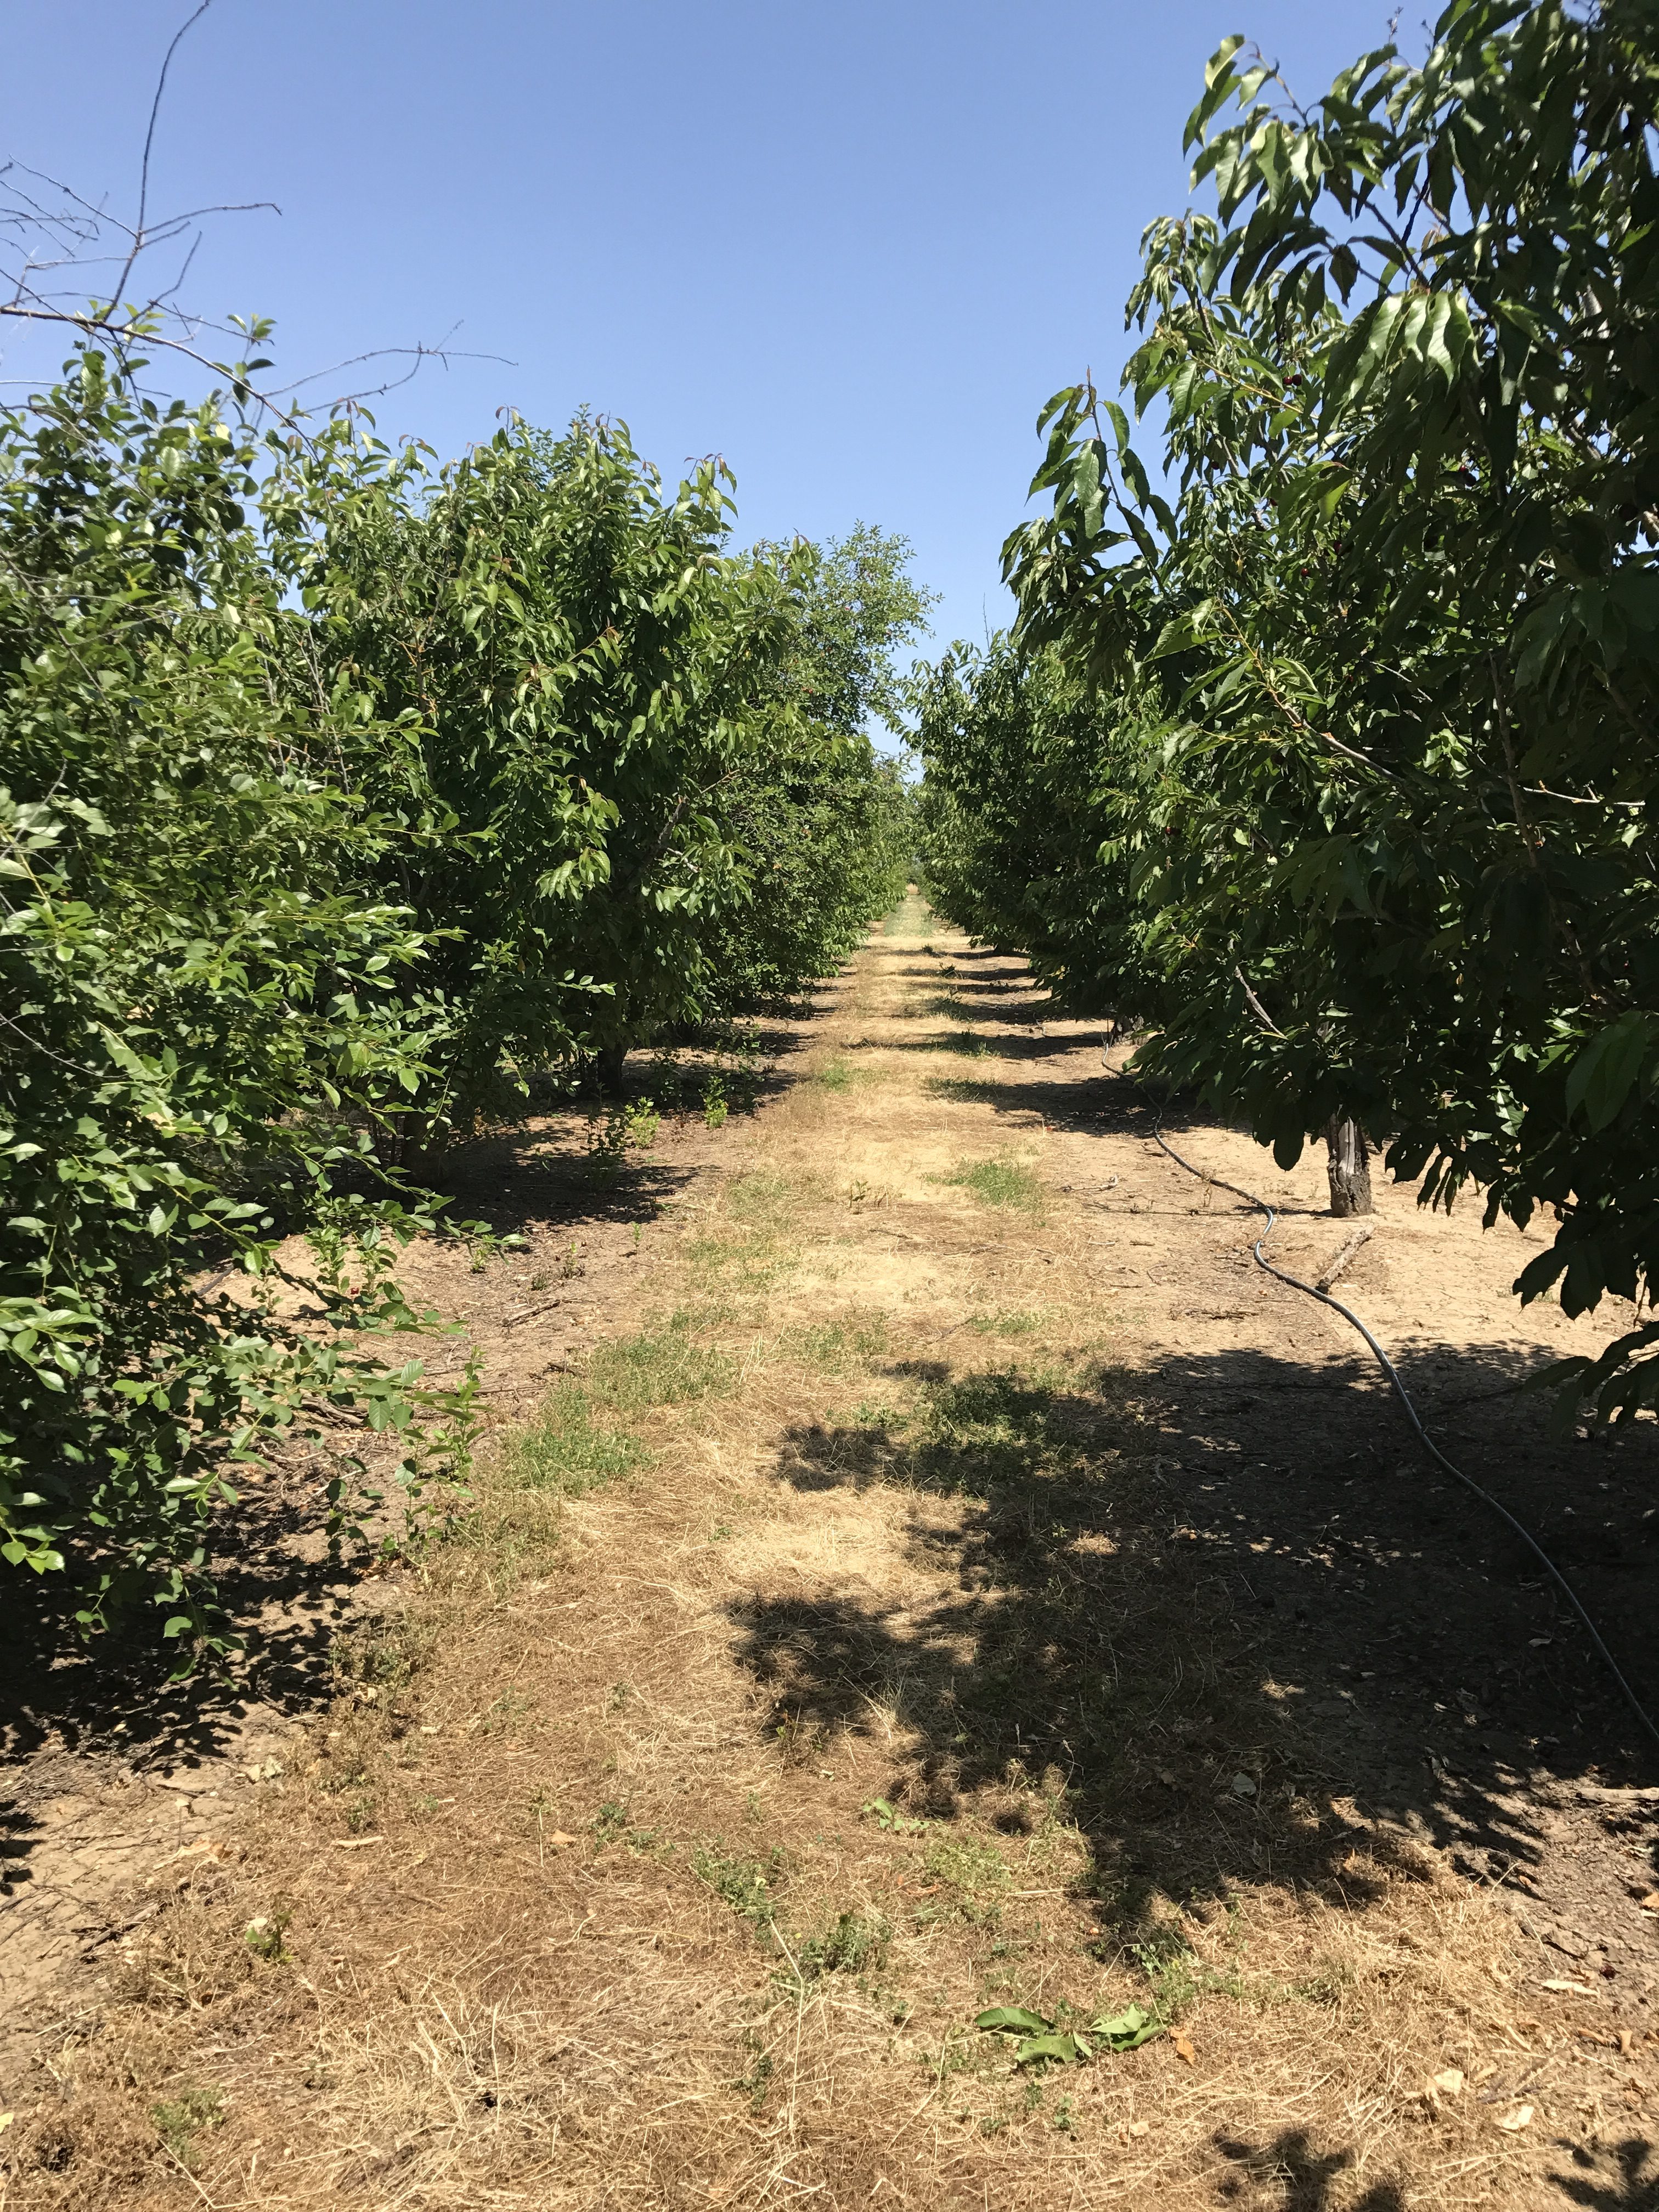
After hearing Georgeanne’s talk, it got me thinking more and more about picking my own fruit. Nothing better than freshly picked fruit. I looked up some u-pick farms in the area and on a beautiful Sunday afternoon, I set off to pick some Cherries! It was close to home and they also had apricots and some berries. I brought my bounty home and since the next day was Memorial Day, I thought that Cherry Pie would be most appropriate. Searching around on the internet, I found a wonderful recipe for Cherry Hand Pies on bakerbynature.com.

It does take some time, as all pies from scratch do but I find that if you plan ahead, you can make some things the day before to relieve the long stretch of cooking time. The crust can be made the day before. You might be able to pit the cherries the day before, too. Although, I would probably make the crust earlier but leave the cherries for the bake day.
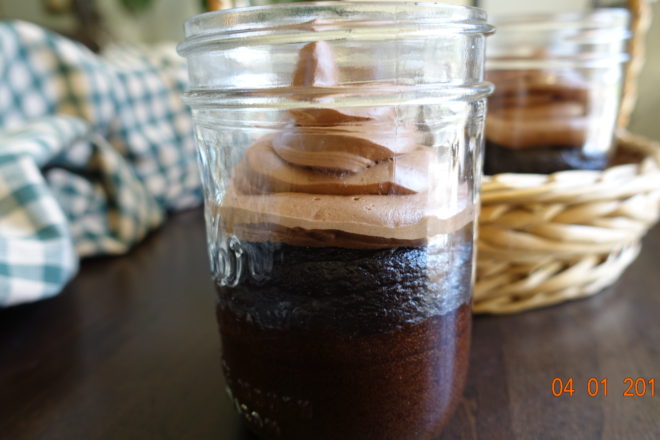
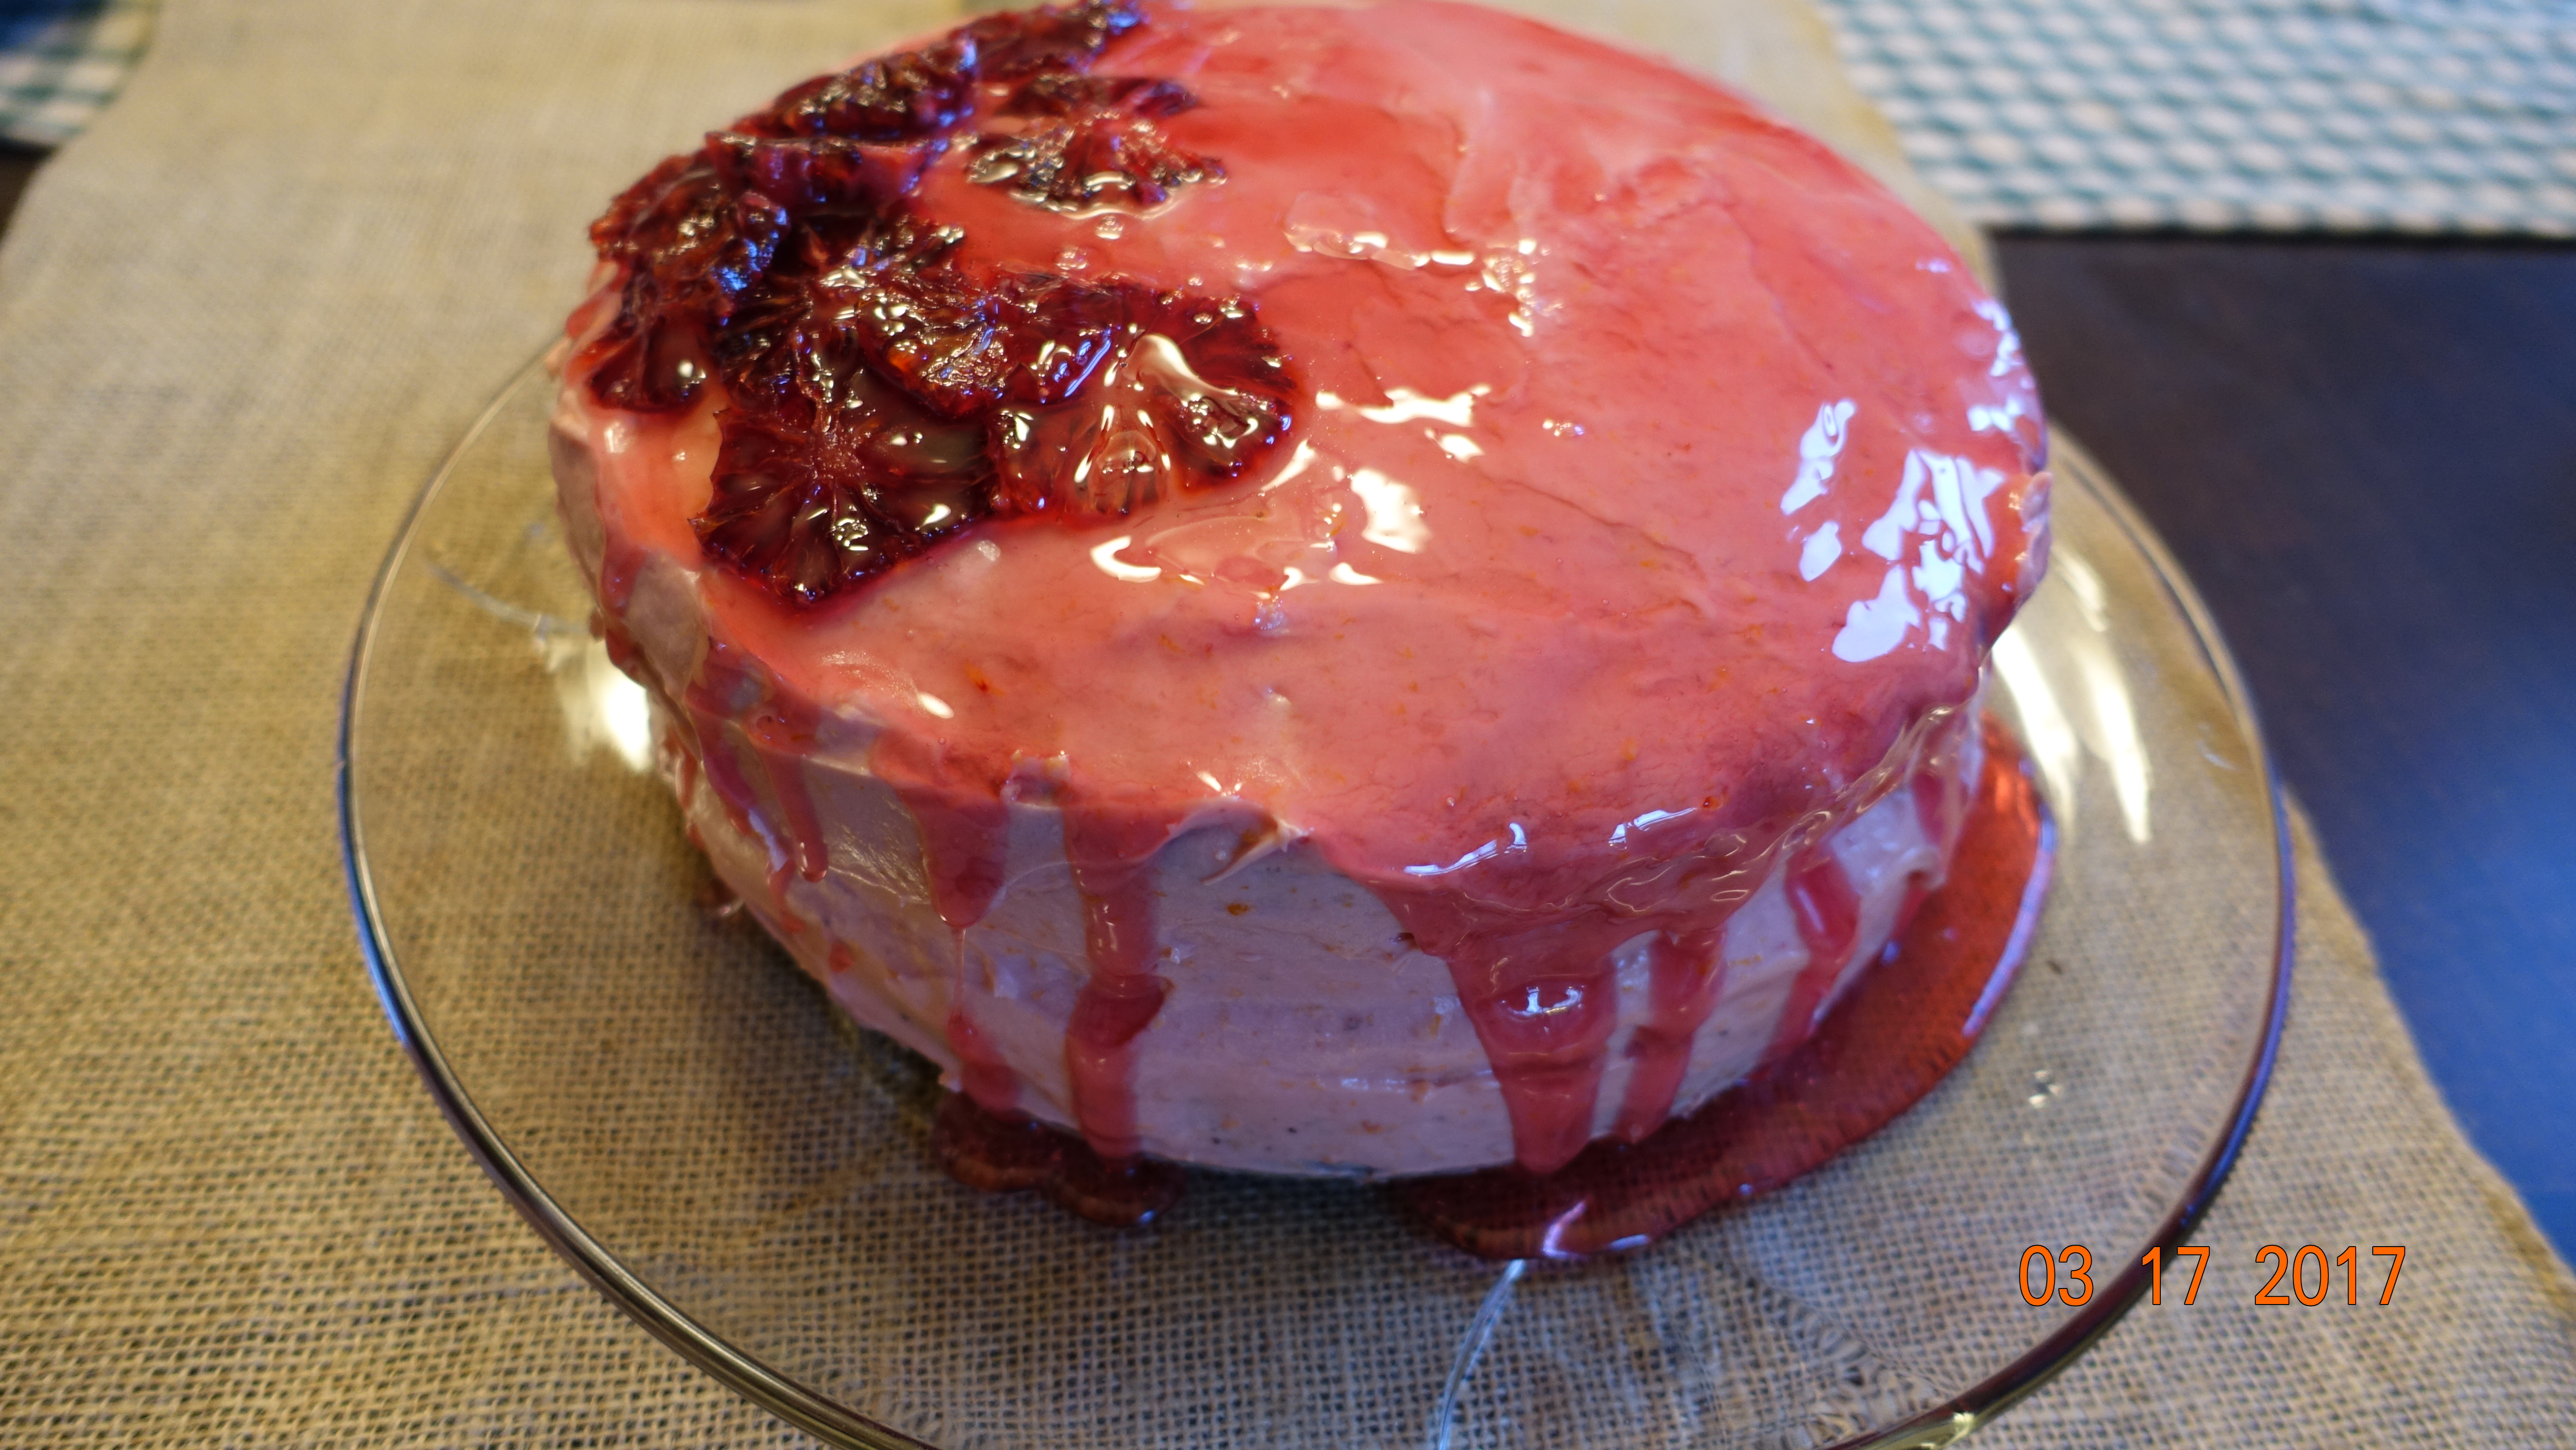
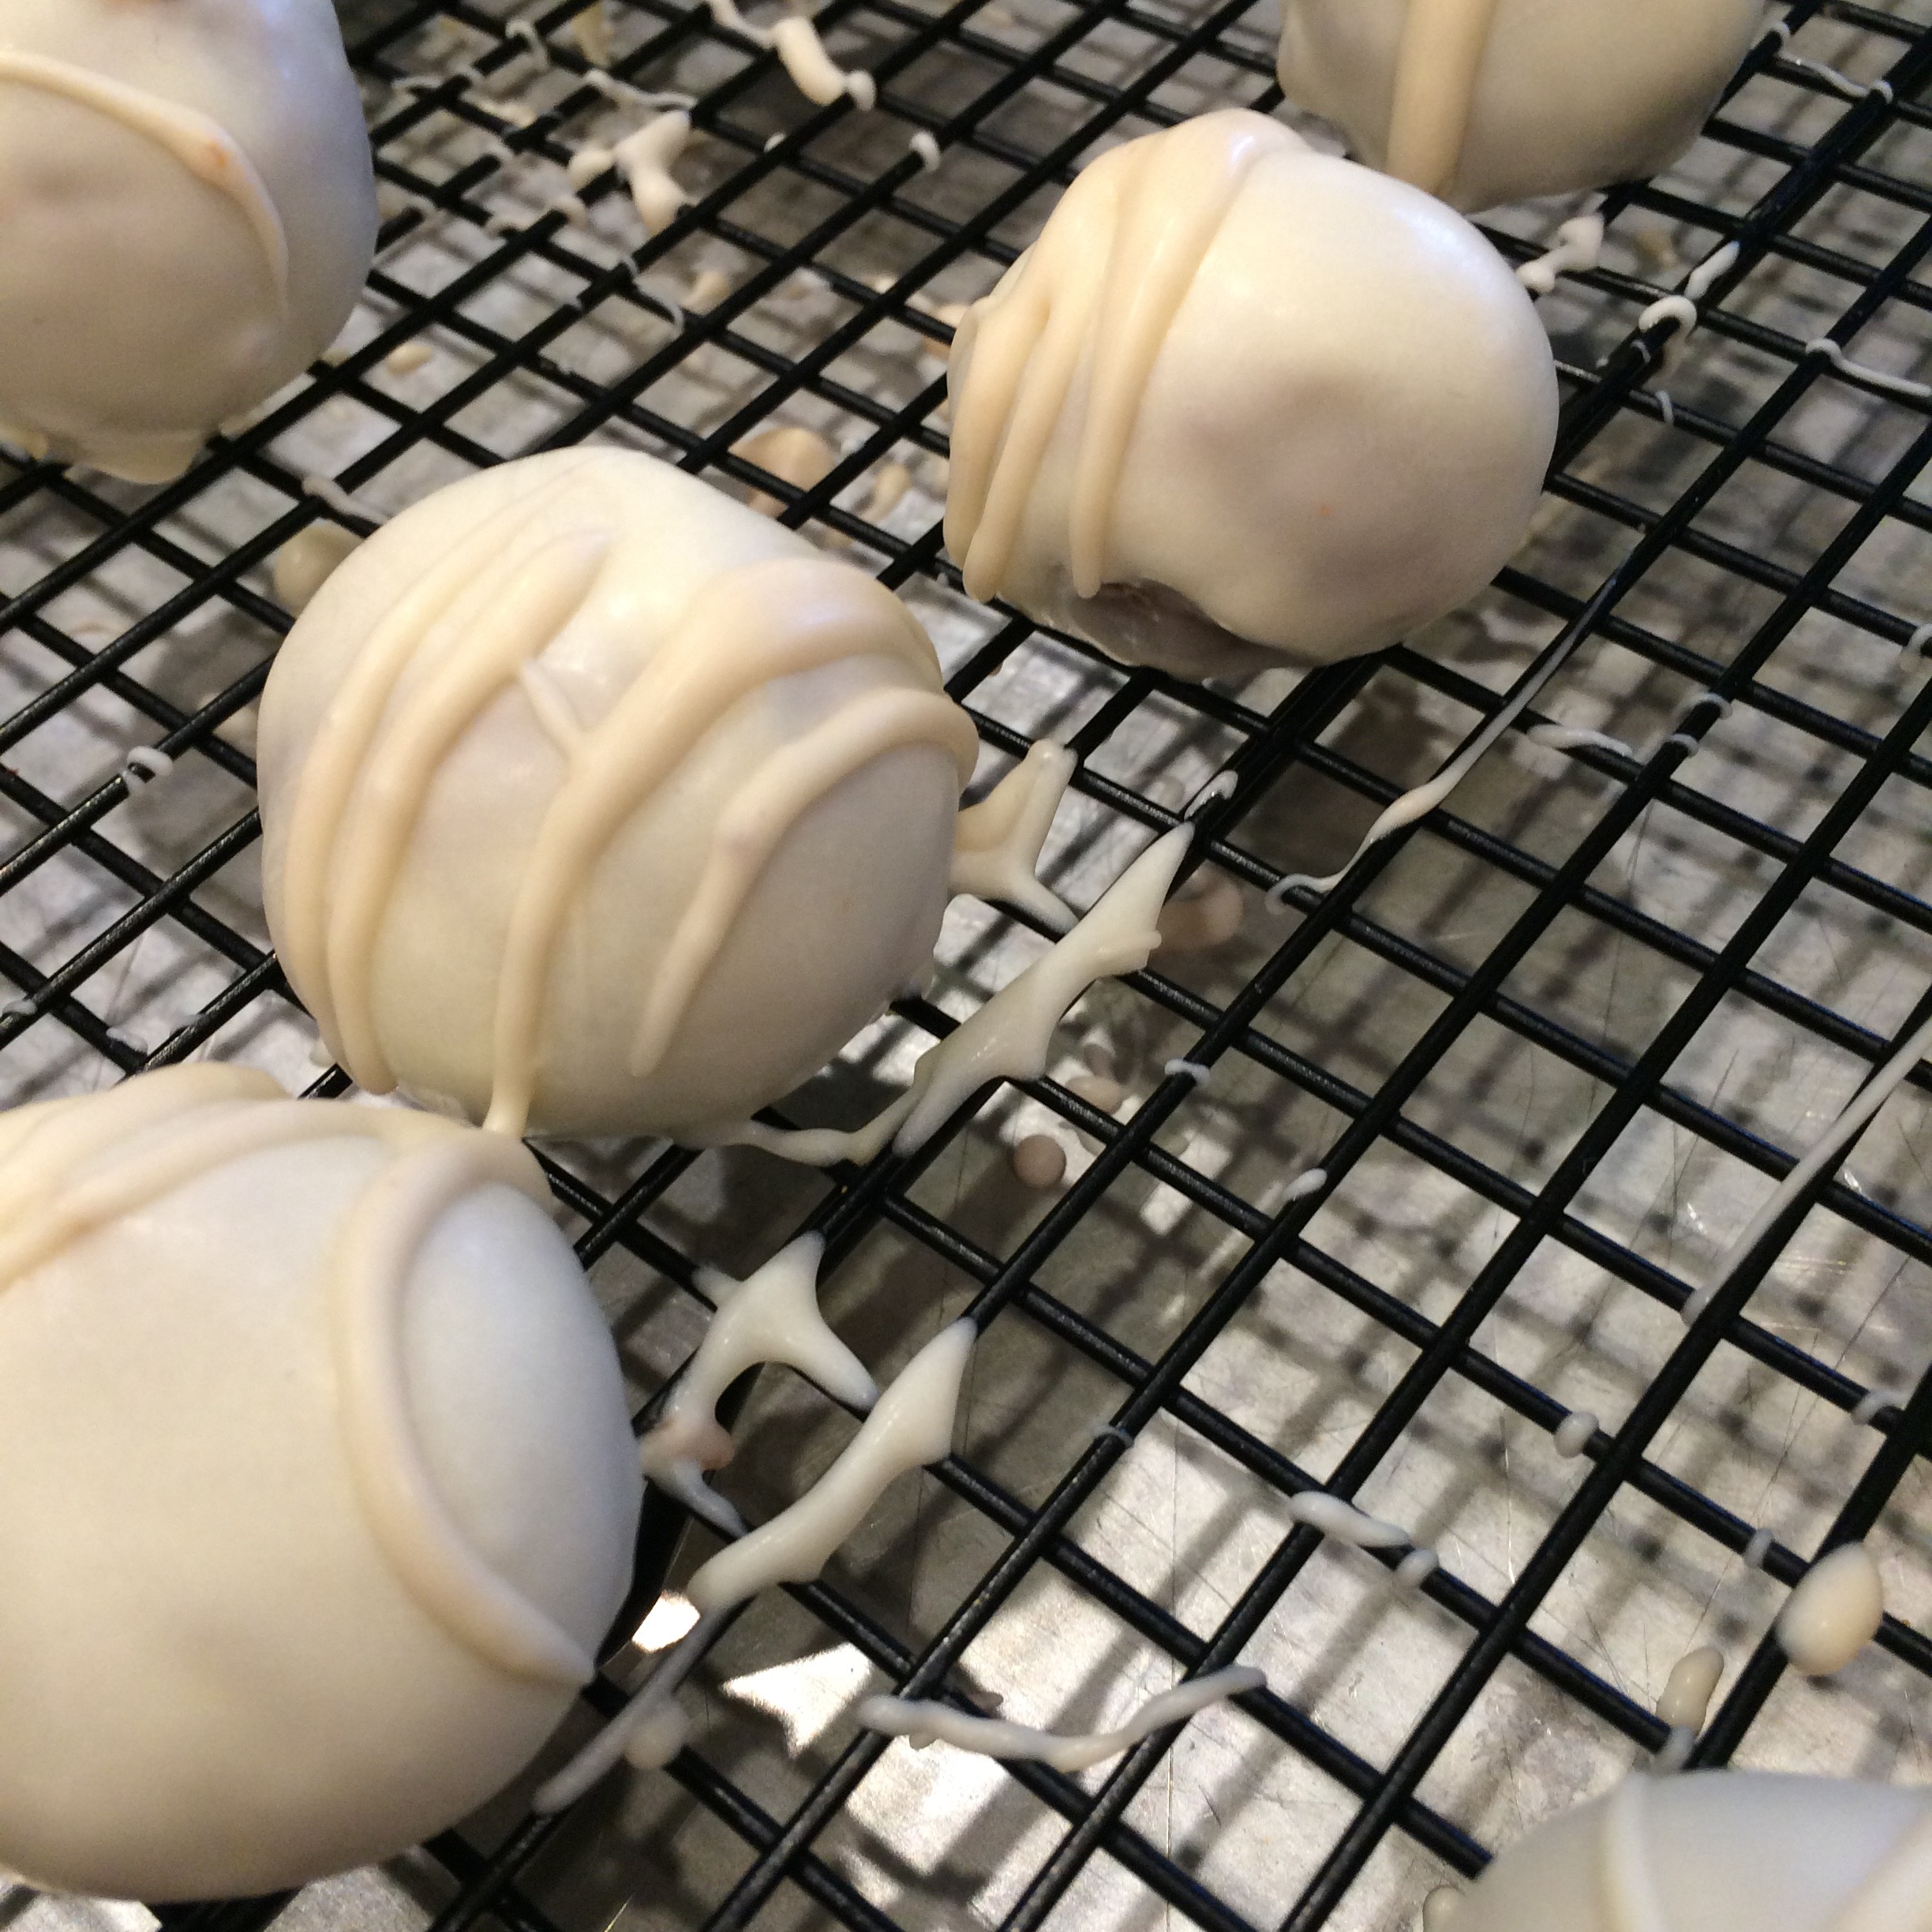
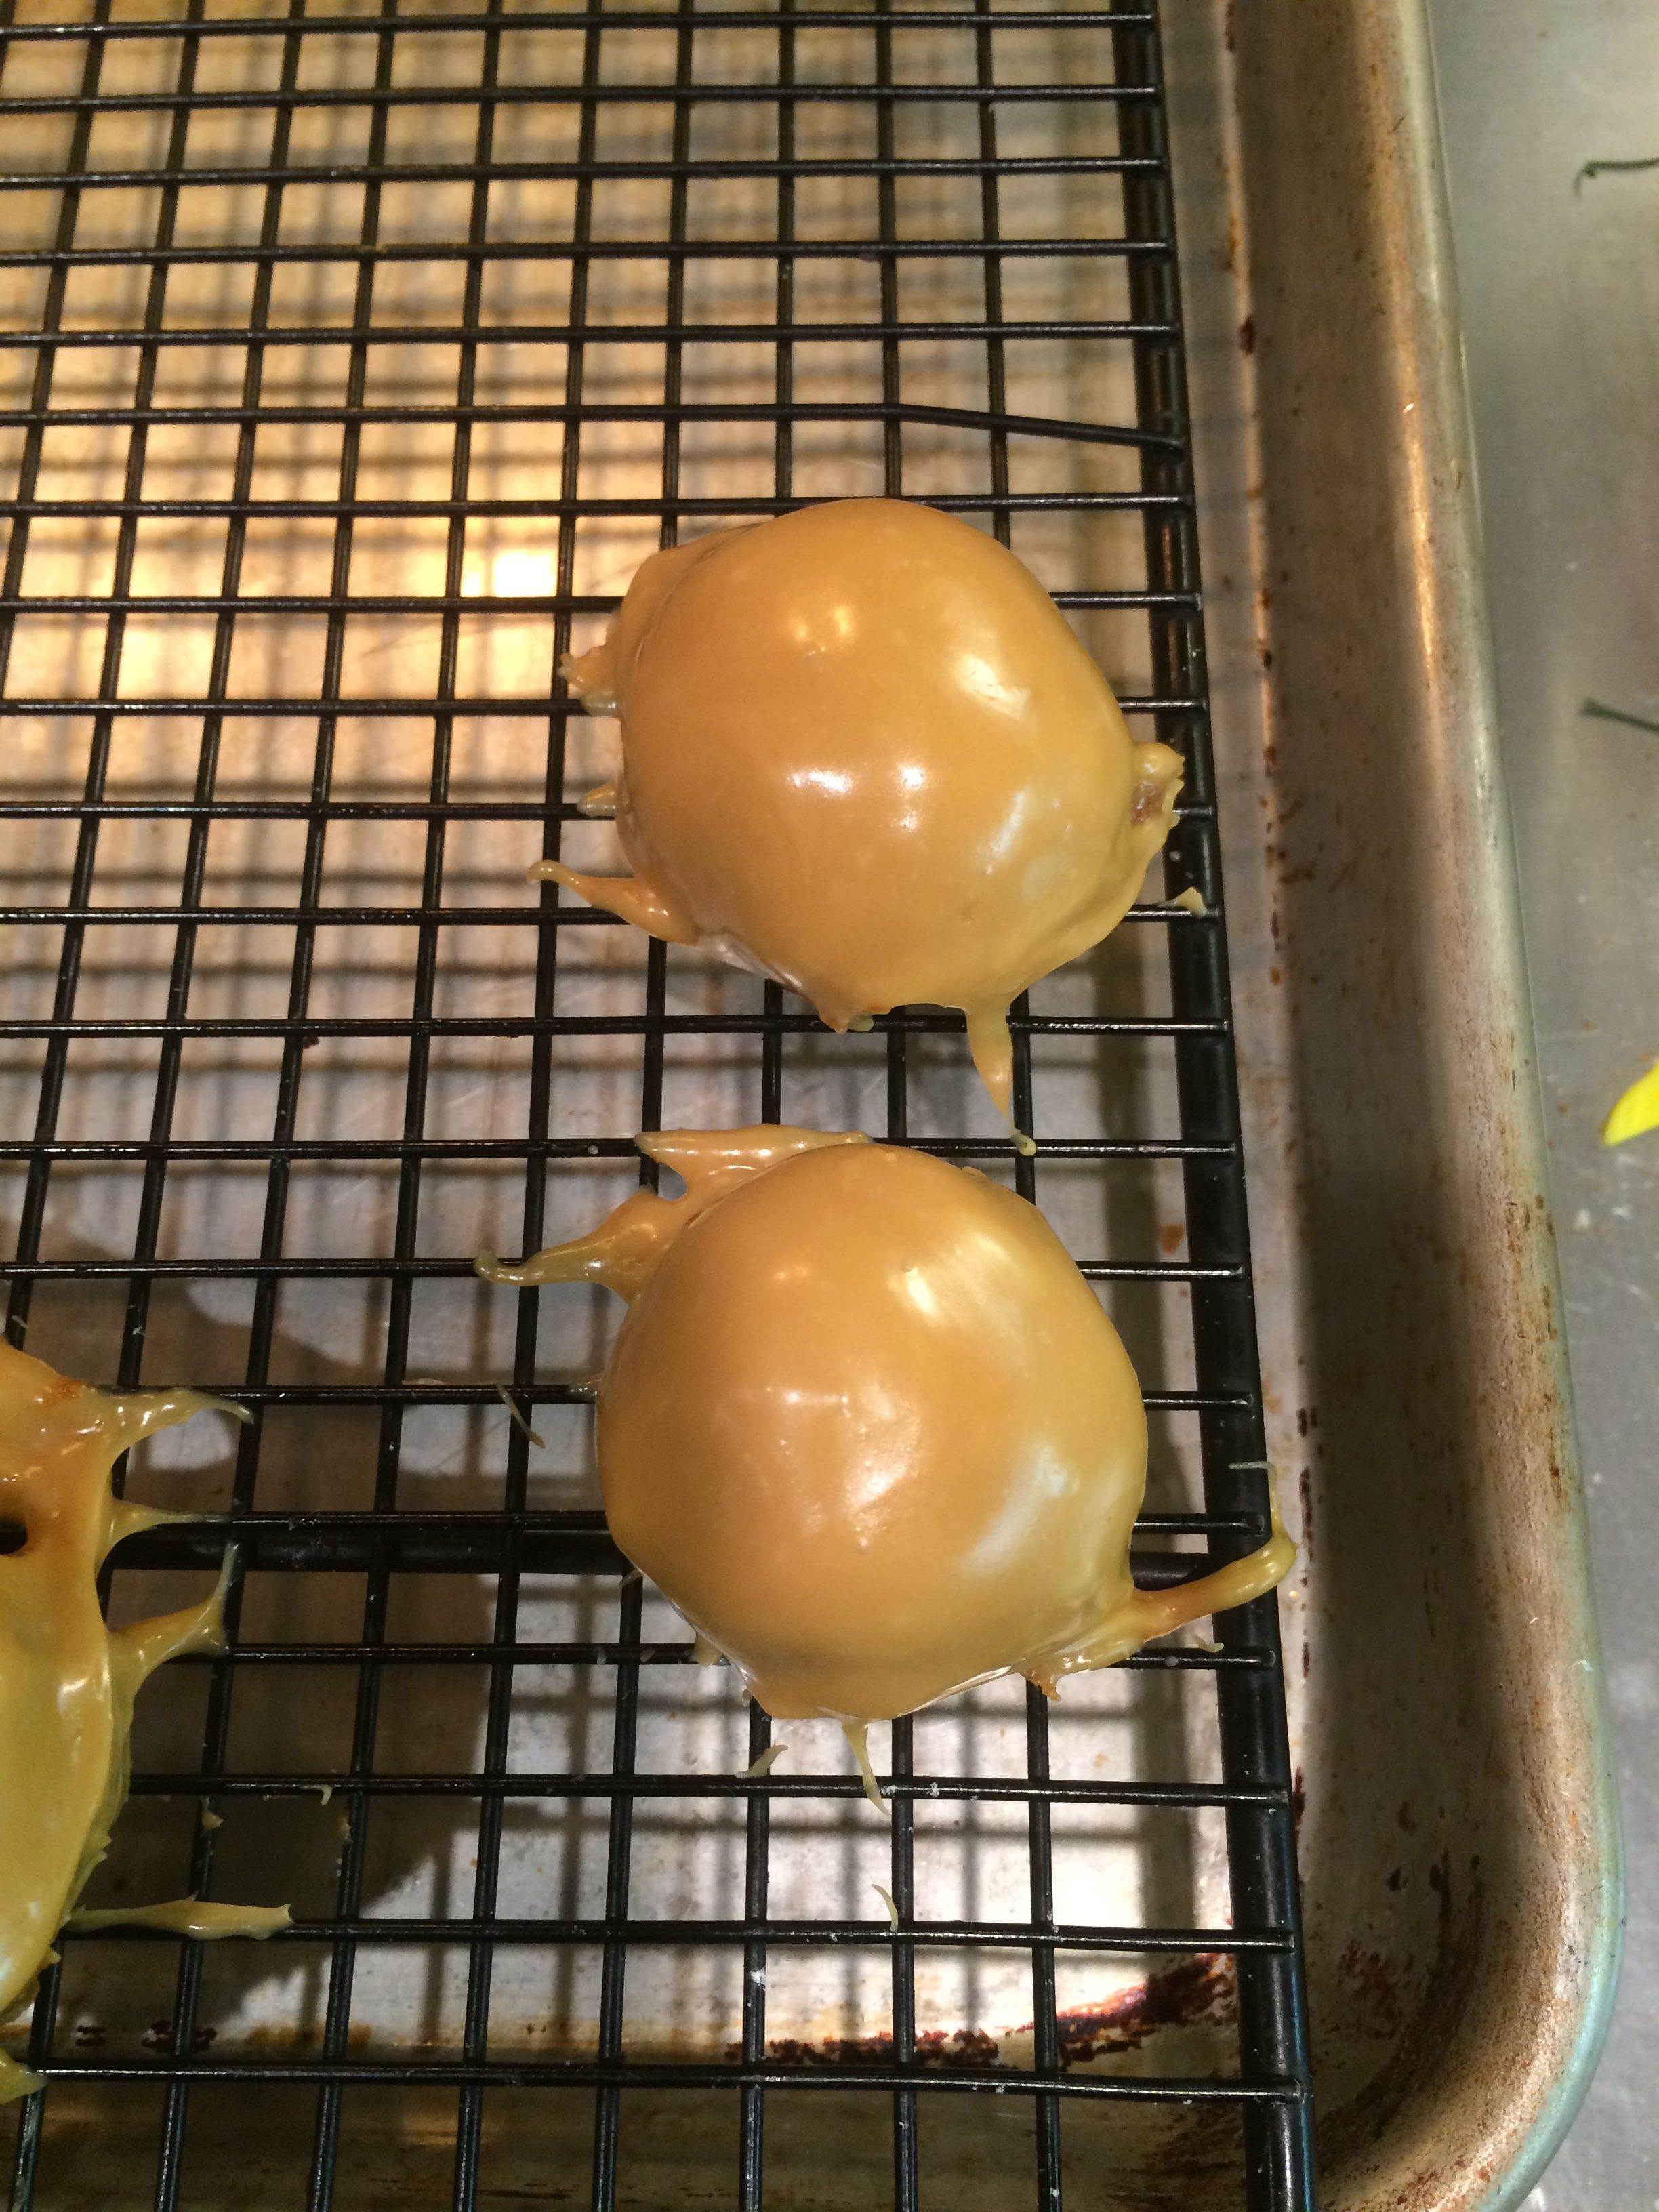
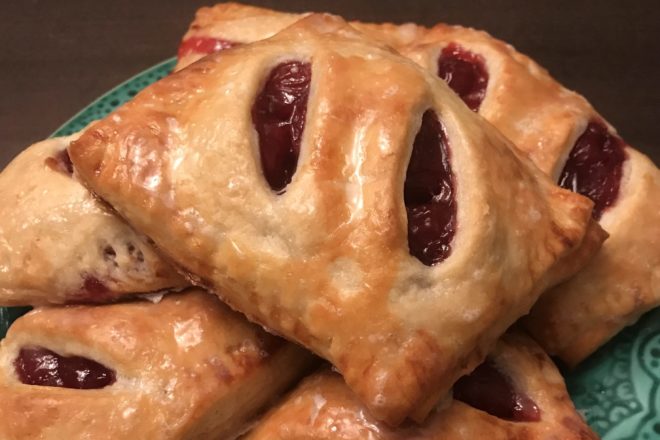
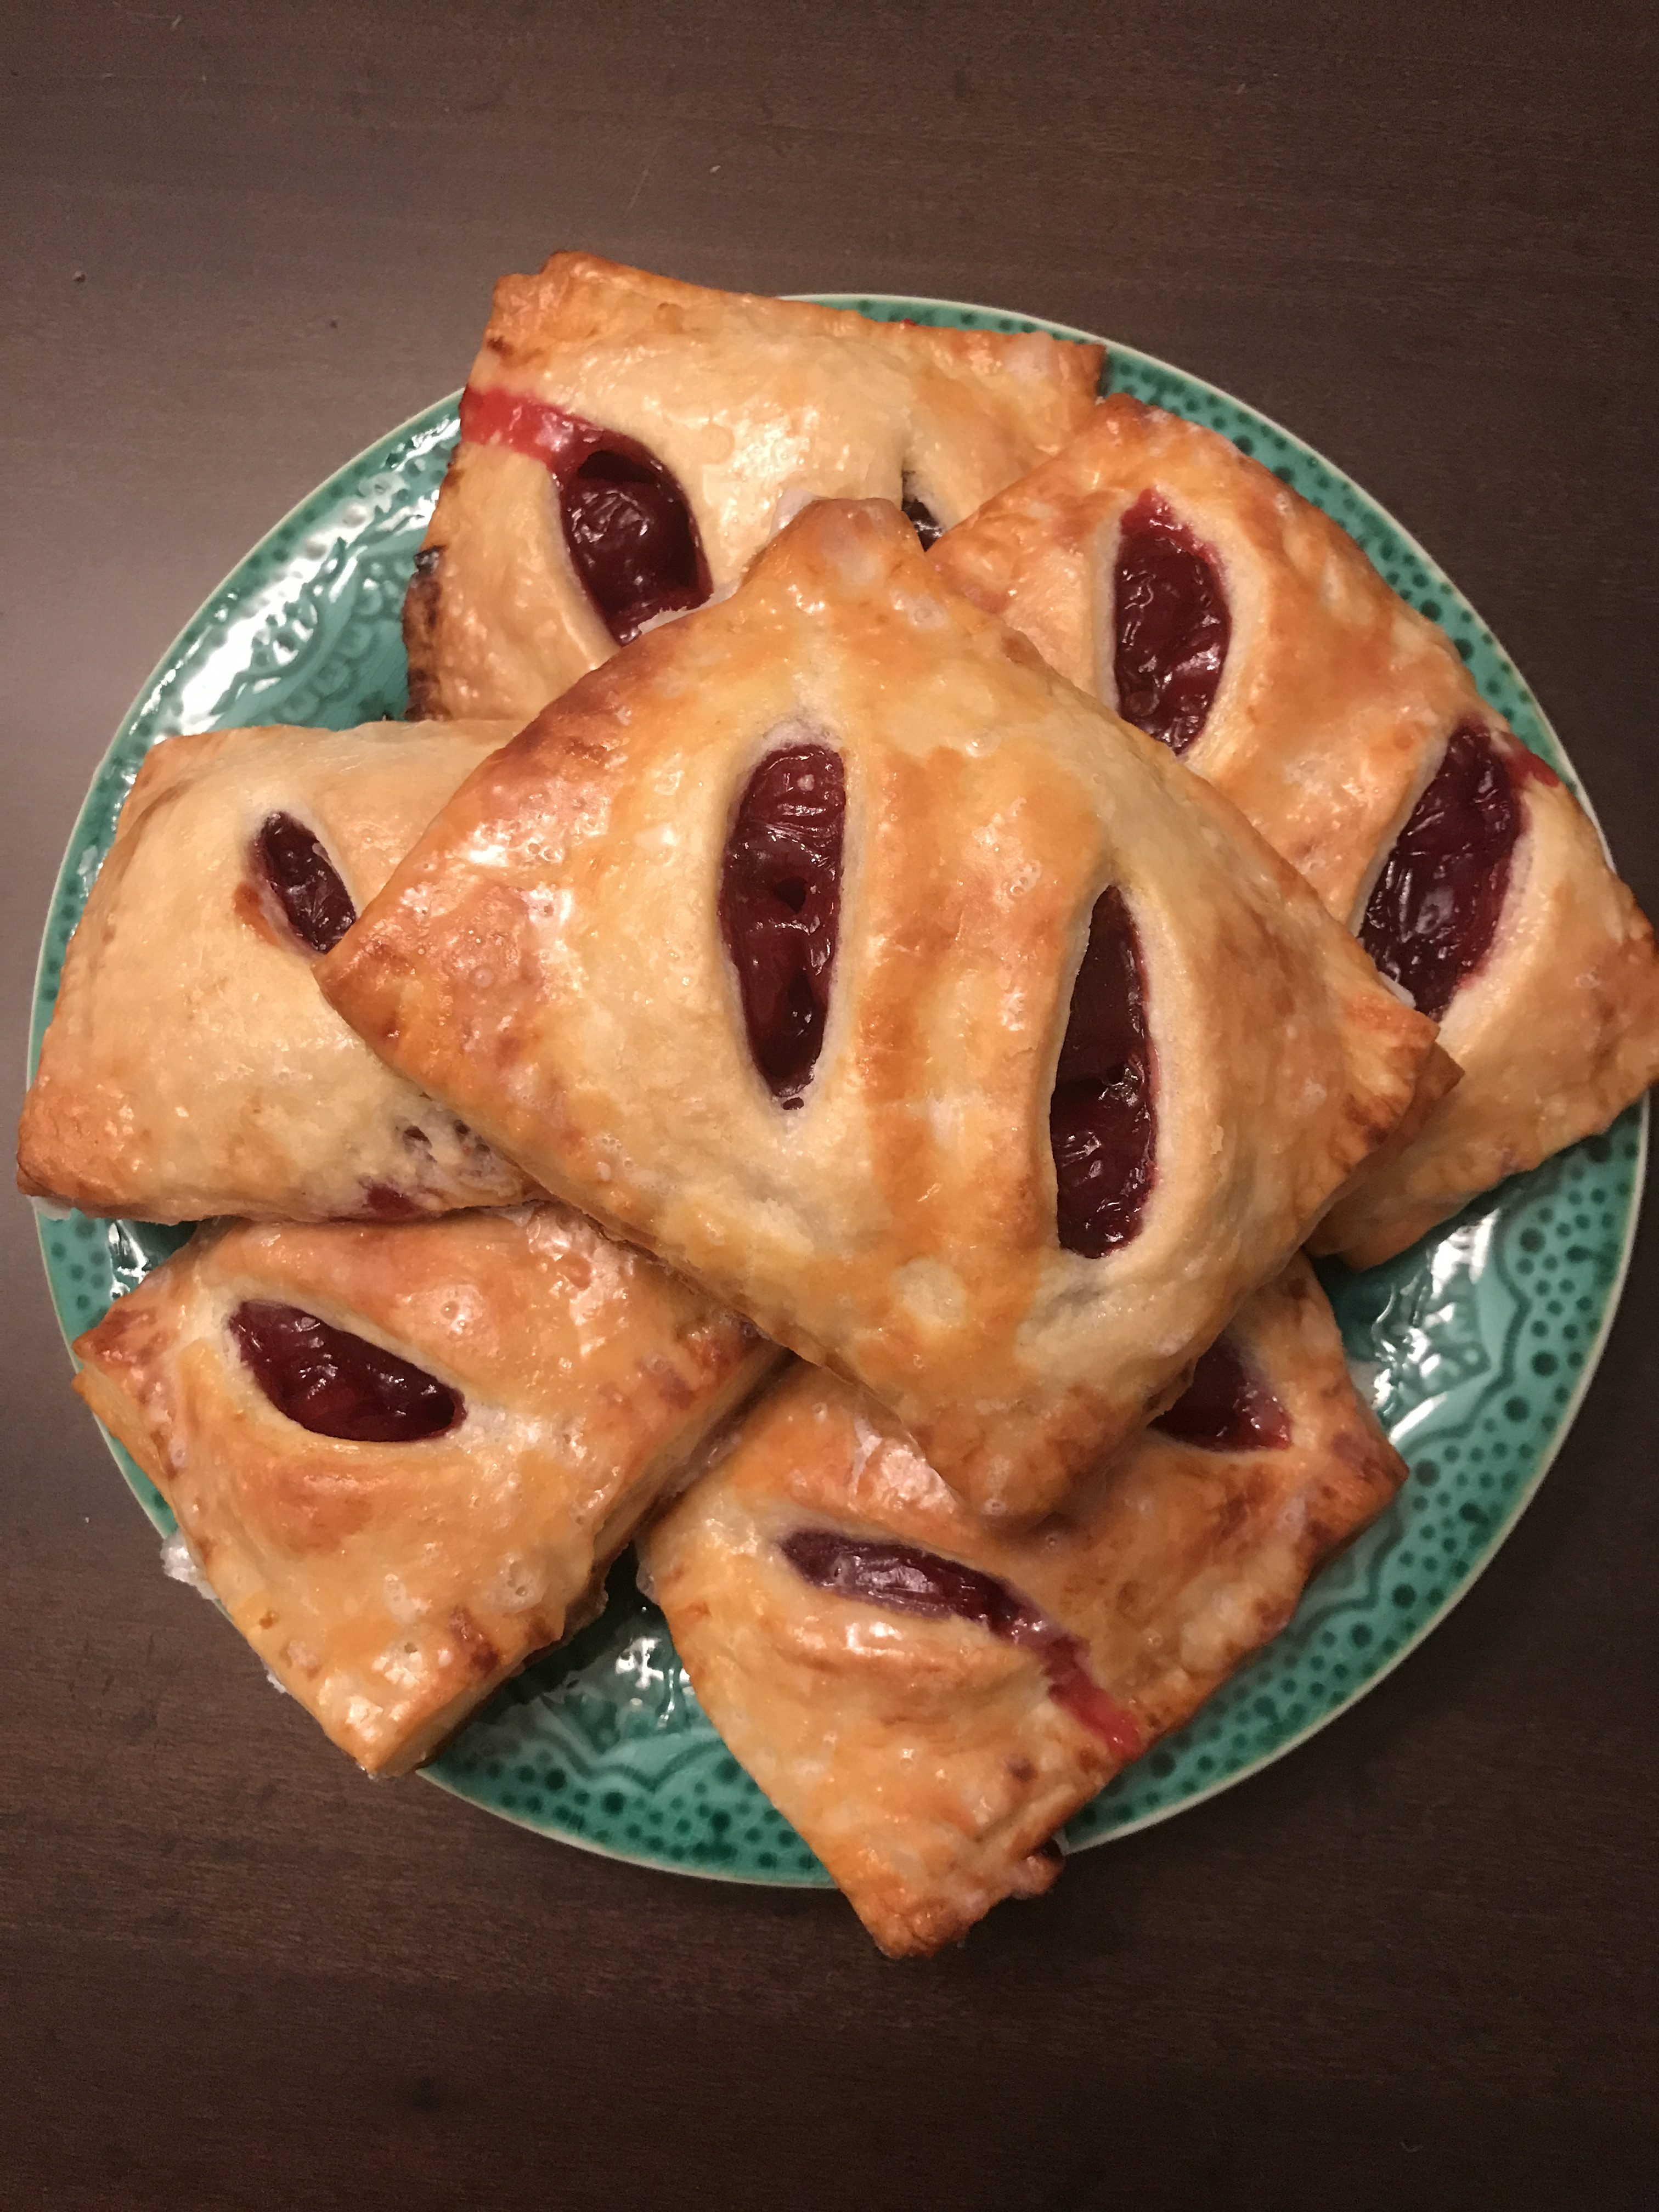
Now, I must seem to be a “Hostess” fan. If you haven’t seen my “Hostess”-style creamed filled chocolate cupcakes, you might not understand. I like the idea of trying to recreate things from my youth. I think that many of these treats do not taste as good as they did when I was young and maybe that’s my fascination. Let me be quite clear here, I didn’t eat a lot of these treats but I would occasionally have a chocolate cupcake, a cherry pie or a ding dong or two. This did not happen on a regular basis. As I was baking these hand pies, I thought it would be fun to give them a glaze like these traditional store bought ones. This is optional. I had a lot of fun glazing them and I think that it brought the pies to a different level. Give it a try and tell me what you think.
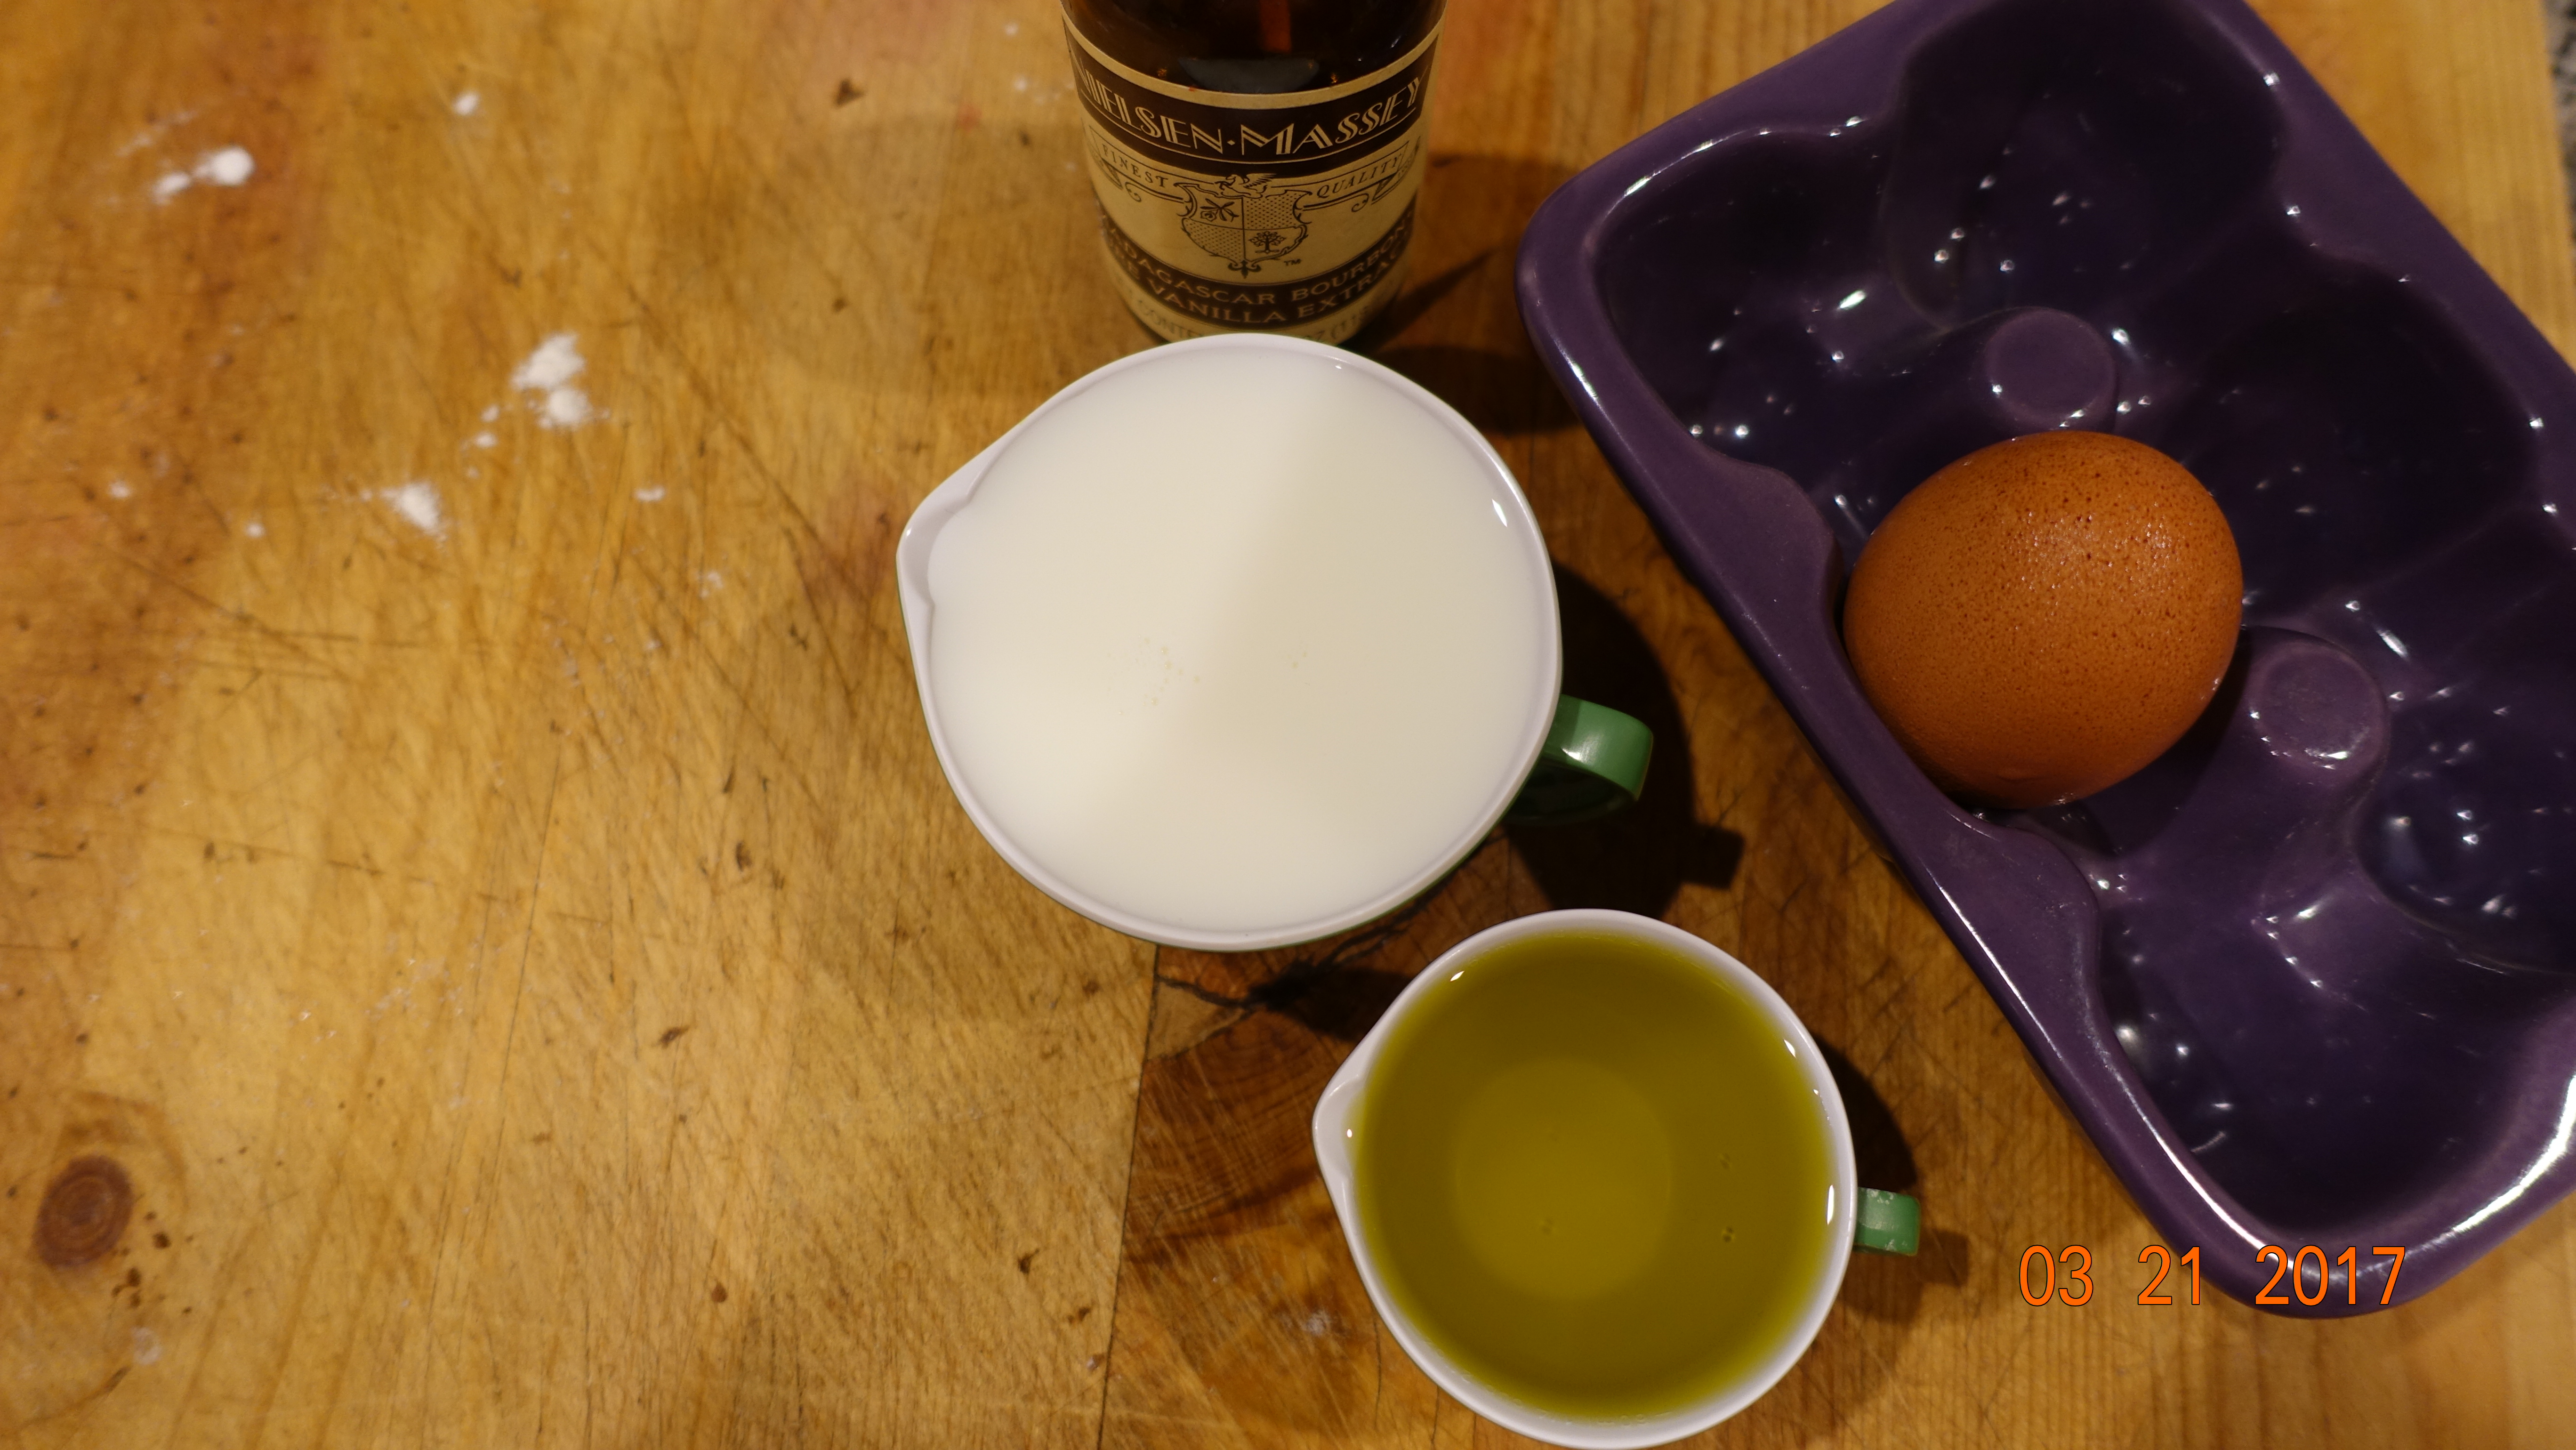
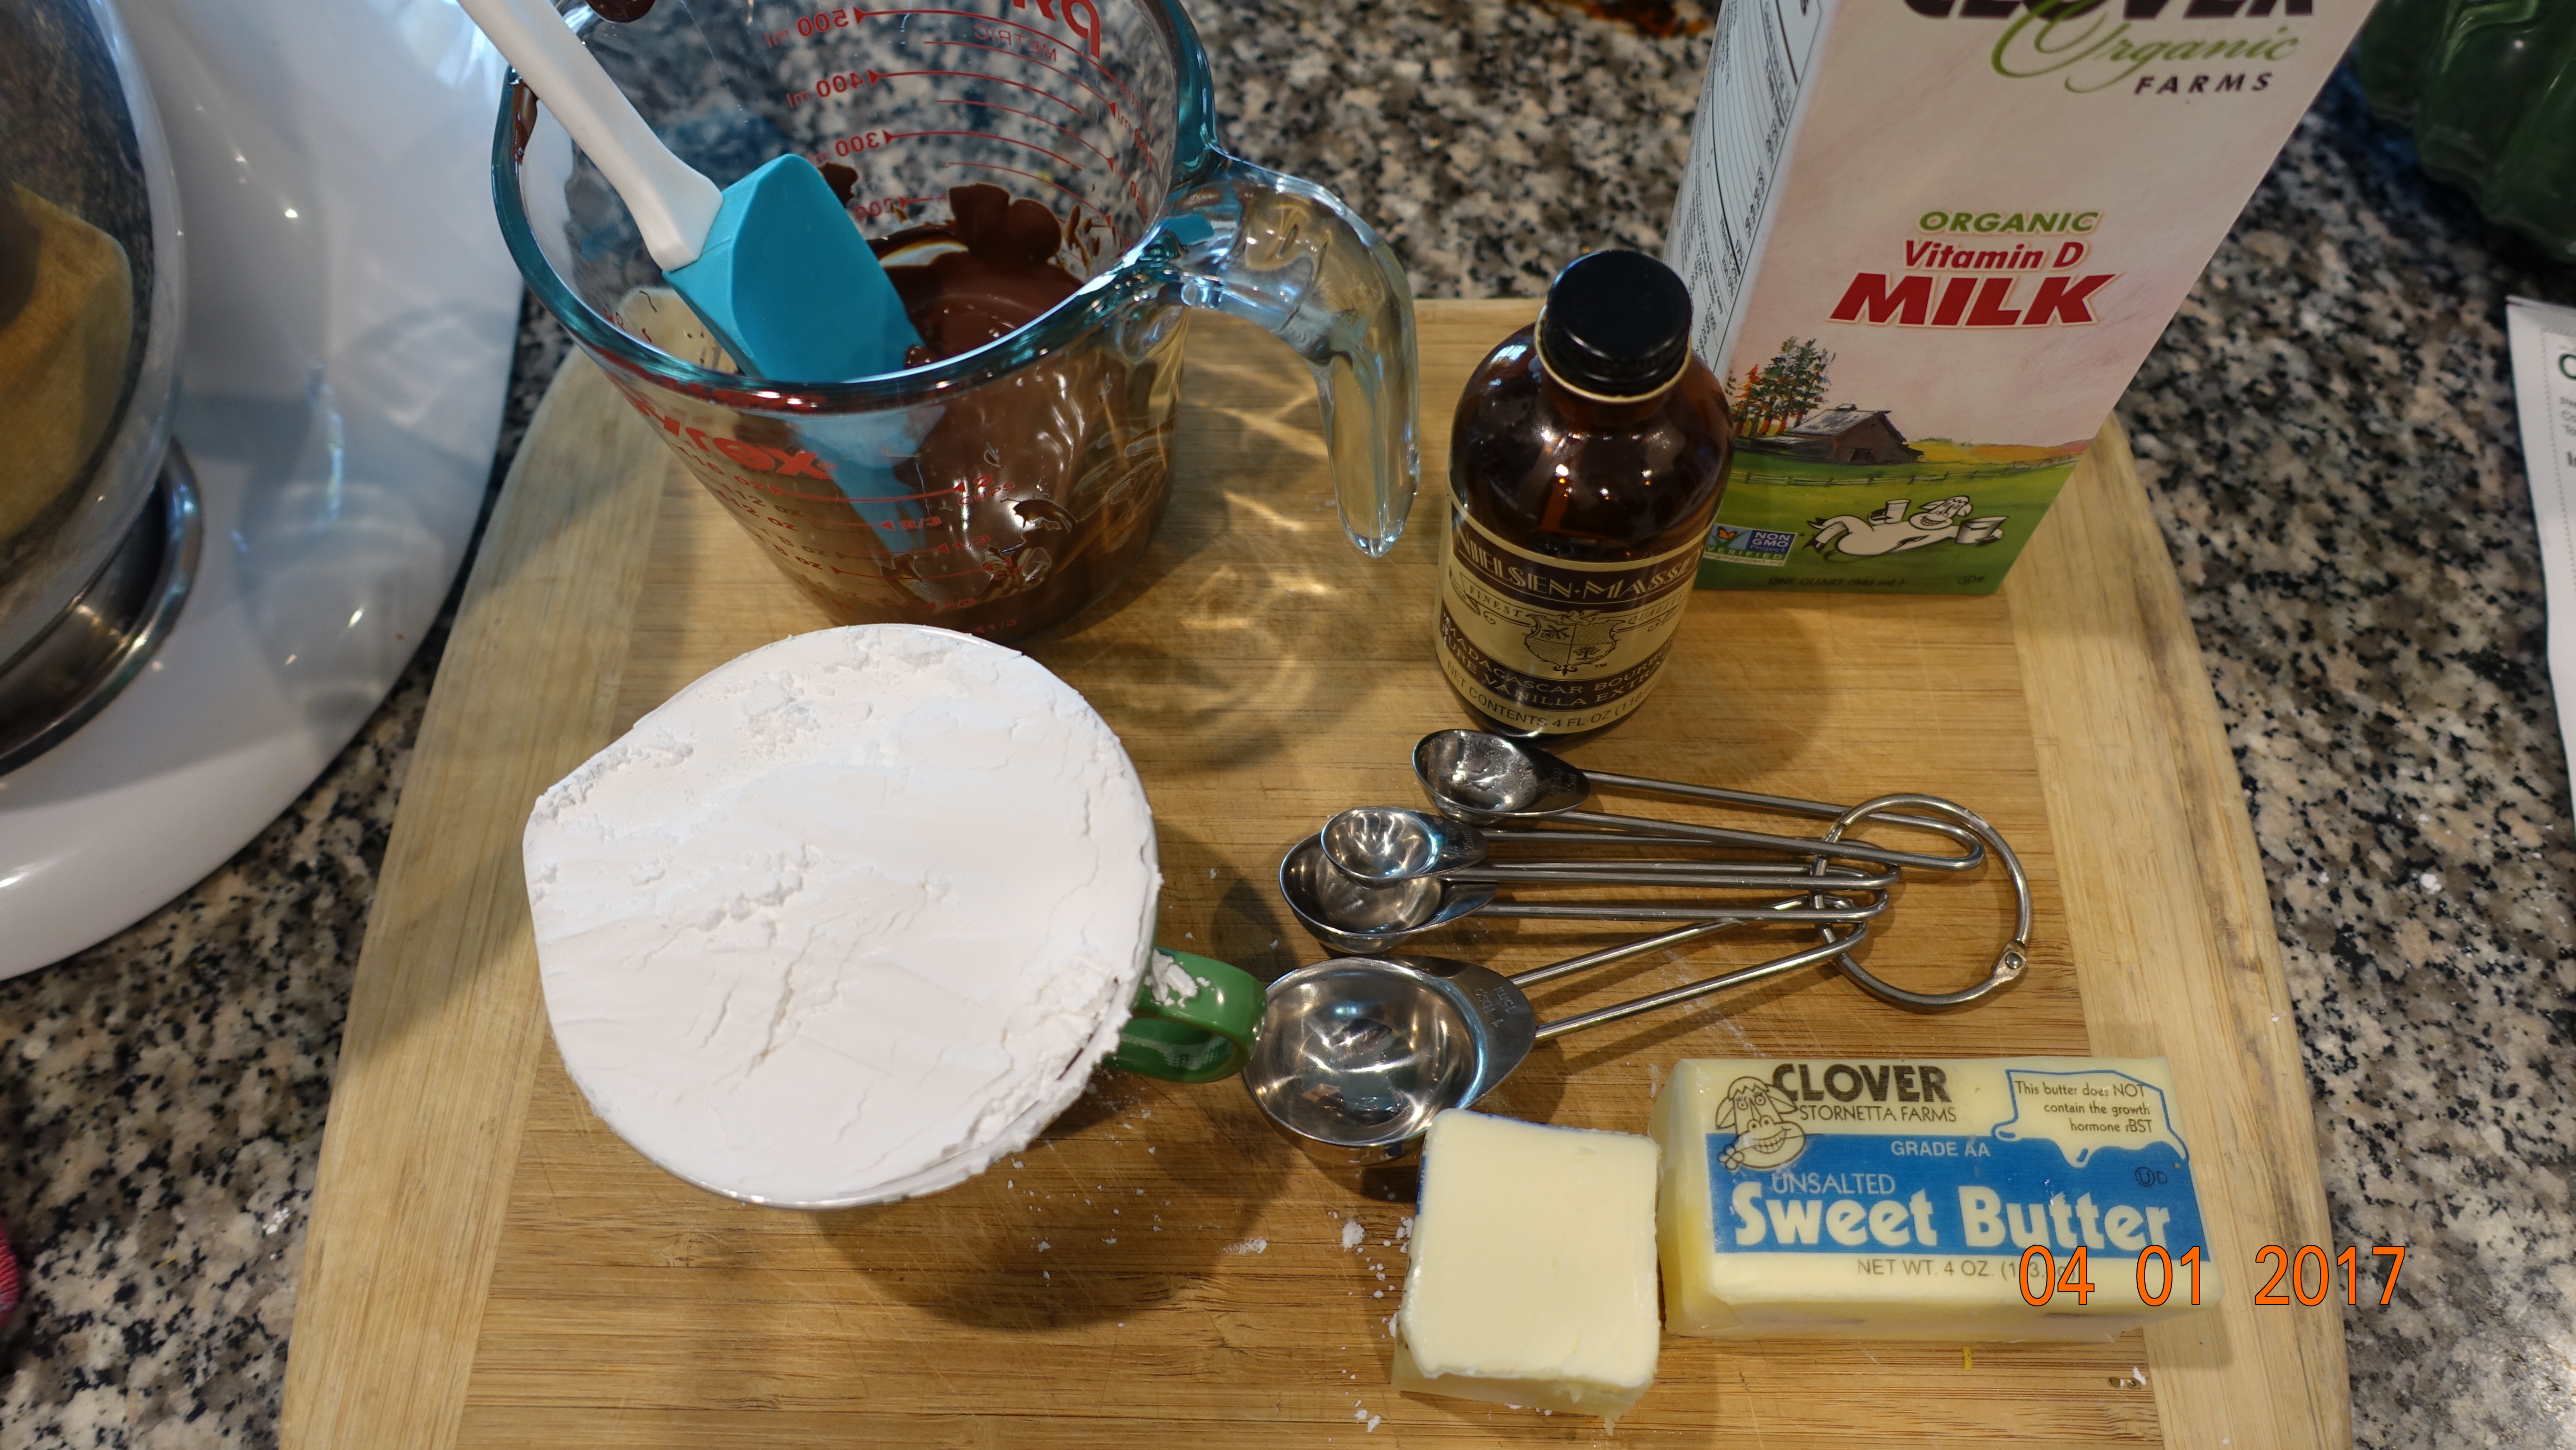
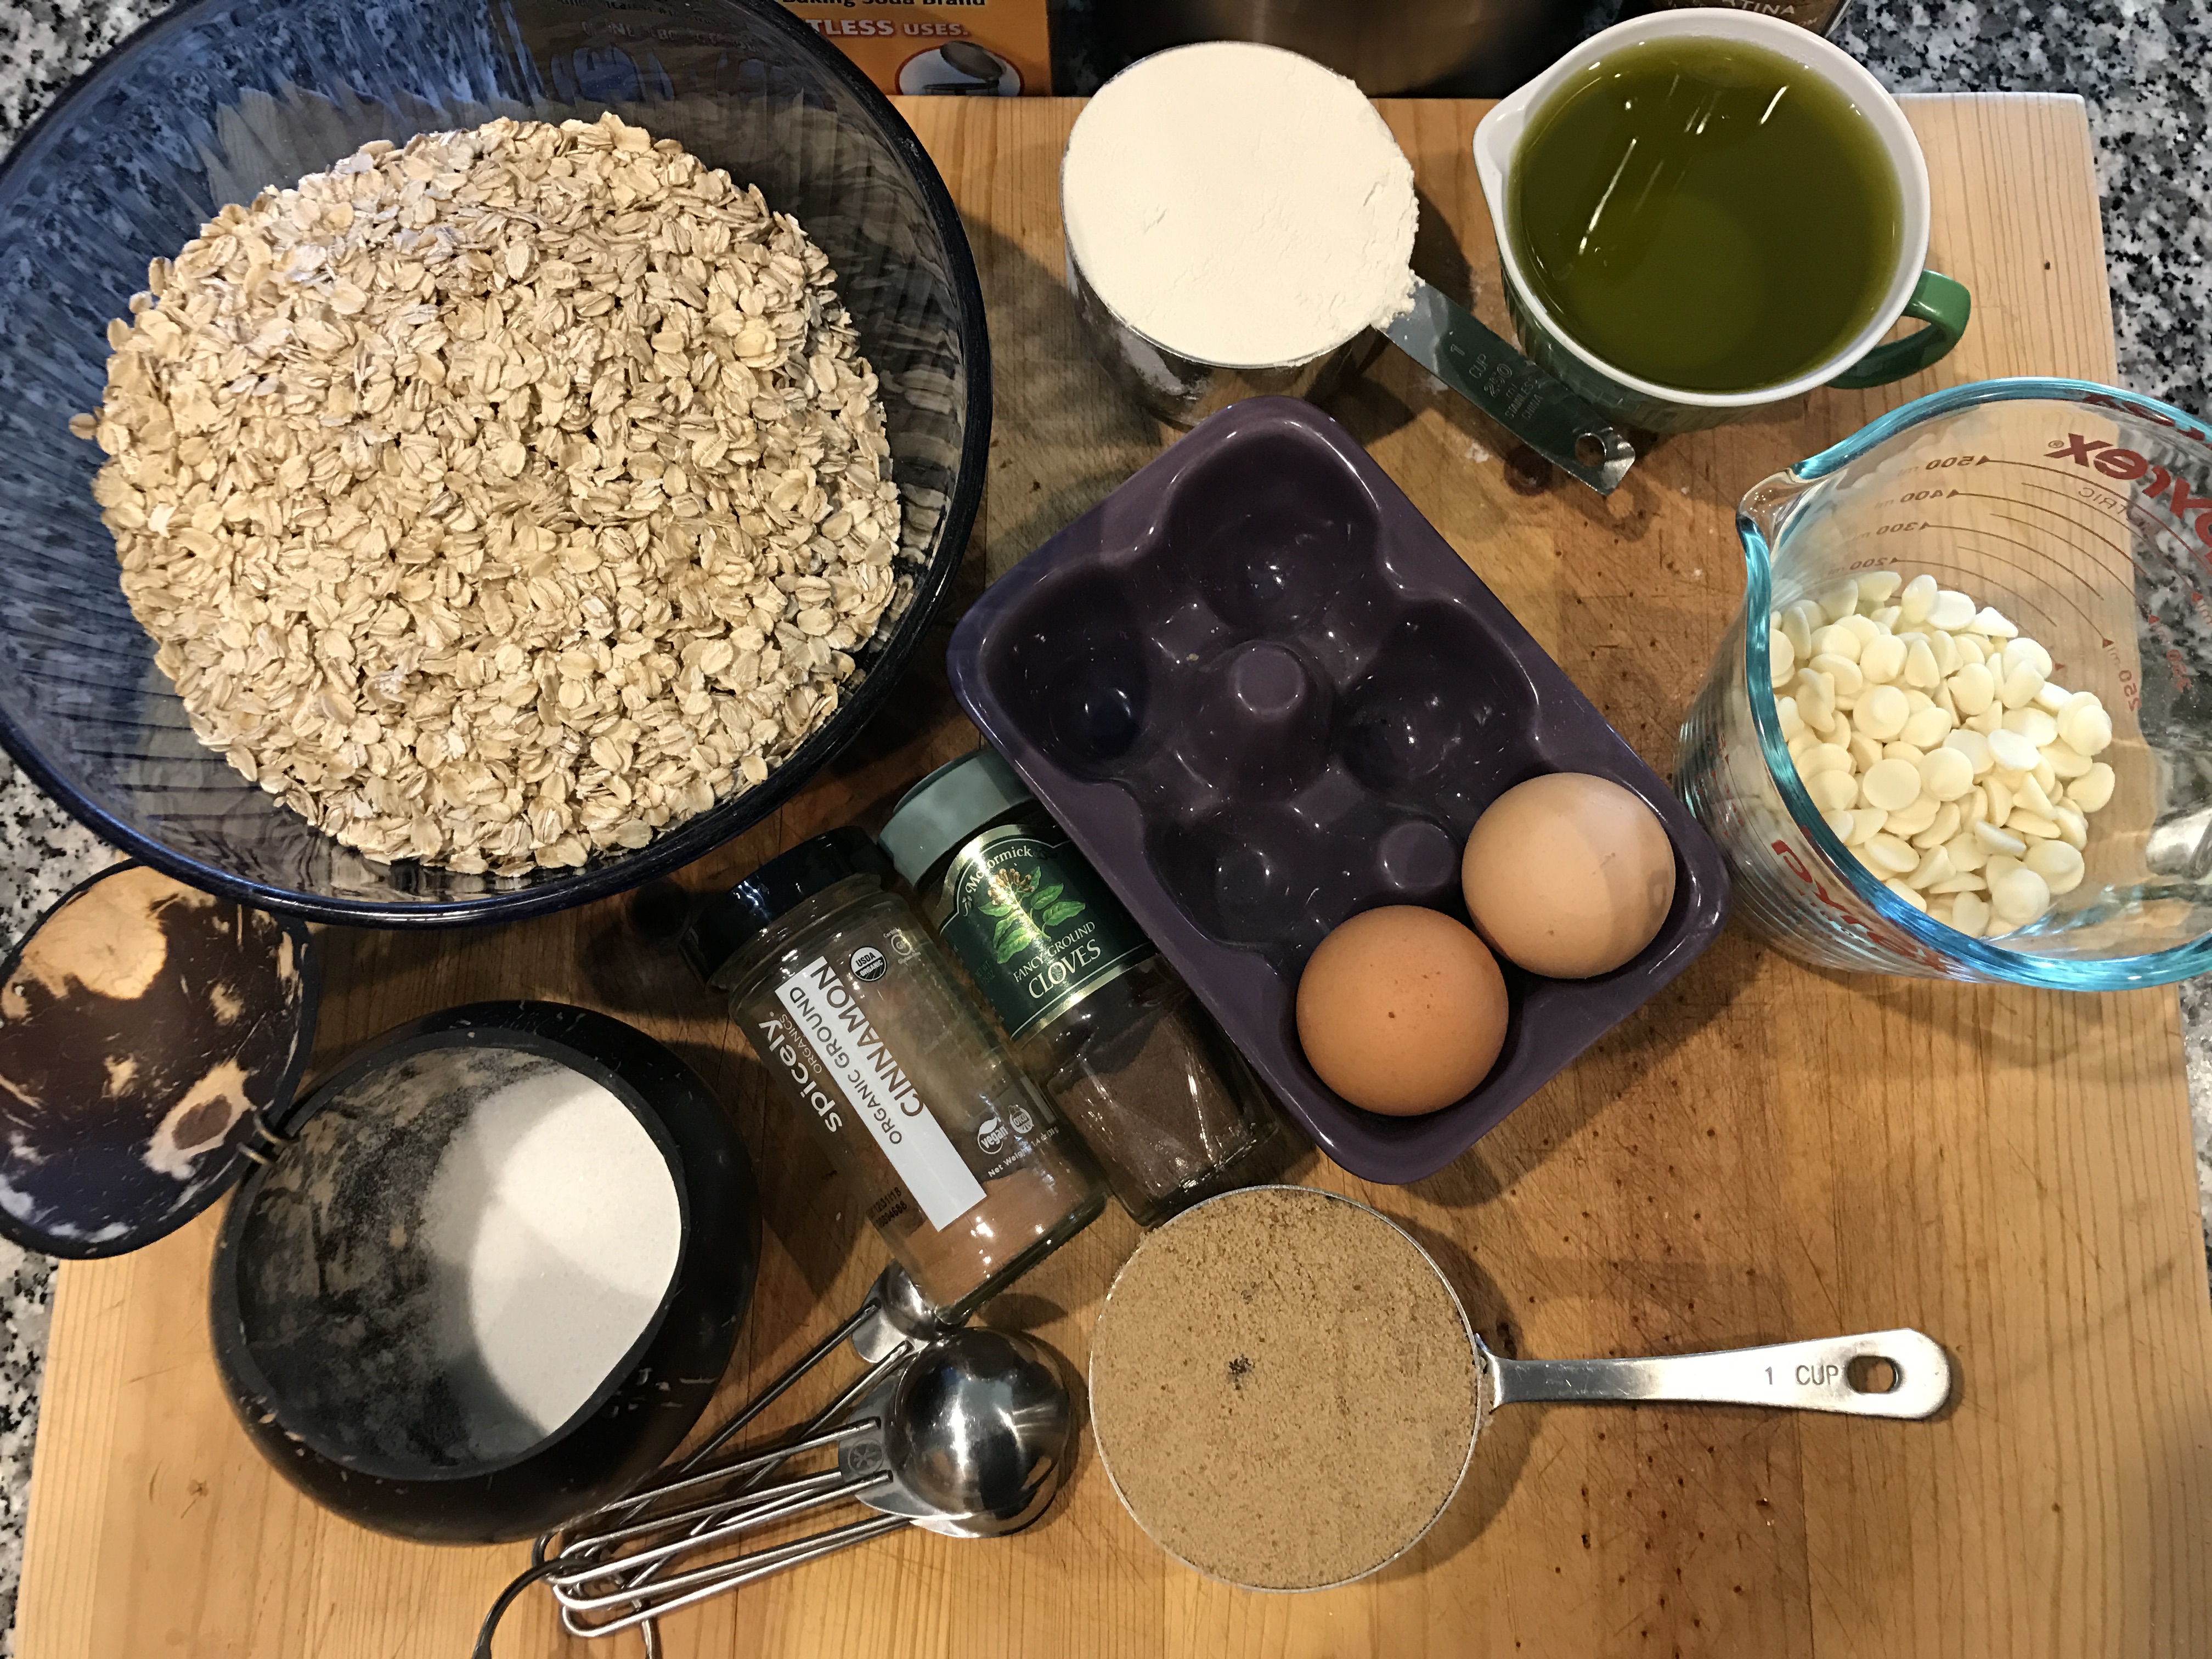
Ingredients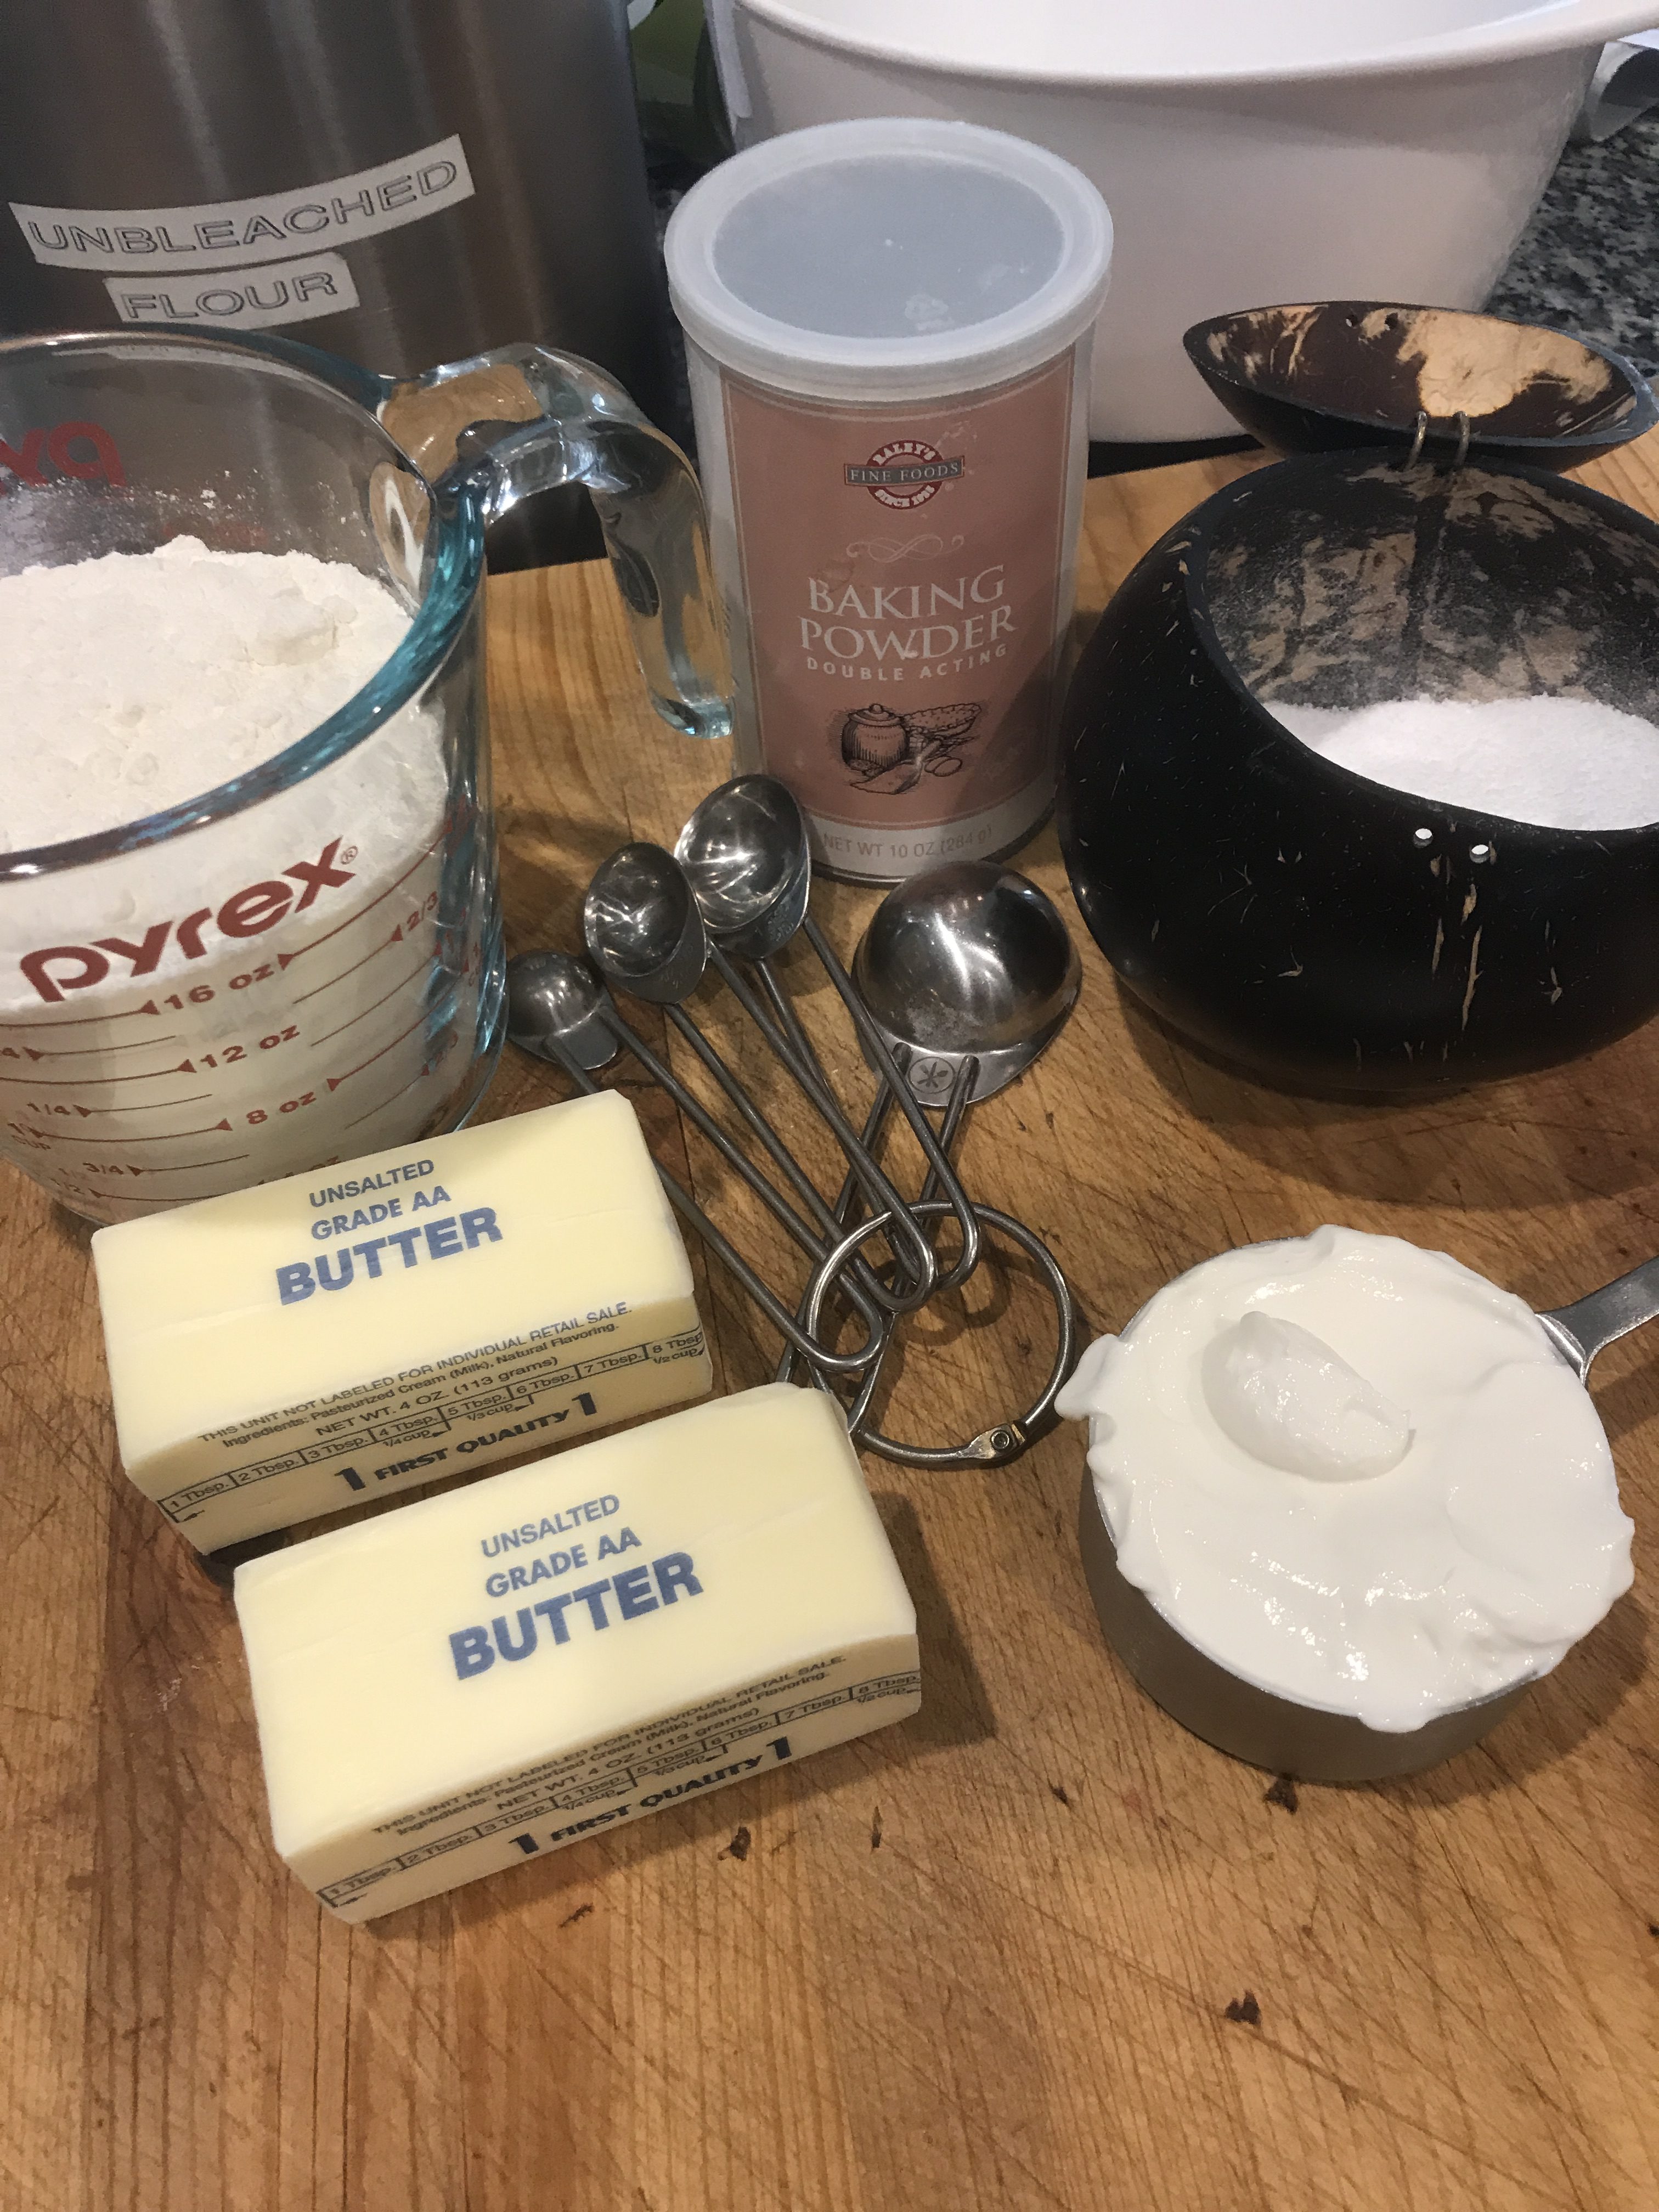
Crust
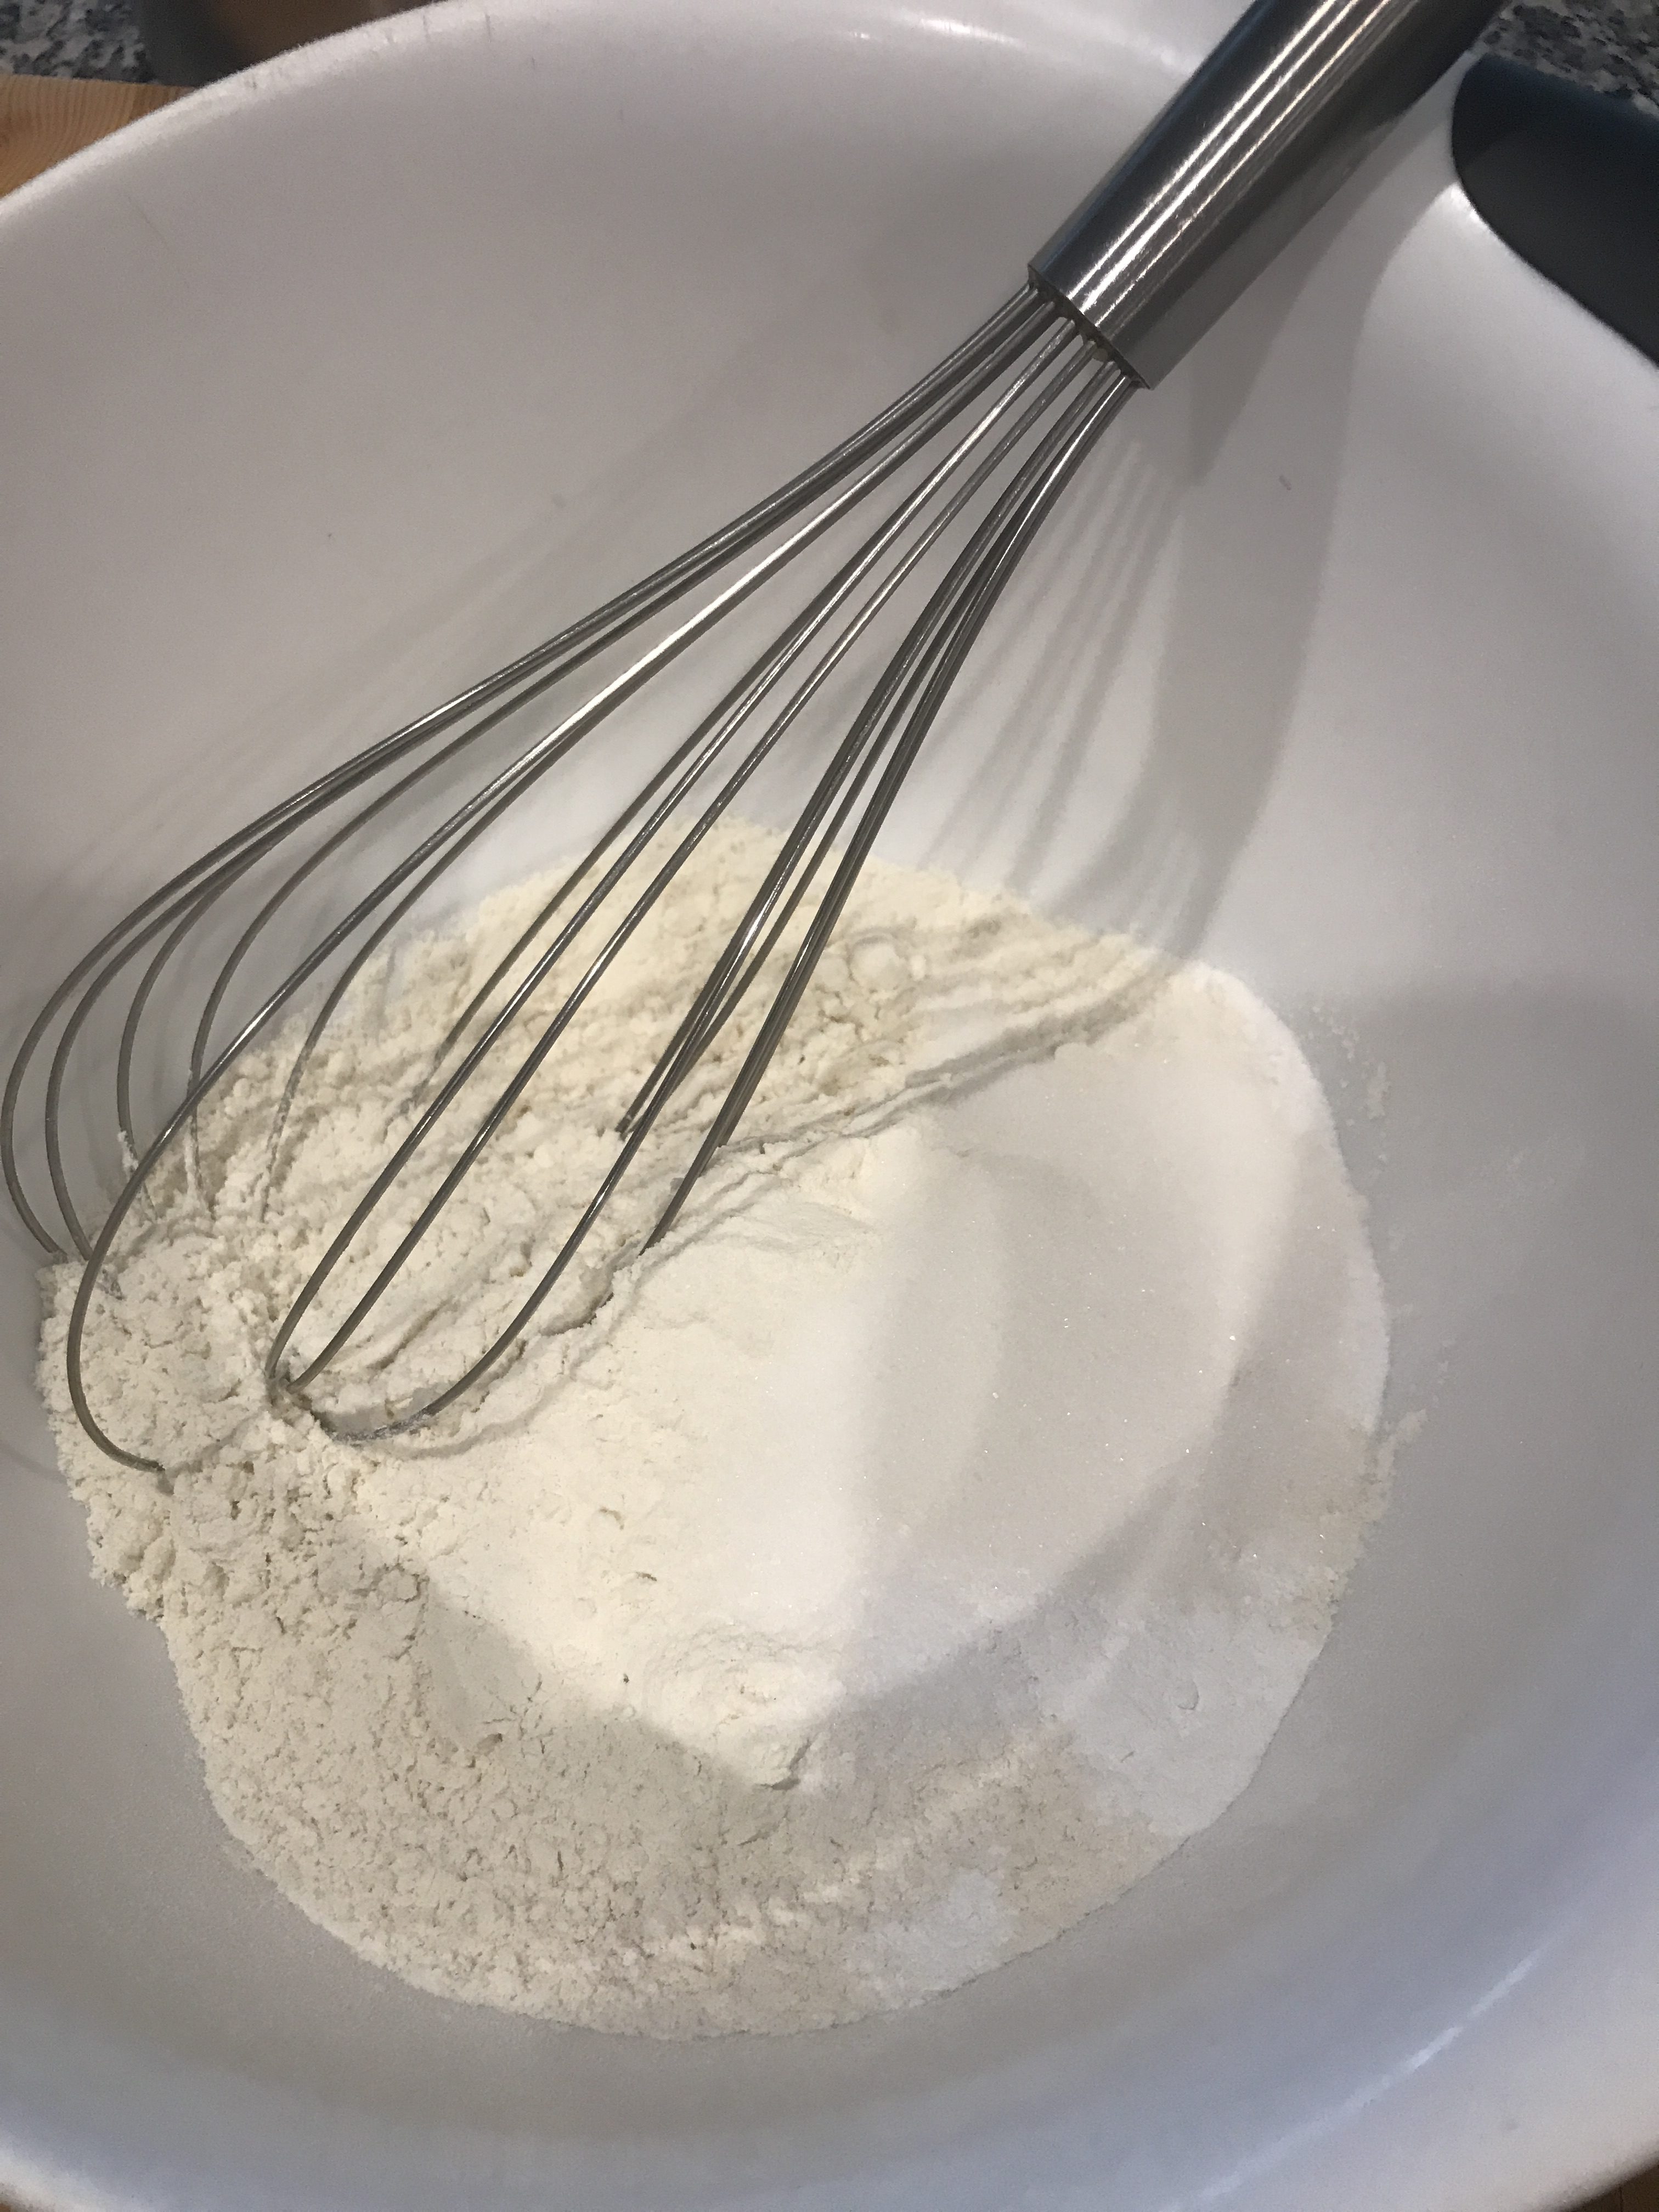
2 cups Unbleached Flour
1/2 tsp. Salt
3/4 Baking Powder
1 Tbl. Sugar
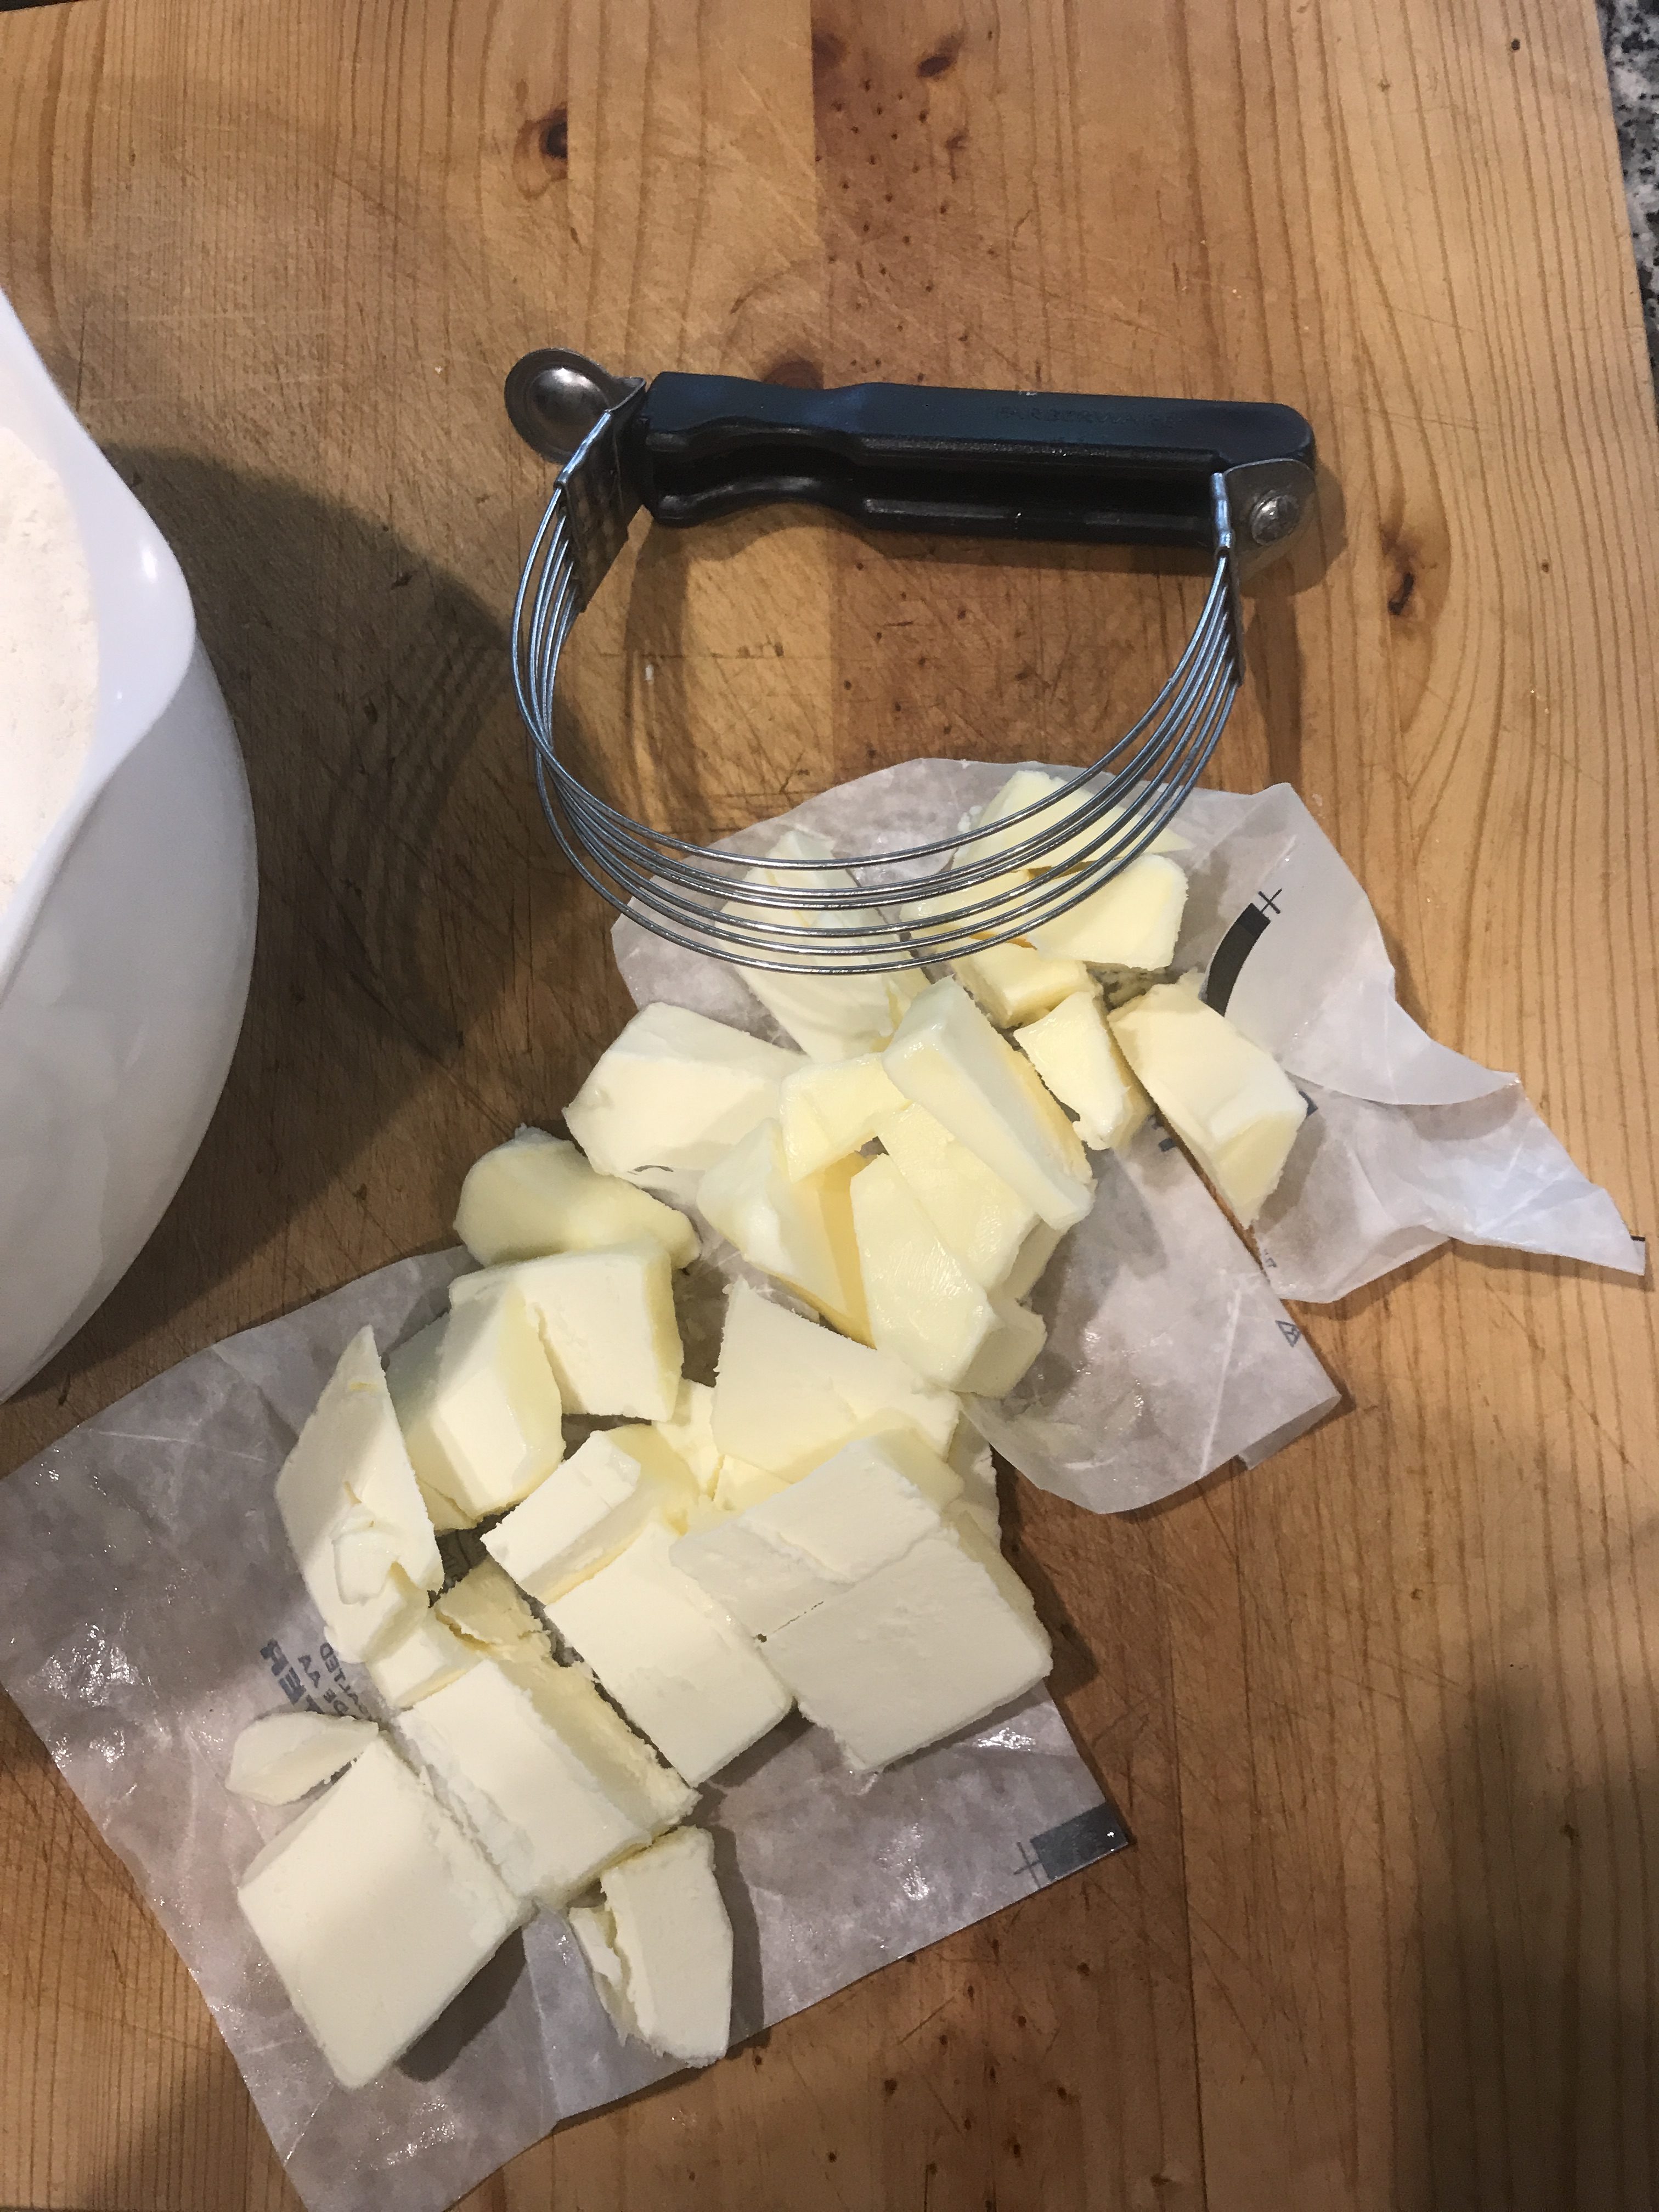
1/2 cup (2 sticks) Unsalted Butter, very cold and cut into cubes
1/2 cup Sour Cream, very cold
Filling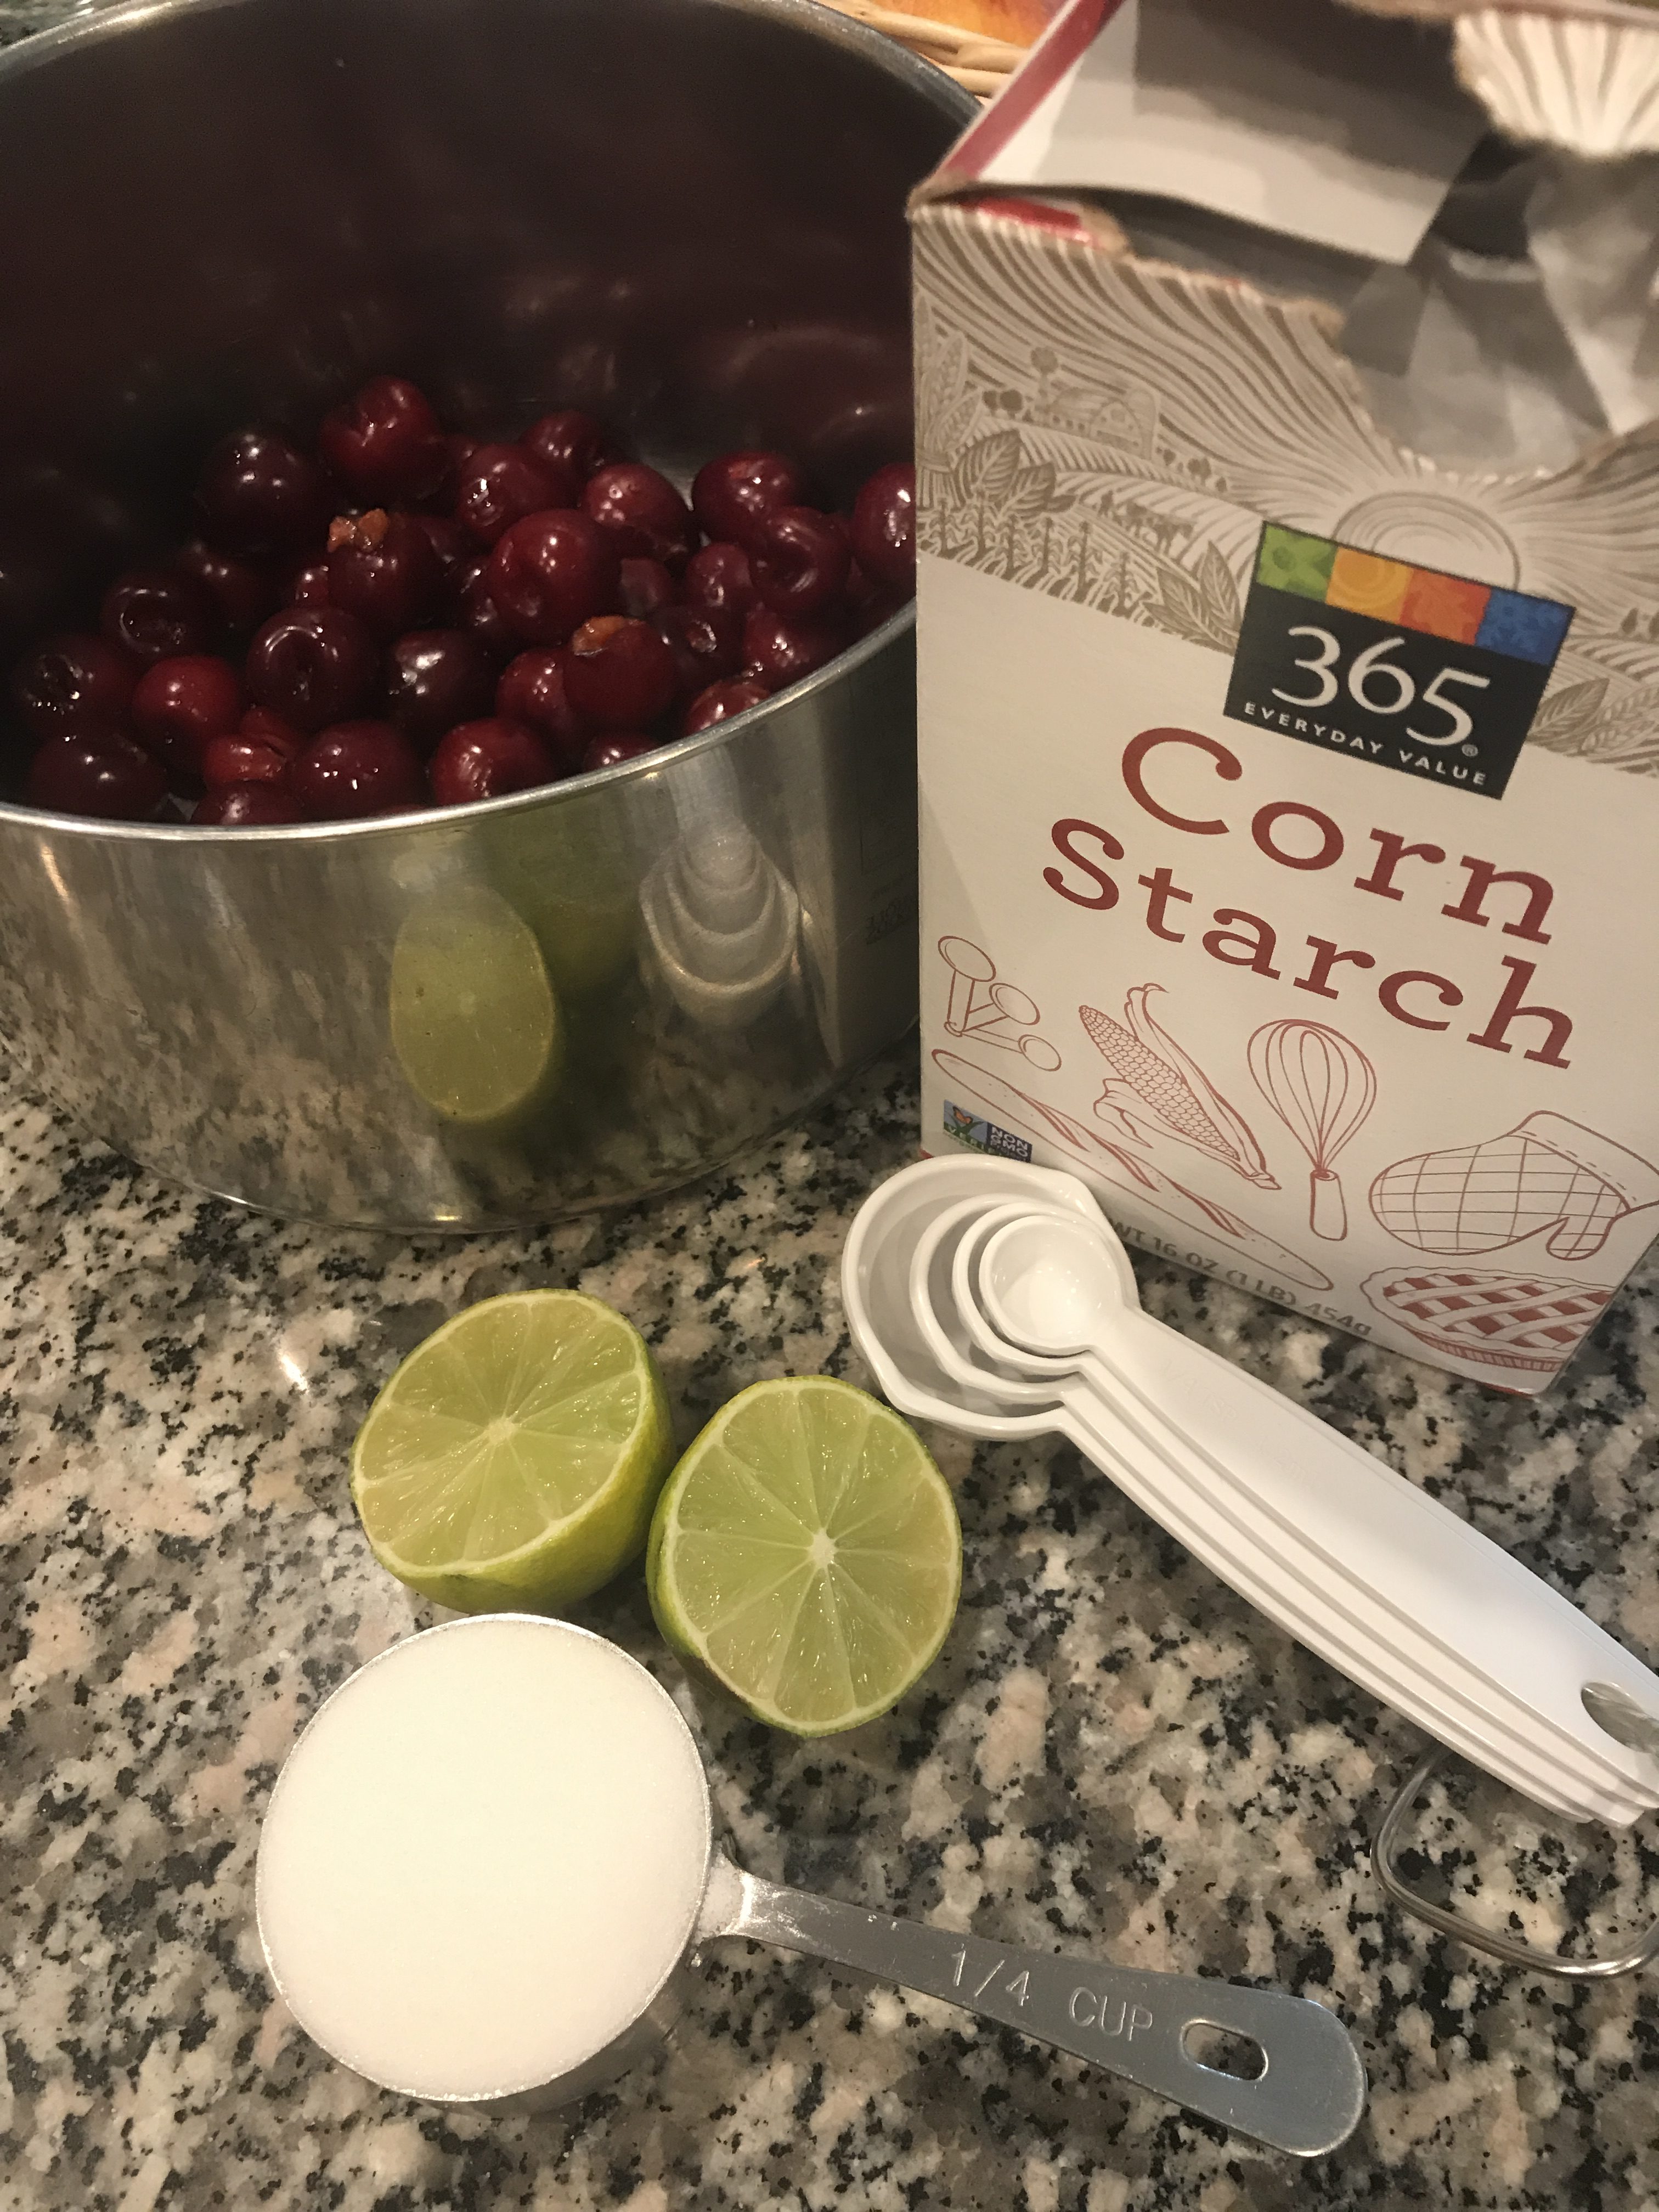
2 1/2 cups pitted Sweet Cherries, fresh or frozen
1/4 cup Sugar
1 1/2 Tbl. Cornstarch
1 Tbl. fresh Lime Juice
Glaze
1 large Egg, beaten
-OR-
1/4 cup Whole Milk
1 tsp. Vanilla Extract
2 cups Confectioners’ Sugar
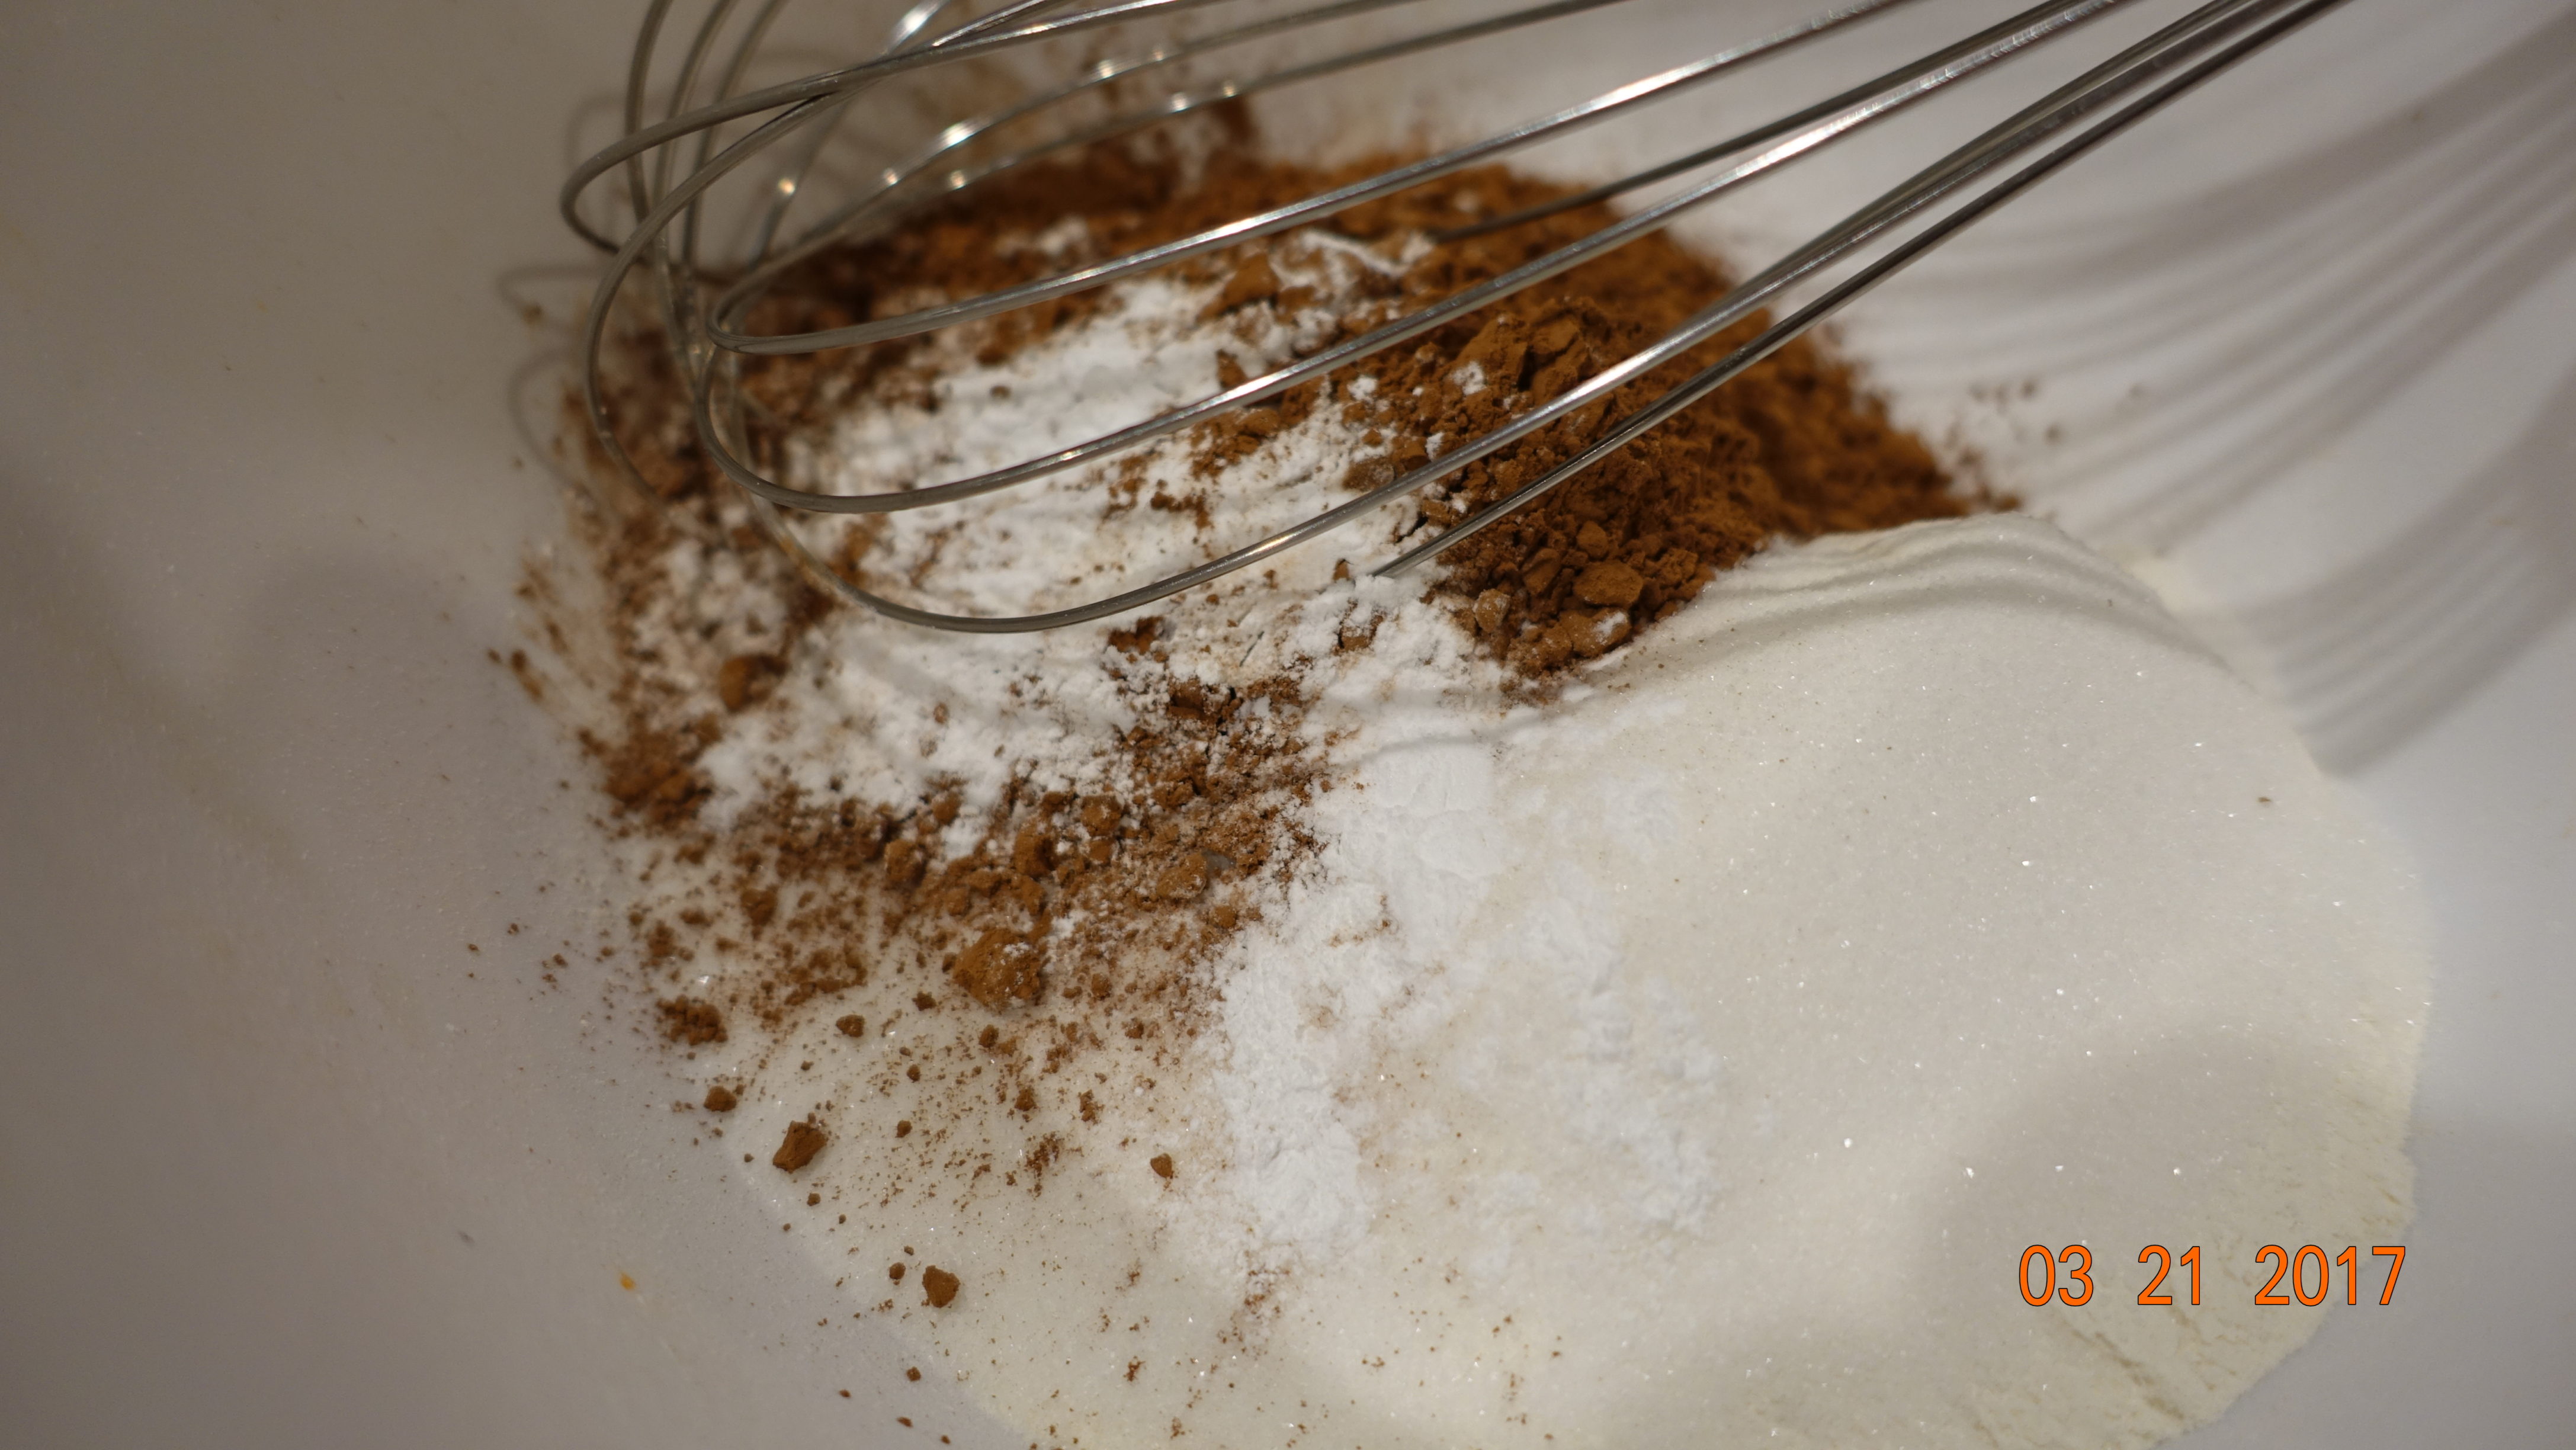
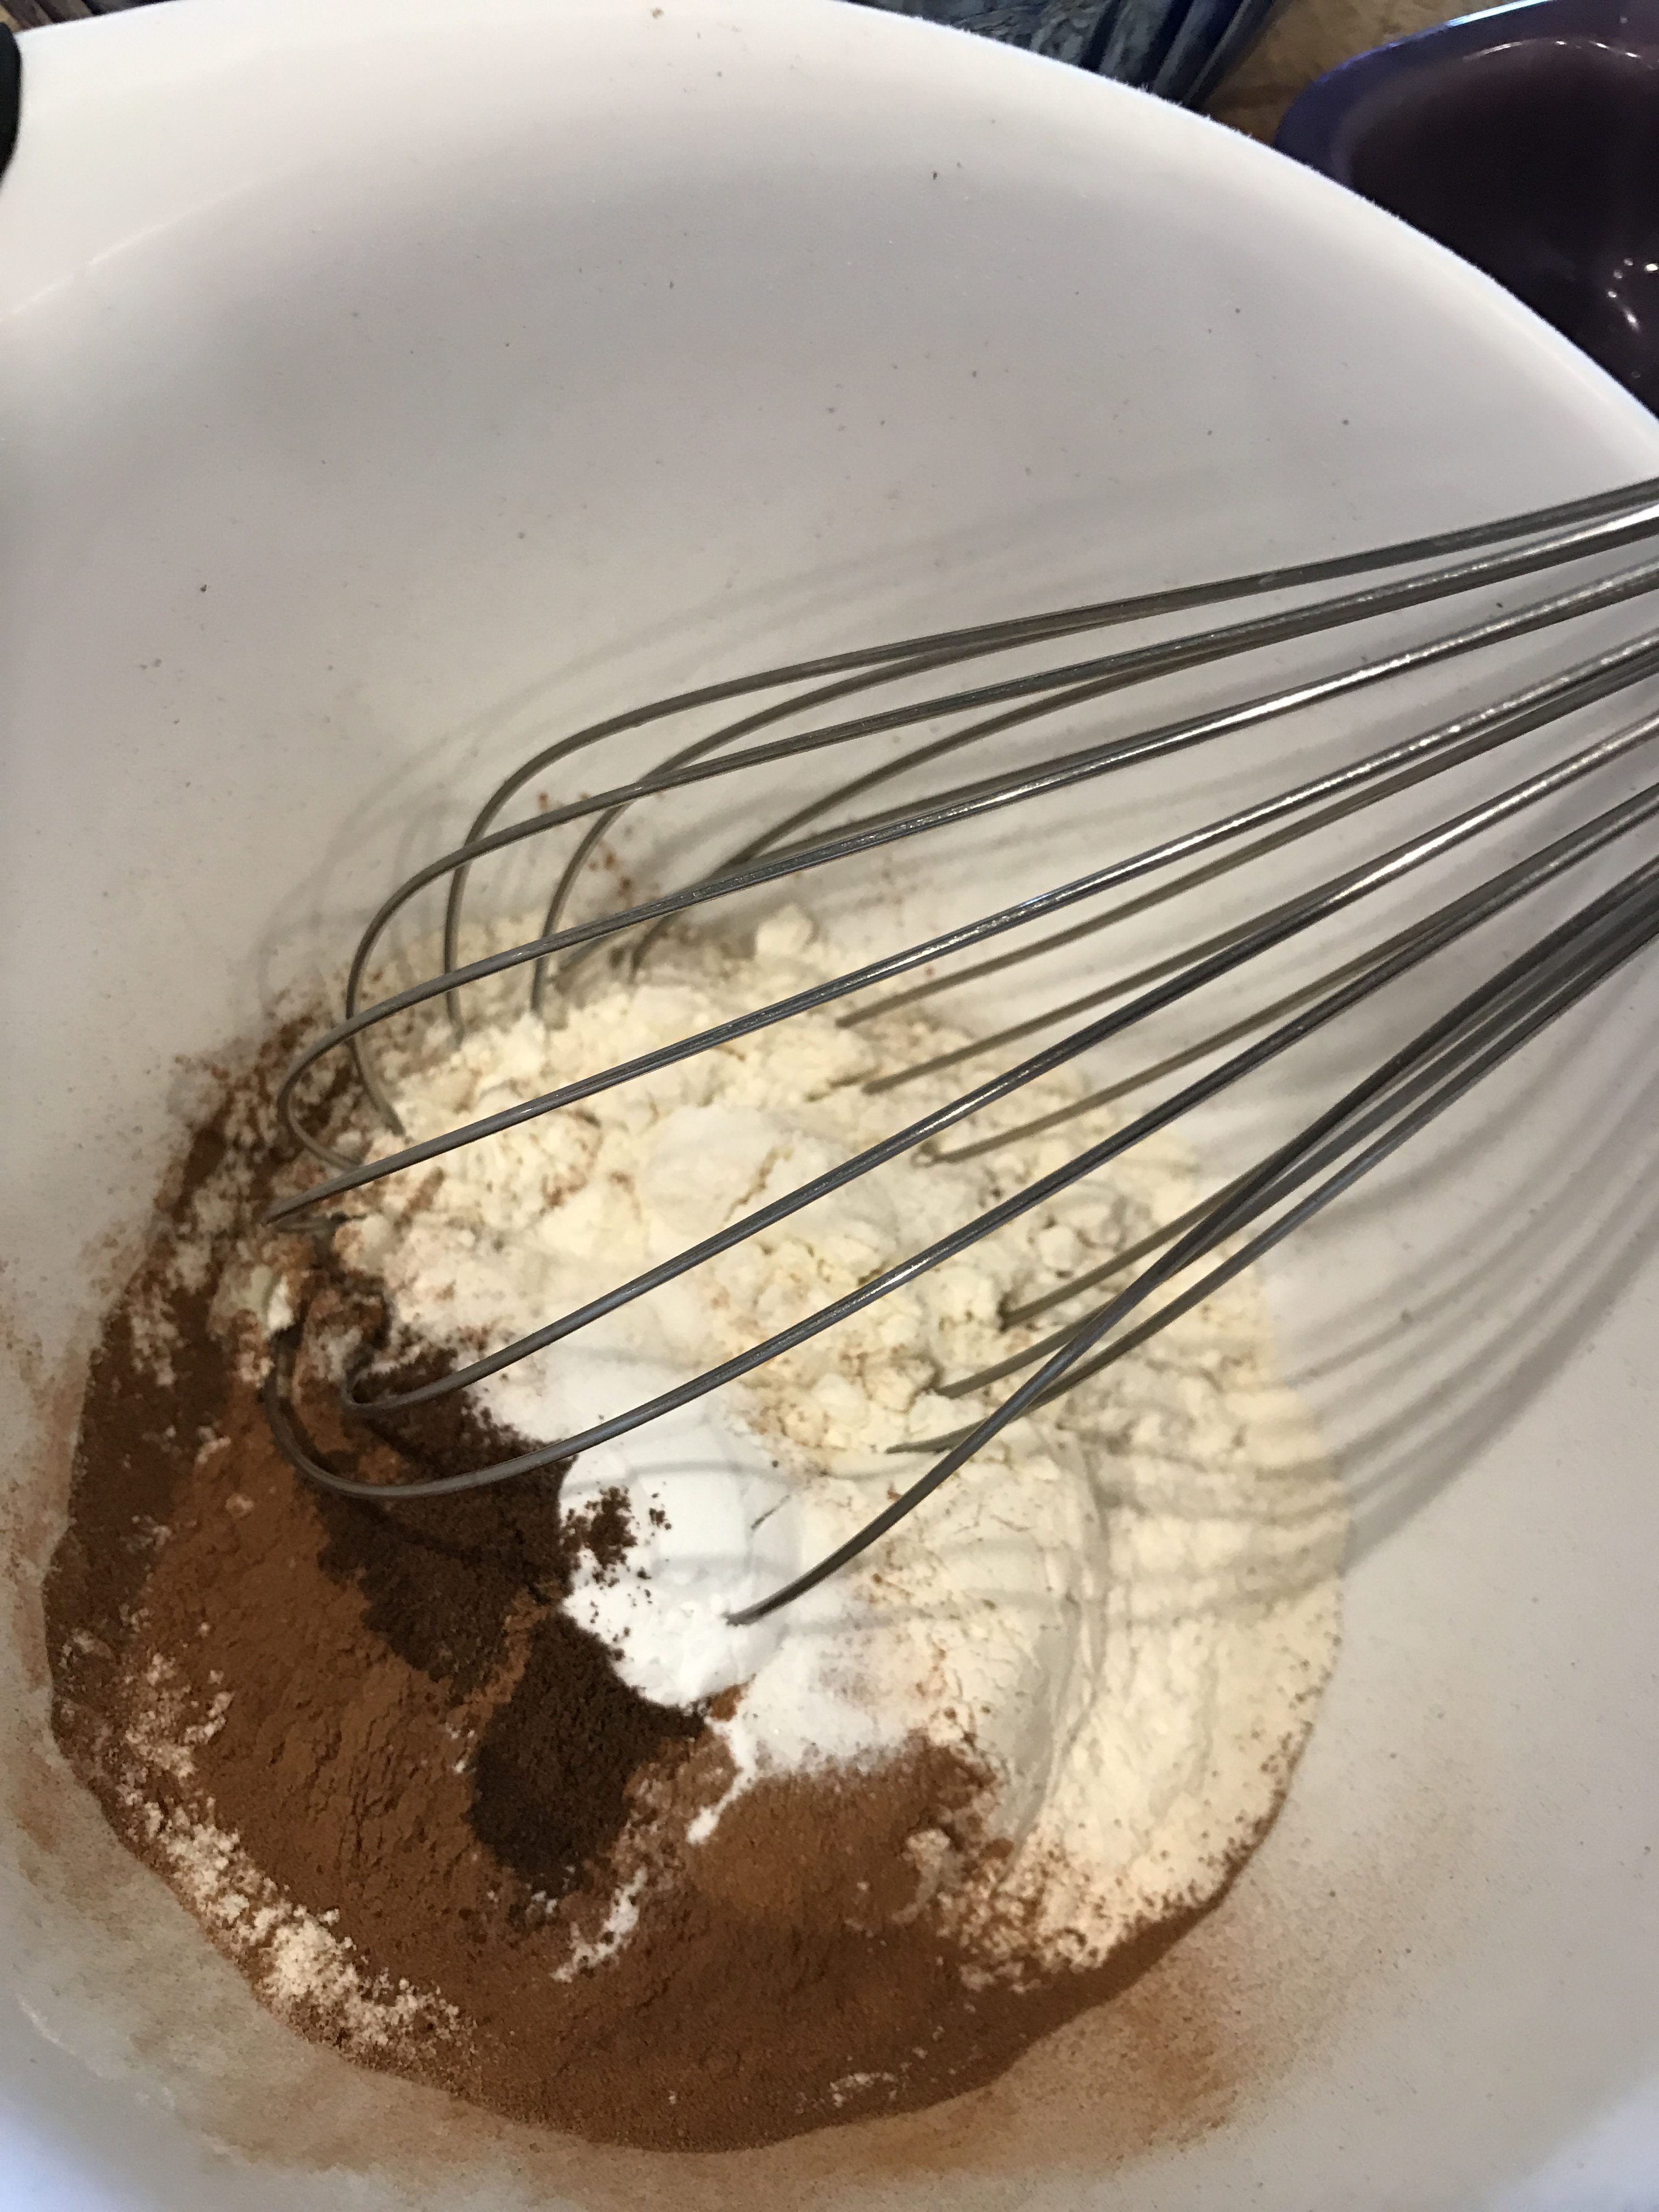
Start with the crust: In a large bowl, whisk Flour, Salt, Baking Powder and Sugar together.
Add the Butter. Using a pastry cutter or your hands work Butter in until it’s a course meal. The Butter should be large pea-size pieces.
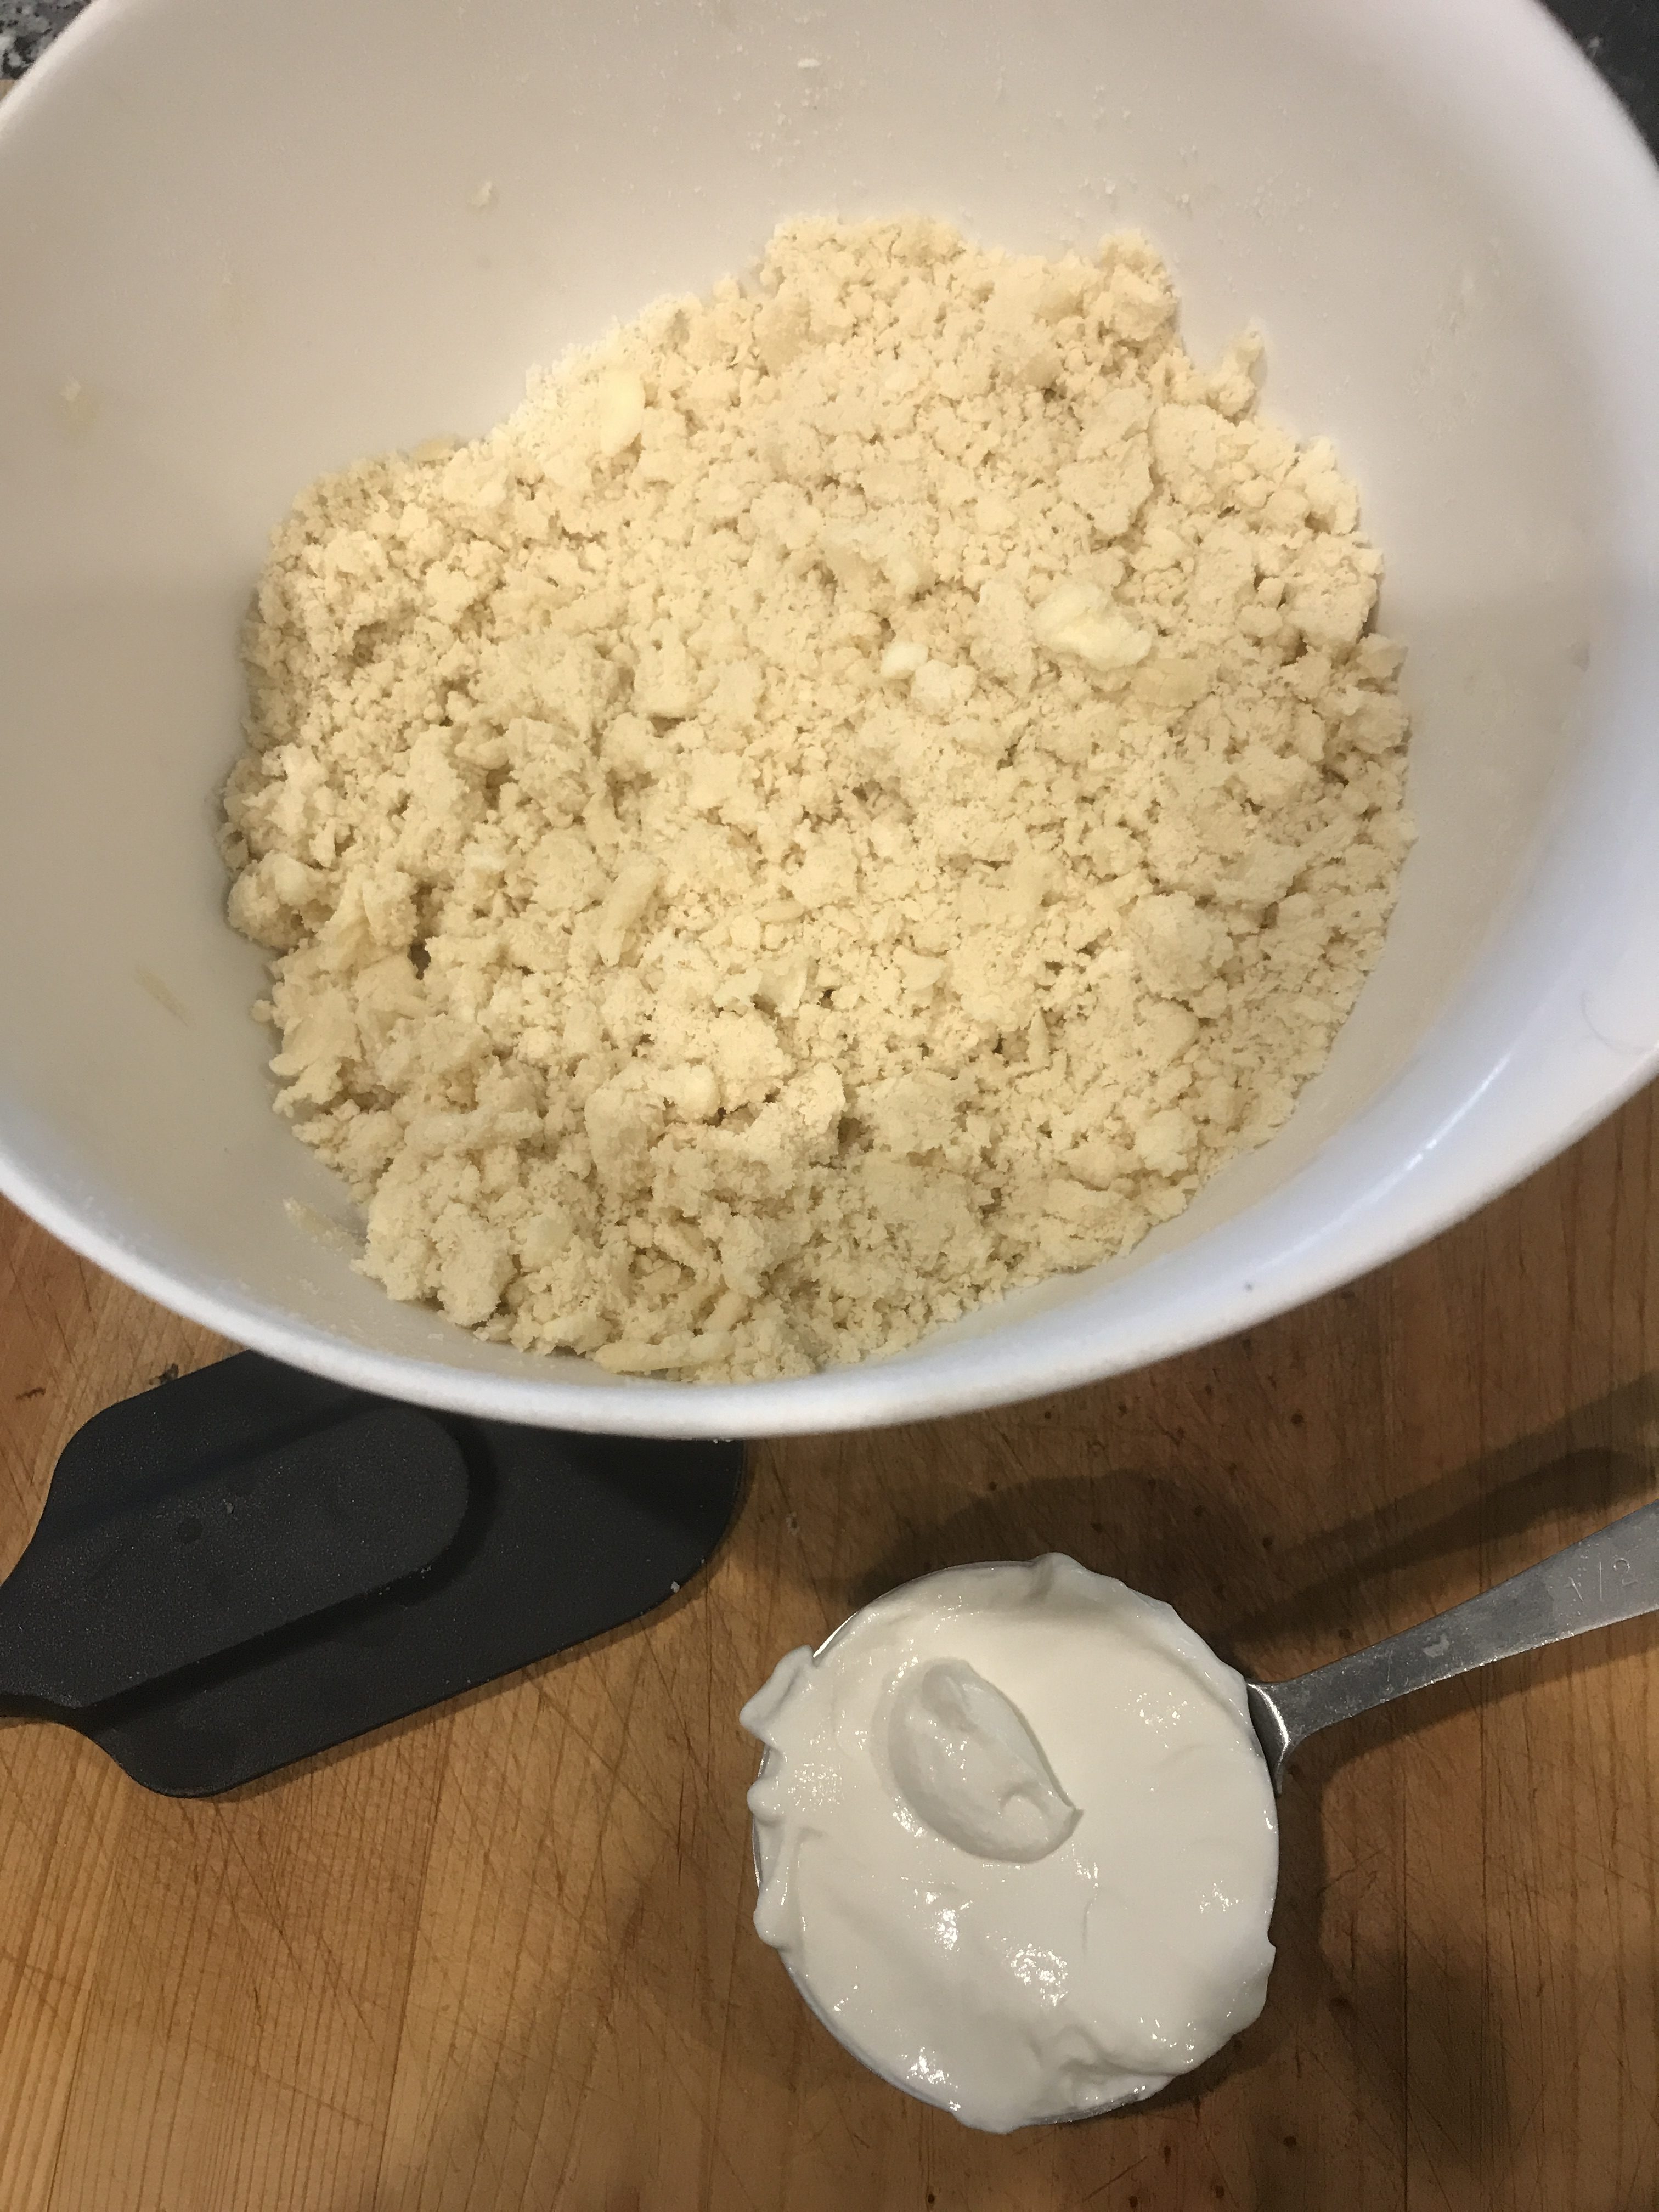
Using a rubber spatula, add the Sour Cream.

Turn it out onto a well floured surface and knead a few times until it comes together. Pat the dough into a 10 inch log. Roll out into a 10″ x 12″ rectangle.

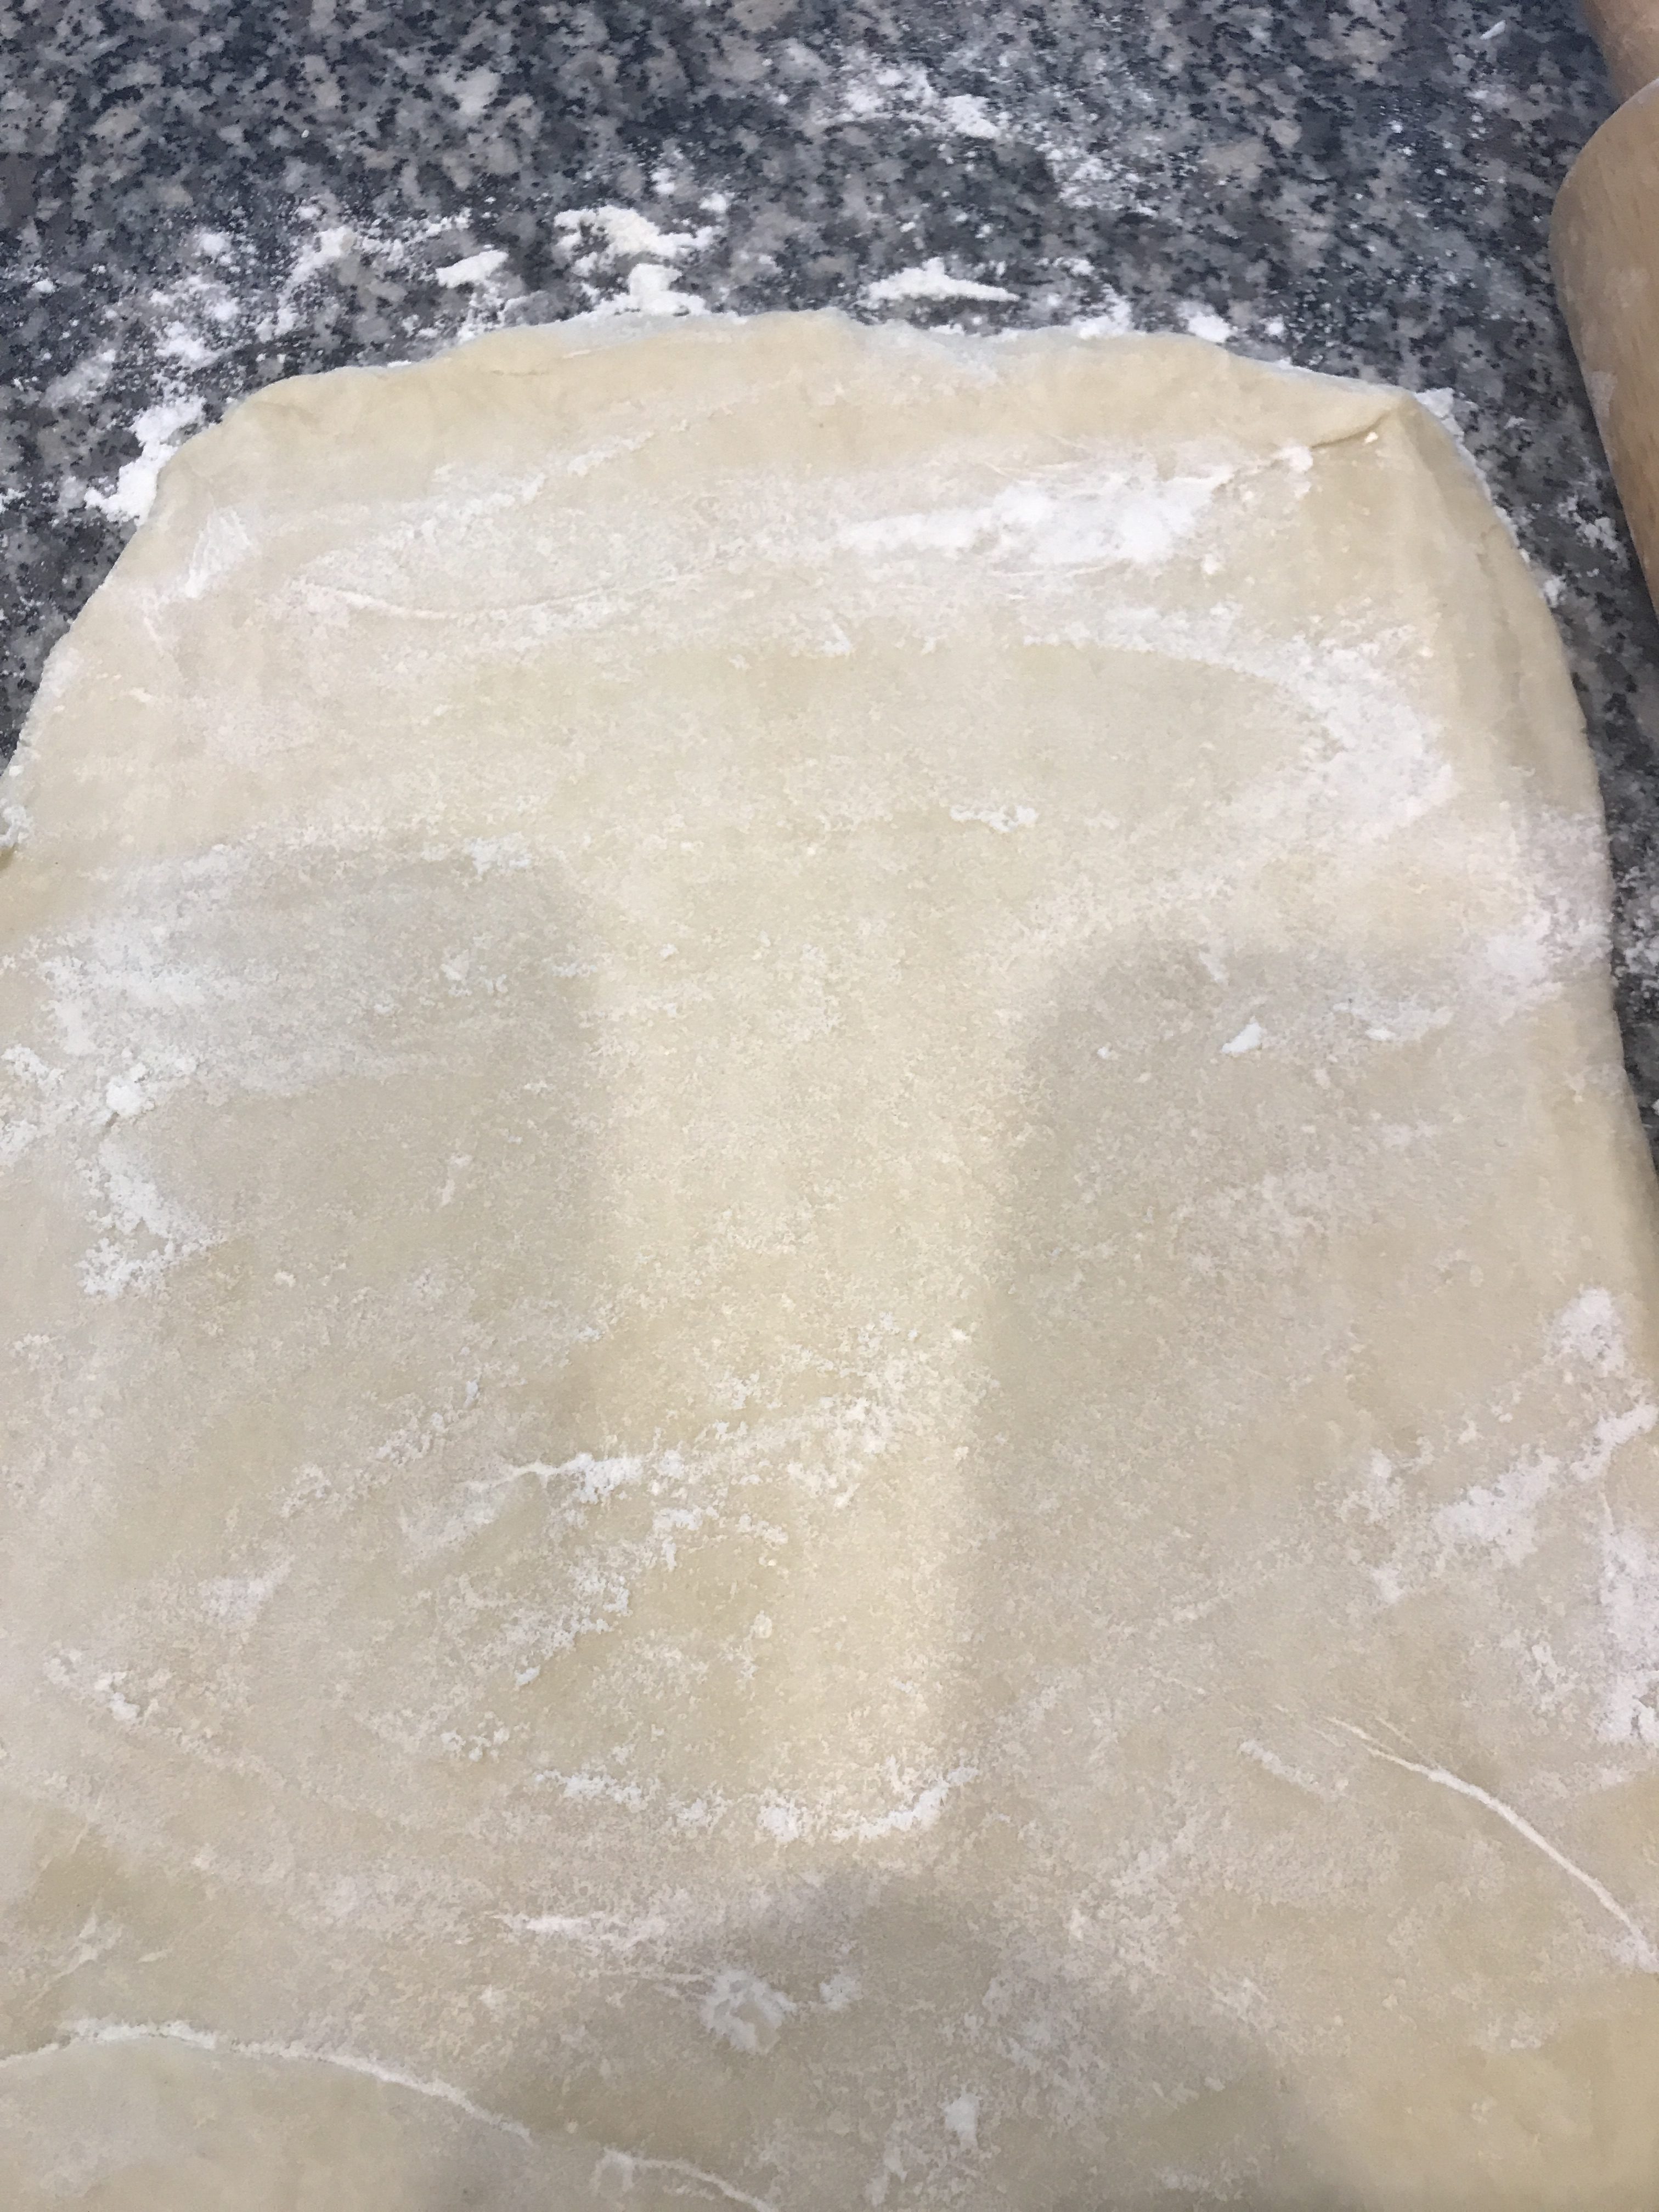
Dust both sides of the dough lightly with Flour and fold into threes. Start at the shorter end, fold down and fold lower end up, like a letter.
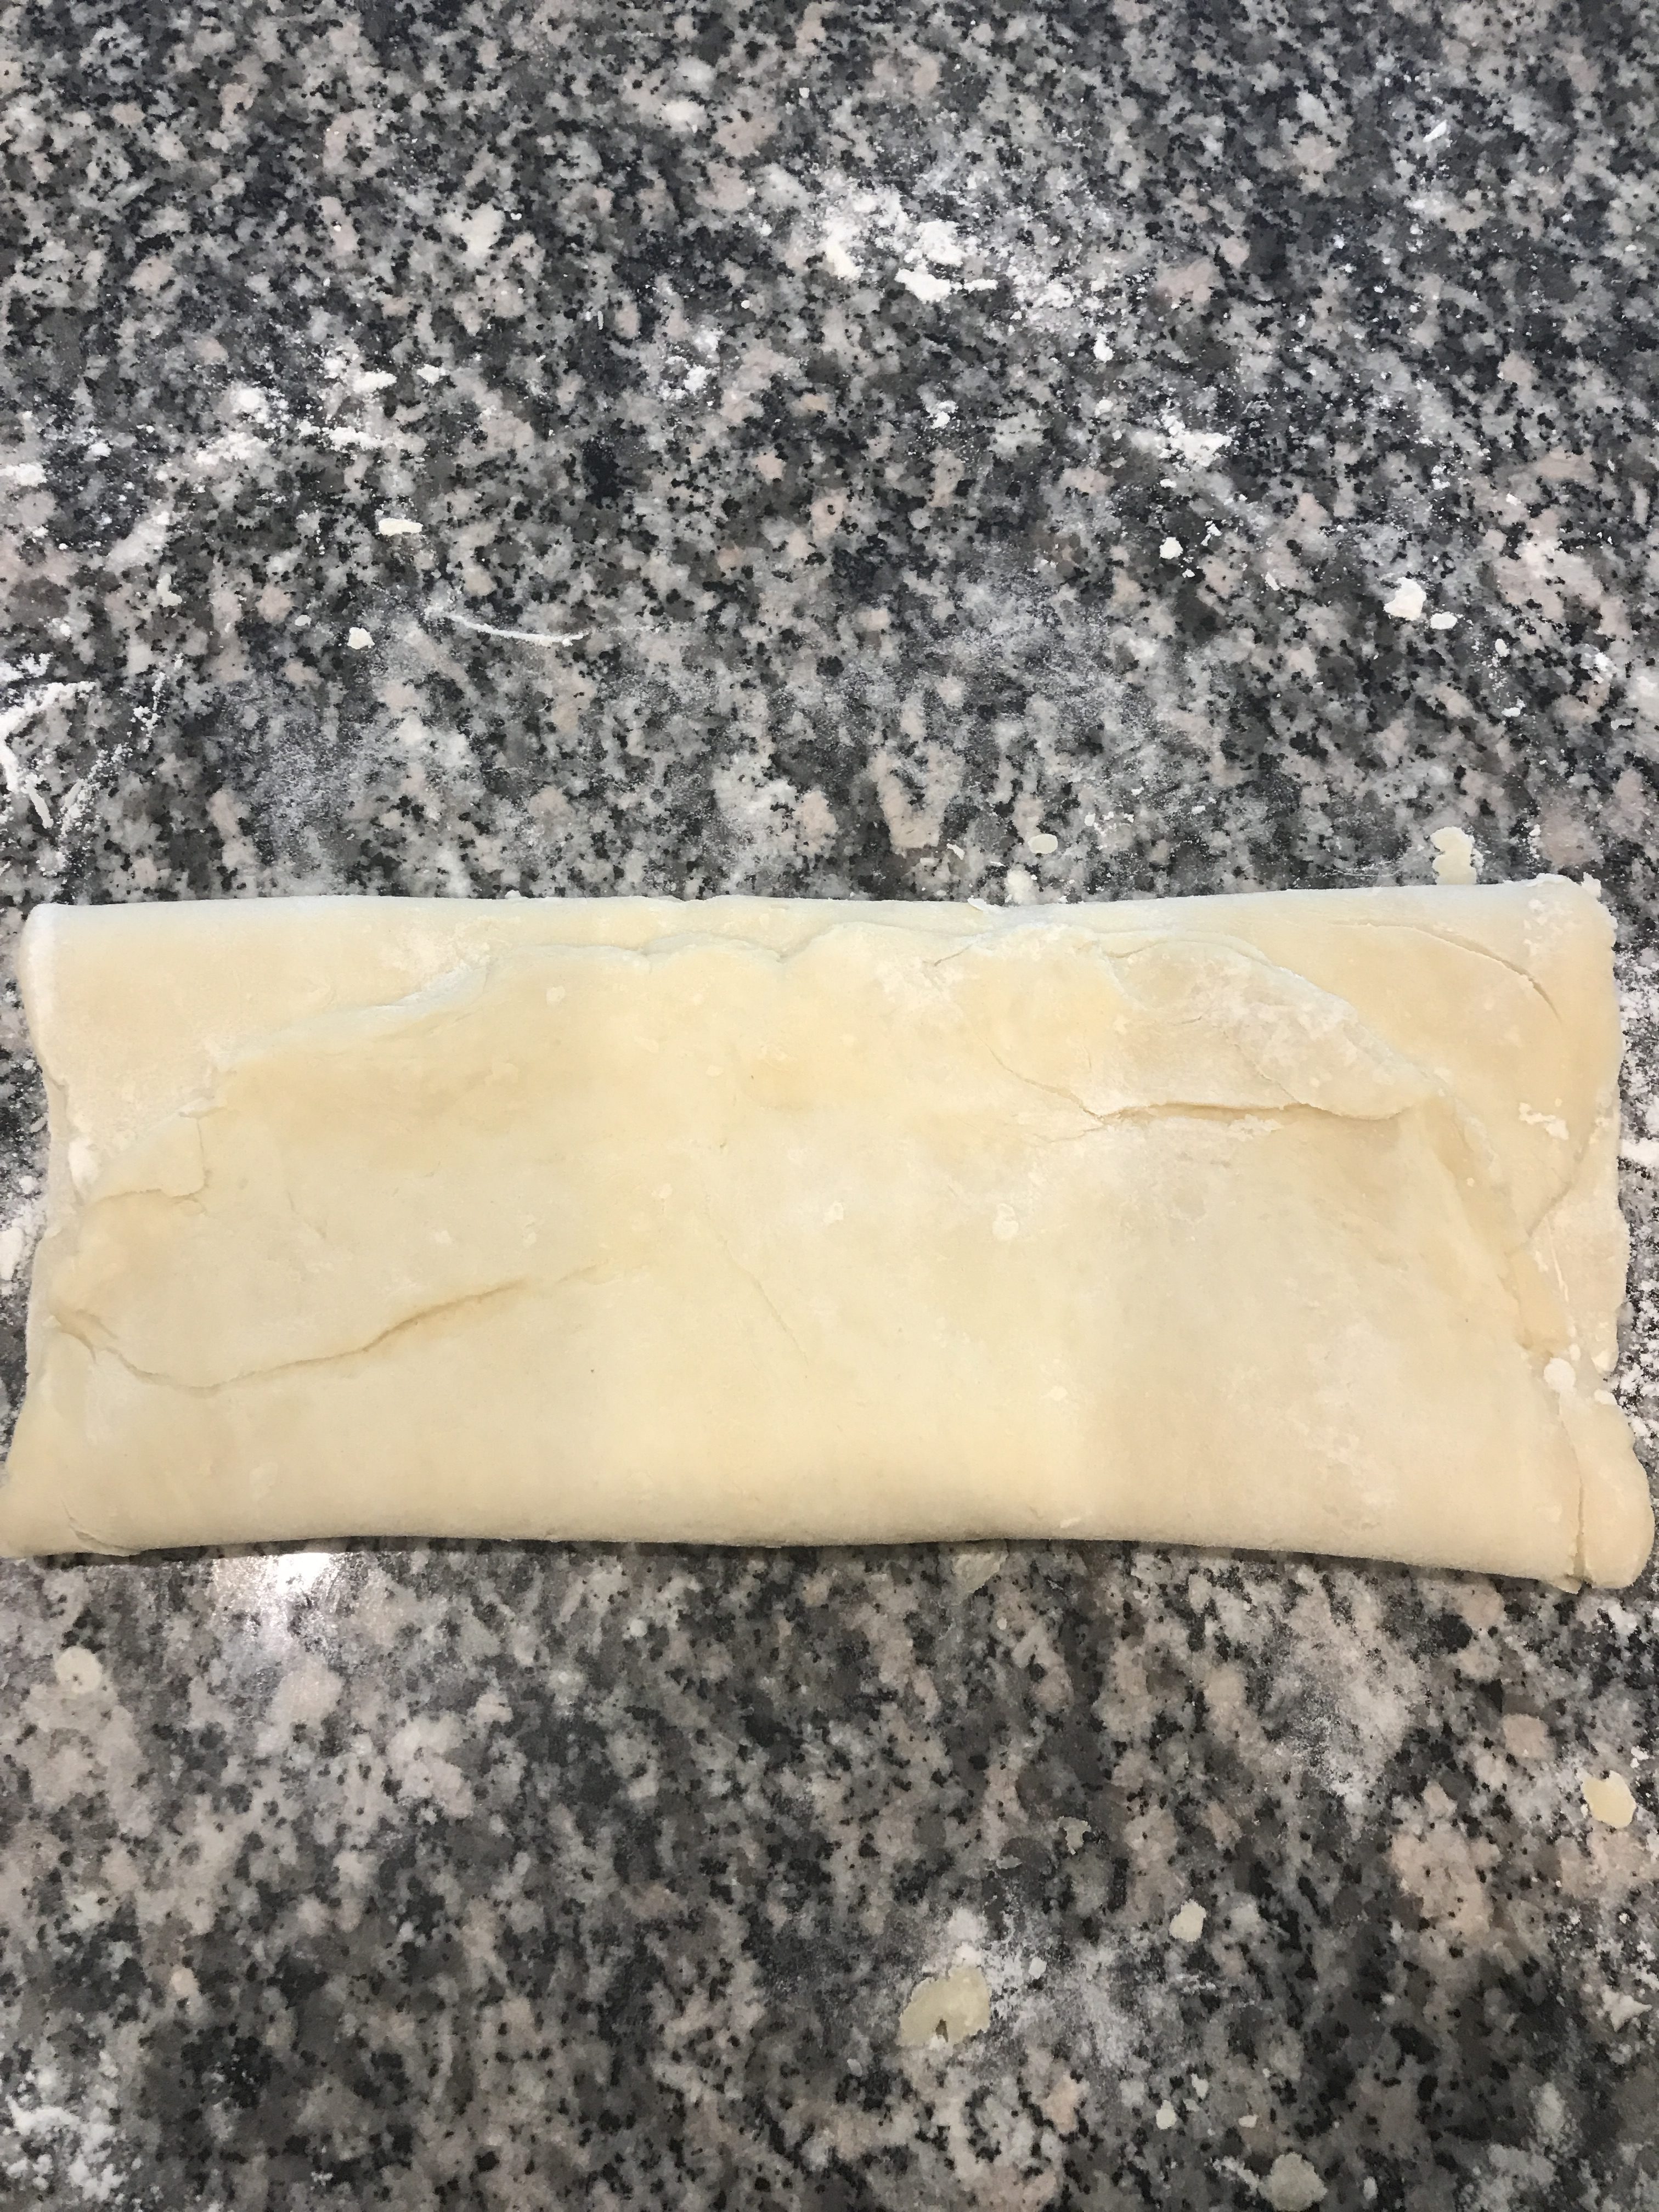
Flip dough over and roll again into a 10″ x 12″ rectangle. Fold it in three again.

Wrap dough in plastic wrap and chill for 1 hour. Here is where you can leave it in the refrigerator overnight.
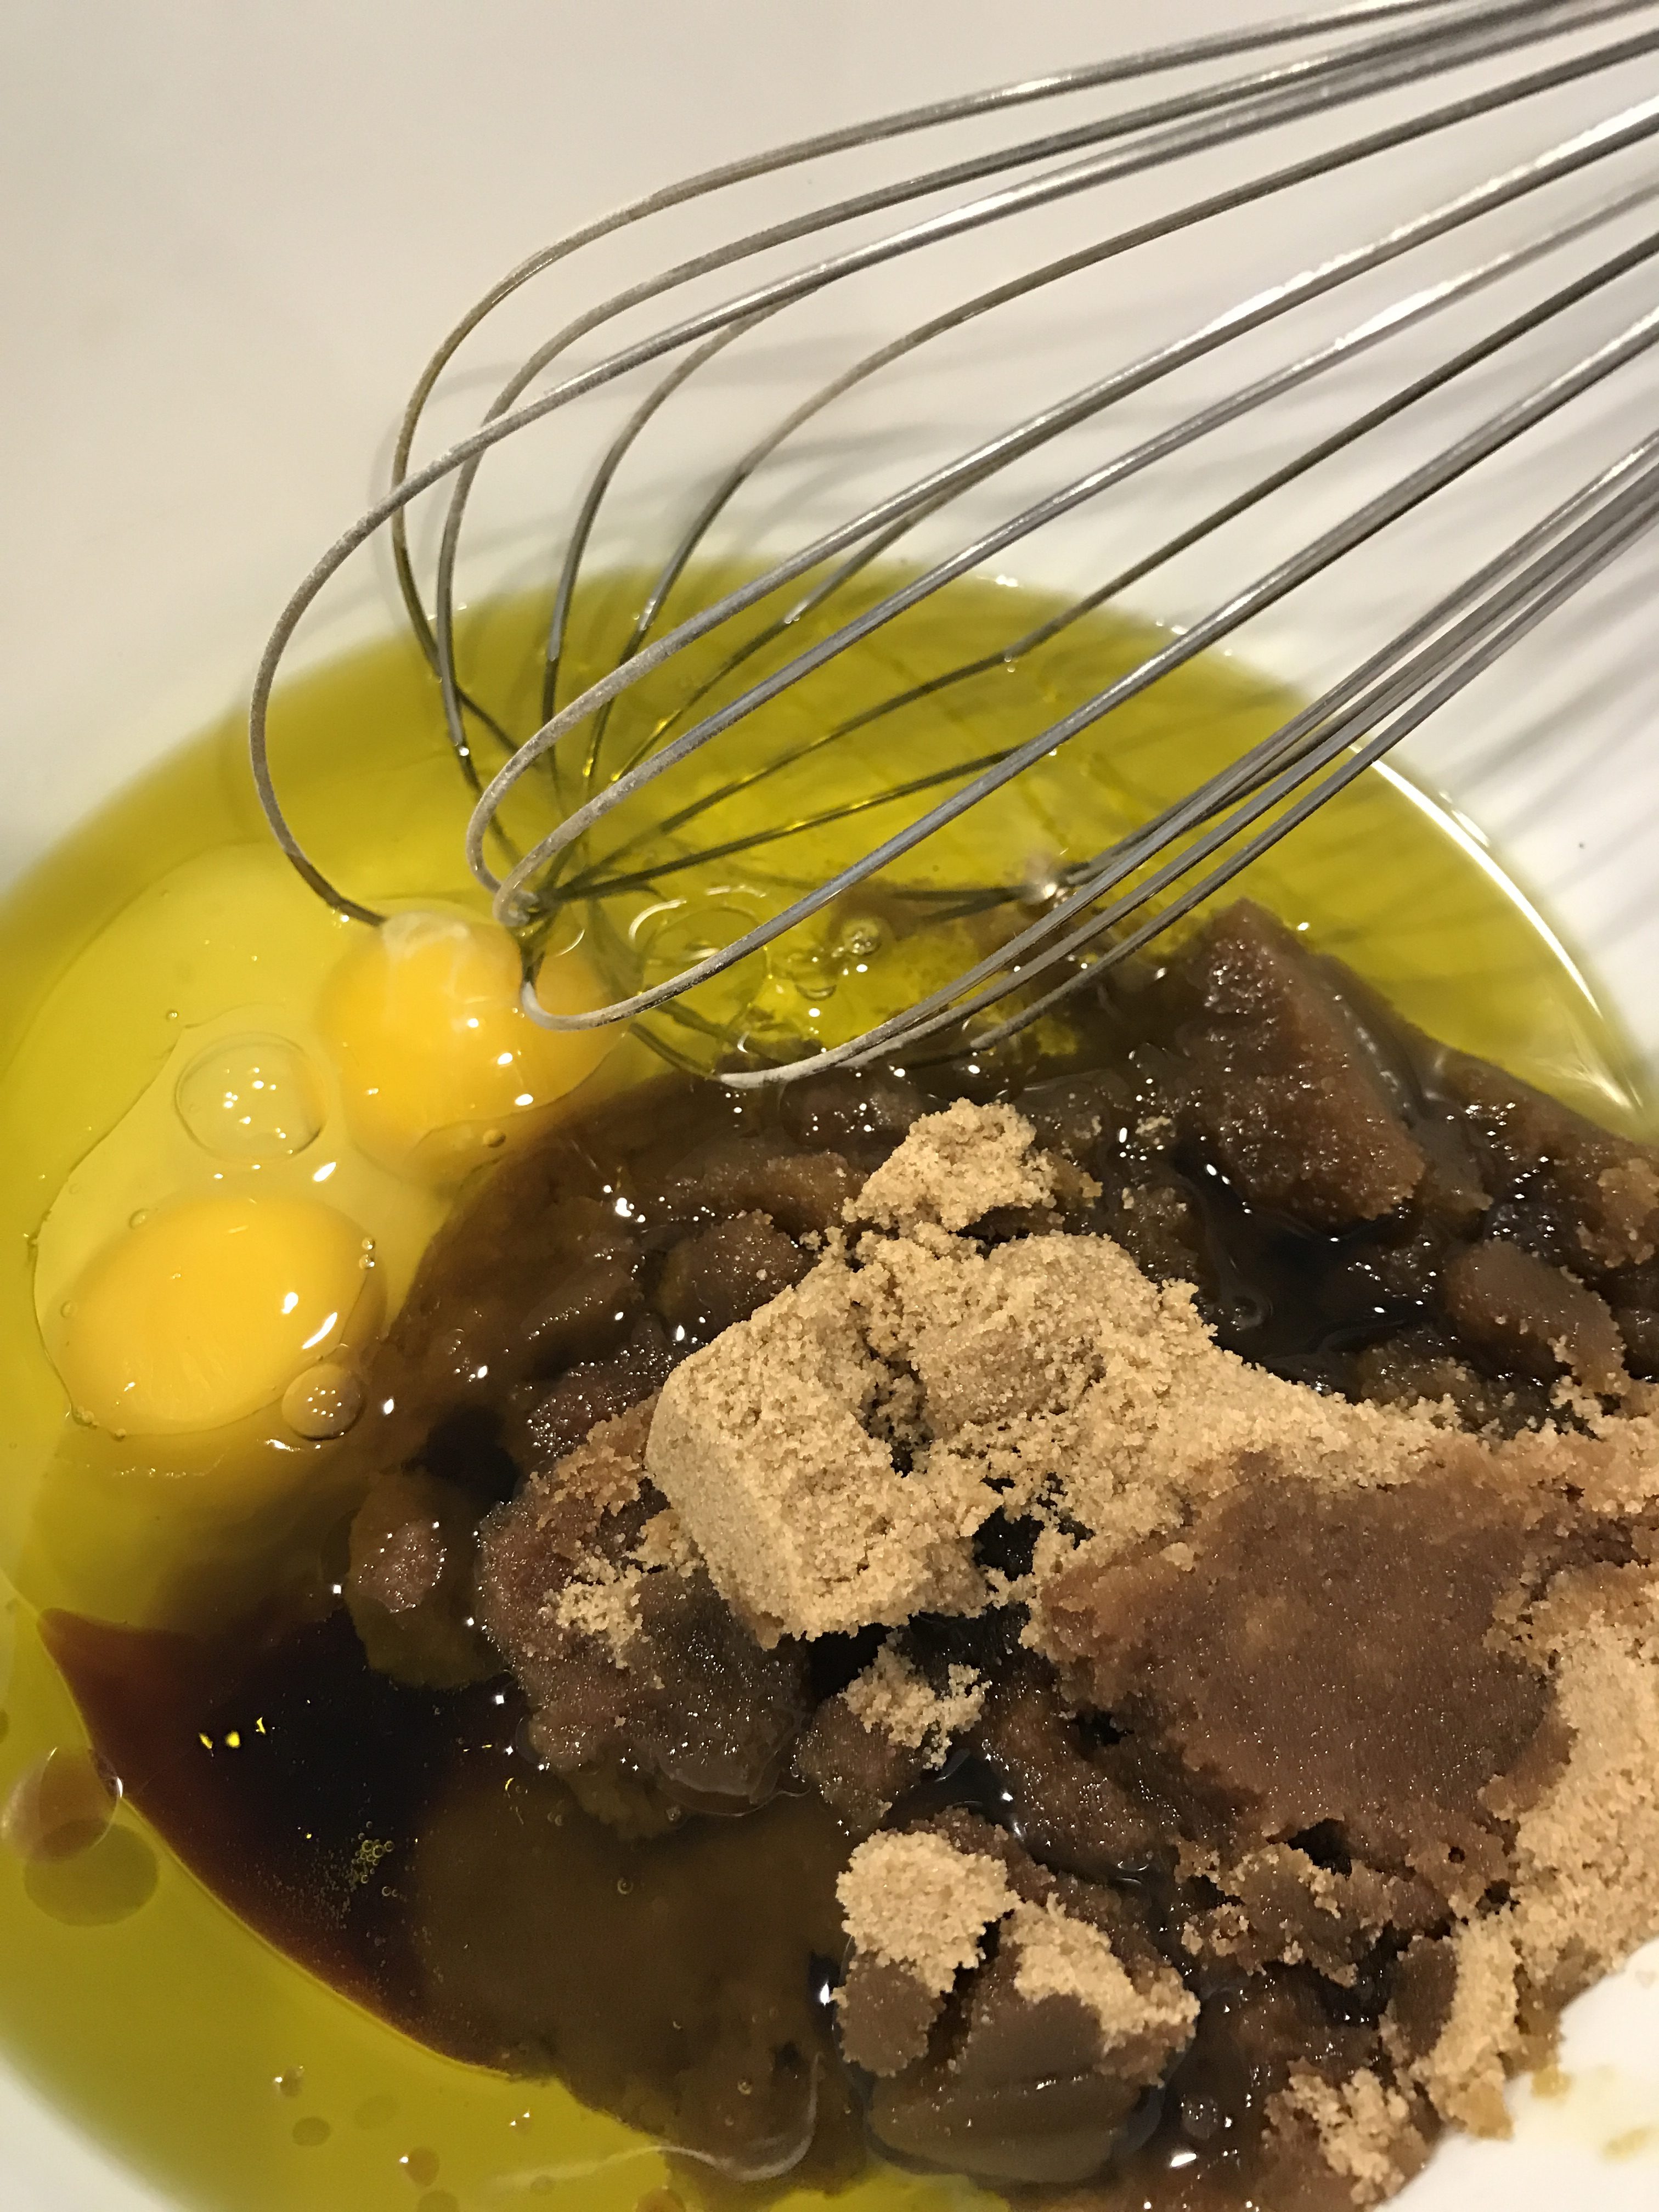
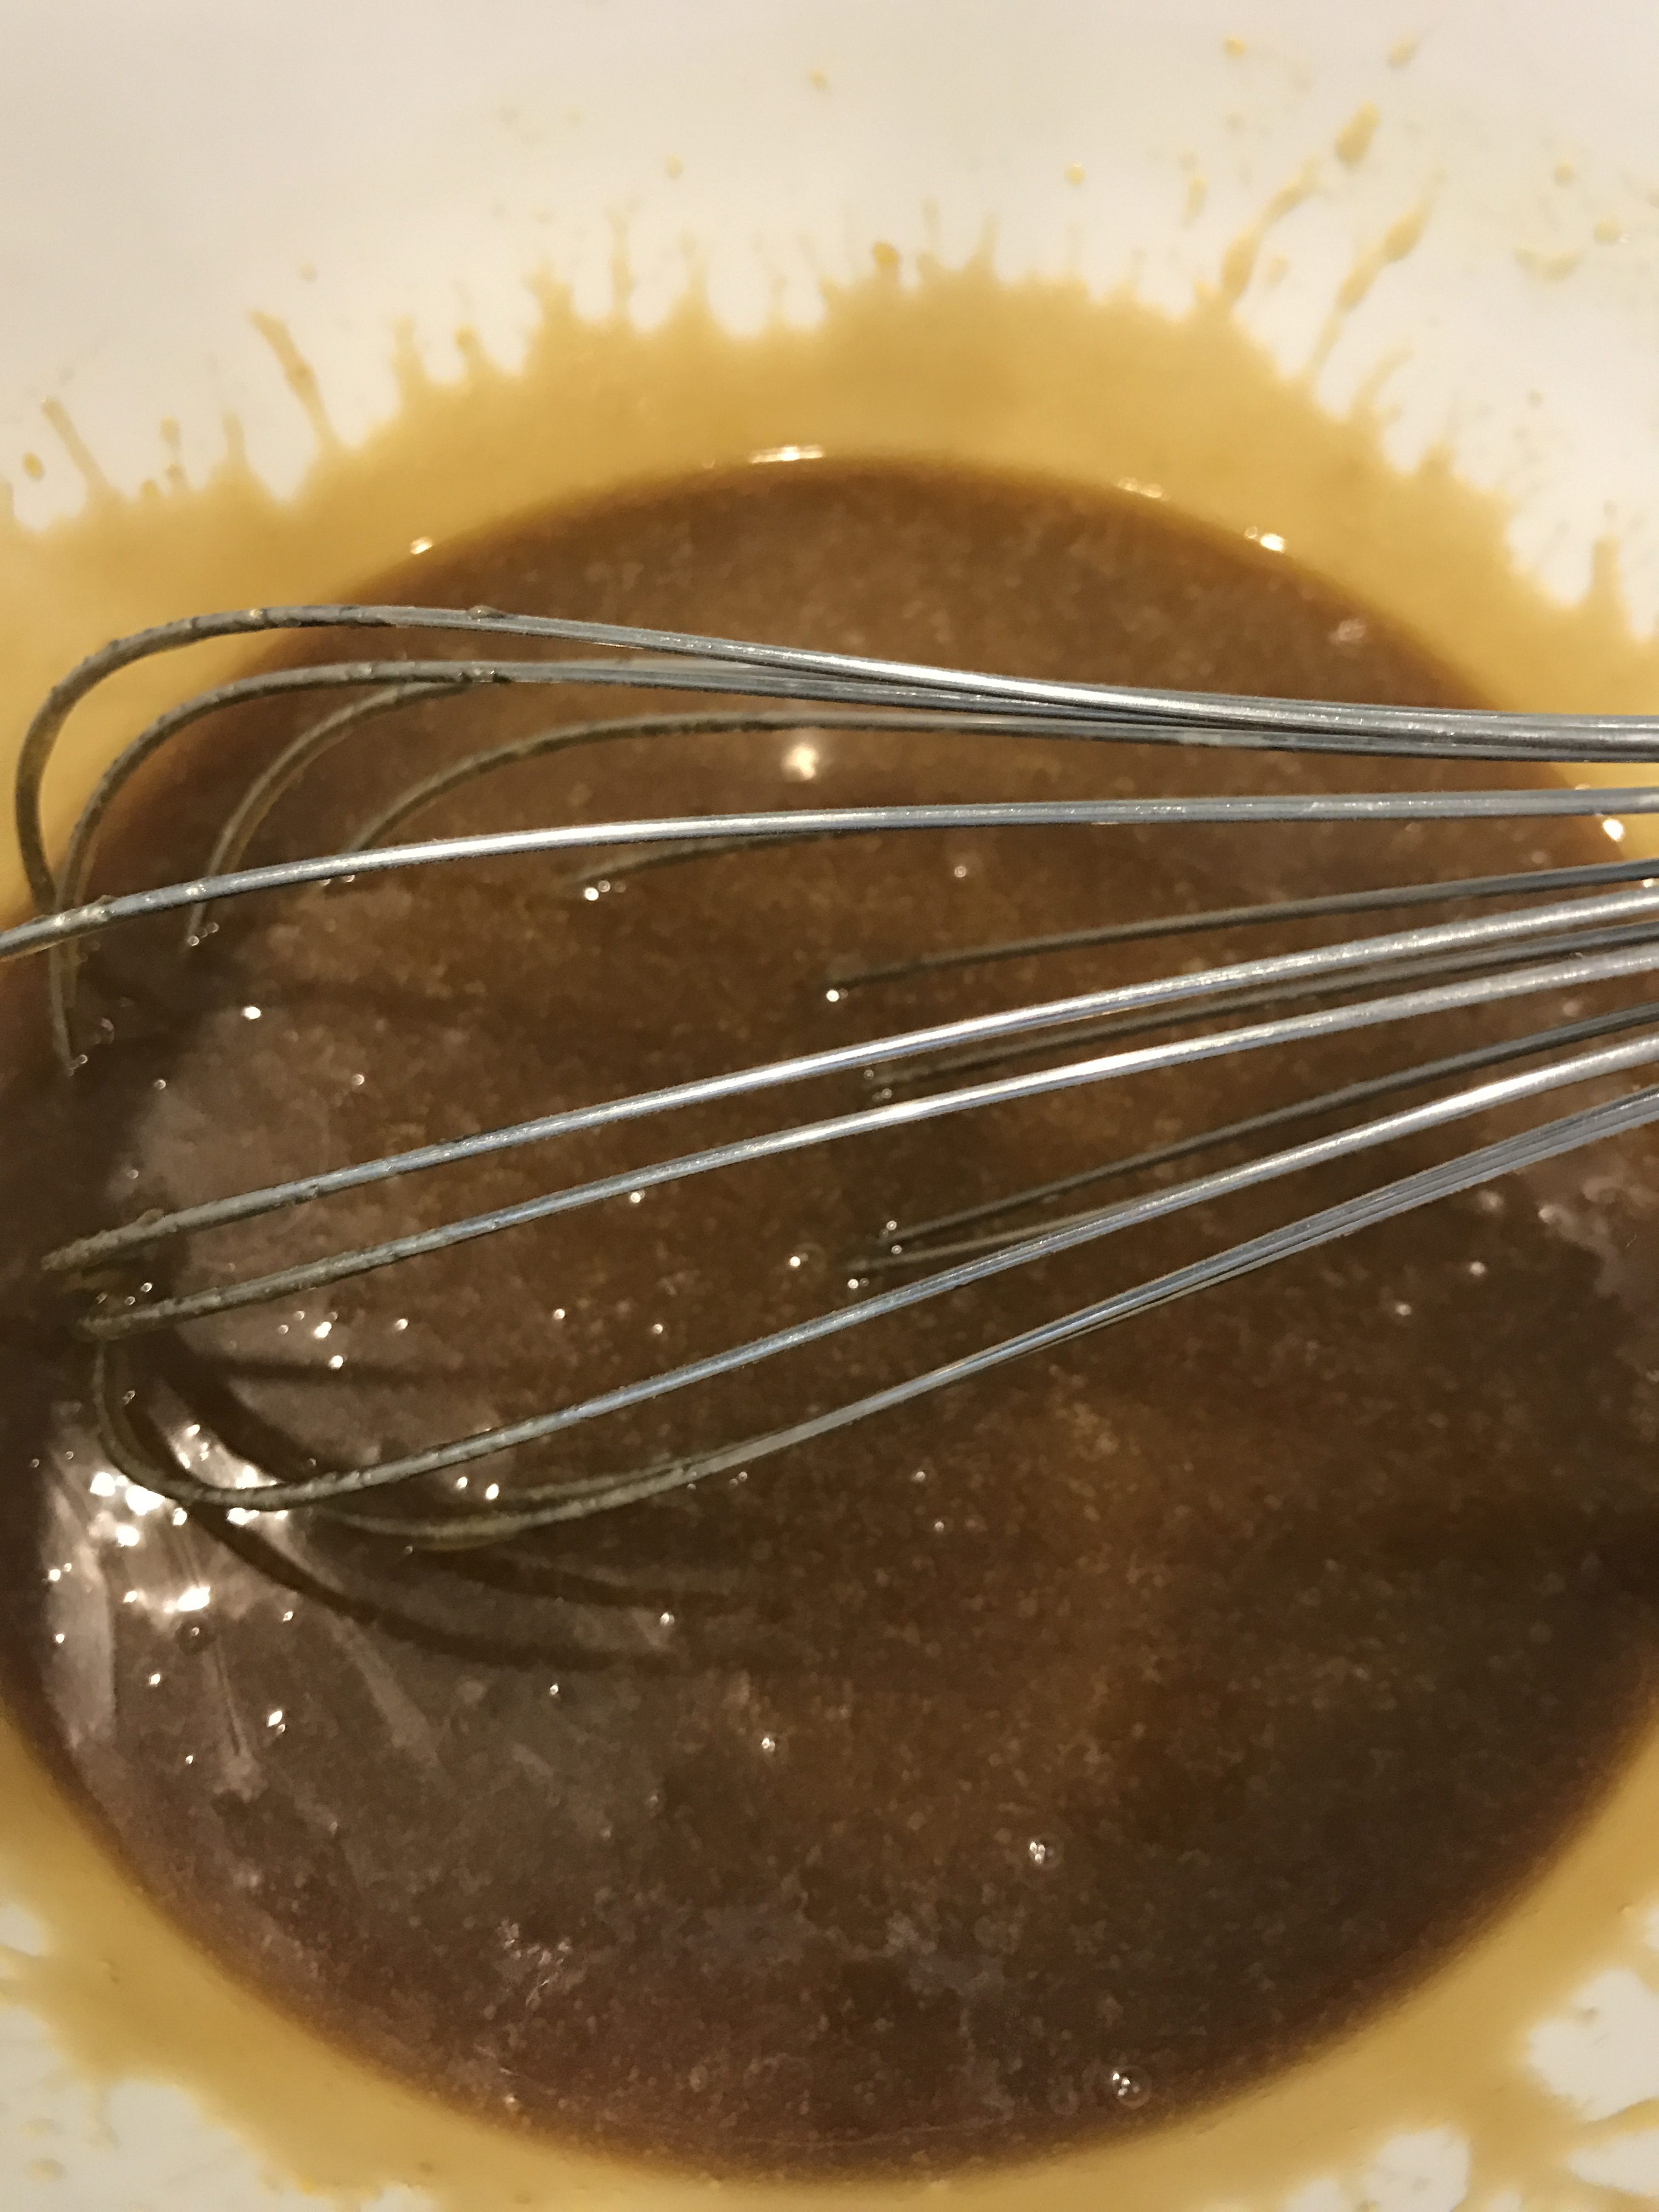
For Cherry filling: Combine Cherries, Sugar, Cornstarch, and Lime Juice in a saucepan over medium-high heat.
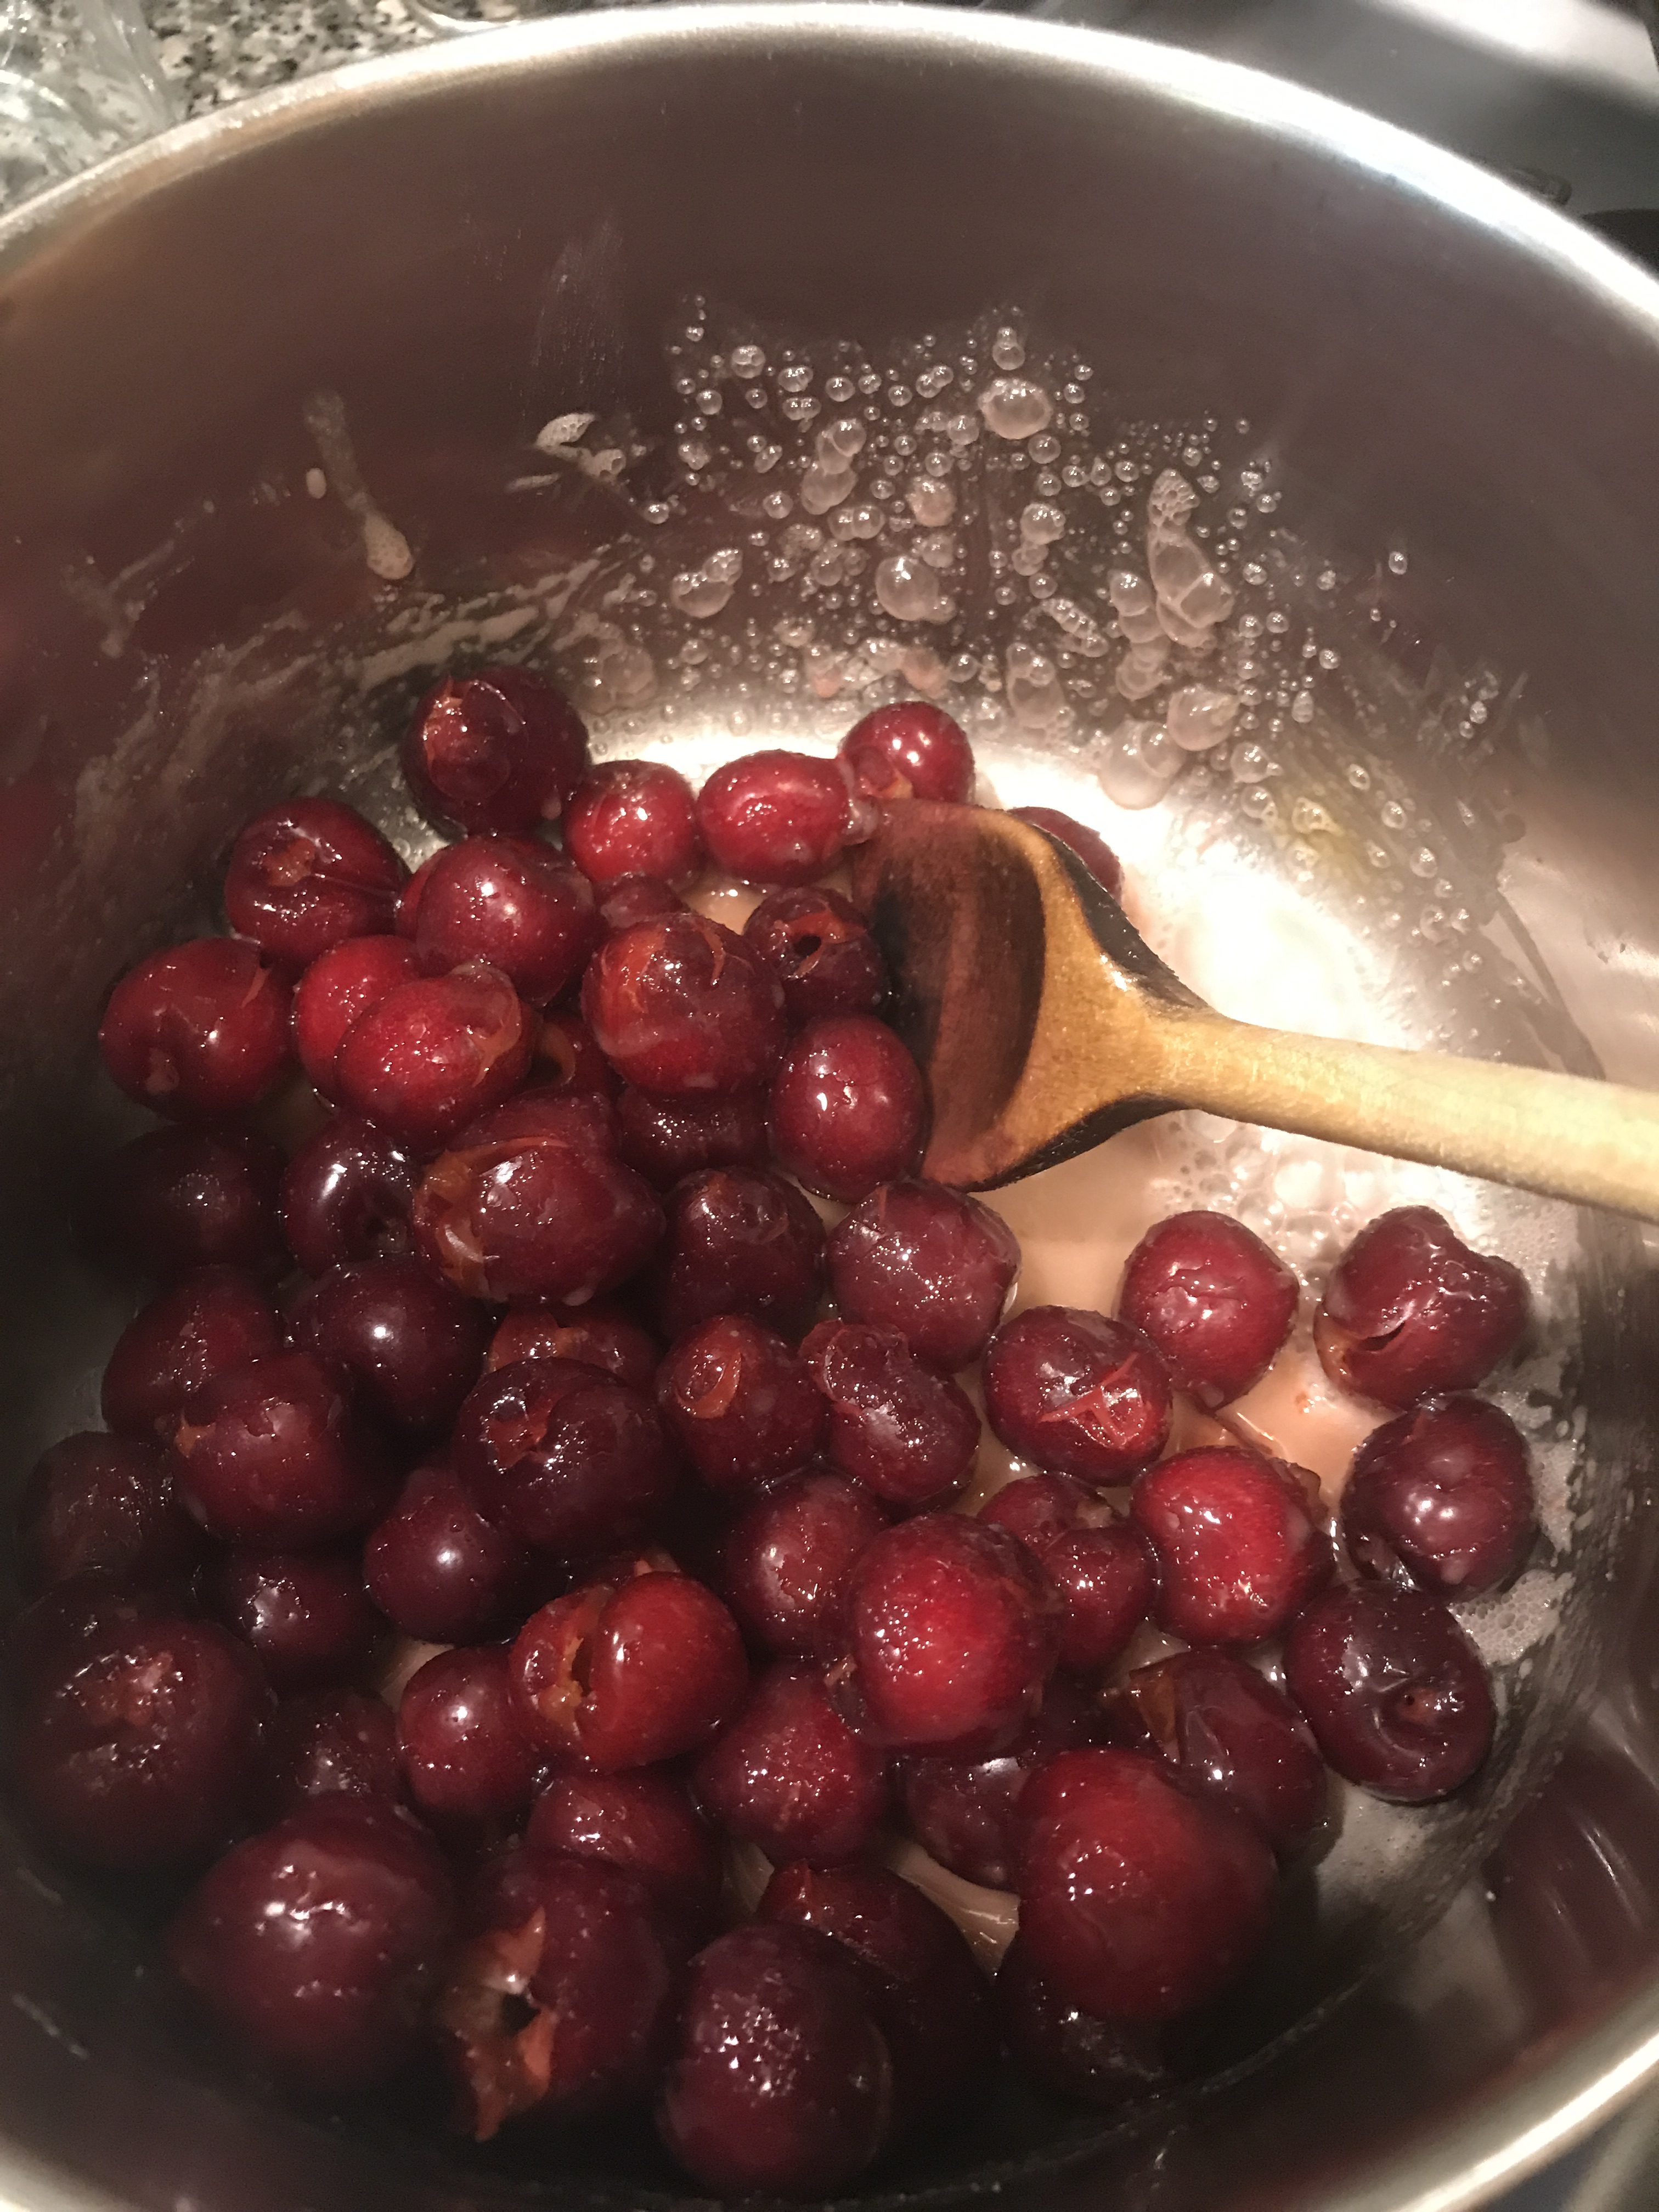
Simmer, stirring constantly until the mixture starts to thicken. Reduce heat to low and cook for another 2 minutes. Remove from heat and transfer to a bowl to cool to room temperature. Careful here! The filling can become too thick if you are not watchful.
Prepare glaze by combining Milk, Confectioners’ Sugar and Vanilla Extract. Set aside.
Preheat the oven to 425 degrees. Line a large baking sheet with parchment paper or a silk pat and set aside.
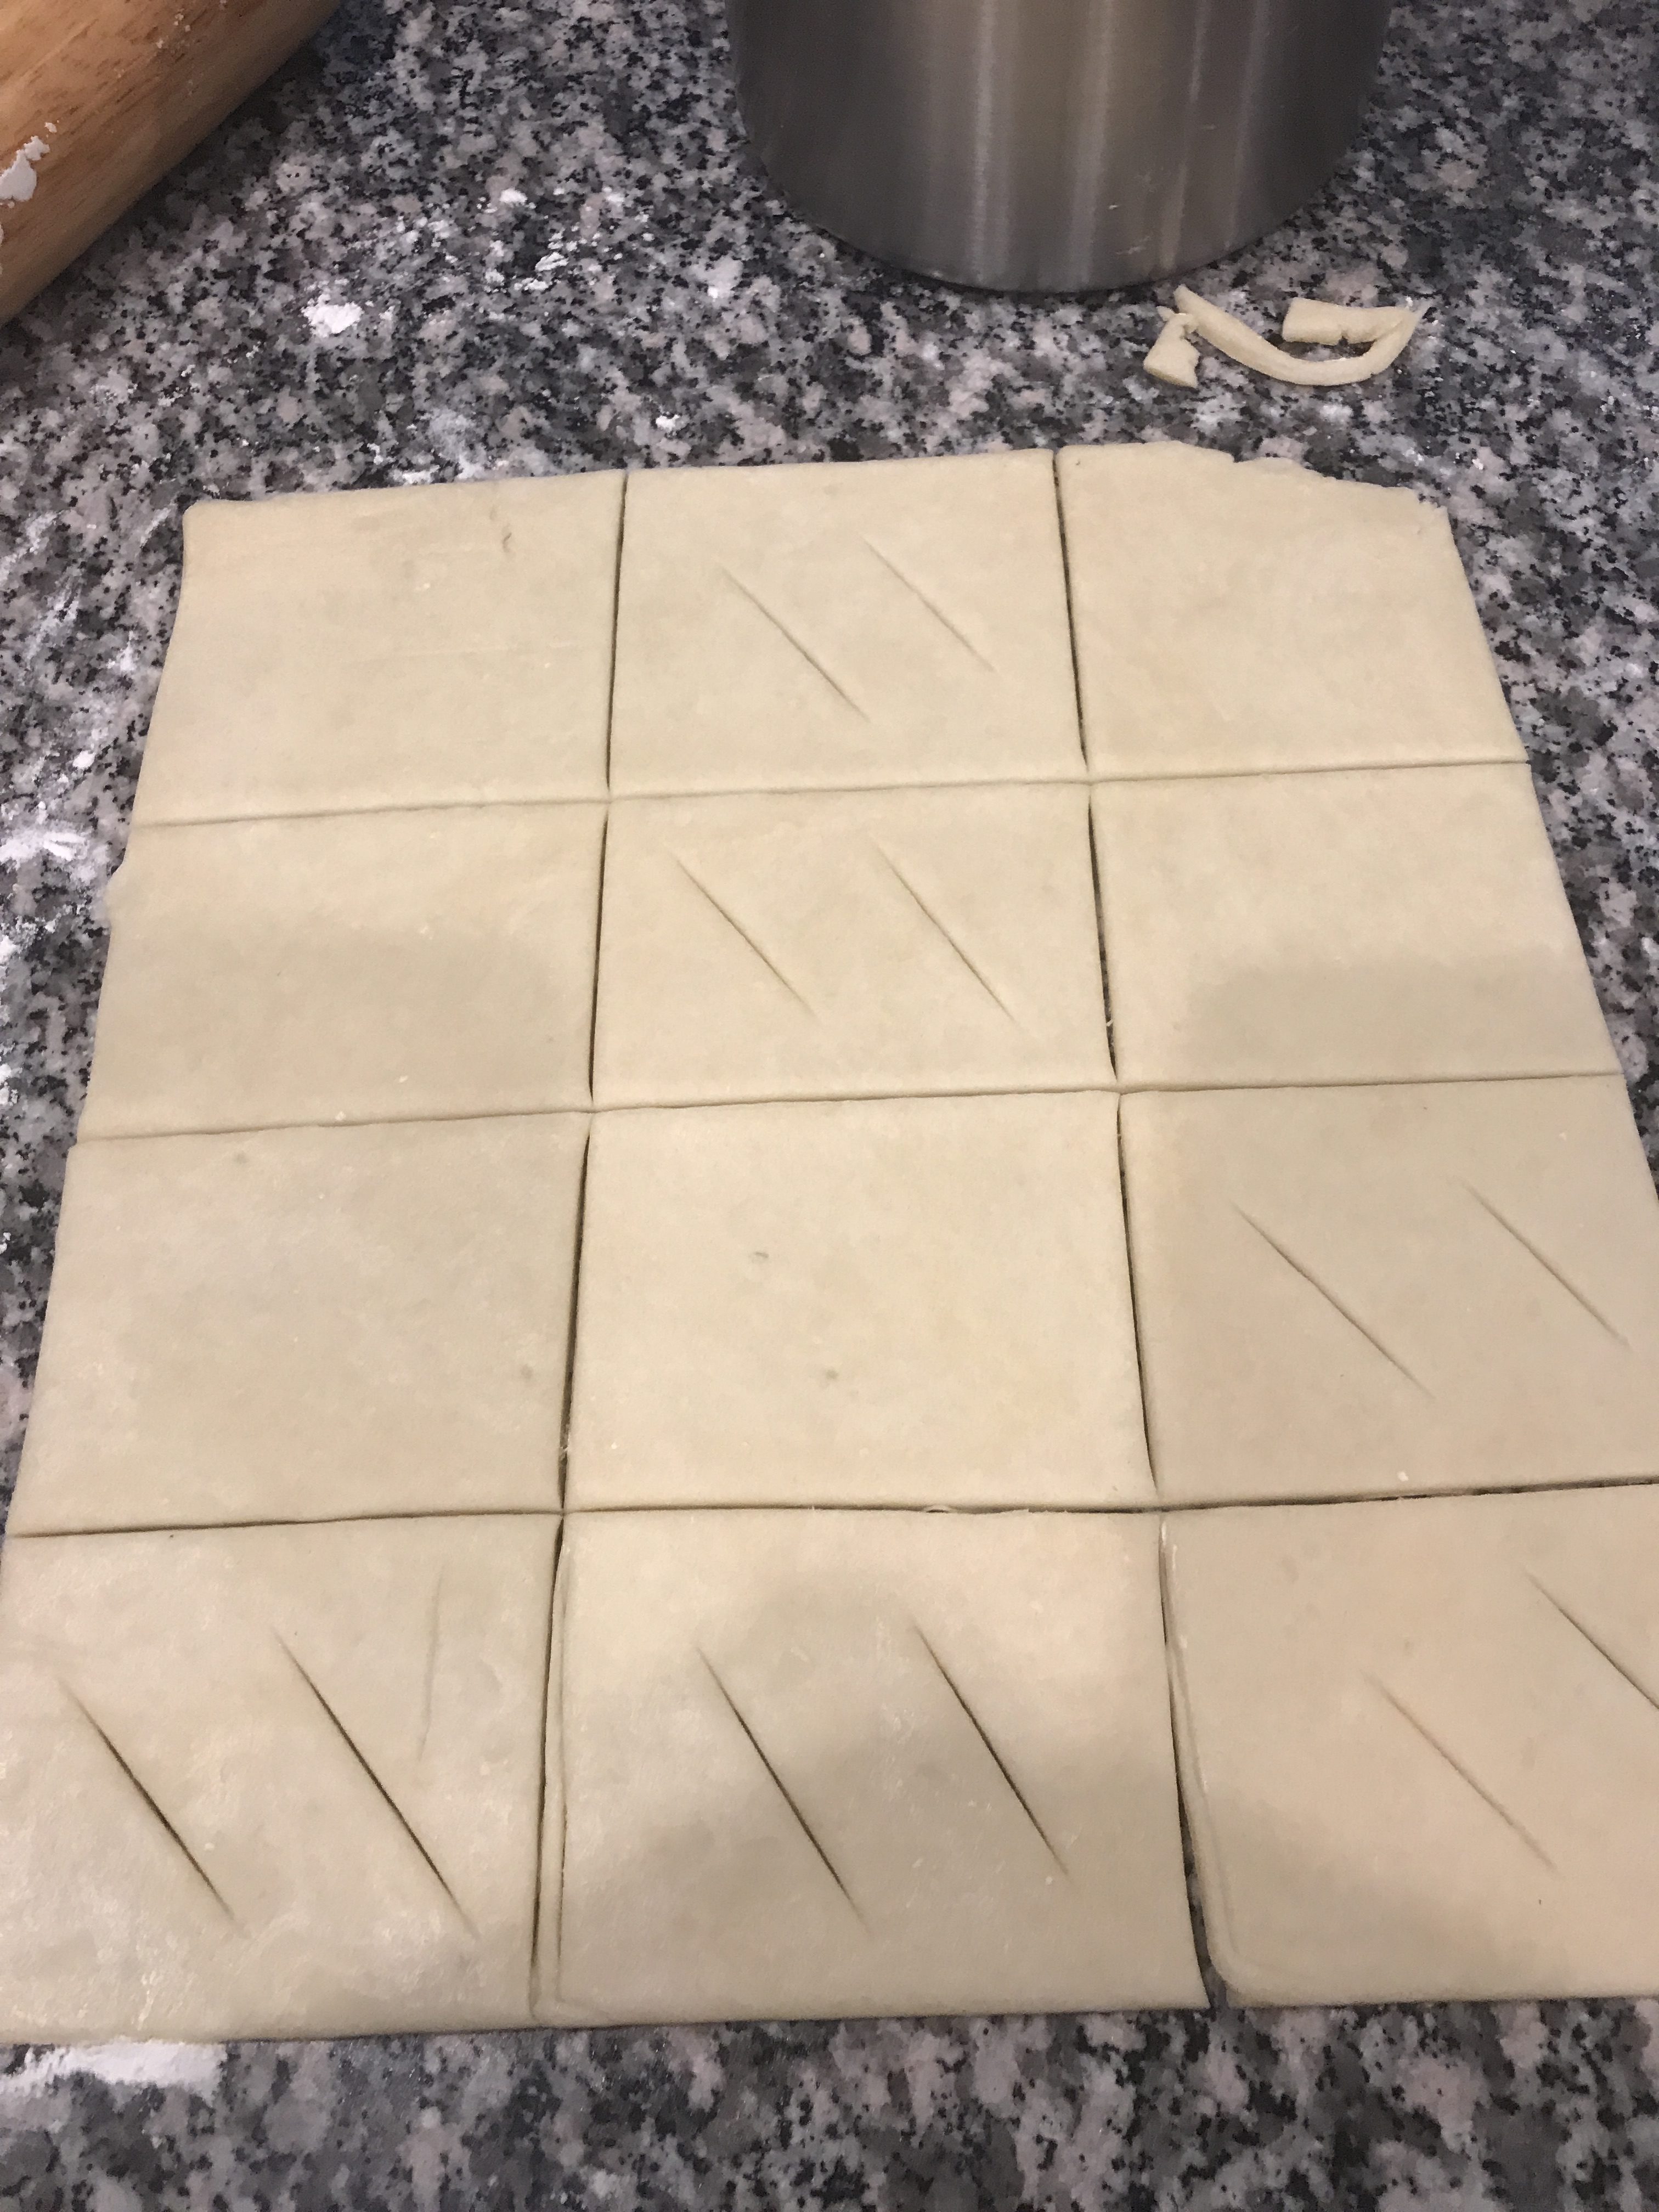
Roll the dough into a large square that’s about 1/8″ thick. With a straight edge and pastry wheel (or pizza cutter), cut out 16 – 3 inch squares. Make 2 or 3 cuts on 8 of the squares.
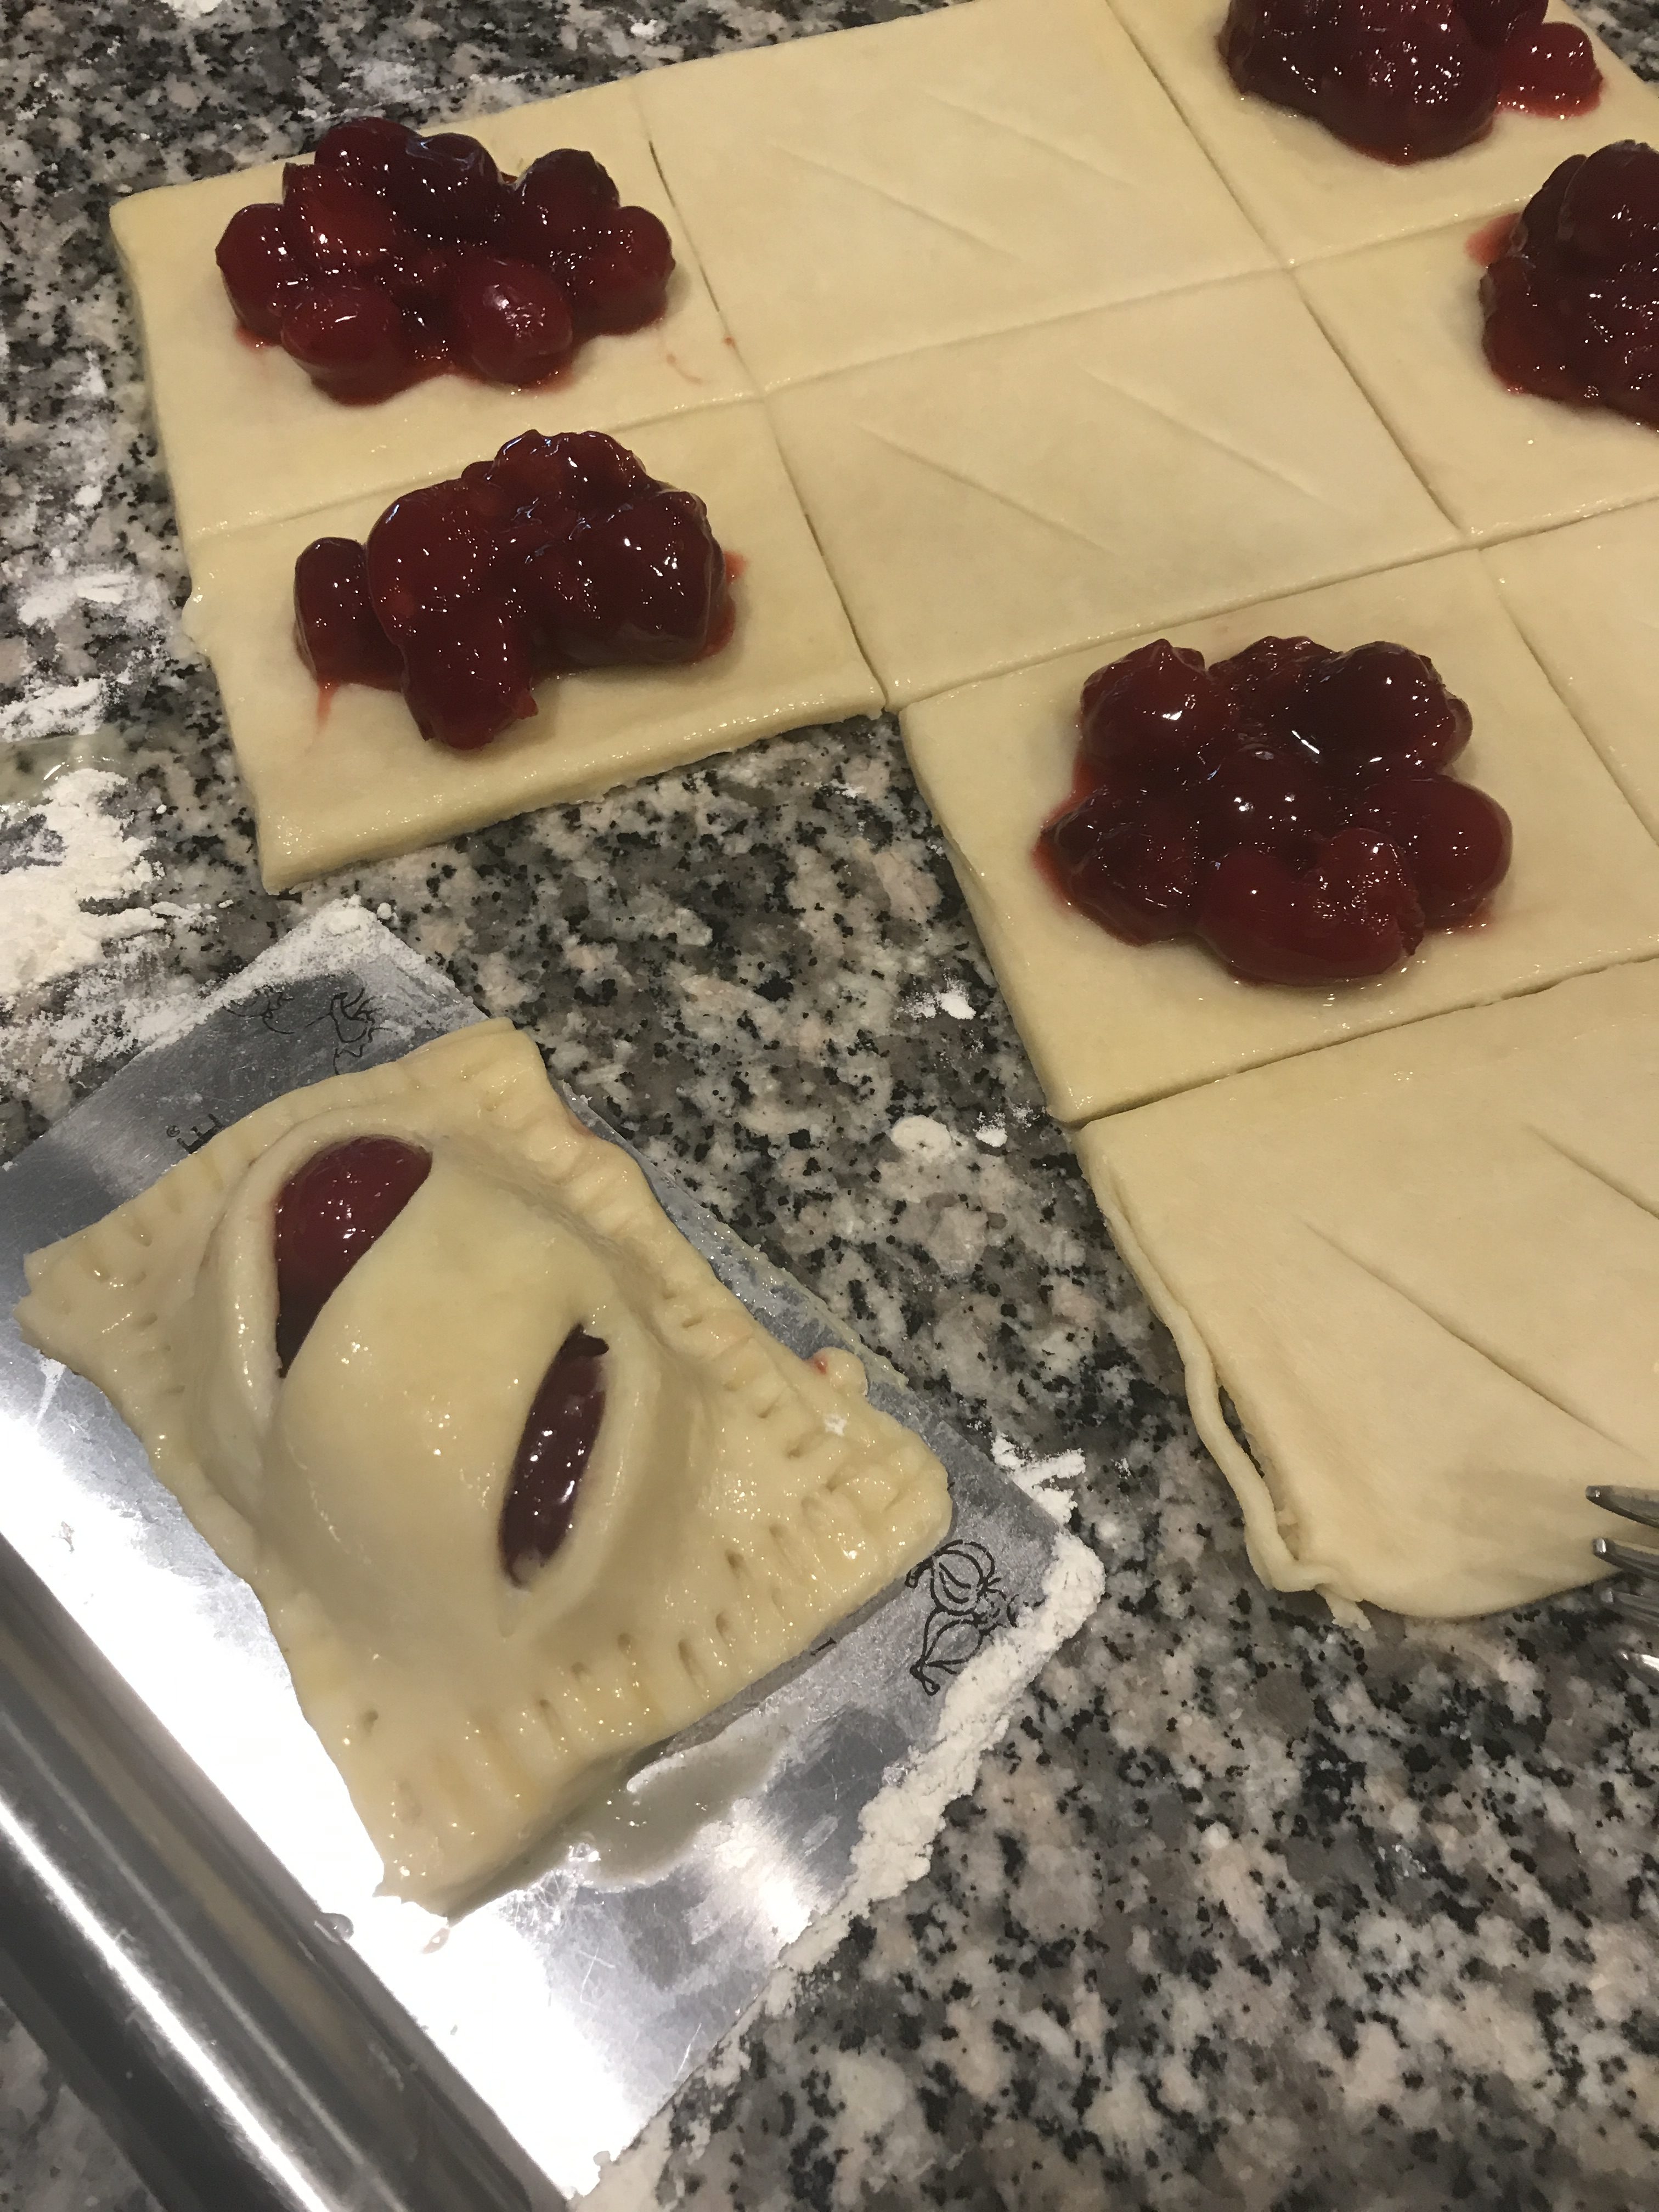
Fill the other 8 squares with 2 Tbl. of Cherry filling. Lightly brush the edges with the beaten Egg and top each Cherry topped square. Crimp sides together with a fork and lightly brush the tops of each pie.

Bake for 20 to 22 minutes or until golden brown. Remove from oven and cool. Then glaze.

Here is where I enjoy the idea of being a home cook. Notice the pies are not perfect. Some day I will strive for that but for now, I just want my recipes to look taste and taste even better than they look.
I really enjoyed listening and singing along to Creedence Clearwater Revival during this bake.
Well, then, until next time. Remember to eat well, drink well and live well.