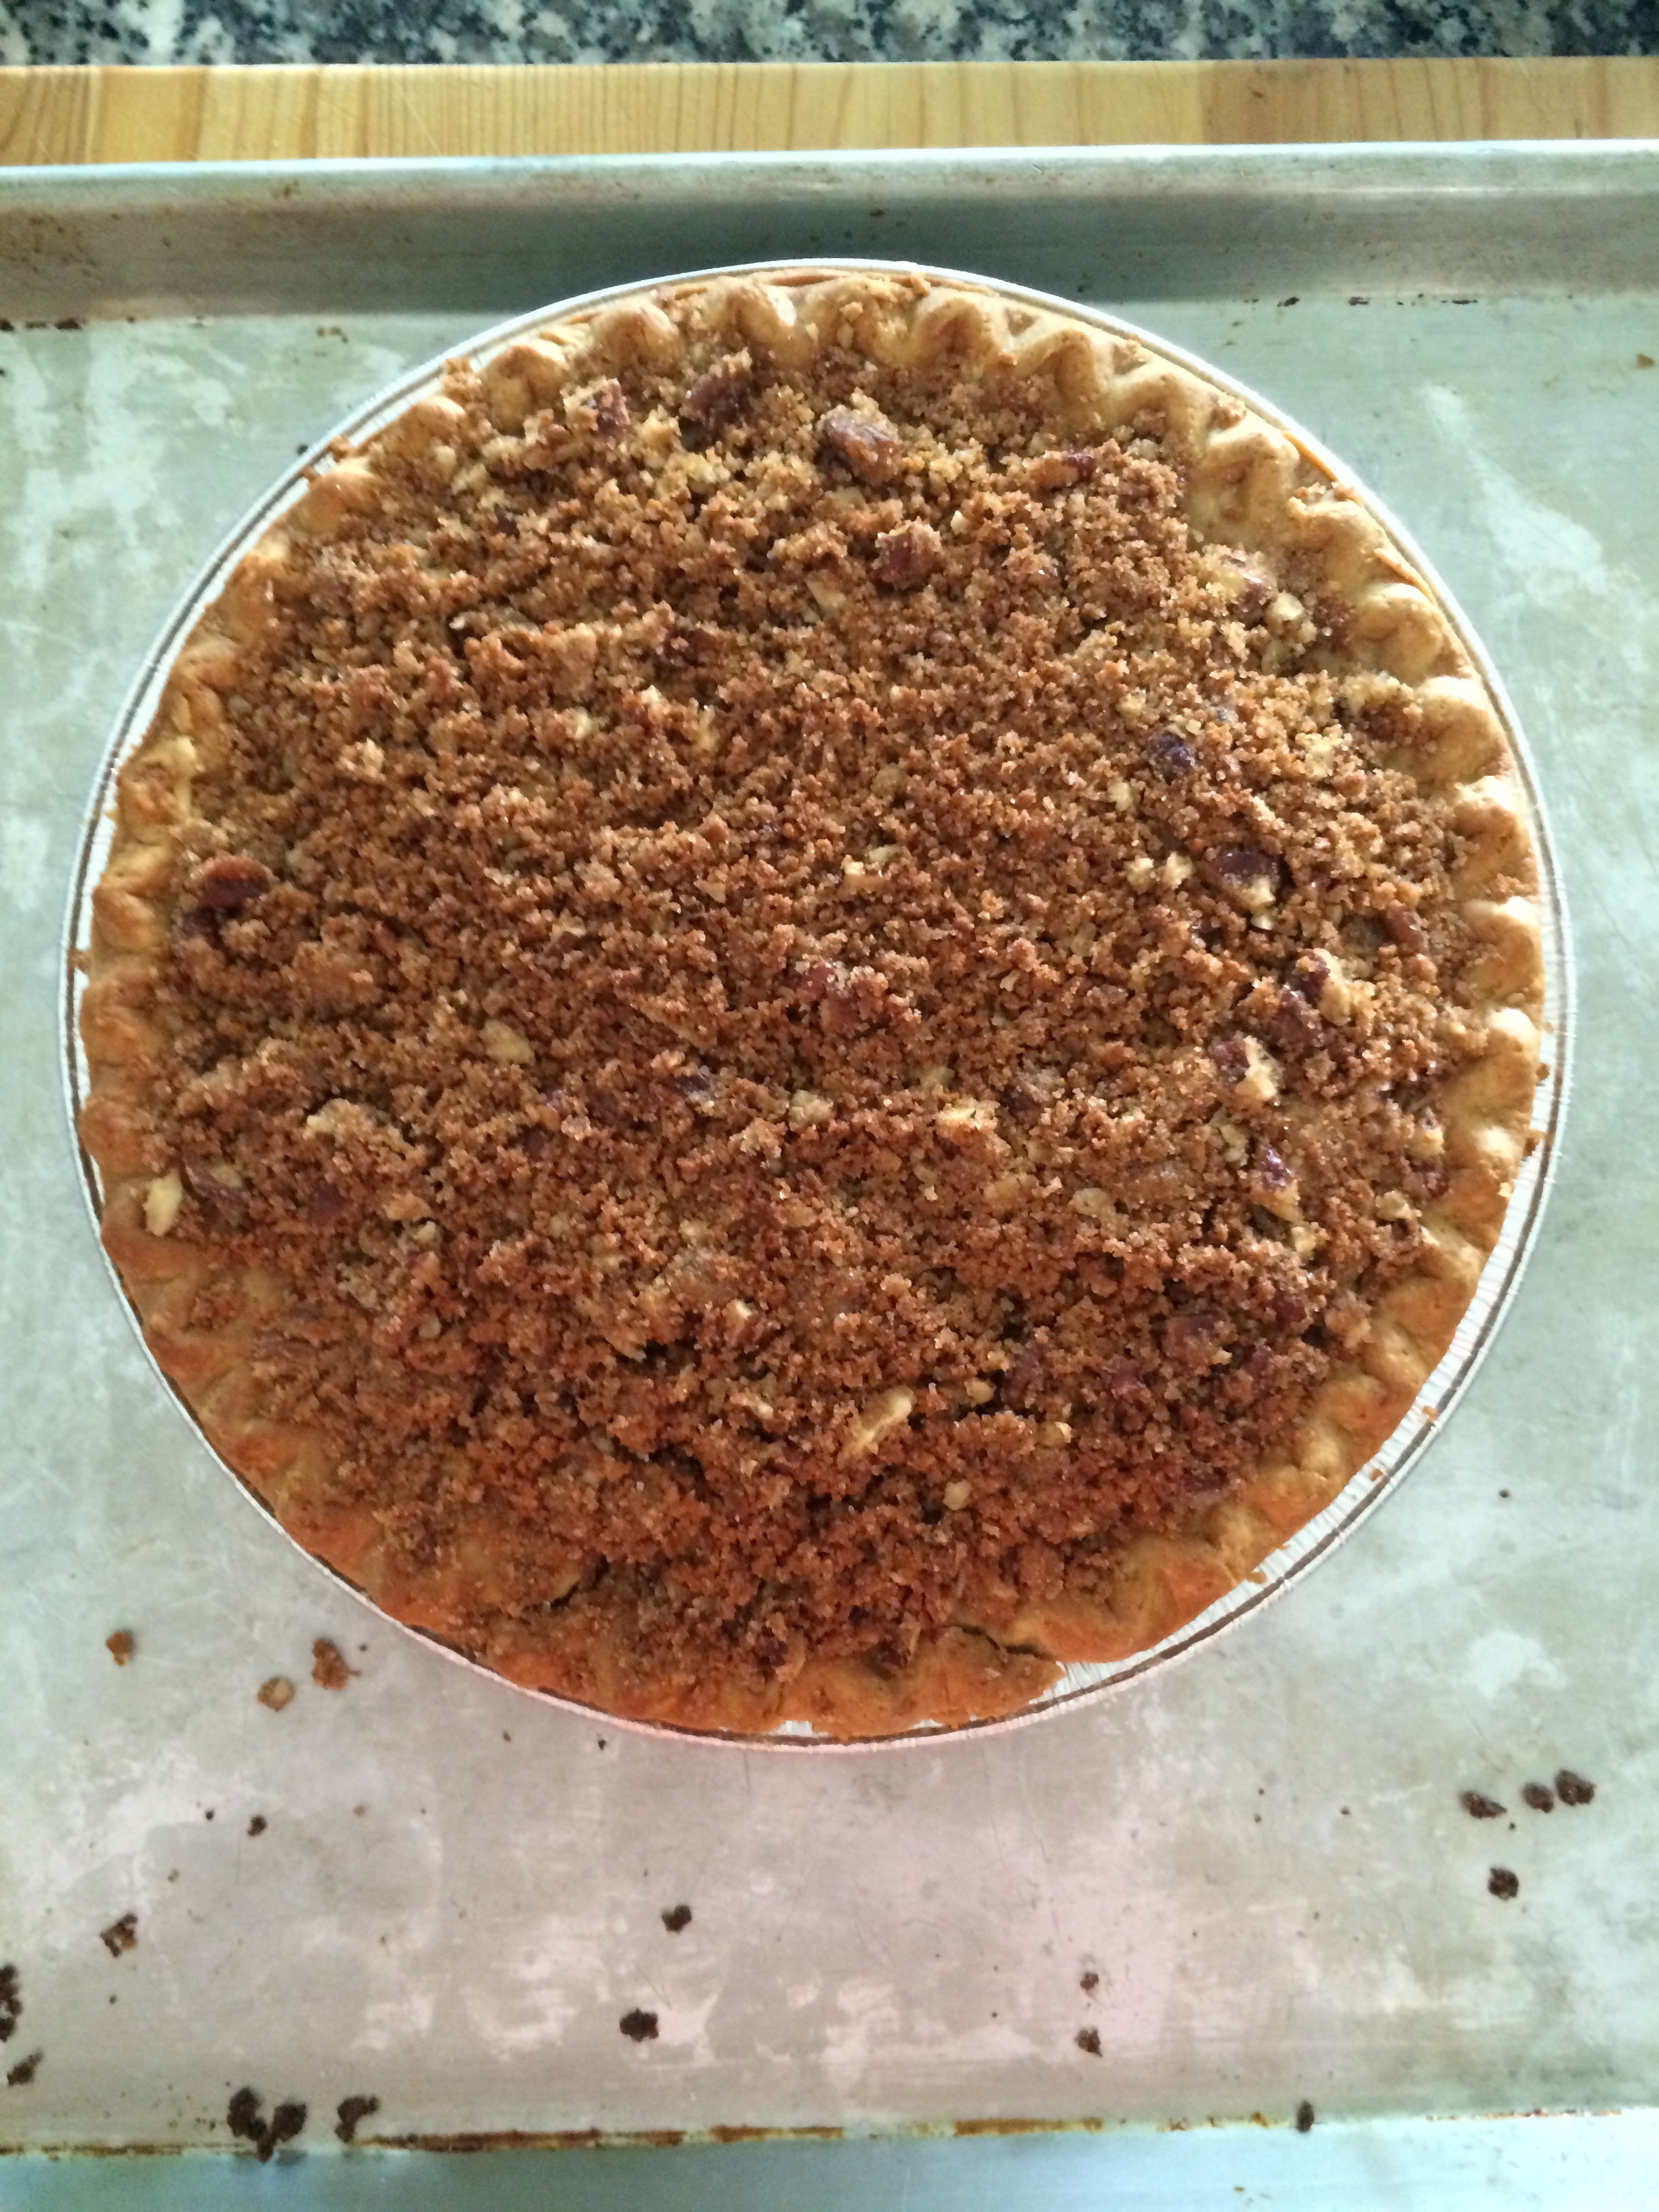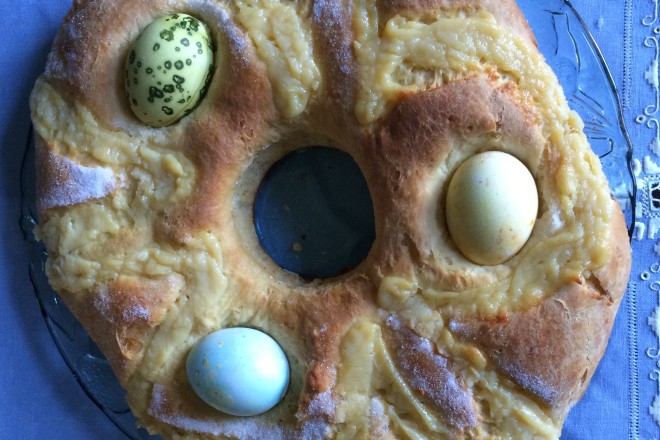
Rosca de Pascua is a traditional bread baked for Easter. There is a very similar one, Rosca de Reyes that is baked for Epiphany, Three Wise Men Day, or January 6th. My mom would bake this and as often happens to me, I cannot make it as flavorful as she did. The first thing that is a little off, is the “Agua de Azahar”, which I can’t find anywhere. “Agua de azahar” is lemon blossom water. Orange blossom water is every where. I often use it as a replacement but it really doesn’t add enough flavor to the bread. I made two of these, one with orange blossom water and one with my homemade lemon extract. The second one with the lemon was tastier. I’ve been asking around to see if anyone has ever seen agua de azahar. There are two chefs on the sensory panel that I am on and one of them told me of a market that carries it. Unfortunately, it’s a couple of hours away in a direction that I don’t often travel. So, I think I will keep it in mind for the next time I head down to Argentina and pick up a bottle then, or maybe two. It will be more likely for me to go to Argentina than to go to this market.
The tradition of bringing back food from Argentina is a long one. My mom once brought back a whole “jamón serrano”, (similar to prosciutto). We are talking about the hind leg of a pig! It was made on my cousin’s farm. He has an employee that makes these unbelievable hams. Mom wrapped it up and carried it on board. I still chuckle at the sight of her as she was coming out of the plane carrying this object on her shoulder. I thought she had brought me back a banjo or something. Now, this was before 9/11 and security wasn’t as tight but customs was even tougher then. Three years ago, I brought back some cheese. I was at my cousin’s house and his wife is an incredible cook. She makes pastas, pastries and desserts all from scratch and they are truly delicious. Well, one day, I was commenting on how yummy the mozzarella was. She suggested I take some home. Well, I thought about it. It is processed and I would be able to get a packaged one which would make it through customs easier. Then, I thought best not deal with it. We are talking about cheese, right? The day before my flight, Nelly, my cousin’s spouse, arrives with a 5 kilo mozzarella! What am I to do? I packed it and off I went on my 20 hour journey. When I got to Texas, I declared my cheese. As I walked through customs, the agent looked at my form and asked me if it was correct. I said, yes, I have a 10 lb. block of mozzarella in my suitcase. He started to ask more questions, paused, and told me to go on through with a smile on his face. Good thing I pack light and had room in my bag. It would not have been so much fun to travel with it in my hand luggage. That year, my family, my friends, and my students were able to enjoy that block of cheese. We ate it all up. Moral of the story: Always have extra room in your bags for the return trip. You never know what you might end up packing.
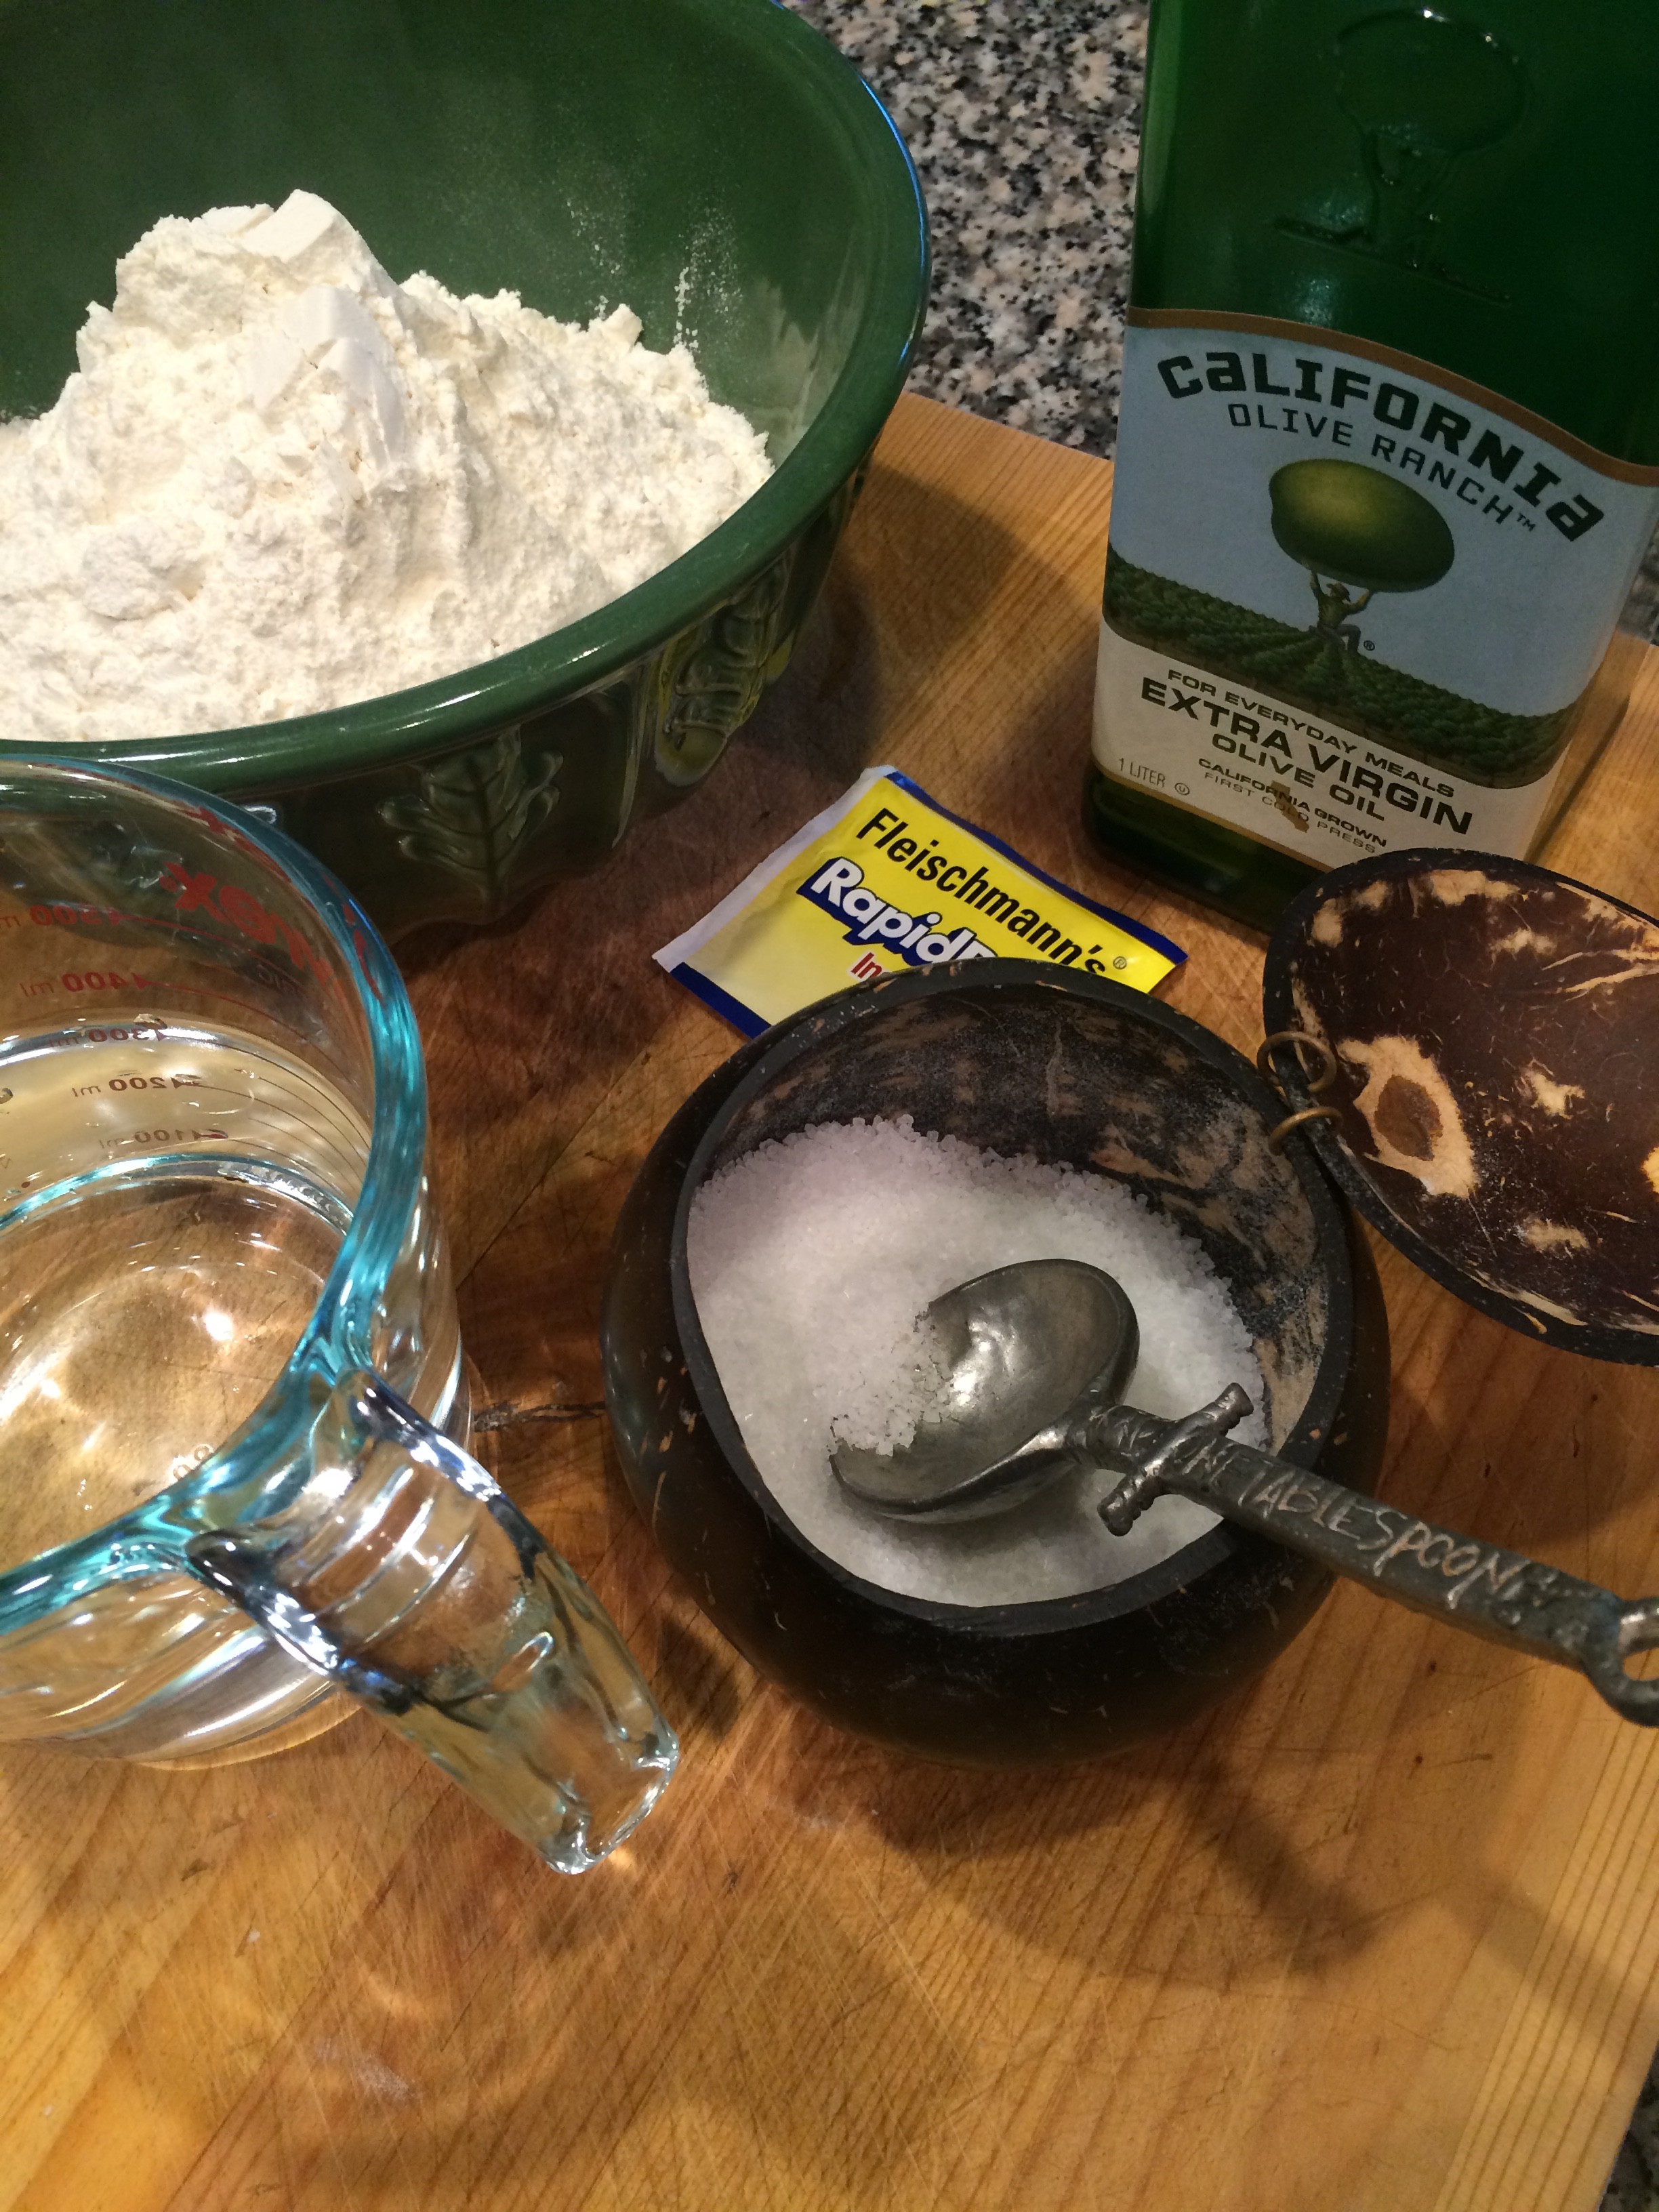
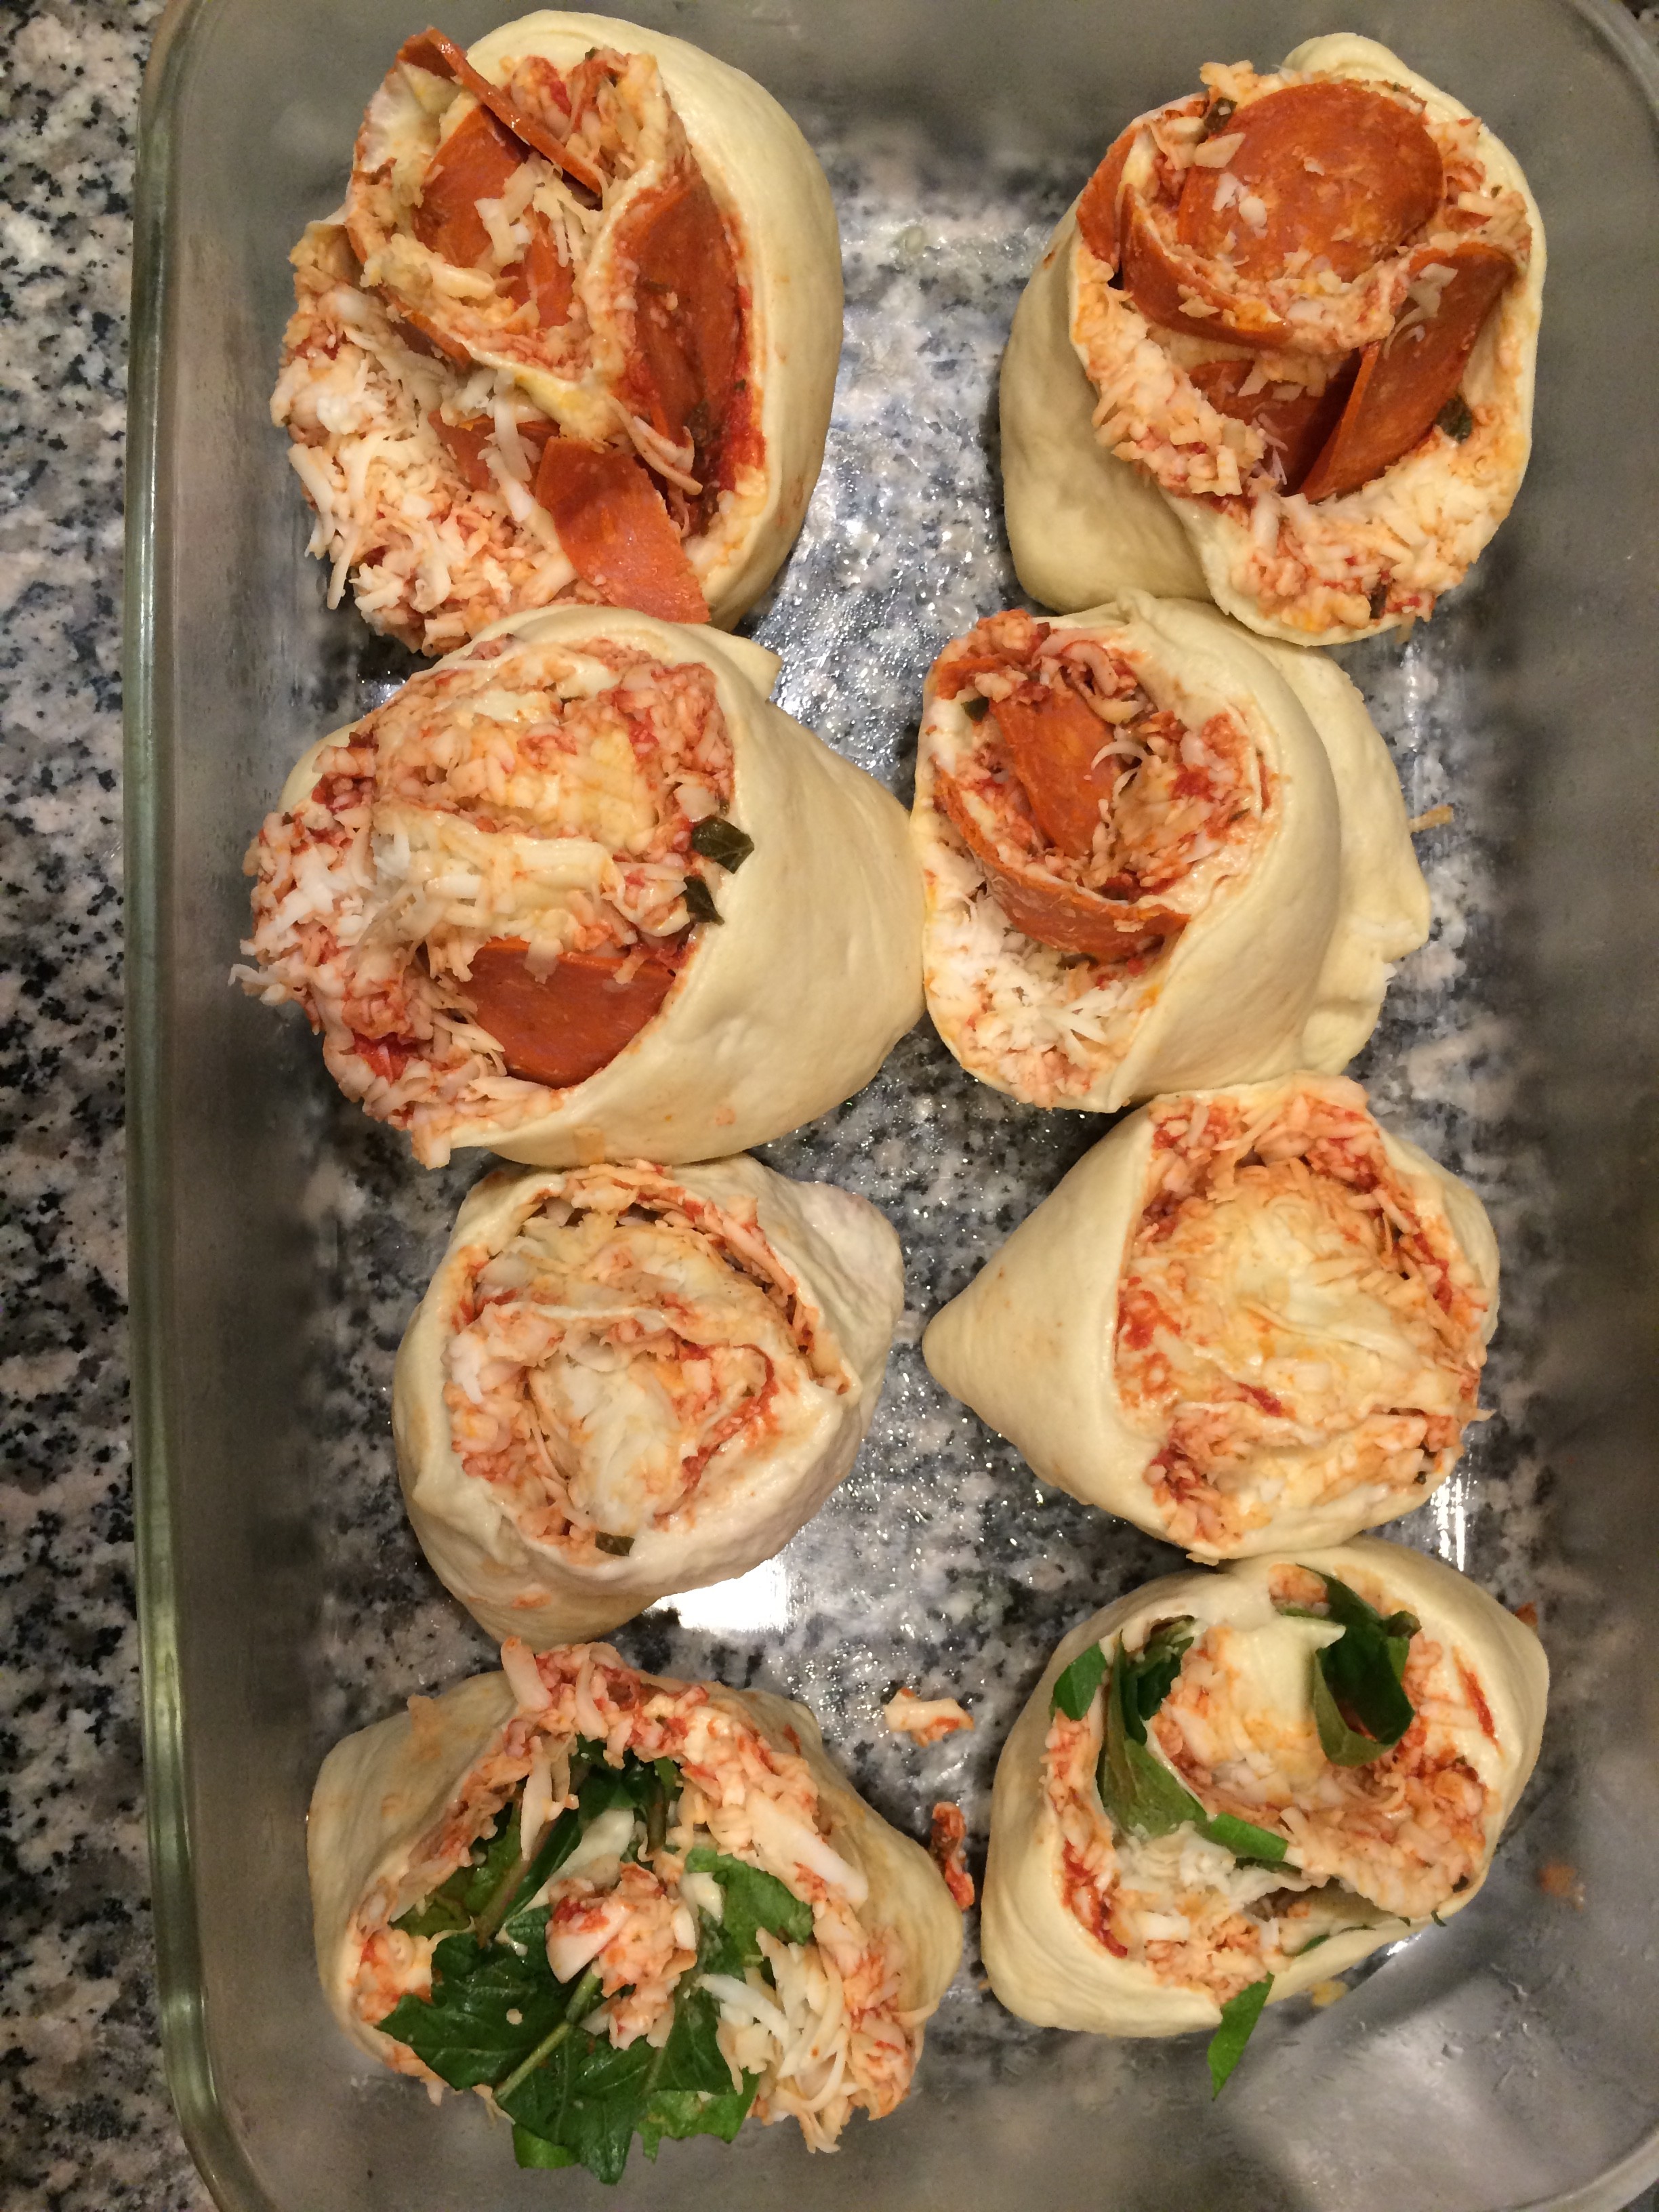
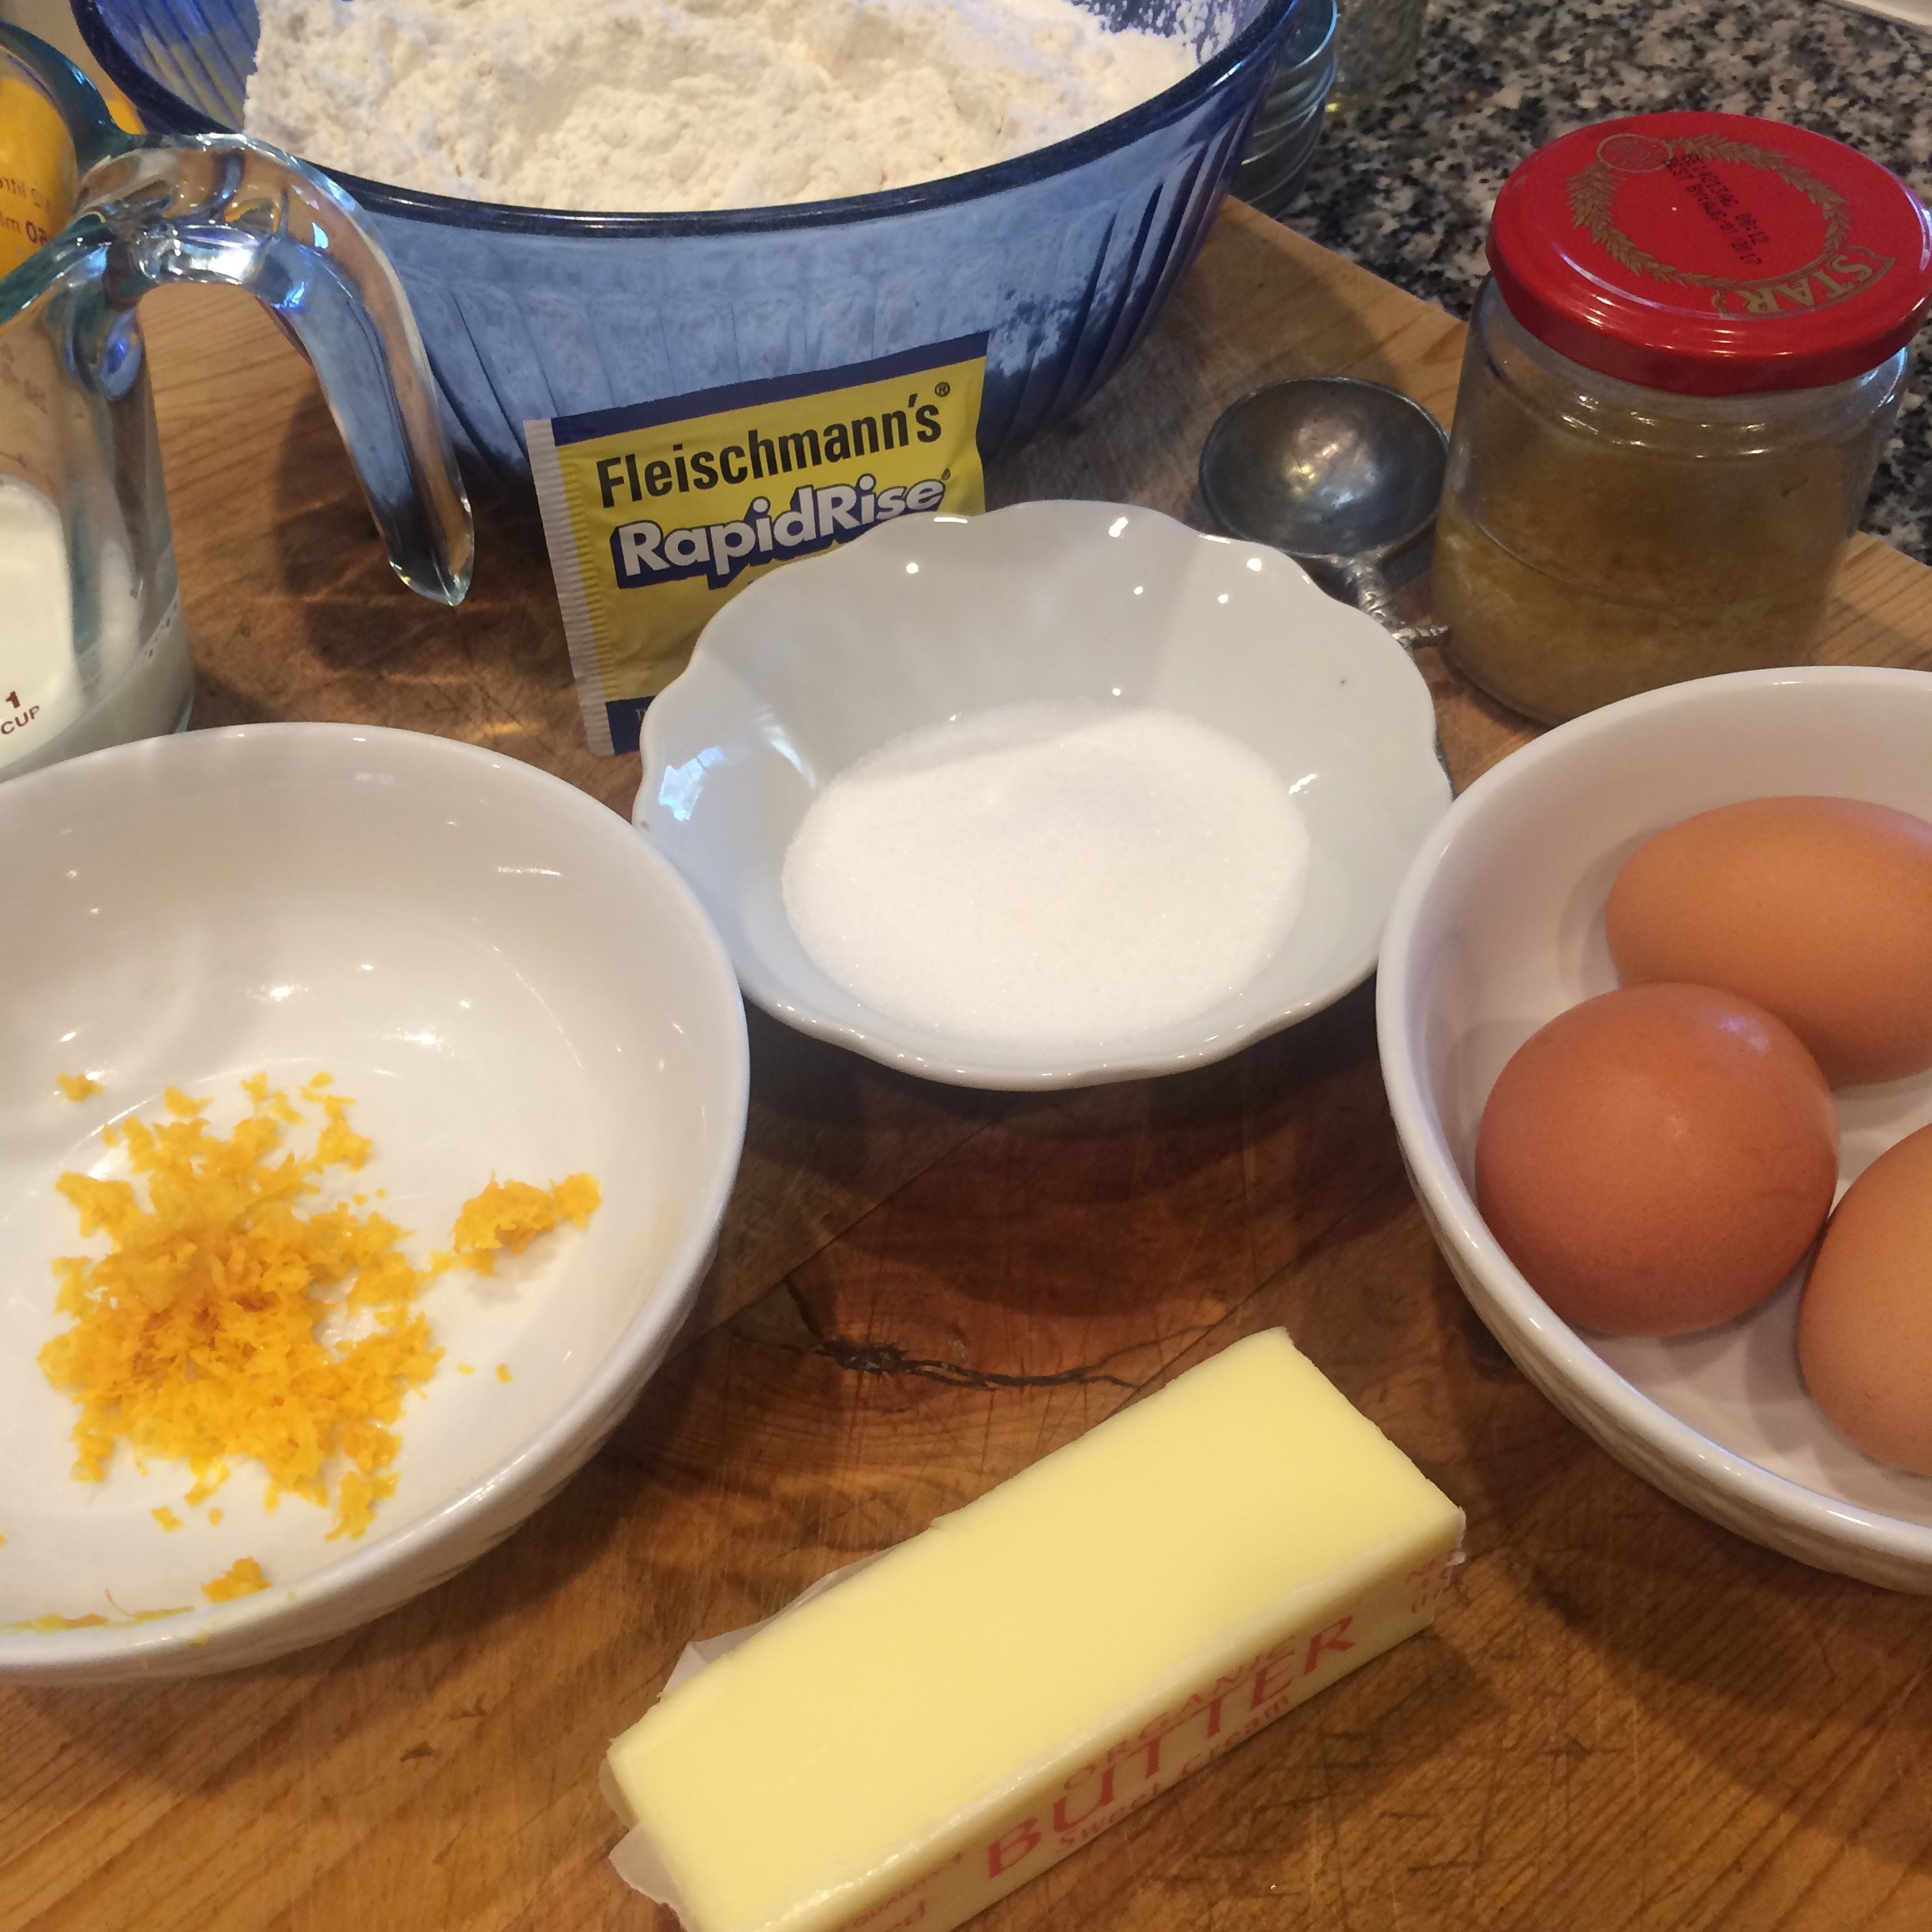
Ingredients
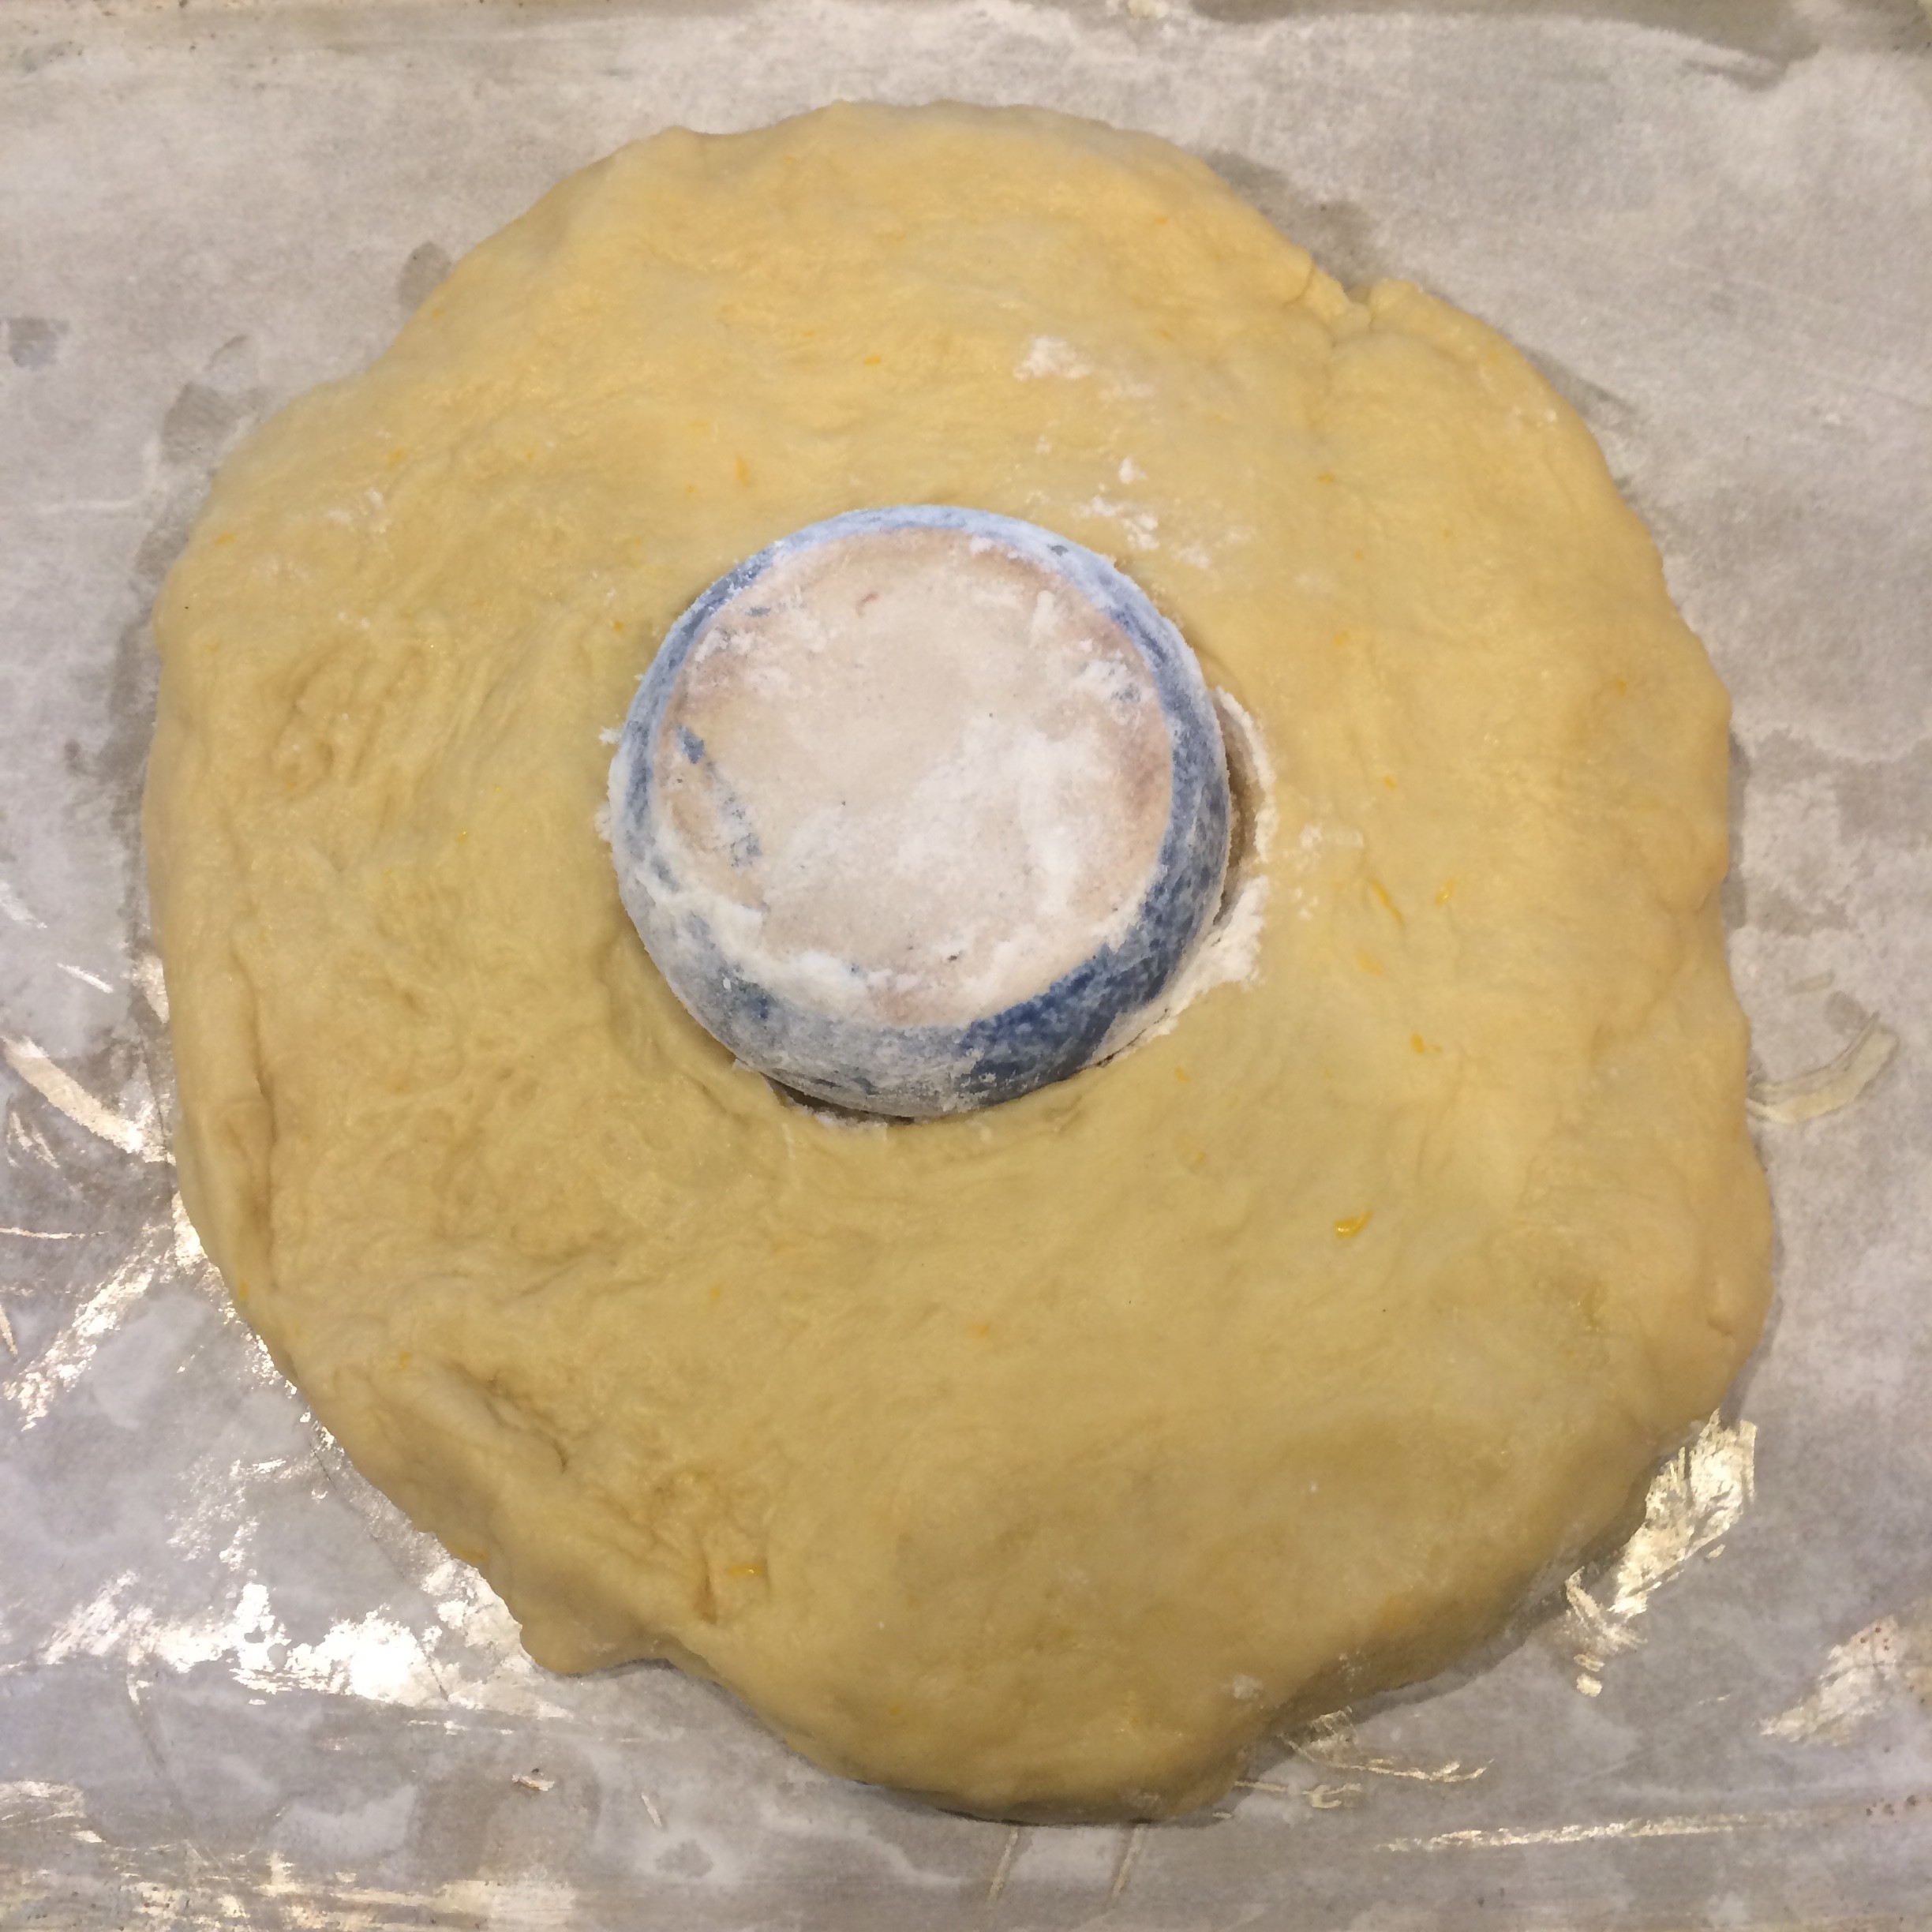
You will need a glass, cookie cutter or any circular item that can be a “space holder” for the center of the wreath. I used a clay vessel, kind of like a cup.
Bread
6 Tbls. warm Milk
1 packet (50 grams) Yeast
3 Tbls. Sugar
1 pinch Salt
3 Eggs
1 Tbl. Agua de Azahar or Lemon Extract or Vanilla Extract
Grated Peel of 1/2 Lemon
1 cube (8 Tbls.) melted Butter
3 1/2 cups Unbleached Flour
3 raw Eggs (dyed if you wish)
1 Egg Wash
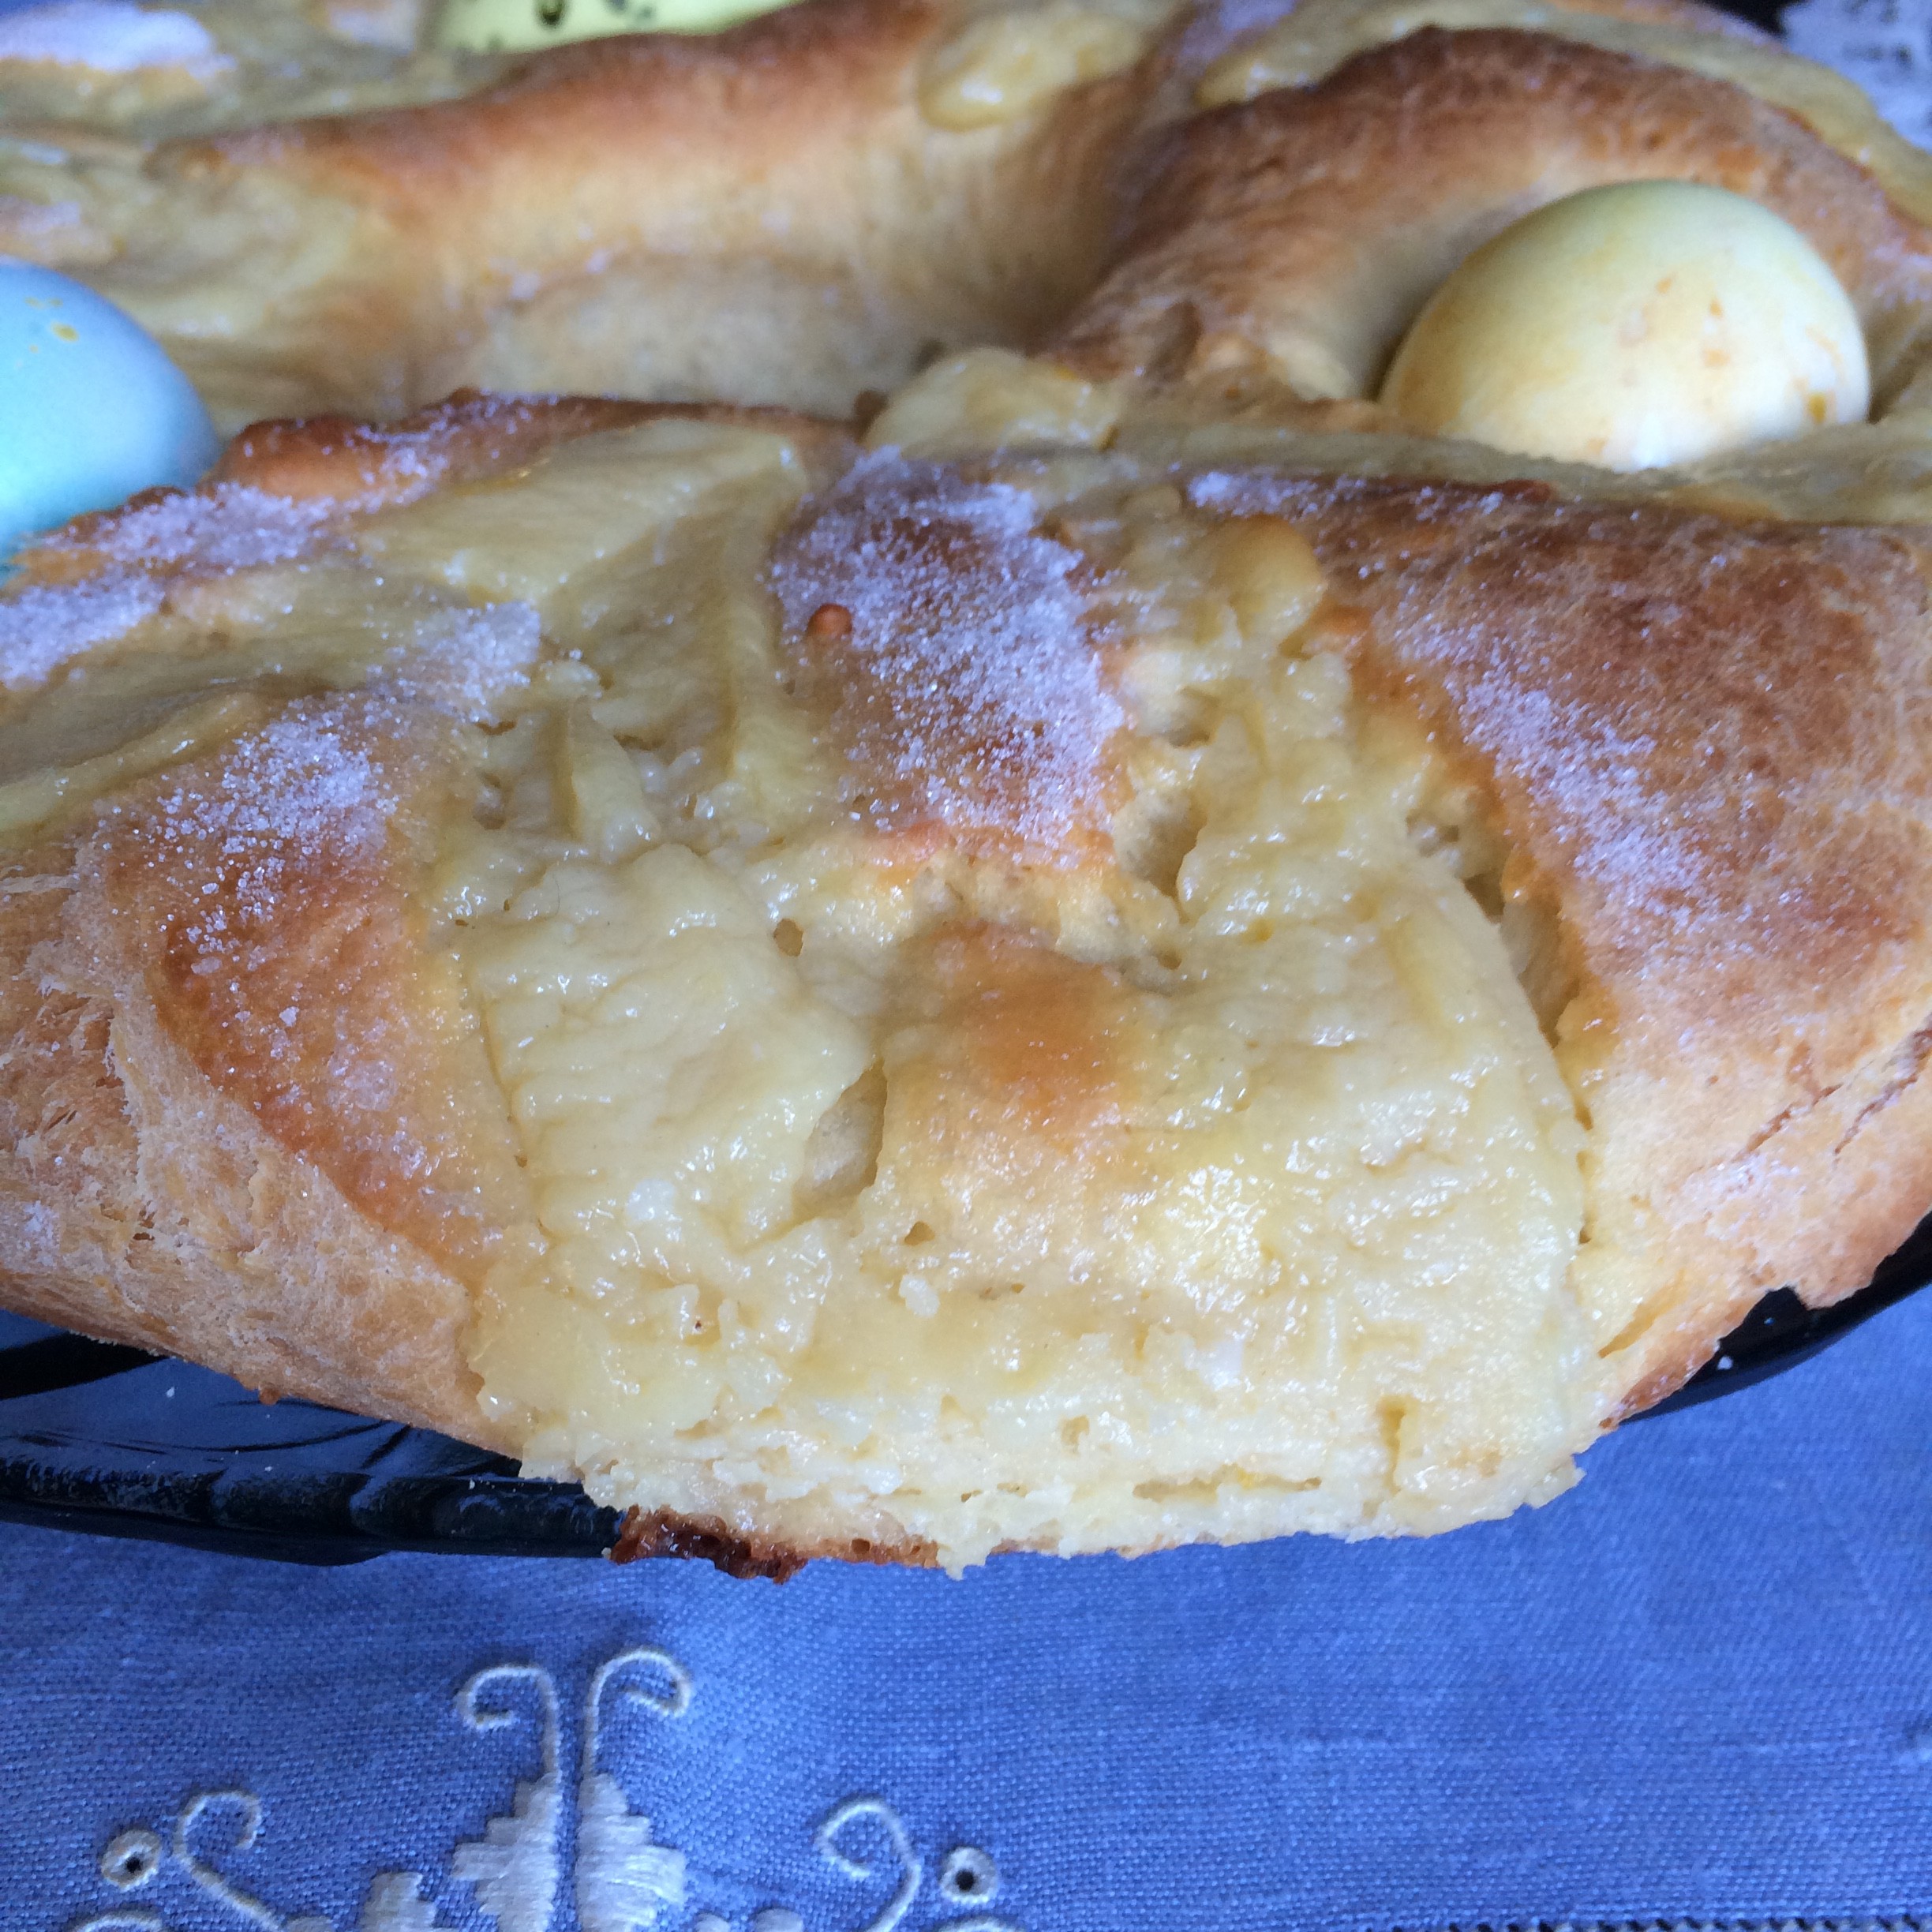
Crema Pastelera
1 Tbl. Flour
1 Egg
4 Tbls. Sugar
1 cup Milk
1 tsp. Vanilla Extract
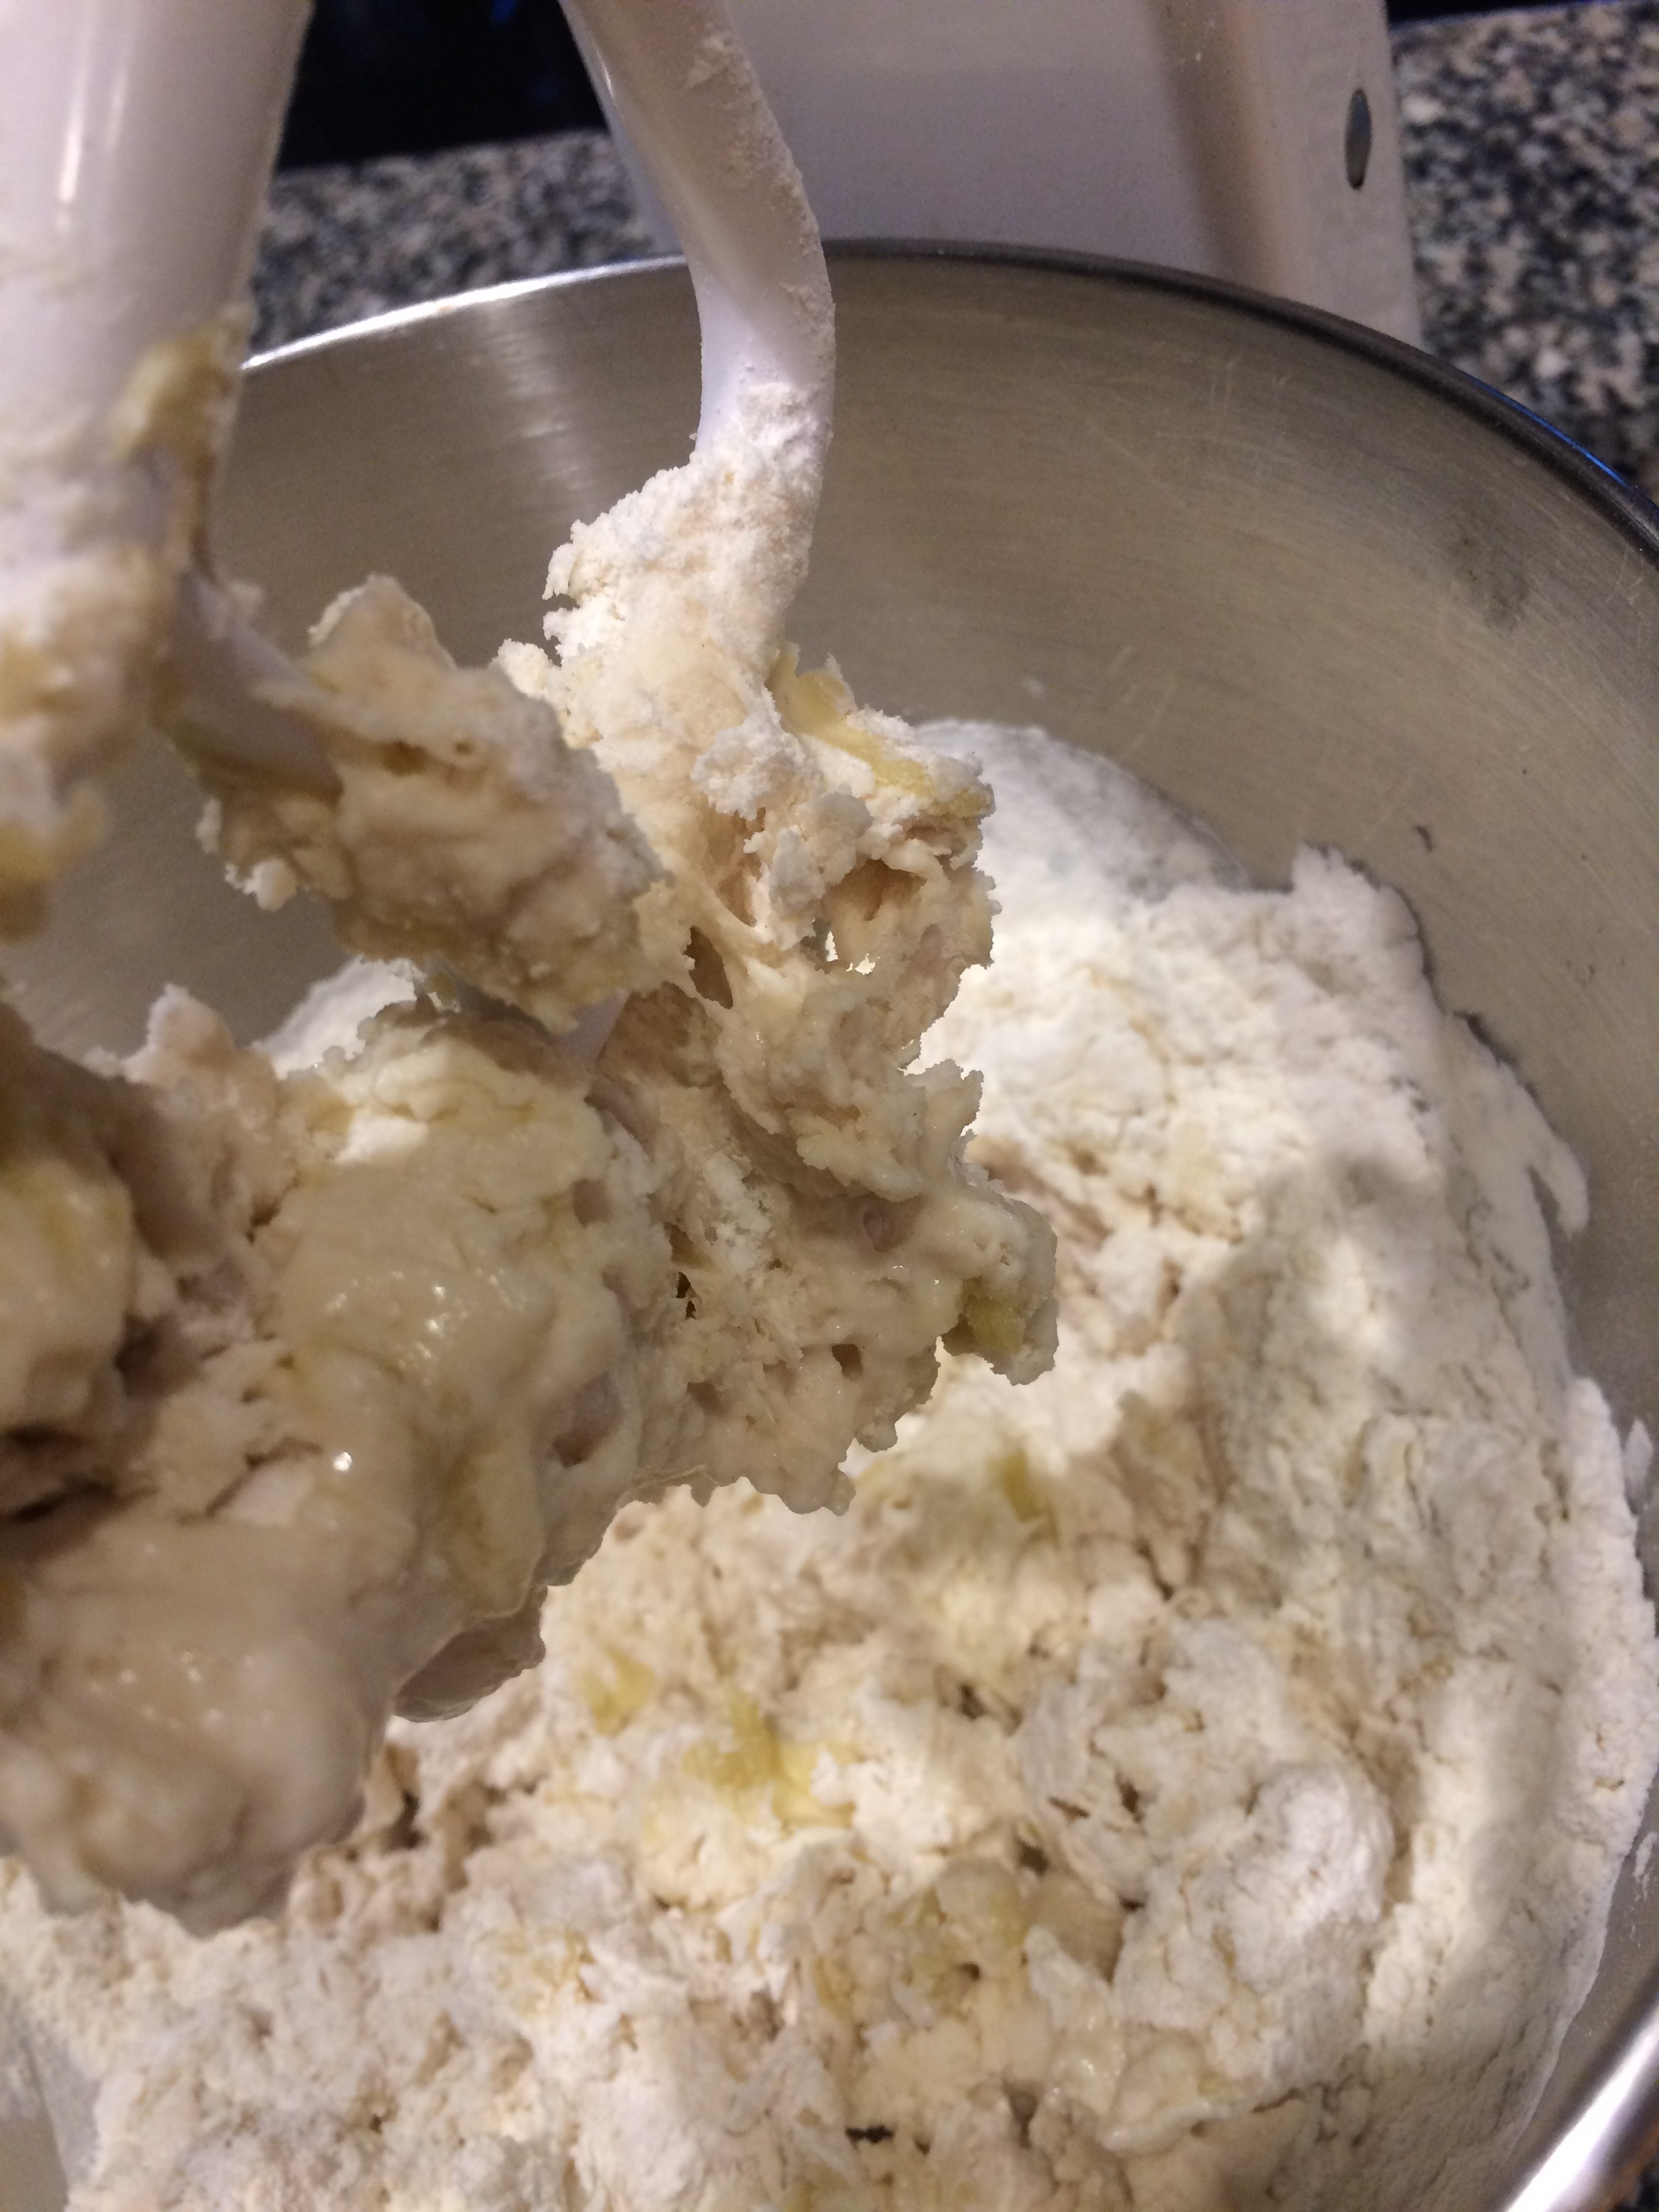
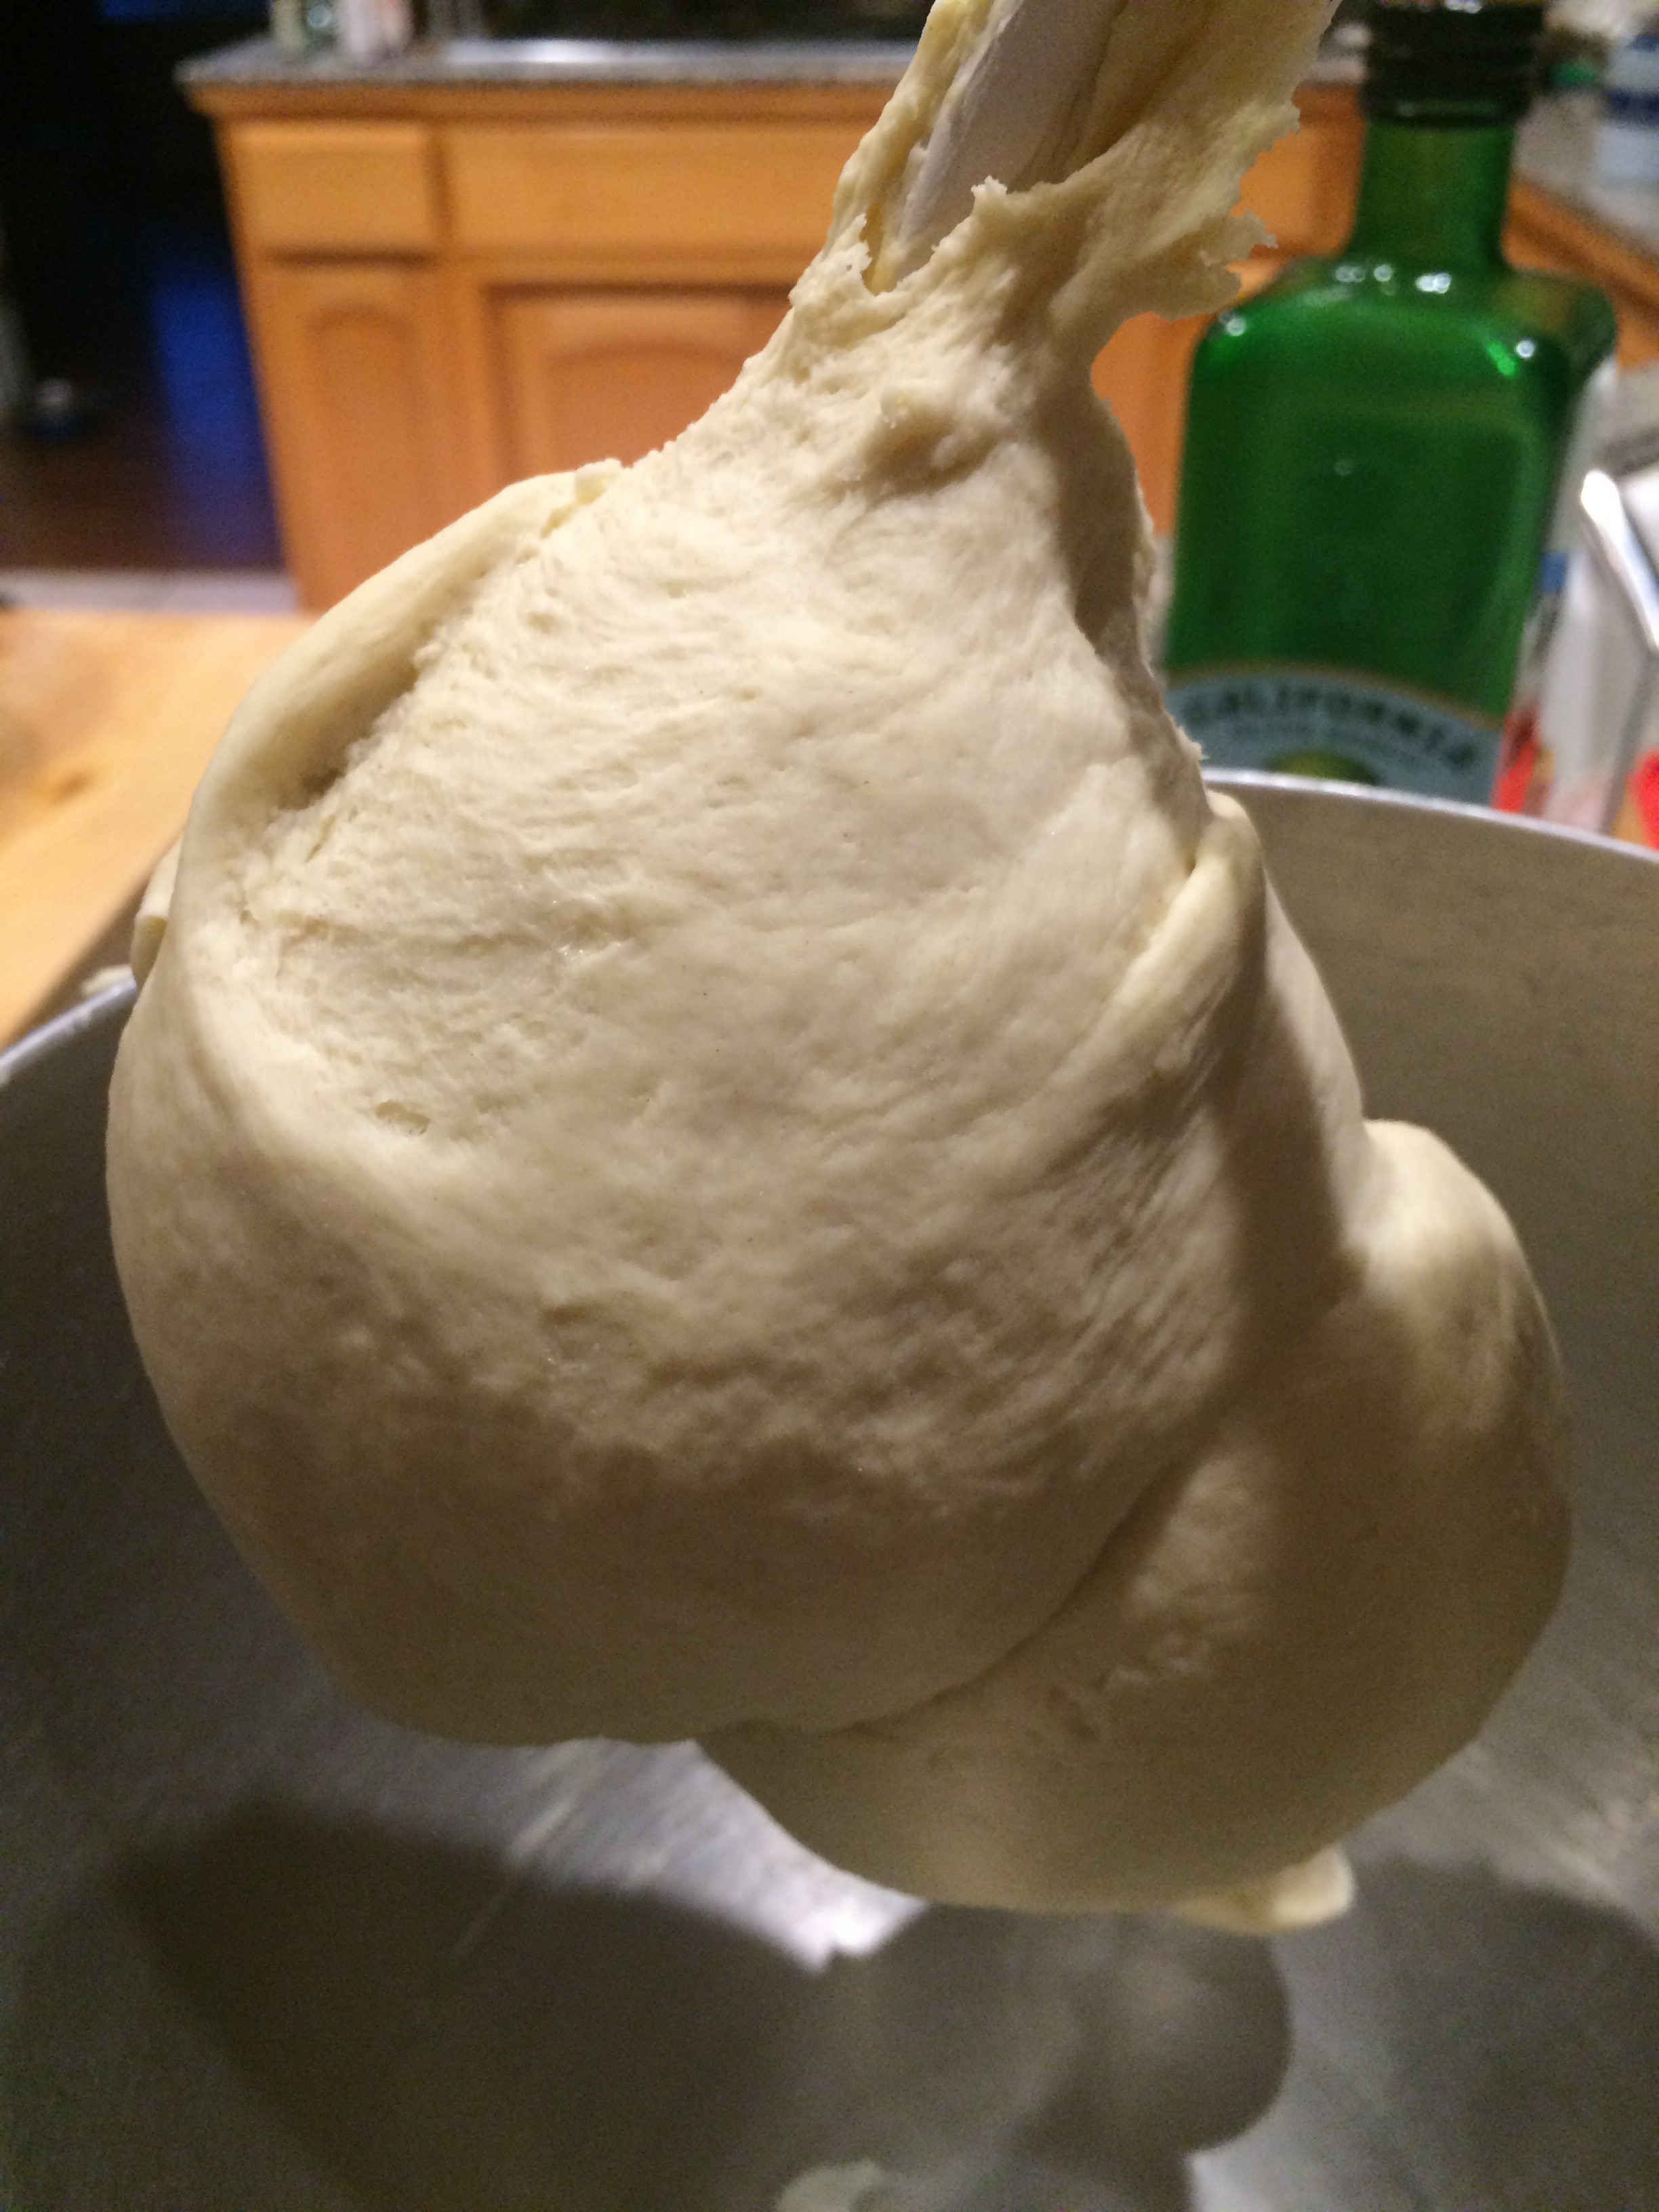
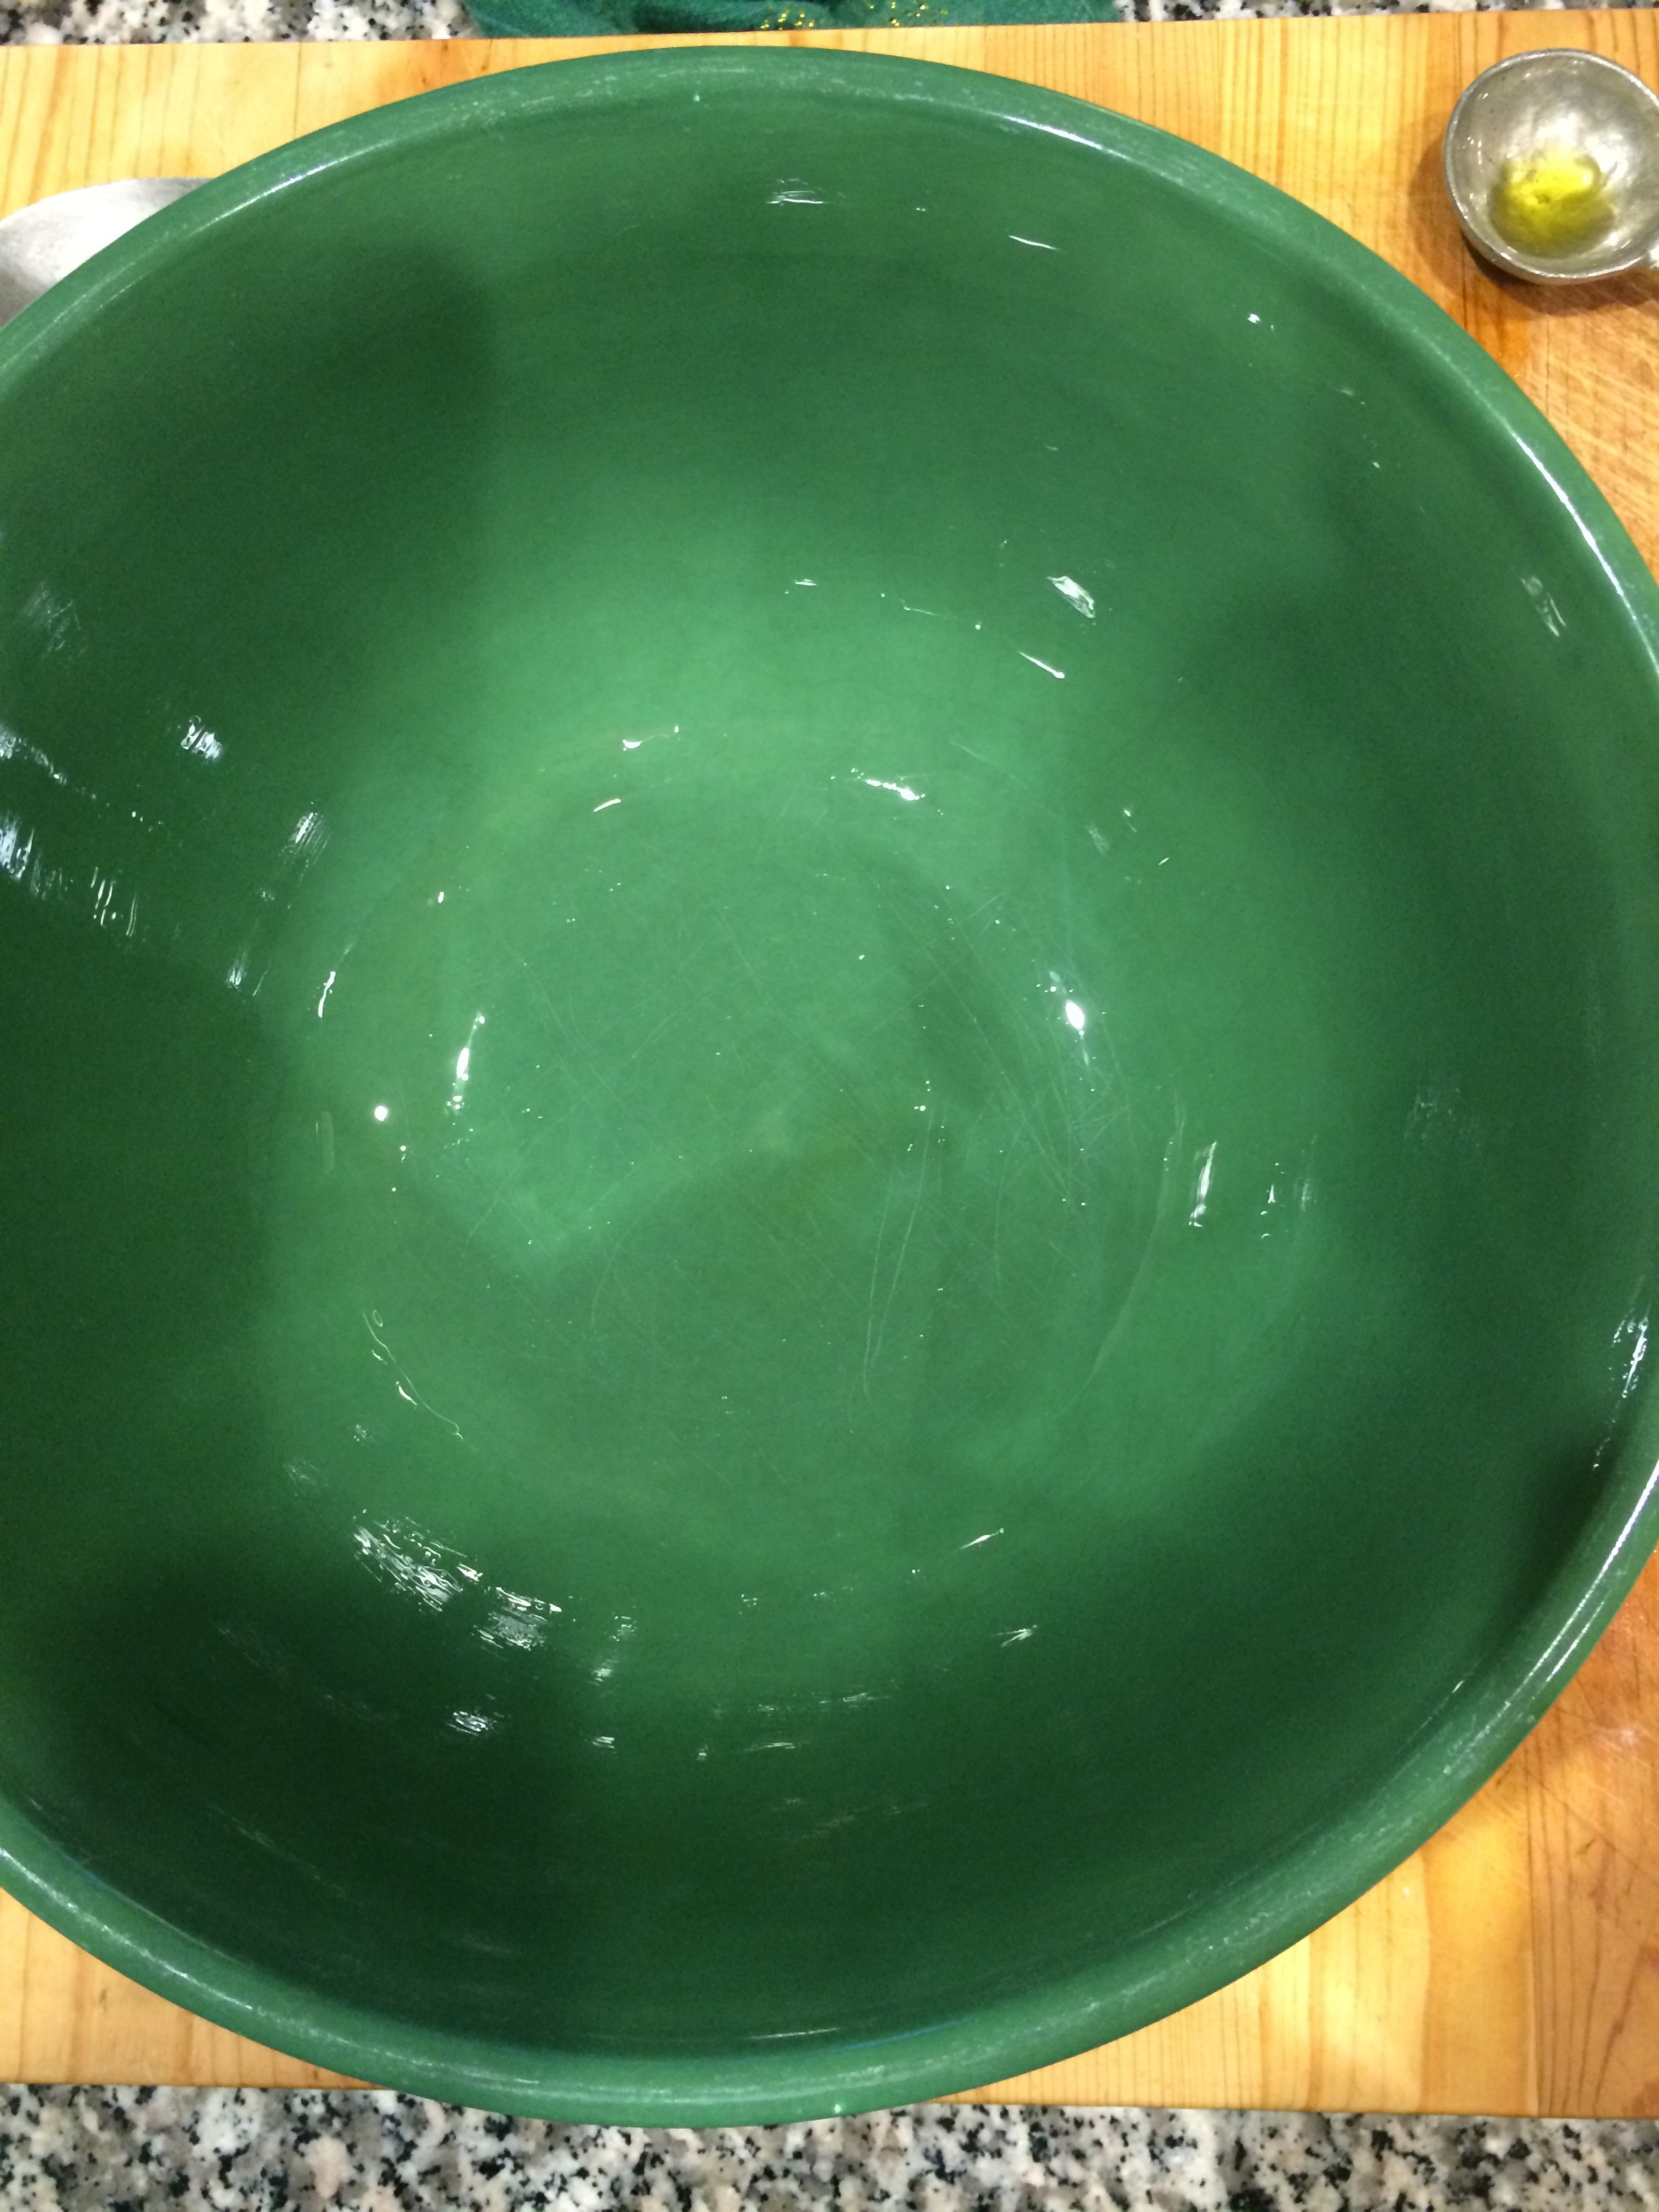
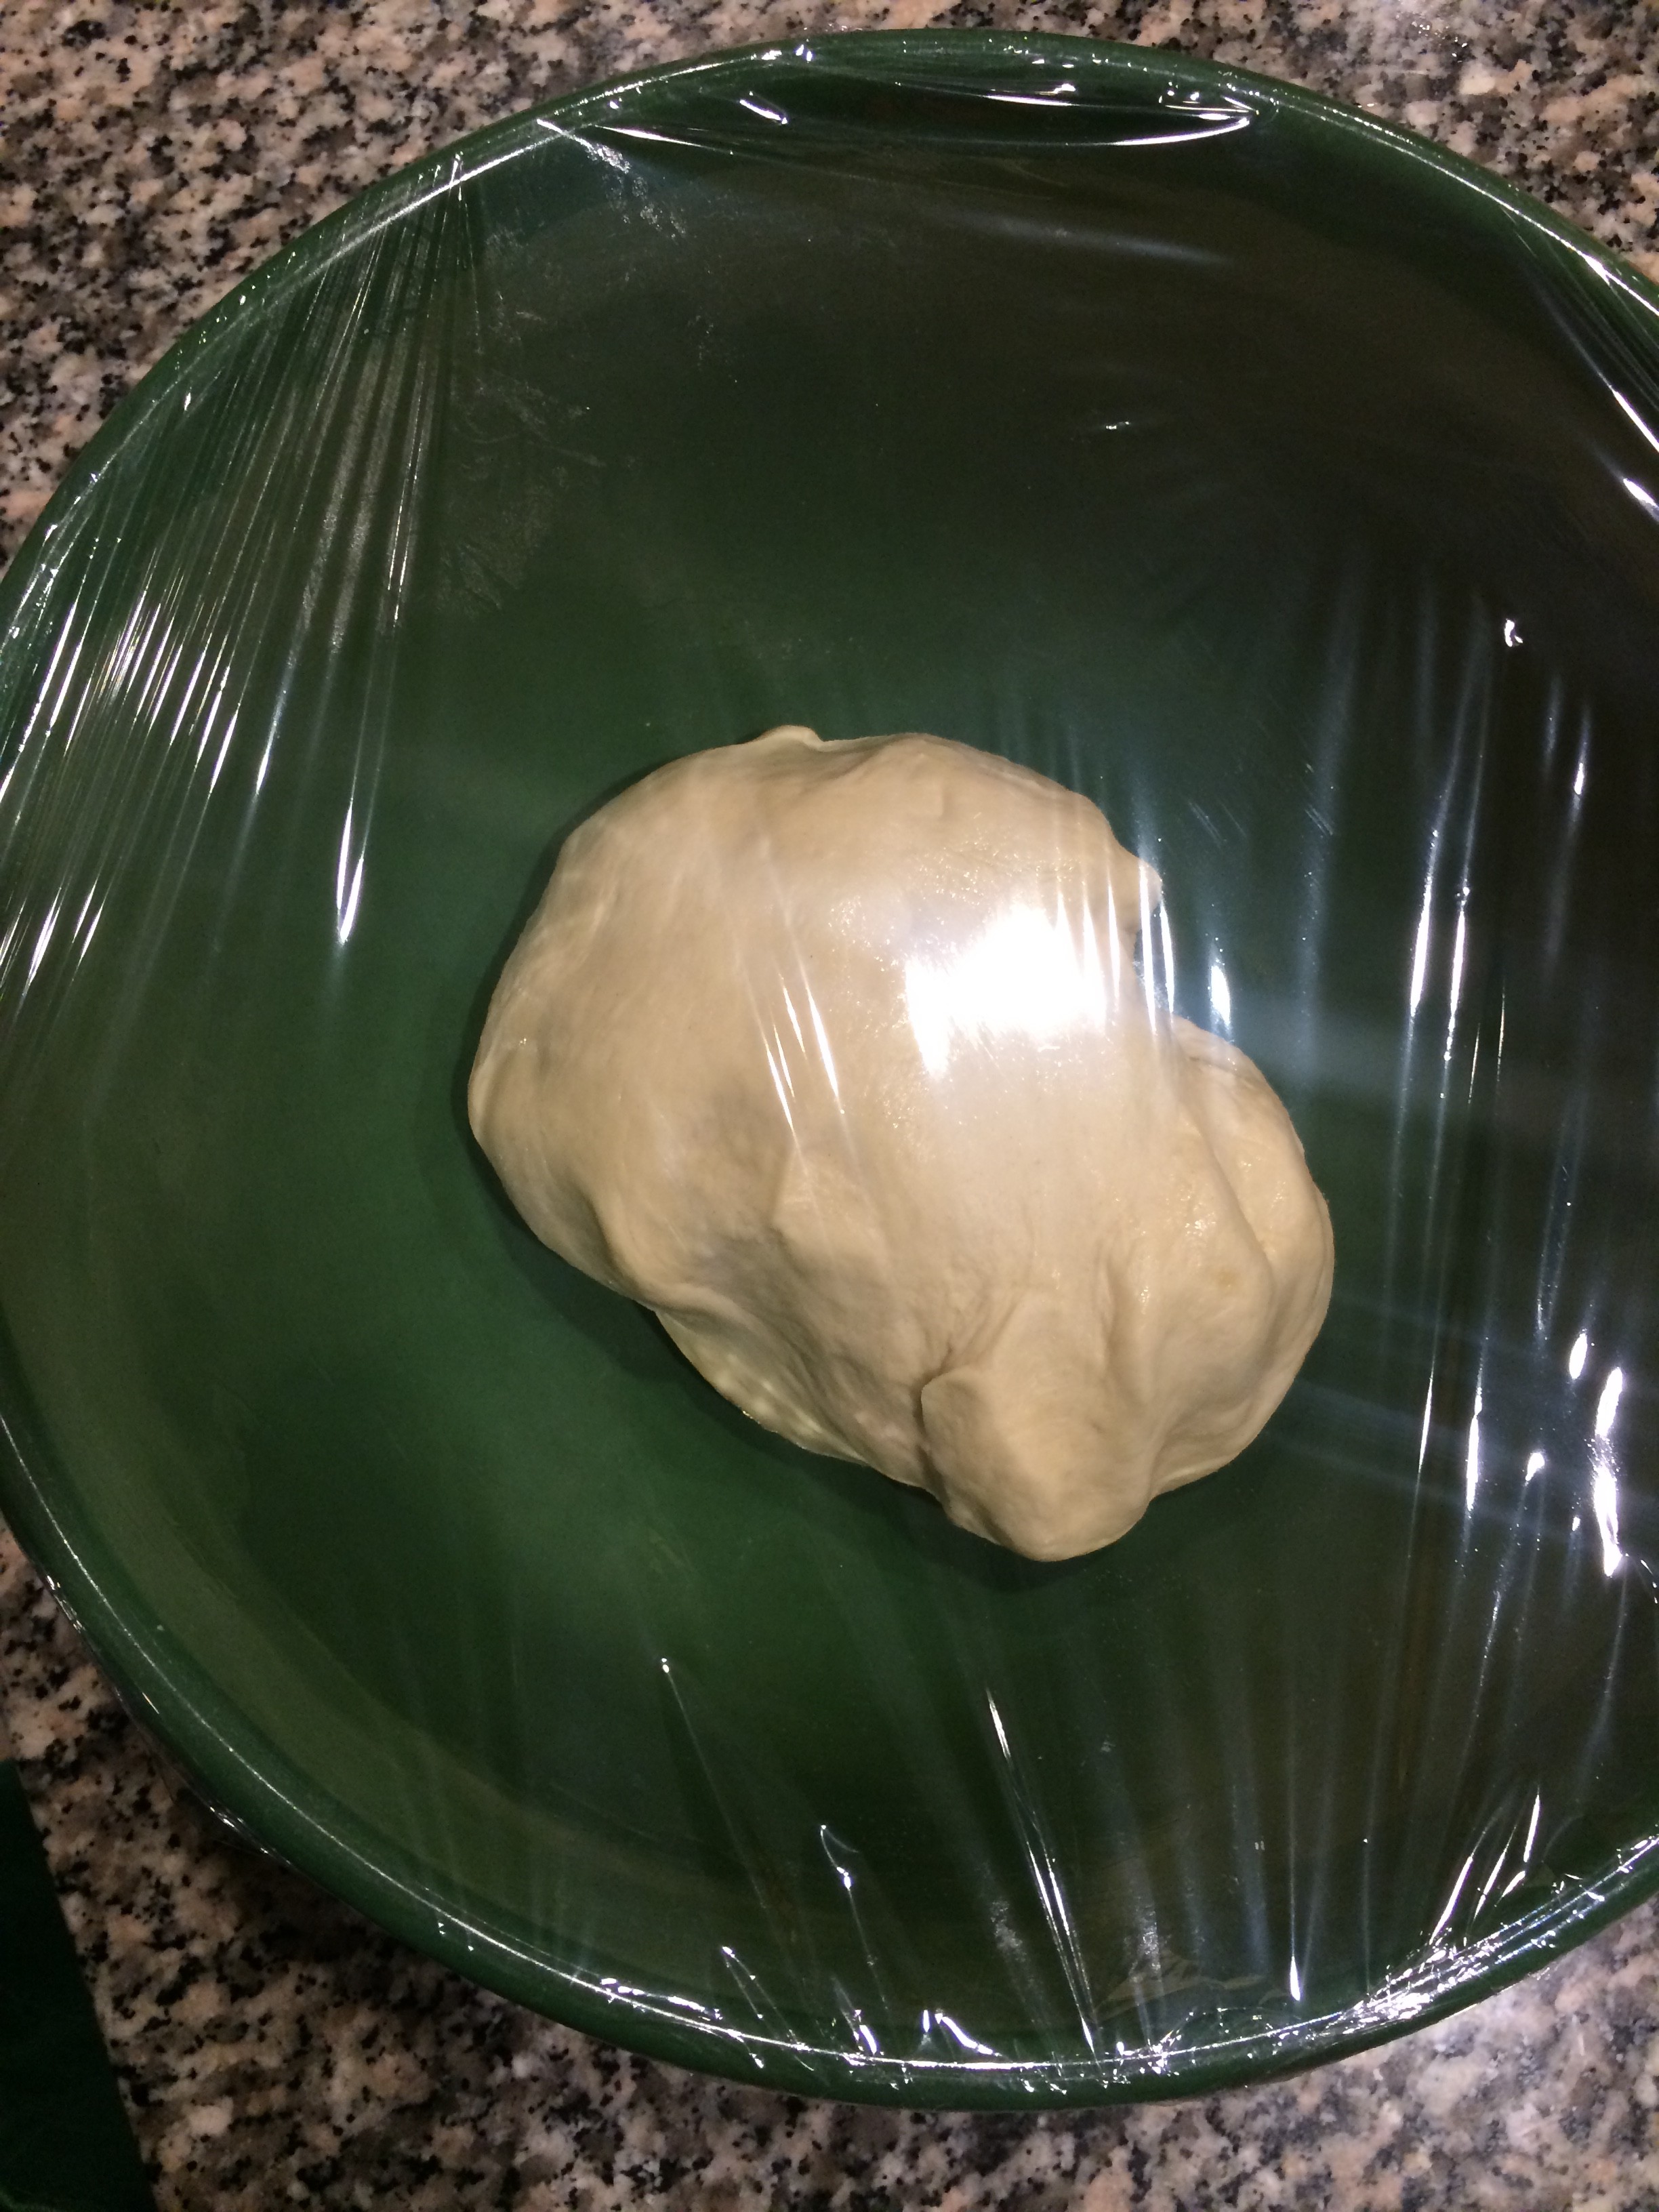
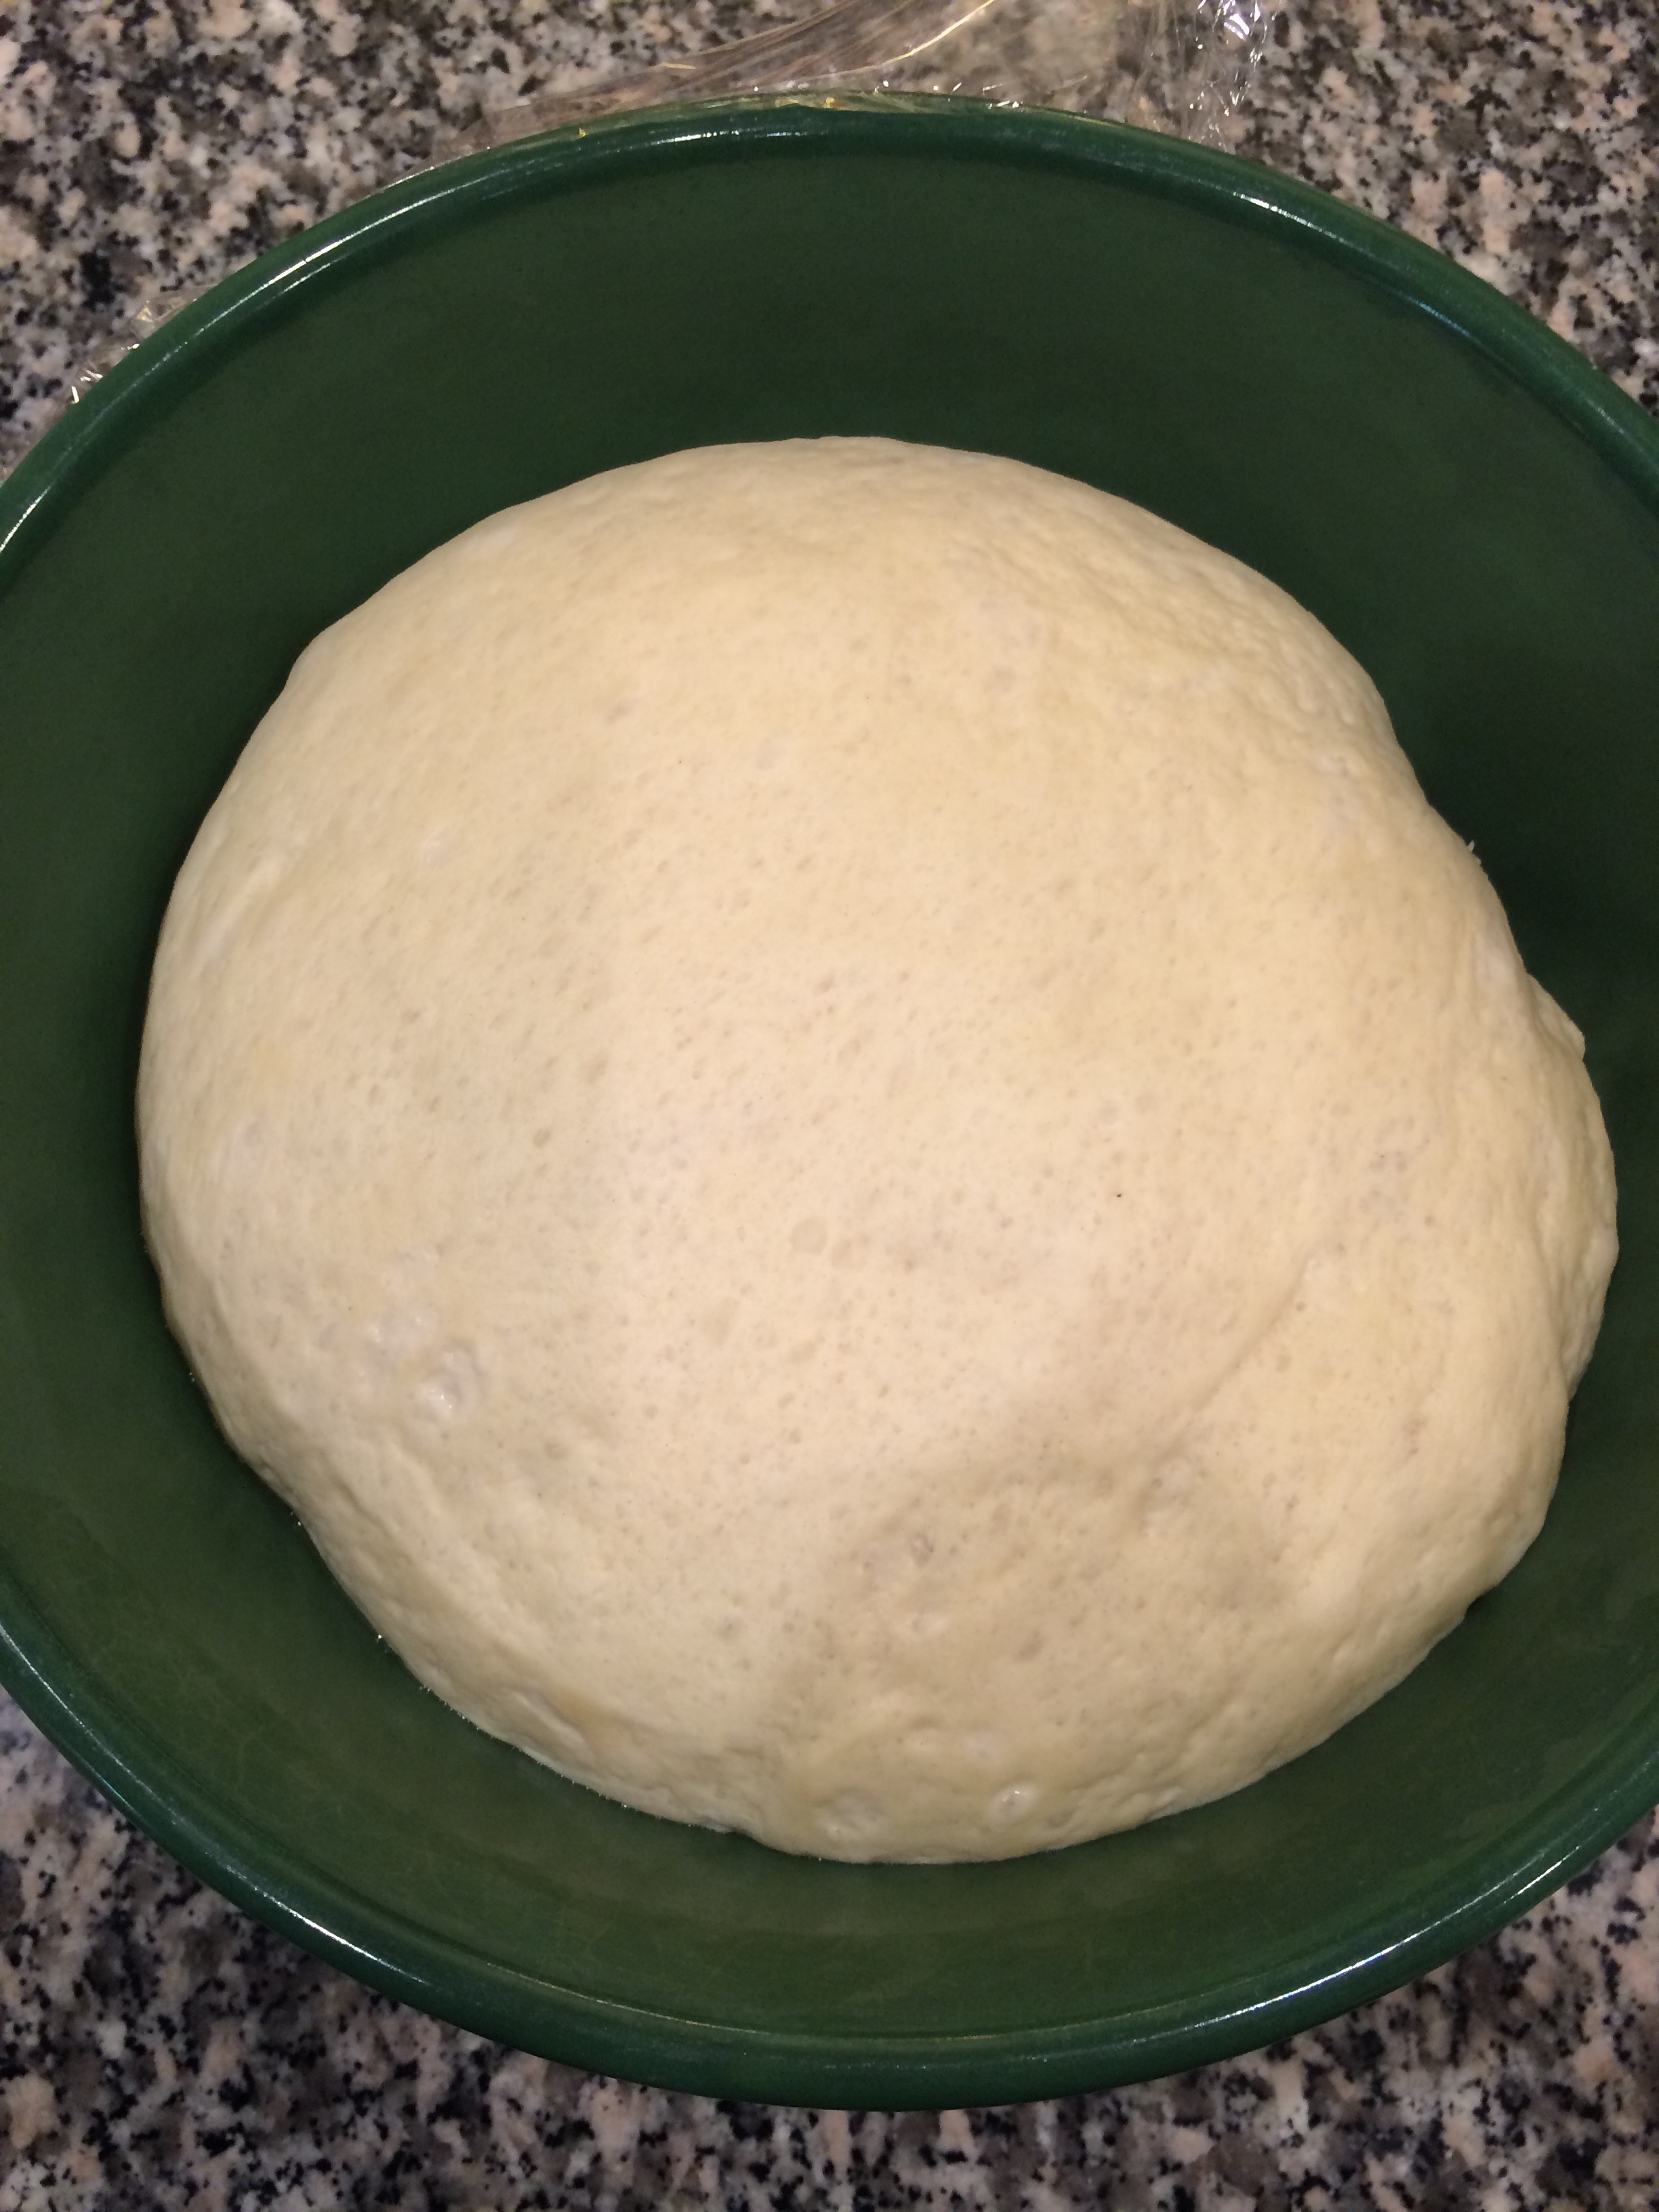
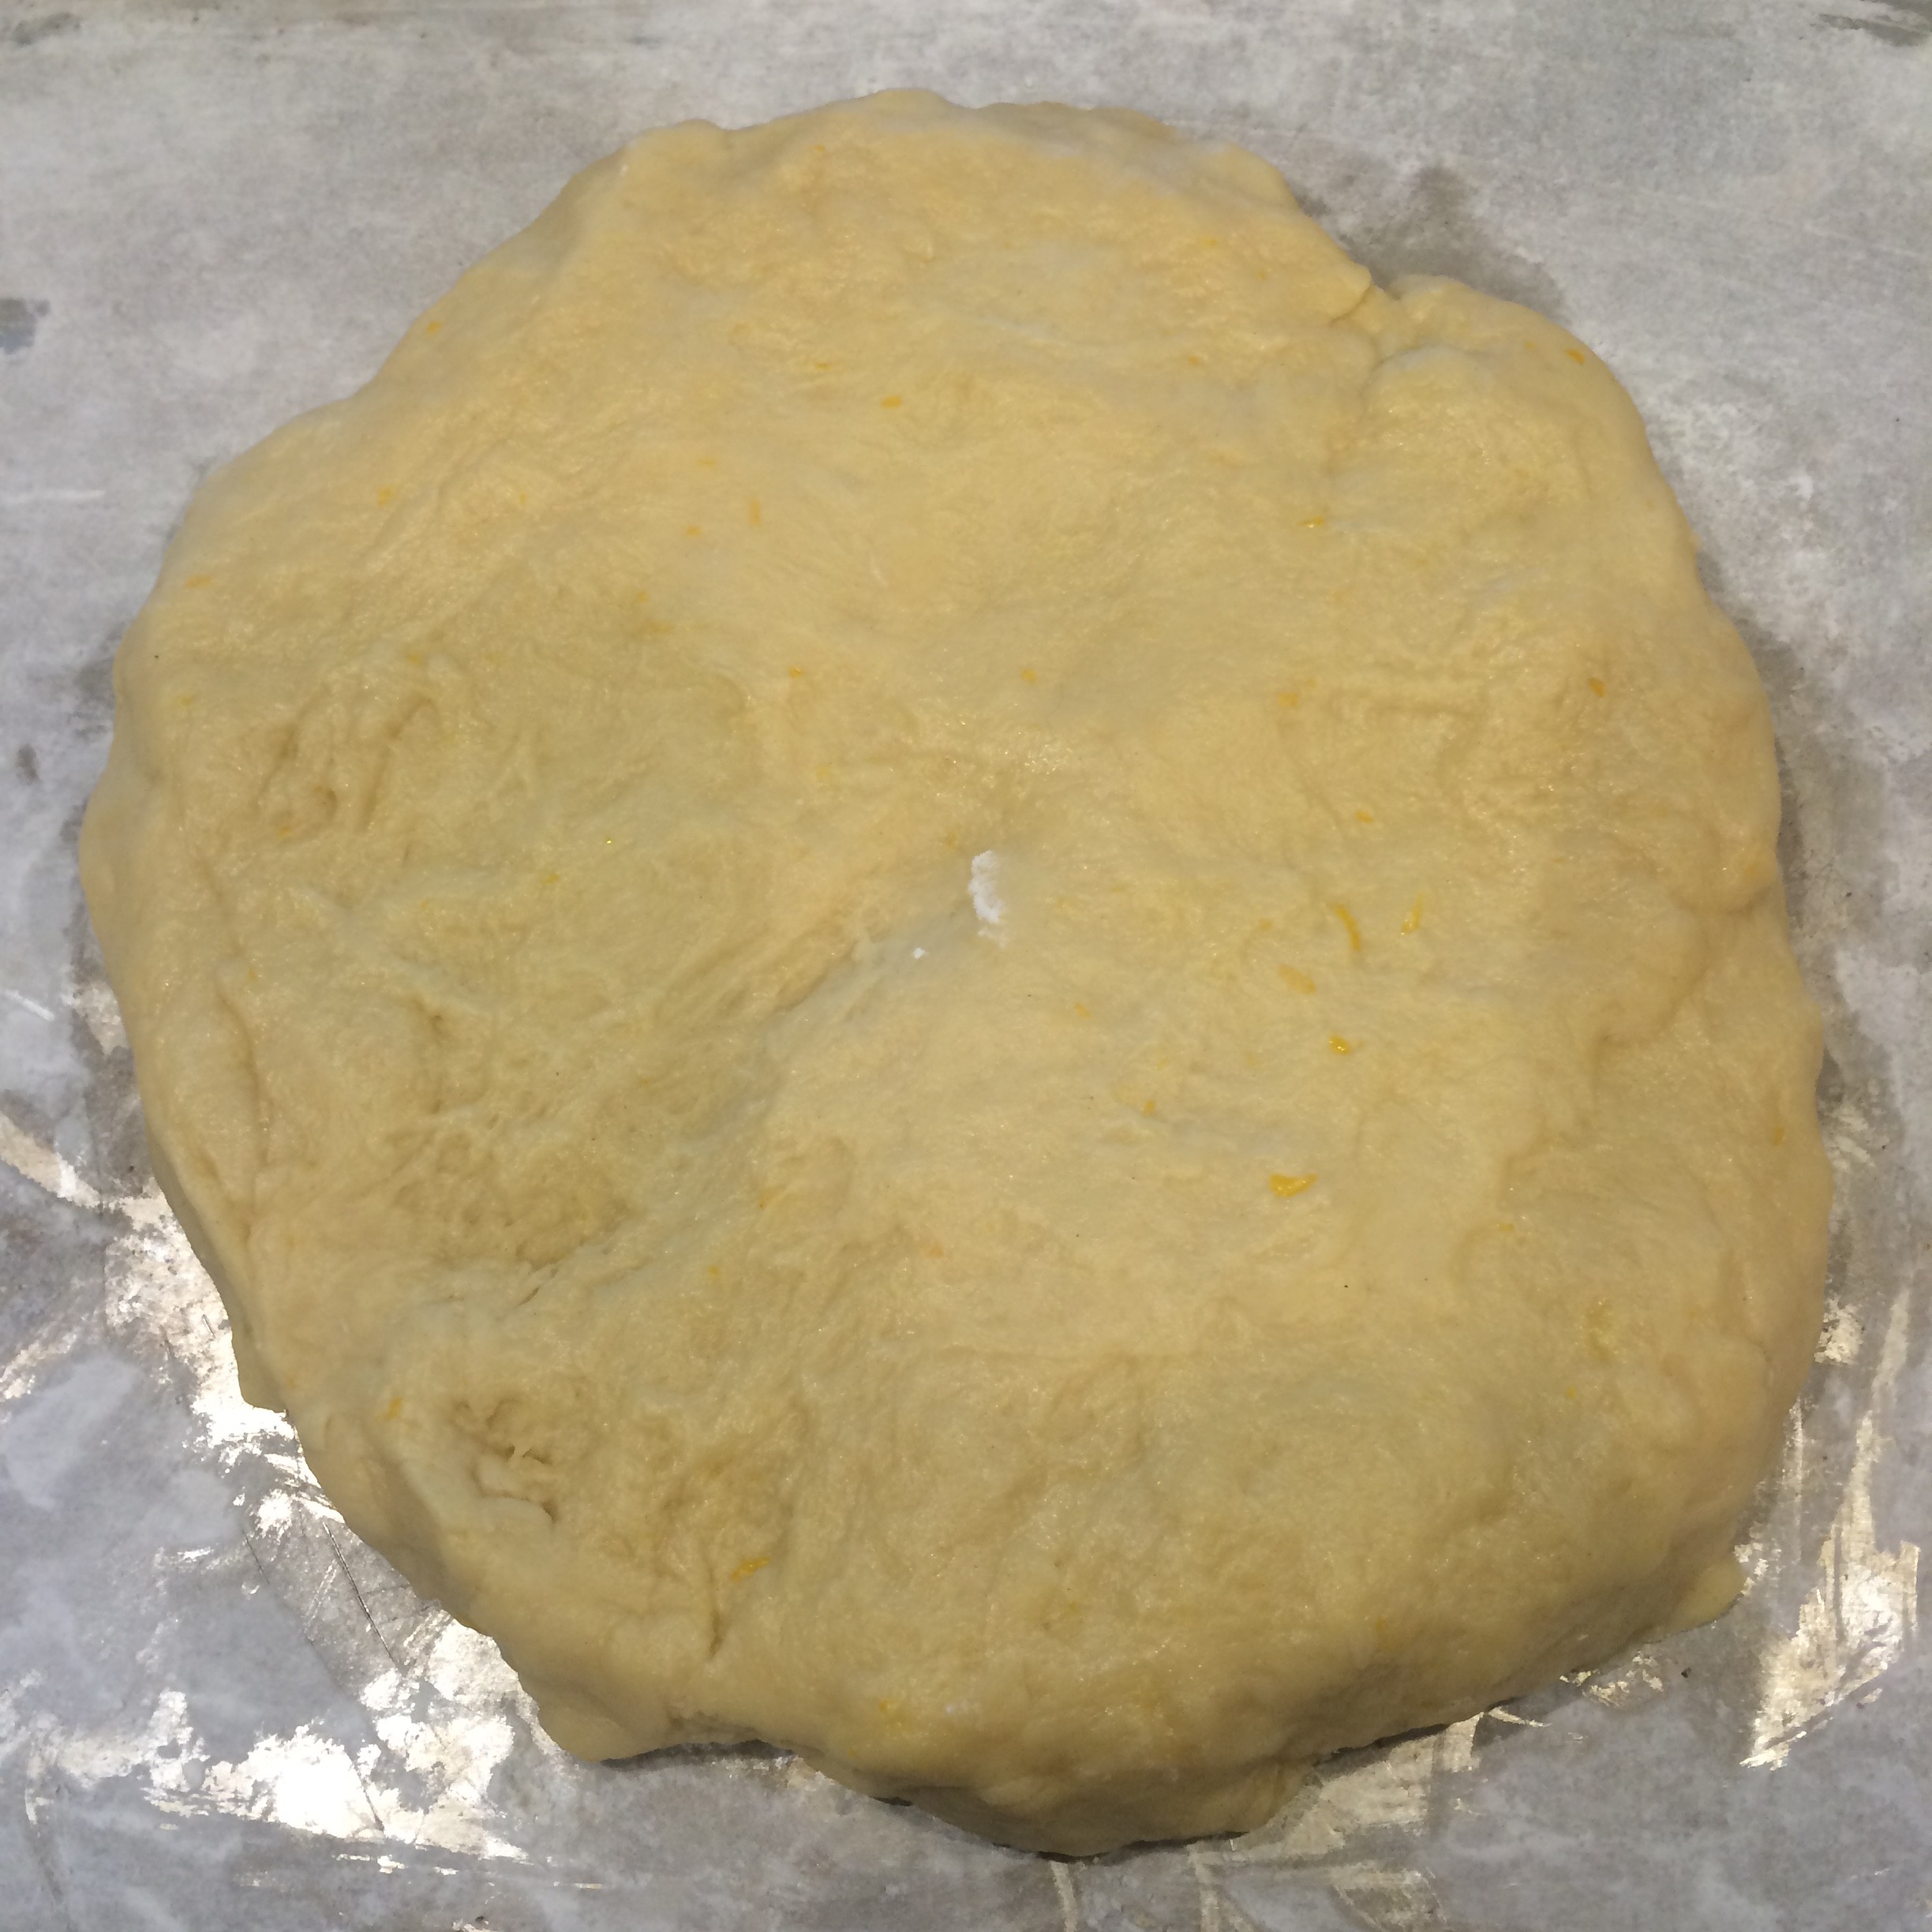
Grease and flour a cookie sheet. Warm the Milk to 120-130 degrees. Place in mixer bowl with Yeast. Combine a little and let Yeast dissolve. Add Salt, 1 Egg, Lemon Peel, 2 Tbls. Flour and beat. Add more Flour, Agua de Azahar, some of the Butter, 1 Egg, Sugar and beat. Continue adding all the ingredients a bit at a time until all is incorporated. The dough will become a ball. Beat for a bit longer. Put the dough on the cookie sheet. Spread into a circle until it is about 2 – 3 inches thick. Make a hole in the middle and place your greased and floured “space holder”. Let rise.
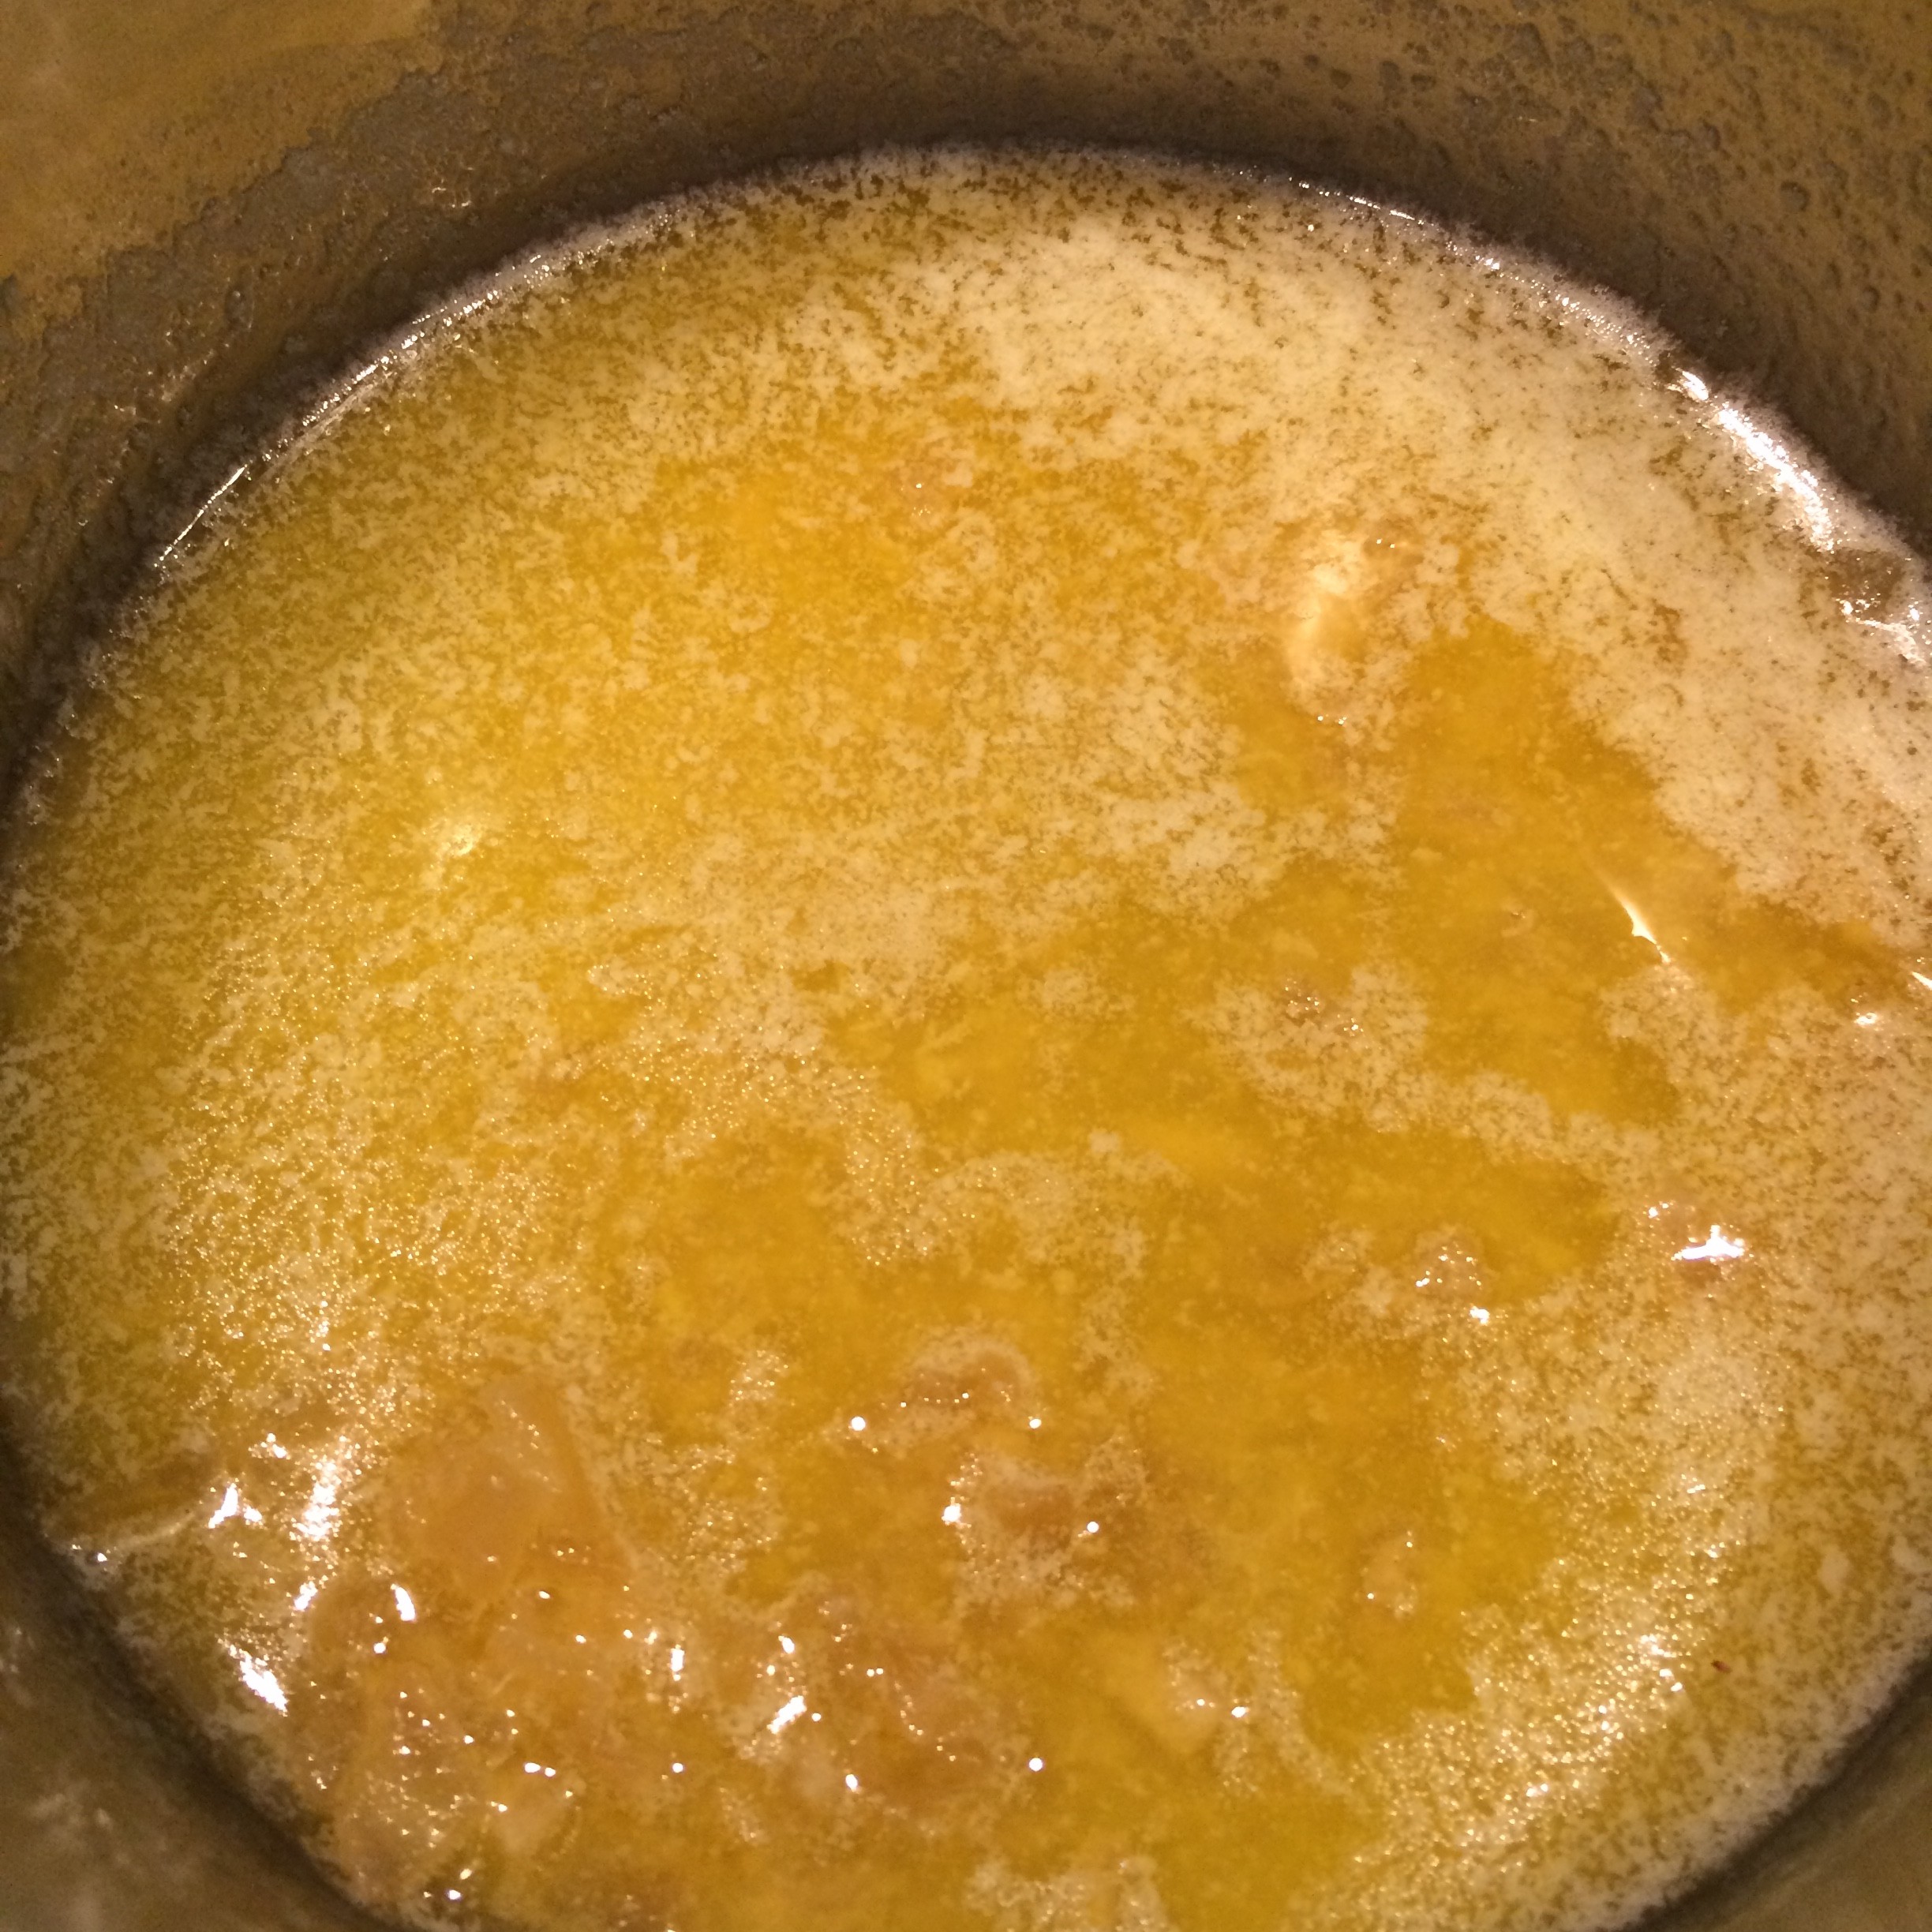
Meanwhile make Crema Pastelera. Place all the ingredients in a saucepan on low heat. Stir until it becomes thick and custard-like.
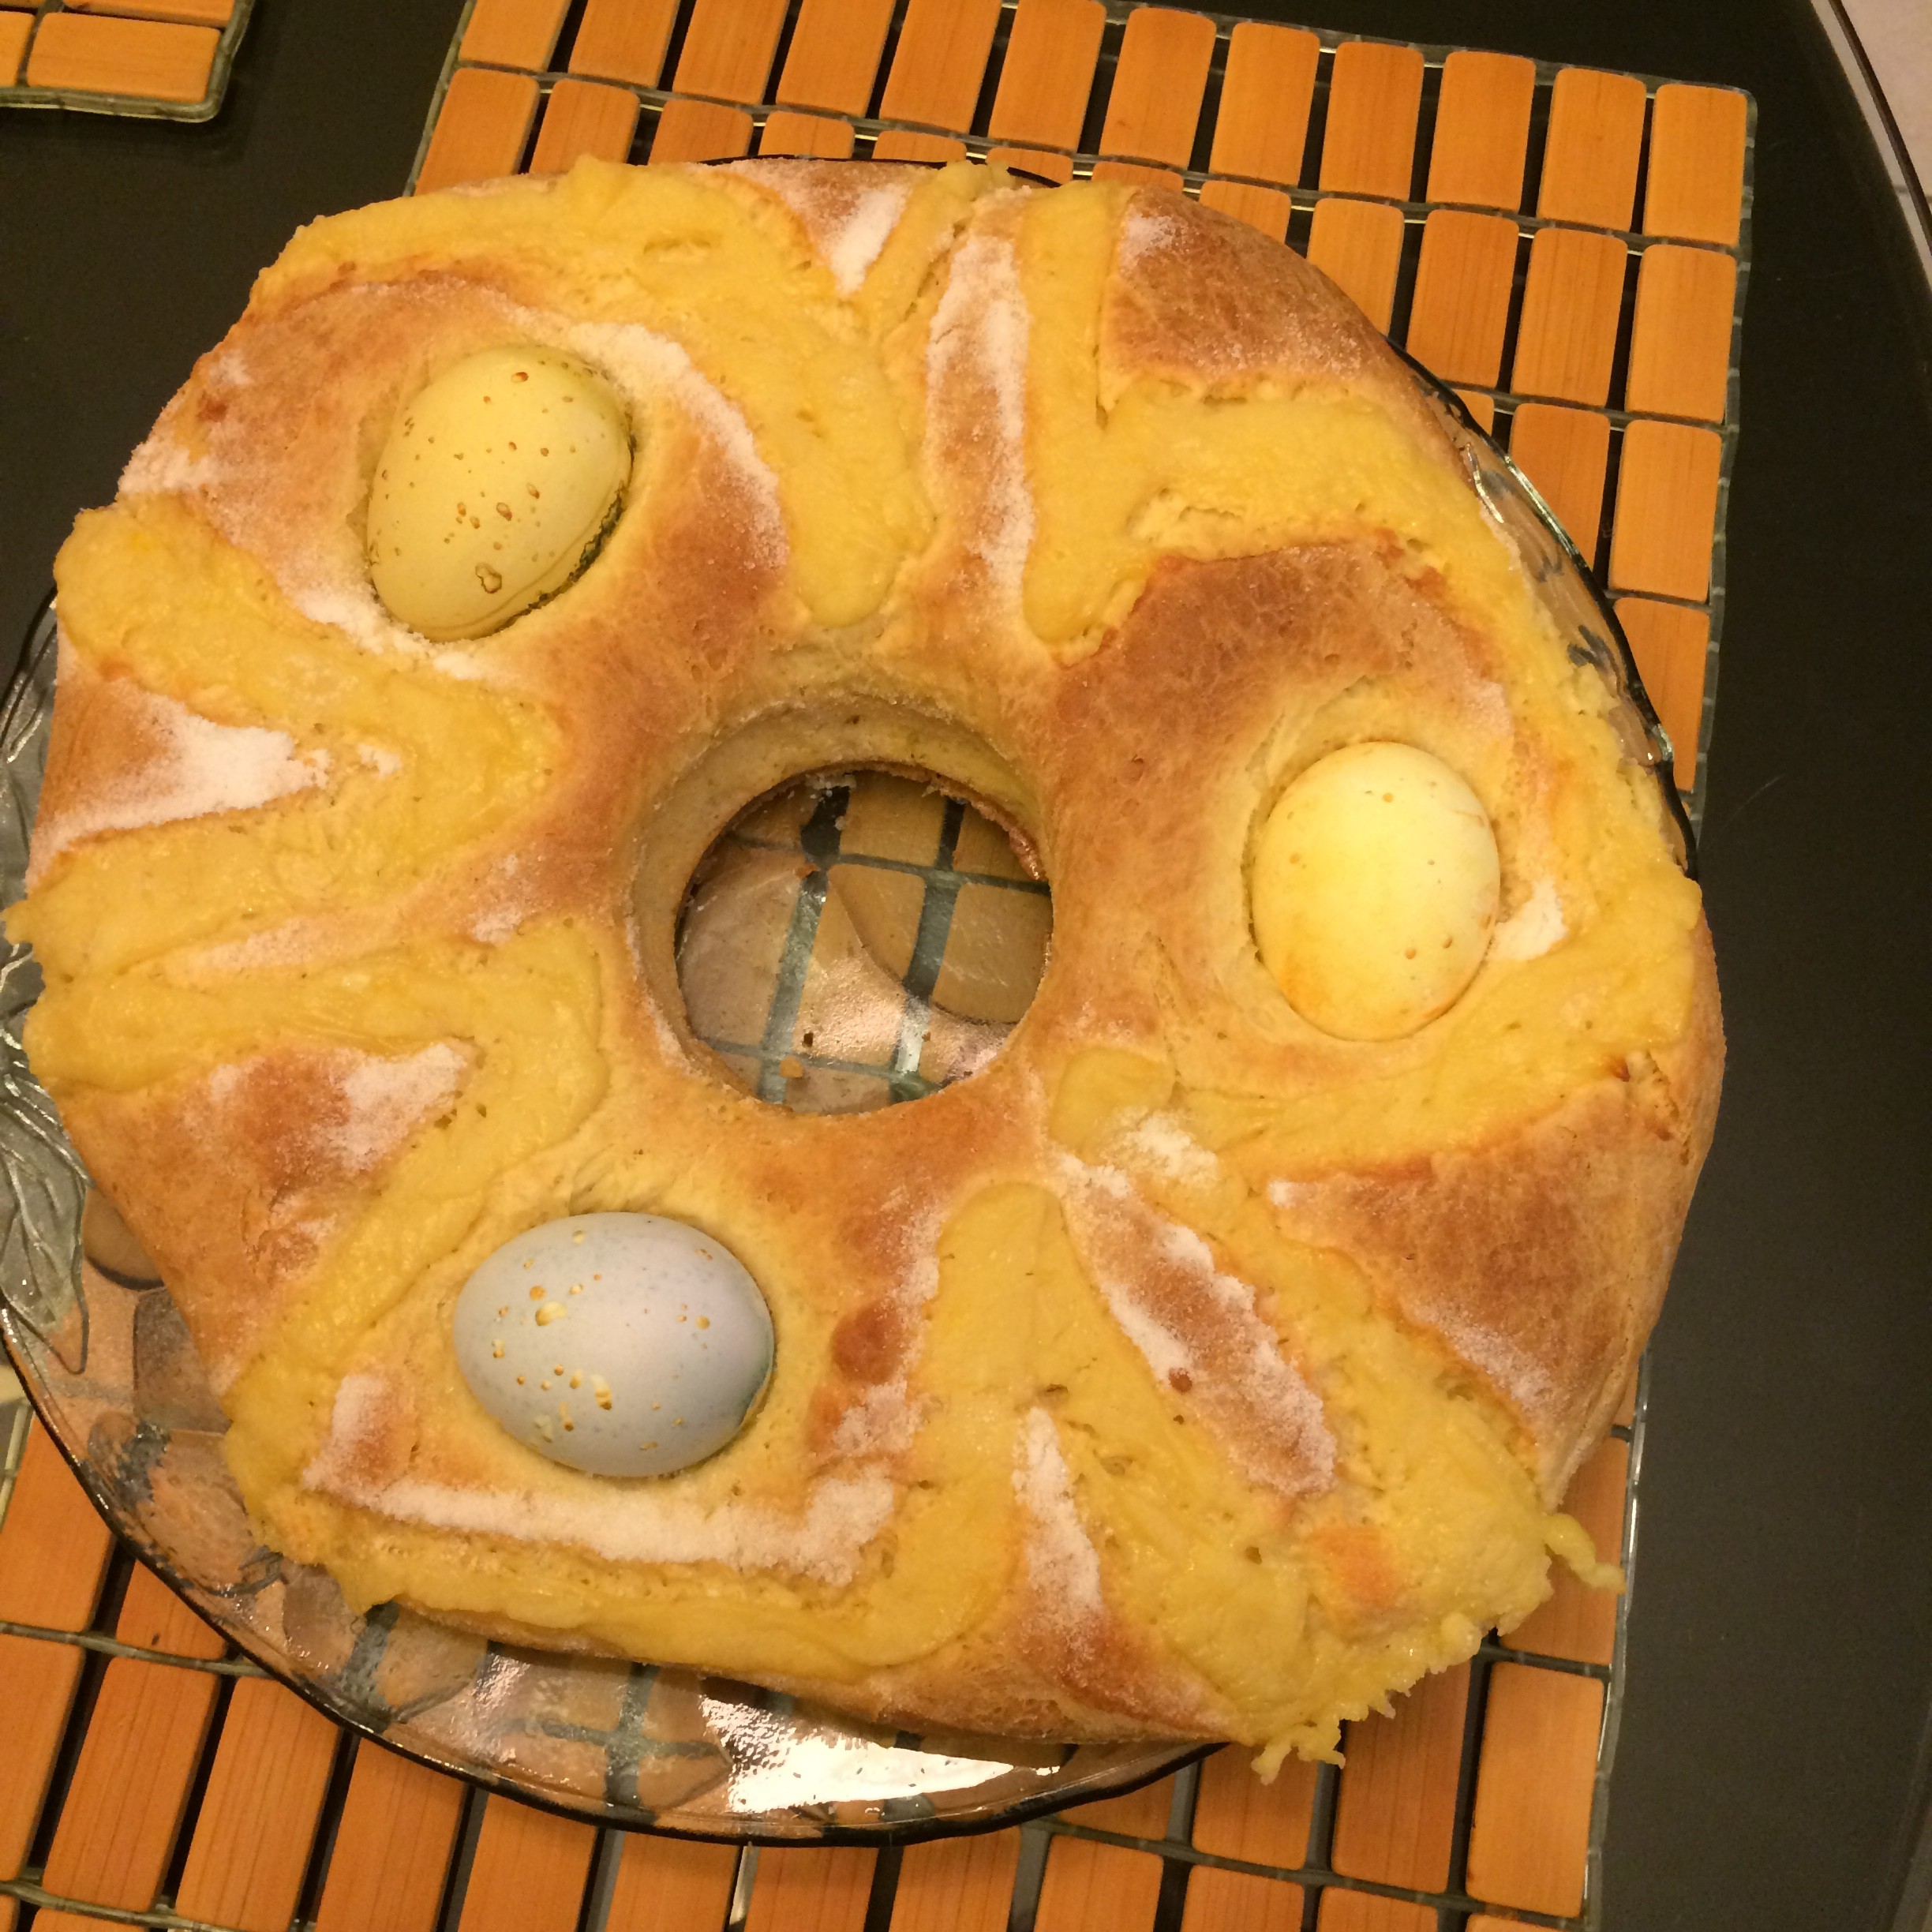
Preheat the oven at 350 degrees. Once the dough has risen, brush it with the Egg Wash. Place the Raw Eggs on the top evenly spaced. Place the Crema Pastelera in a Ziploc bag and cut the end. Decorate with lines on top of the dough. Sprinkle sugar and bake for 20 minutes or until the top is golden brown.
I dyed the eggs with natural dyes made of tumeric, purple cabbage and tea. Mom would use white eggs, wash them and put them on. It’s neat how they come out “hardboiled”. It makes sense but I still like the idea.
I don’t have any music suggestions for this recipe. I haven’t made it in a long time, plus I’m hooked on audio-books at the moment. I was listening to “The Paris Wife”, interesting book.
Happy Easter, everyone!