Monthly Archives: October 2016

Ghostly Cupcakes

It’s Halloween eve and I found a skull cupcake pan.  So, of course, I thought I better try to make some skulls.  My plan was to make Red Velvet skull cupcakes and then decorate them like Día de los Muertos skulls.  The pan is made from silicone and I remember I had used it before. I couldn’t remember if I had sprayed some Pam on them but this time I didn’t.  I thought with silicone it didn’t need it.  Well, I’m not sure if it was the cake recipe or the pan but the skulls did not turn out.  I did make cupcakes and just decorated with Cream Cheese Frosting to make them look like ghosts.

This was my first attempt at making Red Velvet cupcakes.  It was interesting but I don’t like the idea of using a lot of food coloring.  It’s OK every once in a while but it really doesn’t add anything to the taste.  I know that we eat through eyes, too, but I don’t think it’s very healthy.

Ingredients

Cake

1/2 cup Butter, at room temperaturedsc00973

2 Tbls. Cocoa Powder

1 1/2 cups Sugar

2 Eggs

2 tsp. Vanilla extract

2 Tbls. Red Food Coloring

1 tsp. Salt

1 tsp. Baking Soda

2 1/2 cups Unbleached Flour, sifted

1 cup Buttermilk

1 Tbl. Vinegar

Frosting

8 oz. Cream Cheese

1/2 cup Unsalted Butter

2 3/4 cup Confectioner’s Sugar

1/2 tsp. Vanilla Extract

1 handful Mini-Chocolate Chips

Reheat oven to 350 degrees.  Fill muffin pan with cupcake paper cups.

Cream Butter and Sugar.  Add Eggs one at a time and beat until well incorporated.  Mix in Vanilla.

dsc00975

In a separate bowl, make a paste with 2 Tbls. of Cocoa and Food Coloring.  Blend into butter mixture.

dsc00977

Sift together Flour, Baking Soda, and Salt.  Add Flour mixture and Buttermilk alternating in two batches.  Mix in Vinegar to the last batch of buttermilk before adding to batter.

dsc00974

Mix well.

dsc00978

Pour batter into cupcake papers and bake for 20 to 25 minutes.

dsc00979

Cool cupcakes on a rack.

dsc00982

Meanwhile beat Butter and Cream Cheese until smooth add Confectioner’s Sugar and Vanilla.  Beat until light and fluffy.  Spoon into a plastic bag and cut a 1/2 inch tip.  Squeeze in a circular spiral to create the ghost.  Add two Mini-Chocolate Chips for eyes.

dsc00985

Store in an airtight container in the refrigerator until ready to eat.

Happy Halloween!


Dirt Cake

What do you do when your children get too old for Trick or Treat?  Or how do compromise when you think they are too old to be Trick or Treating but they don’t think so?  What we did in our household was to create a party right at home.  If I recall correctly, parents and children were in mutual agreement to not go out and knock on doors.  We hosted a party with yummy food and treats.  I am not one to go overboard with decorations.  I was raised with Argentine customs.  So, decorations are at a minimum.  For my taste, it’s just enough to make it festive without going crazy.  I like for it to be fun without taking over the house.  Part of our celebration included Alfred Hitchcock movies and Dirt Cake.  I would mound the Dirt Cake over some covered cardboard as if it were a newly dug grave with a tombstone and a wax hand coming out of it.  I, also, added gummy worms to the cake.  I remember this fondly.  The cake is not a memorable bite but if it is made correctly, it looks just like dirt. So fun.

This year, I wanted to bring a Halloweeny treat to my fellow volunteers at the food locker.  I decided that a dirt cake is hard to contain and to serve and, face it, we are there to work.  I didn’t want the cake to be too distracting.  So, I decided for cupcakes.  They worked OK.  I had to fill them in a muffin tin because the paper cups were too filmsy.  I saw on Pinterest where someone filled a transparent plastic cup with dirt cake.  Not a bad idea.  I might try it next year.  I added a wooden spoon that loosely represented a shovel or trowel but was there so that people would not peel the paper back and try to eat it like a regular cupcake.

Now, if you follow my blog at all, you know that I like to make things from scratch.  I think they taste so much better than anything packaged or precooked.  I do not make anything from scratch with this recipe because it would take a lot of time and the purpose, I think, of all this is the impression it makes and not necessarily the taste.  But you are welcome to make everything from scratch if you like and I am sure it will be delicious.  The Oreo Cookies are ground up to fine crumbs which looks like wet dirt.  In the past, I have ground them to crumbs that look like potting soil.  If you leave them a little bigger, the white center looks like the white perlite in potting soil.  It’s up to you.  This second method is better if you are filling a flower pot and putting a cute silk flower on top.

Ingredients

1 Chocolate Cake Mix (made according to directions in a 9 x 13 inch pan)

1 Brownie Mix (made according to directions in a 9 x 13 inch pan)

1 small pkg. Jello Chocolate Pudding Mix -NOT THE INSTANT KIND! (made according to directions.

1 pkg. Oreo cookies

img_6473

img_6477

While Chocolate Pudding is cooling, Process cookies in blender or food processor.  The Oreos can be fine crumbs.

img_6479


To assemble, break Cake and Brownies into small chunks in a large bowl.  Add the Pudding and mix with a wooden spoon.  Add 1/2 Cookie crumbs and mix.

img_6480

Put Chocolate mixture into the container of your choice and top off with the rest of Oreo crumbs.

img_6486

To make the little ghosts or tombstones you need Pepperidge Farm’s Milano Cookies, White Chocolate or Wilton’s White Wafers, a little Semi-Sweet Chocolate and pre-made black Icing.

img_6487


Melt the White Chocolate and spoon into a small plastic bag.  Cut a corner and squeeze it onto the Cookie.  I stood them on a cookie rack and after they hardened, I melted the Semi-Sweet Chocolate.  Using a toothpick I made the eyes and mouth.  Insert into the cake.  I just wrote RIP with the Icing on the Cookie for the tombstone.

img_6484

I hope you and yours have a Happy and Safe Halloween.  Until next time…

img_6494


Pear Upside-Down Cake

This recipe comes from Martha Stewart.  It is simpler than the Bon Appétit one but it’s not your one bowl wonder.  I recently posted the Bon Appétit recipe.  Search for it if you haven’t seen it yet.  I hope you try both and tell me which one you like best.  I think this one is lighter than the BA one but it doesn’t have the depth of flavor.  I think this Martha Stewart one is more of a Summer dessert and the BA recipe more for Fall.  You be the judge.

Speaking of judging, I have been thinking a lot about judgment lately.   I usually leave these philosophical topics for my personal journal but I have shared so many things with you that… what the heck.  In fact, there are times that I am surprised by people who know facts and details of my life that I don’t often share.  When they see my astonishment, they tell me that they read it in my blog.  I forget how much I share with you.  I thank you for reading.  I have felt judged a lot by friends lately. I feel judged when I am given unsolicited advice.  Advice that doesn’t take into account my ideas, thoughts or feelings hurts.  It seems to me that if one person does not solicit advice from another person, then whatever the advice given will sound judgmental.  Sometimes a person just needs to share or maybe be given a sympathetic, “Really!”  I’m just saying… That is how I feel about that.

On to more thoughts on judging, I am so happy to say that I have been invited to the 2017 Los Angeles Extra Virgin Olive Oil Competition in March of 2017.  Have you noticed that EVOO is starting to go on sale?  Do you remember why?  That’s right!  Olive Oil is in full production here in the Northern Hemisphere.  Stores are trying to get rid of last years oils to make room for new oils.  I think that in November we will begin to see 2016 Olio Nuovo and other EVOO’s.  So, if you must buy, buy small and use it up so that you can make room for the freshly milled bottles.

This Pear Upside-Down Cake does not use any olive oil but it does use a few bowls.  It has the usual creaming of butter and sugar and the second bowl with the dry ingredients that are incorporated into each other.  The kicker is the third bowl which has the egg whites that are beaten until stiff and then folded in to the batter.  The eggs whites seem like an extra step to a cake batter but it does make the cake very light and lovely.  It’s worth the clean up.

Ingredients

You need an iron skillet to bake this cake.


4 Tbls. Unsalted Butterimg_6004

1/2 cup packed Light Brown Sugar

3 Ripe Pears, (Barlett or Anjou), peeled and cored

1 1/2 cups Unbleached Flour

2 tsp. Baking Powder

1/4 tsp. Salt

8 Tbls. (1 stick) Unsalted Butter

1 cup Sugar

1 tsp. Vanilla Extract

2 large Eggs, separated

1/2 cup Whole Milk

1/4 tsp. Cream of Tartar

Melt Butter in the bottom of a 10 1/2 inch cast iron skillet over low heat.  Add Brown Sugar, stir until dissolved.  Swirl to coat bottom of pan.  Remove from heat and cool.  Cut Pears into 1/4 inch wedges.

img_6006

Arrange in a circular pattern over the Brown Sugar.  Set aside.

img_6007

Preheat oven to 350 degrees.  In a medium bowl, whisk Flour, Baking Powder and Salt.

img_6009

In the bowl of an electric mixer with the paddle attachment, cream Butter and Sugar on medium speed until light and fluffy, about 2 minutes.  Add Vanilla Extract and combine.  Add Egg Yolks, one at a time, beating each one well.

Add on low speed the Flour mixture alternating with Milk to the Butter mixture until the Flour is incorporated.

In a large bowl, beat Egg Whites and Cream of Tartar with a hand mixer until stiff but not dry.  With a rubber spatula, fold Egg Whites into the batter.  Transfer to the skillet without disturbing the Pears.  Smooth the batter with spatula.

img_6013img_6016

Bake 45 minutes or until well brown and cake tester comes out clean.

img_6017

Run a knife around the inside of pan and immediately inver the cake onto a serving dish.  Serve warm or at room temperature.


It’s so yummy!img_6029

Until next time, remember to eat well, drink well and live well.

img_6018


Spiced Pear Upside-Down Cake

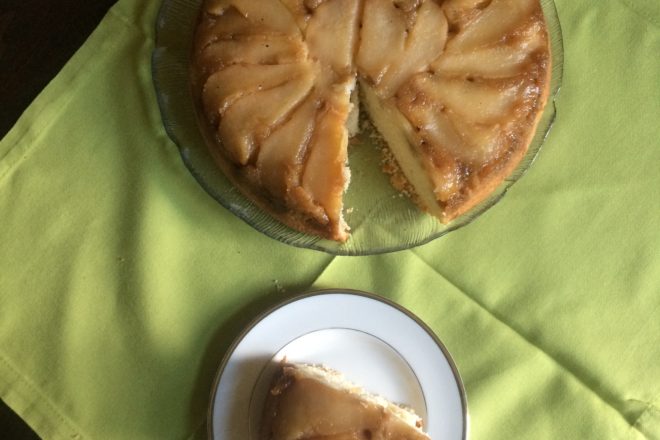
This is the second Upside-Down Cake I have made this year.  The first Pear Upside-Down Cake was from Martha Stewart.  I’ll be passing along that recipe soon.  It was quick and easy, light and sweet – a good recipe.  This recipe comes from Bon Appétit.  There are other variations that I have come across of this particular recipe.  I couldn’t stay true to it which really bothers me.  I like to follow a recipe exactly before I tinker with it.  There are some recipes that I try that I really can’t touch because they are perfect as they are.  The problem I found with this one is that it called for Pomegranate Molasses.  I searched my supermarkets and even the more exclusive ones didn’t carry it.  I came to find out a day later, that it is a Middle Eastern staple and that I could have made it at home.  I found a variation that was developed by Farm Fresh To You, you know, the organic vegetable home delivery people.  They took out the Pomegranate Molasses all together.  They probably had a hard time finding it, too!  Instead they substituted it with regular Molasses and Maple Syrup.  This made me think that Pomegranate Molasses is sweeter than regular, hence the addition of the syrup.  They, also, took out the Cardamon and added Ginger and Nutmeg.

I decided to use regular Molasses with just a drop of Maple Syrup but I kept the Cardamon.  It’s a lovely spice with pears.  I’ve used it in other cakes and it just elevates the flavor.  So, I will make this recipe again with the correct Molasses and let you know what I think.  Of course, the important thing is for you to figure out what you think, right?  But I will give you my opinion anyway, solicited or not…

Have I told you that I have become fanatical with audiobooks?  I have mentioned it to everyone else, so, dear readers, I should come clean with you.  Alongside my paper book or two, I listen to one or two audiobooks all at the same time.  But the audiobooks, if they are read well, are fabulous!  It reminds me of Third Grade with Miss Claire reading to the class after lunch.  I loved that time of day.  She was such a good reader and made everything come alive.  Right now, I’m listening to 32 Yolks: from my mother’s table to working the line by Eric Ripert.  The gentleman who reads it speaks a lovely French and will read the characters’ dialogue in English but with a French accent.  It’s so delightful.  I must say that after hours and hours of listening to the story, I’m talking out loud with a French accent.  It’s a good thing that it is only coming out when I’m in the kitchen talking to myself or the dogs.  It would be so embarrassing to do this in public.  I have caught myself in time.  Whew!  It’s a great read but I don’t think I would enjoy it half as much as listening to it on my phone.  Interestingly enough, I took French in college and really didn’t like it.  I stuck with Russian.  I am finding, lately, that I am curious of the French culture and cuisine.  I didn’t realize it, until I looked on my bookshelf and saw how many books I have bought relating to the French.  Maybe I should take up learning the language again.  For now, I will keep listening to Eric Ripert’s story and practicing my fake French accent with the dogs.
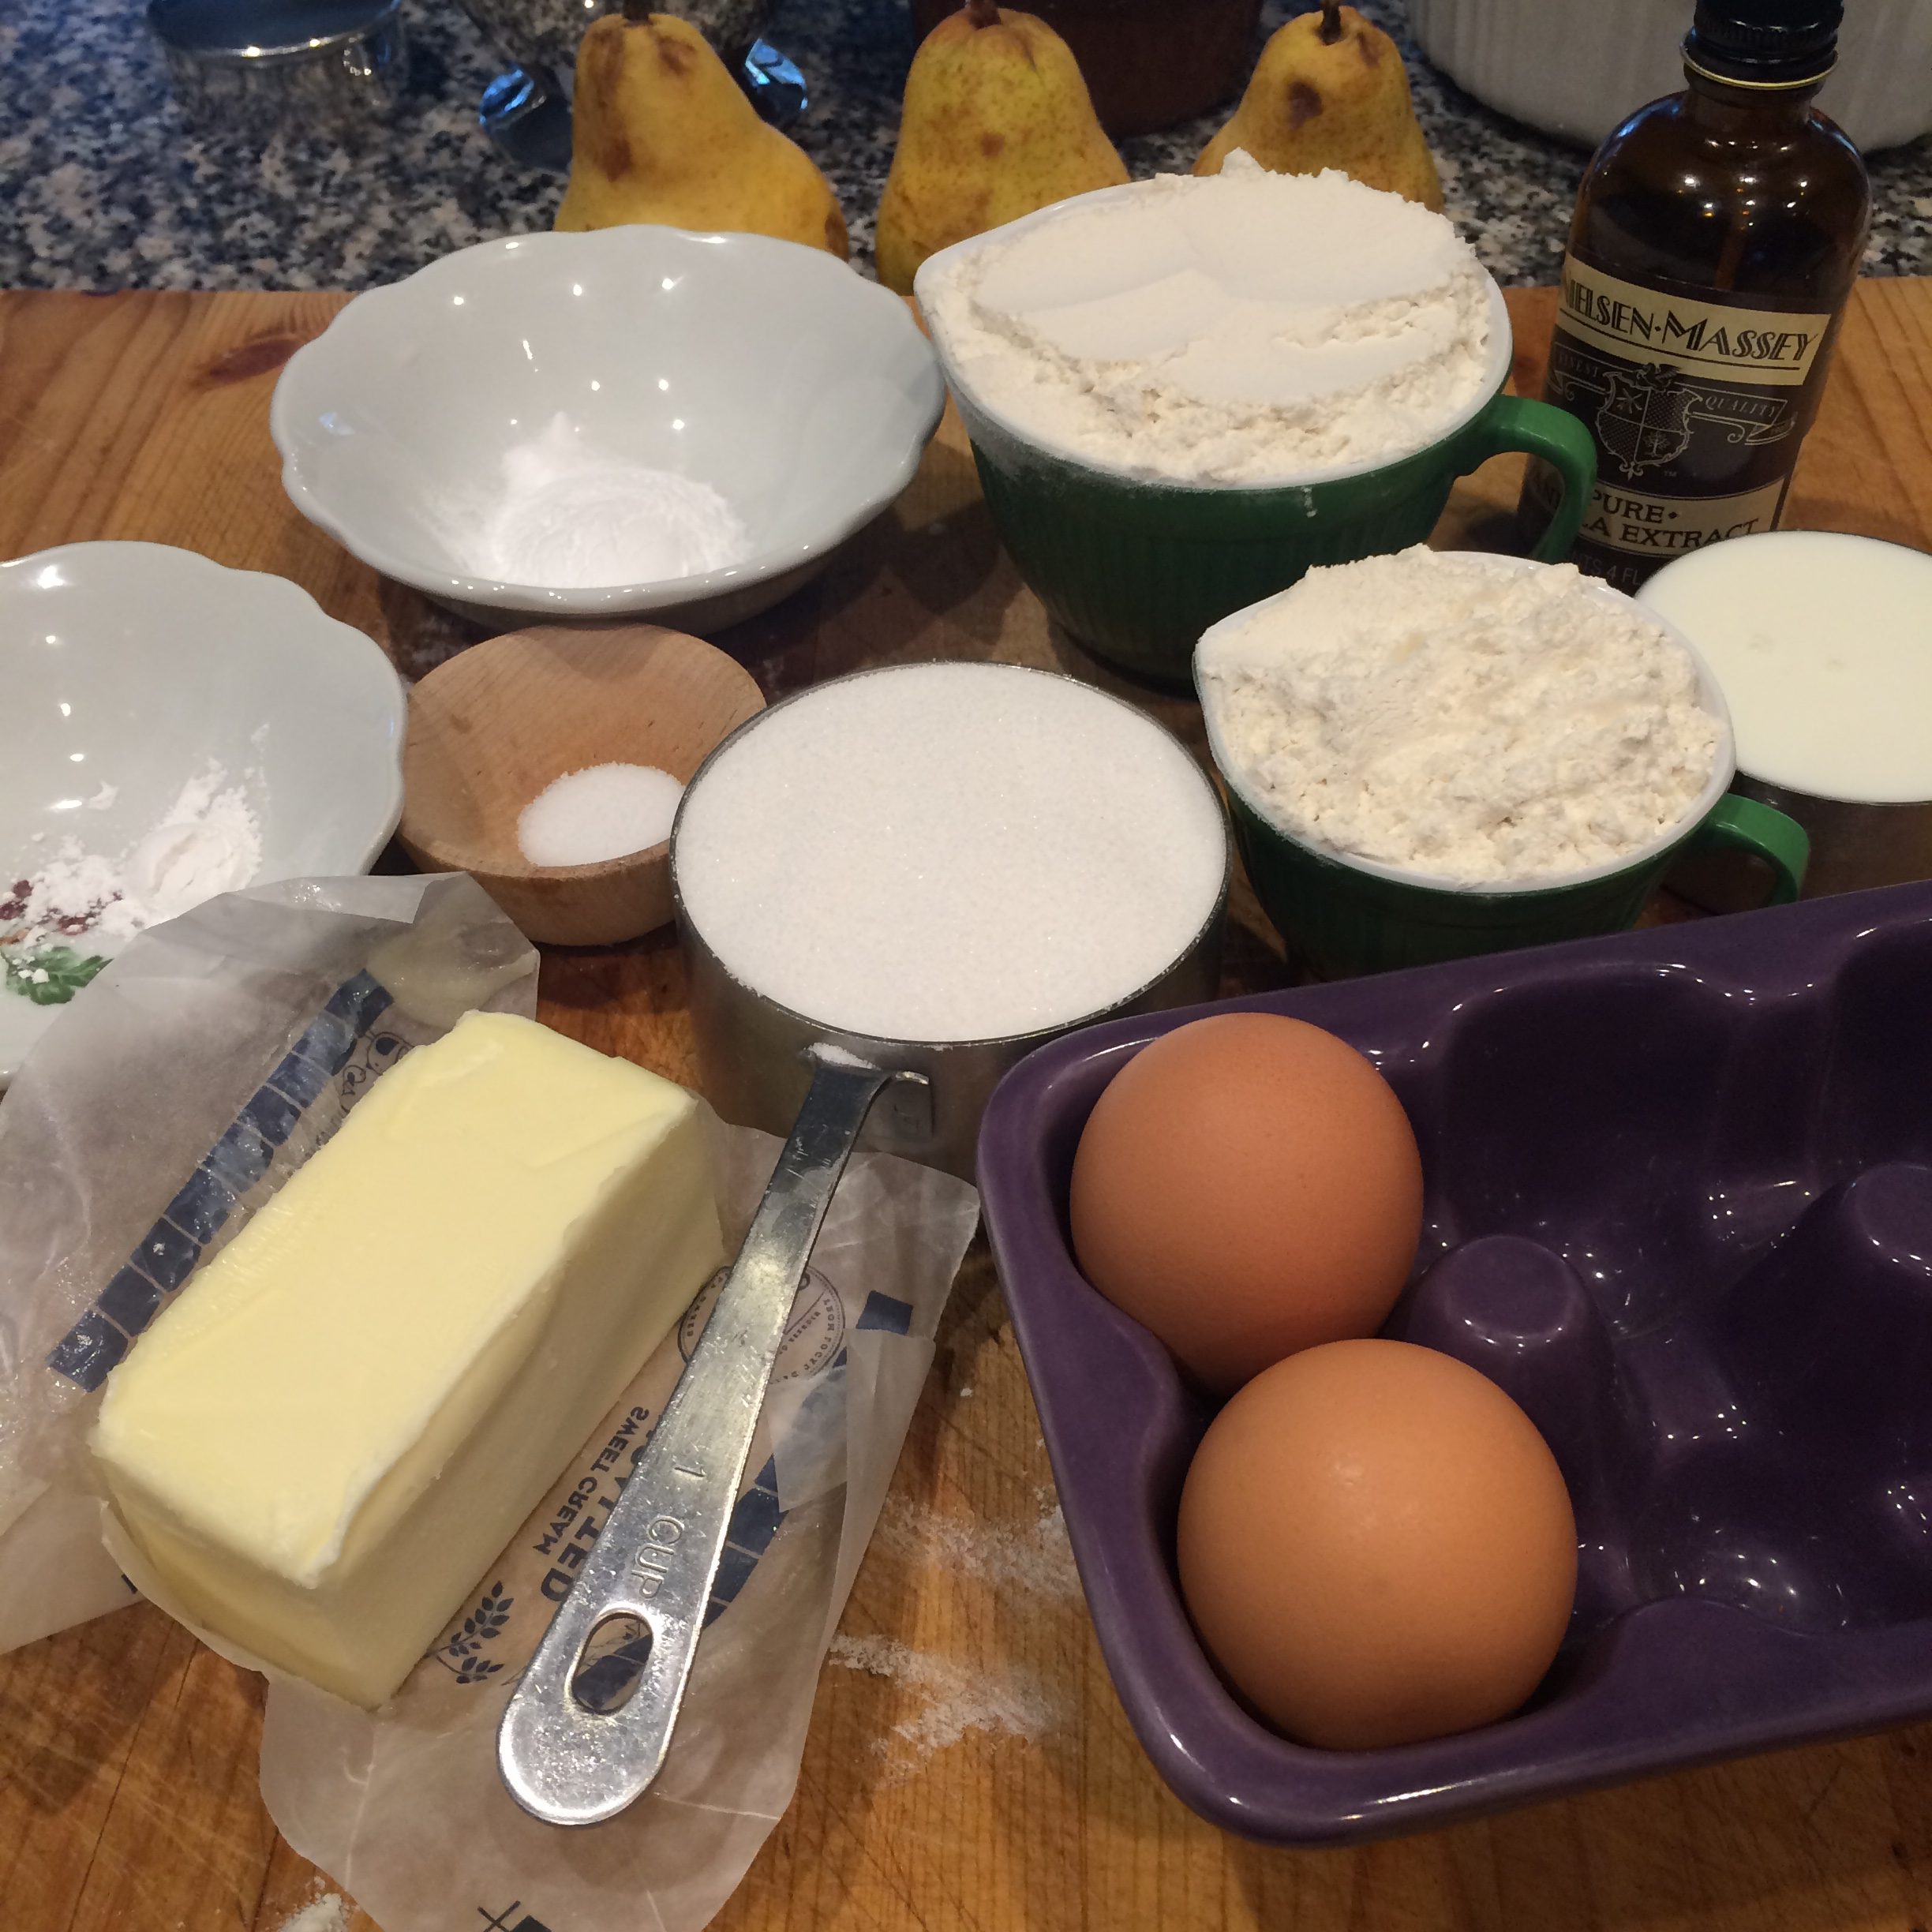
Ingredients

2 Tbsp. Unsalted Butter, plus extra for the pan

1/12 cups Unbleached Flour, plus extra for the pan

3 Tbsp. Fresh Orange Juice

1/4 cup Molasses

1 Tbsp. Maple Syrup

1 3/4 cups Sugar

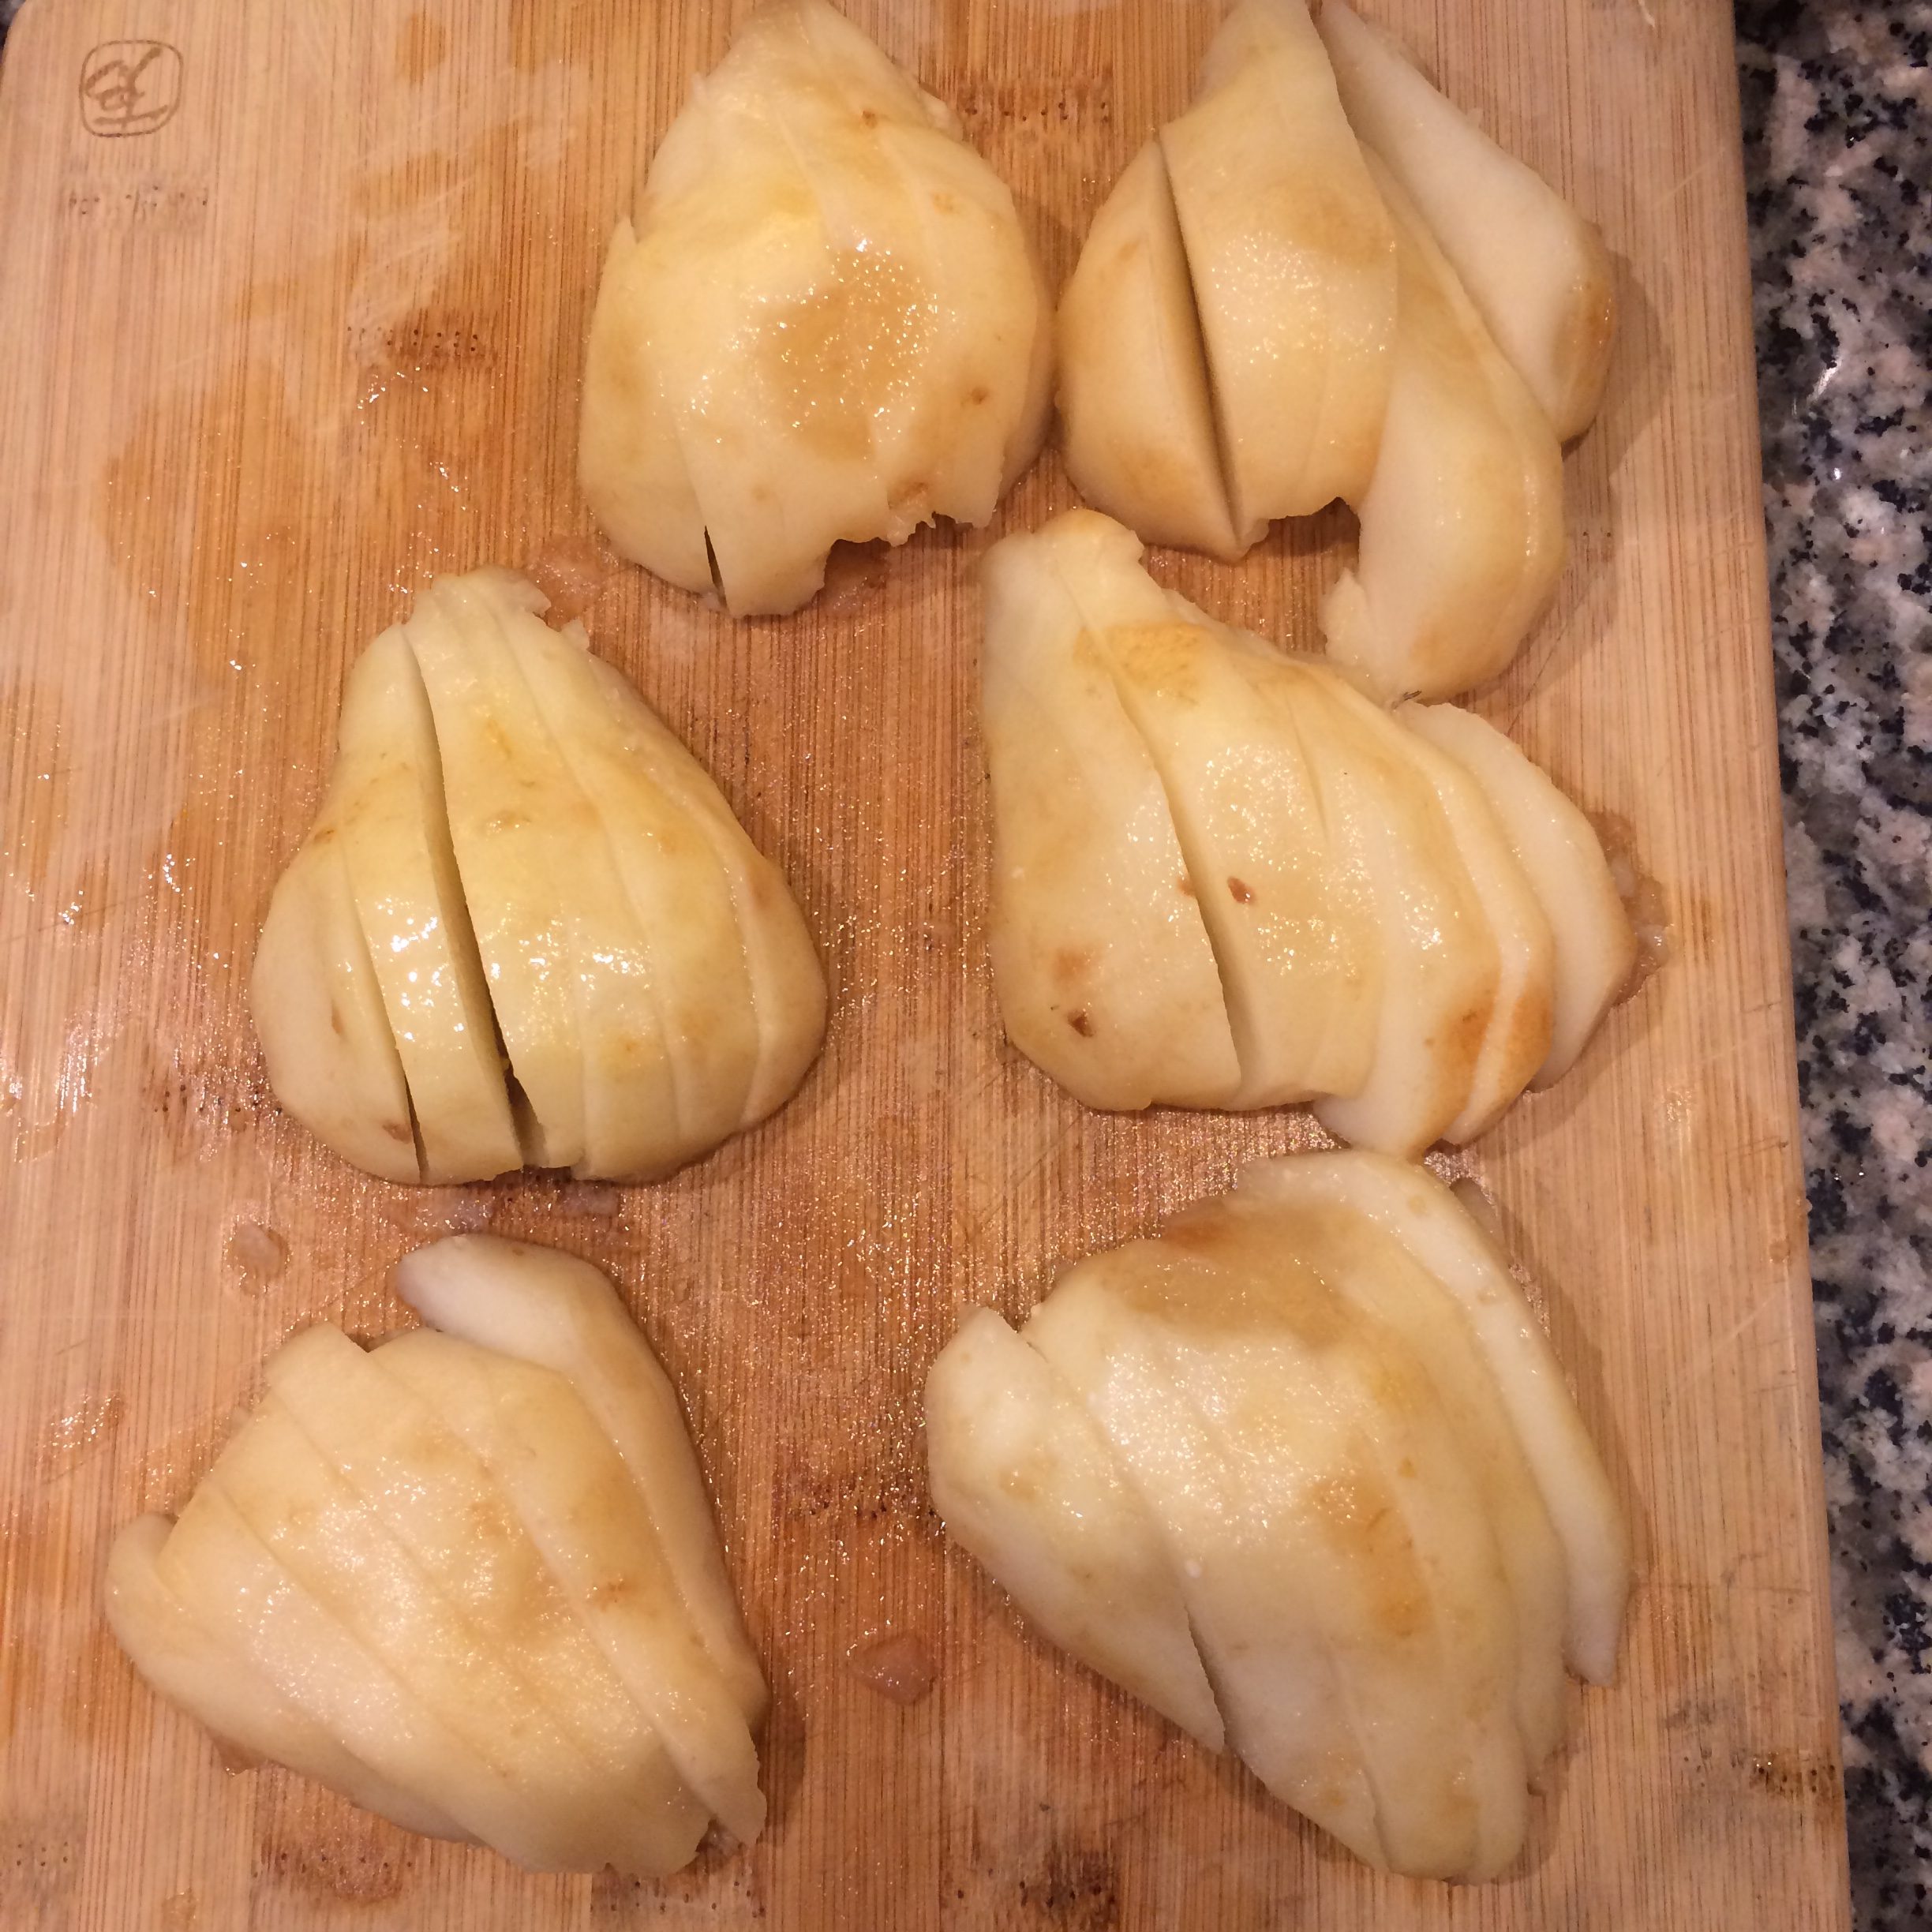
4 small ripe Bosc pears, peeled, cored and halved lengt
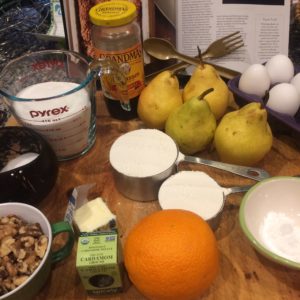
img_6259hwise

1 cup Unsalted, Roasted Walnuts

1 1/2 tsp. Baking Powder

1/2 tsp. Baking Soda

1/2 tsp. Kosher Salt

1/4 tsp. Ground Cardamom

4 Eggs

1tsp. finely grated Orange Zest

1 cup Olive Oil

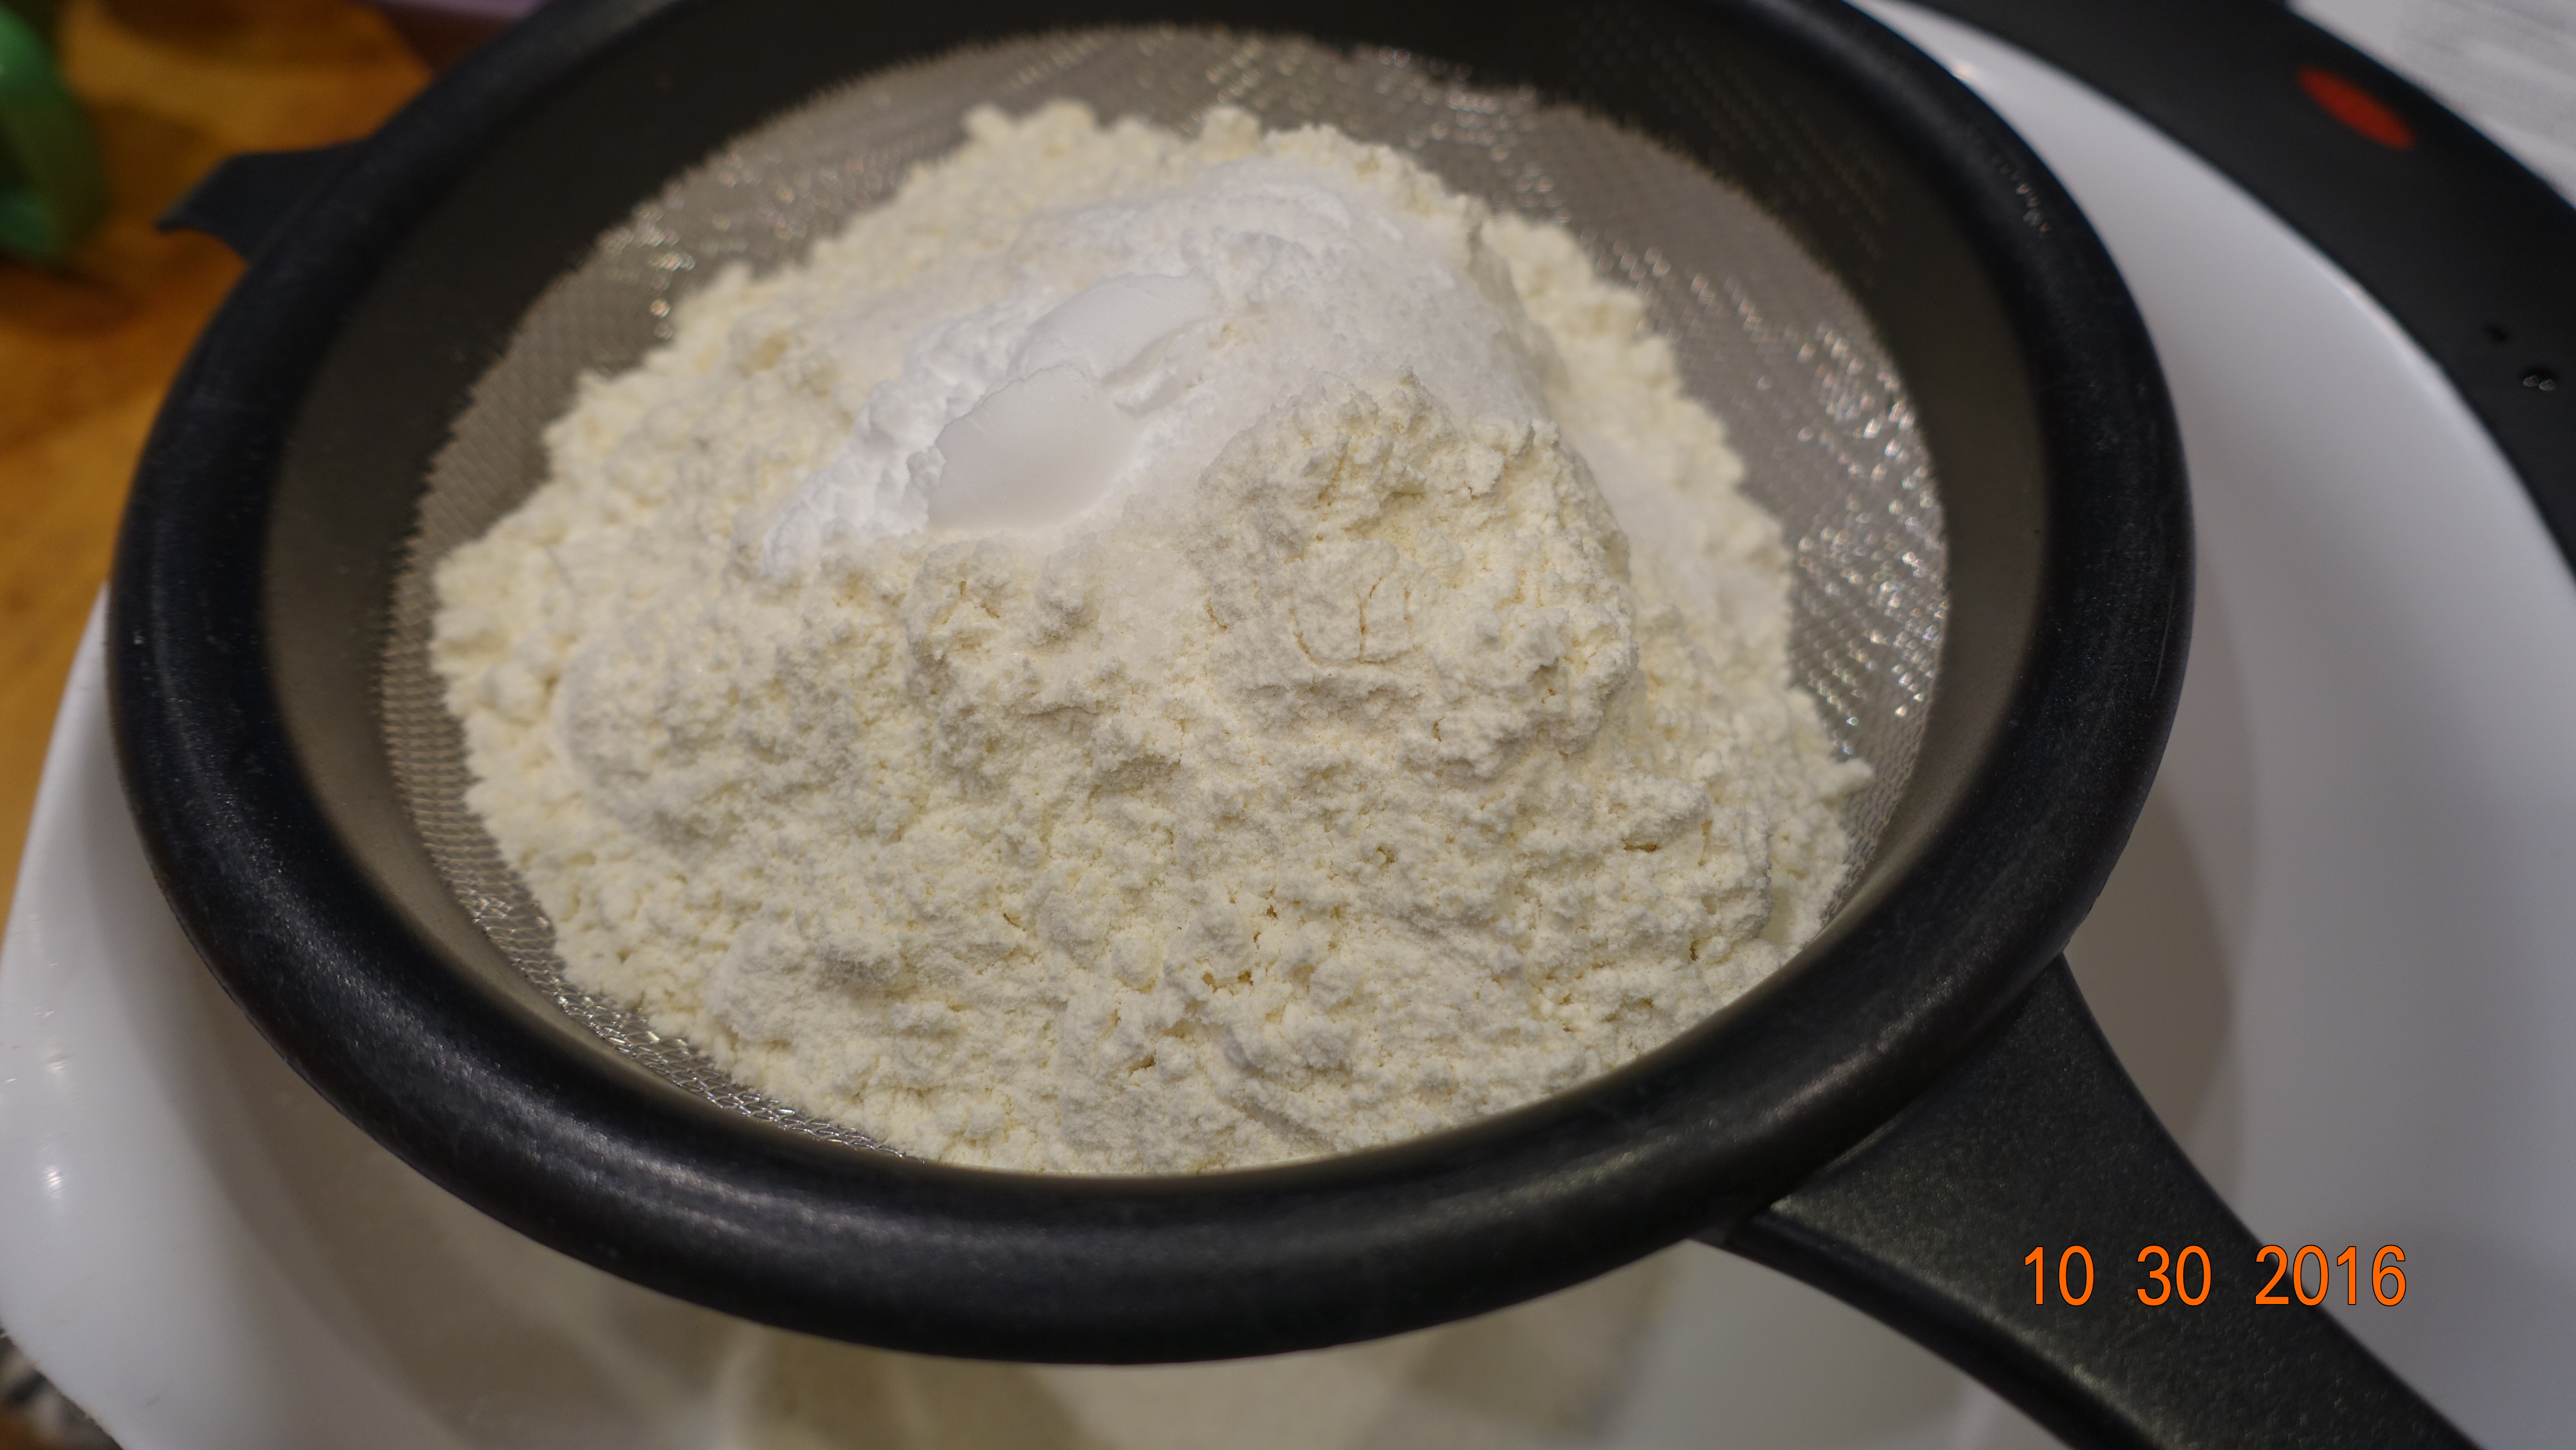
(Oops! There’s an ingredient missing in the picture.  Can you figure out which one it is?)

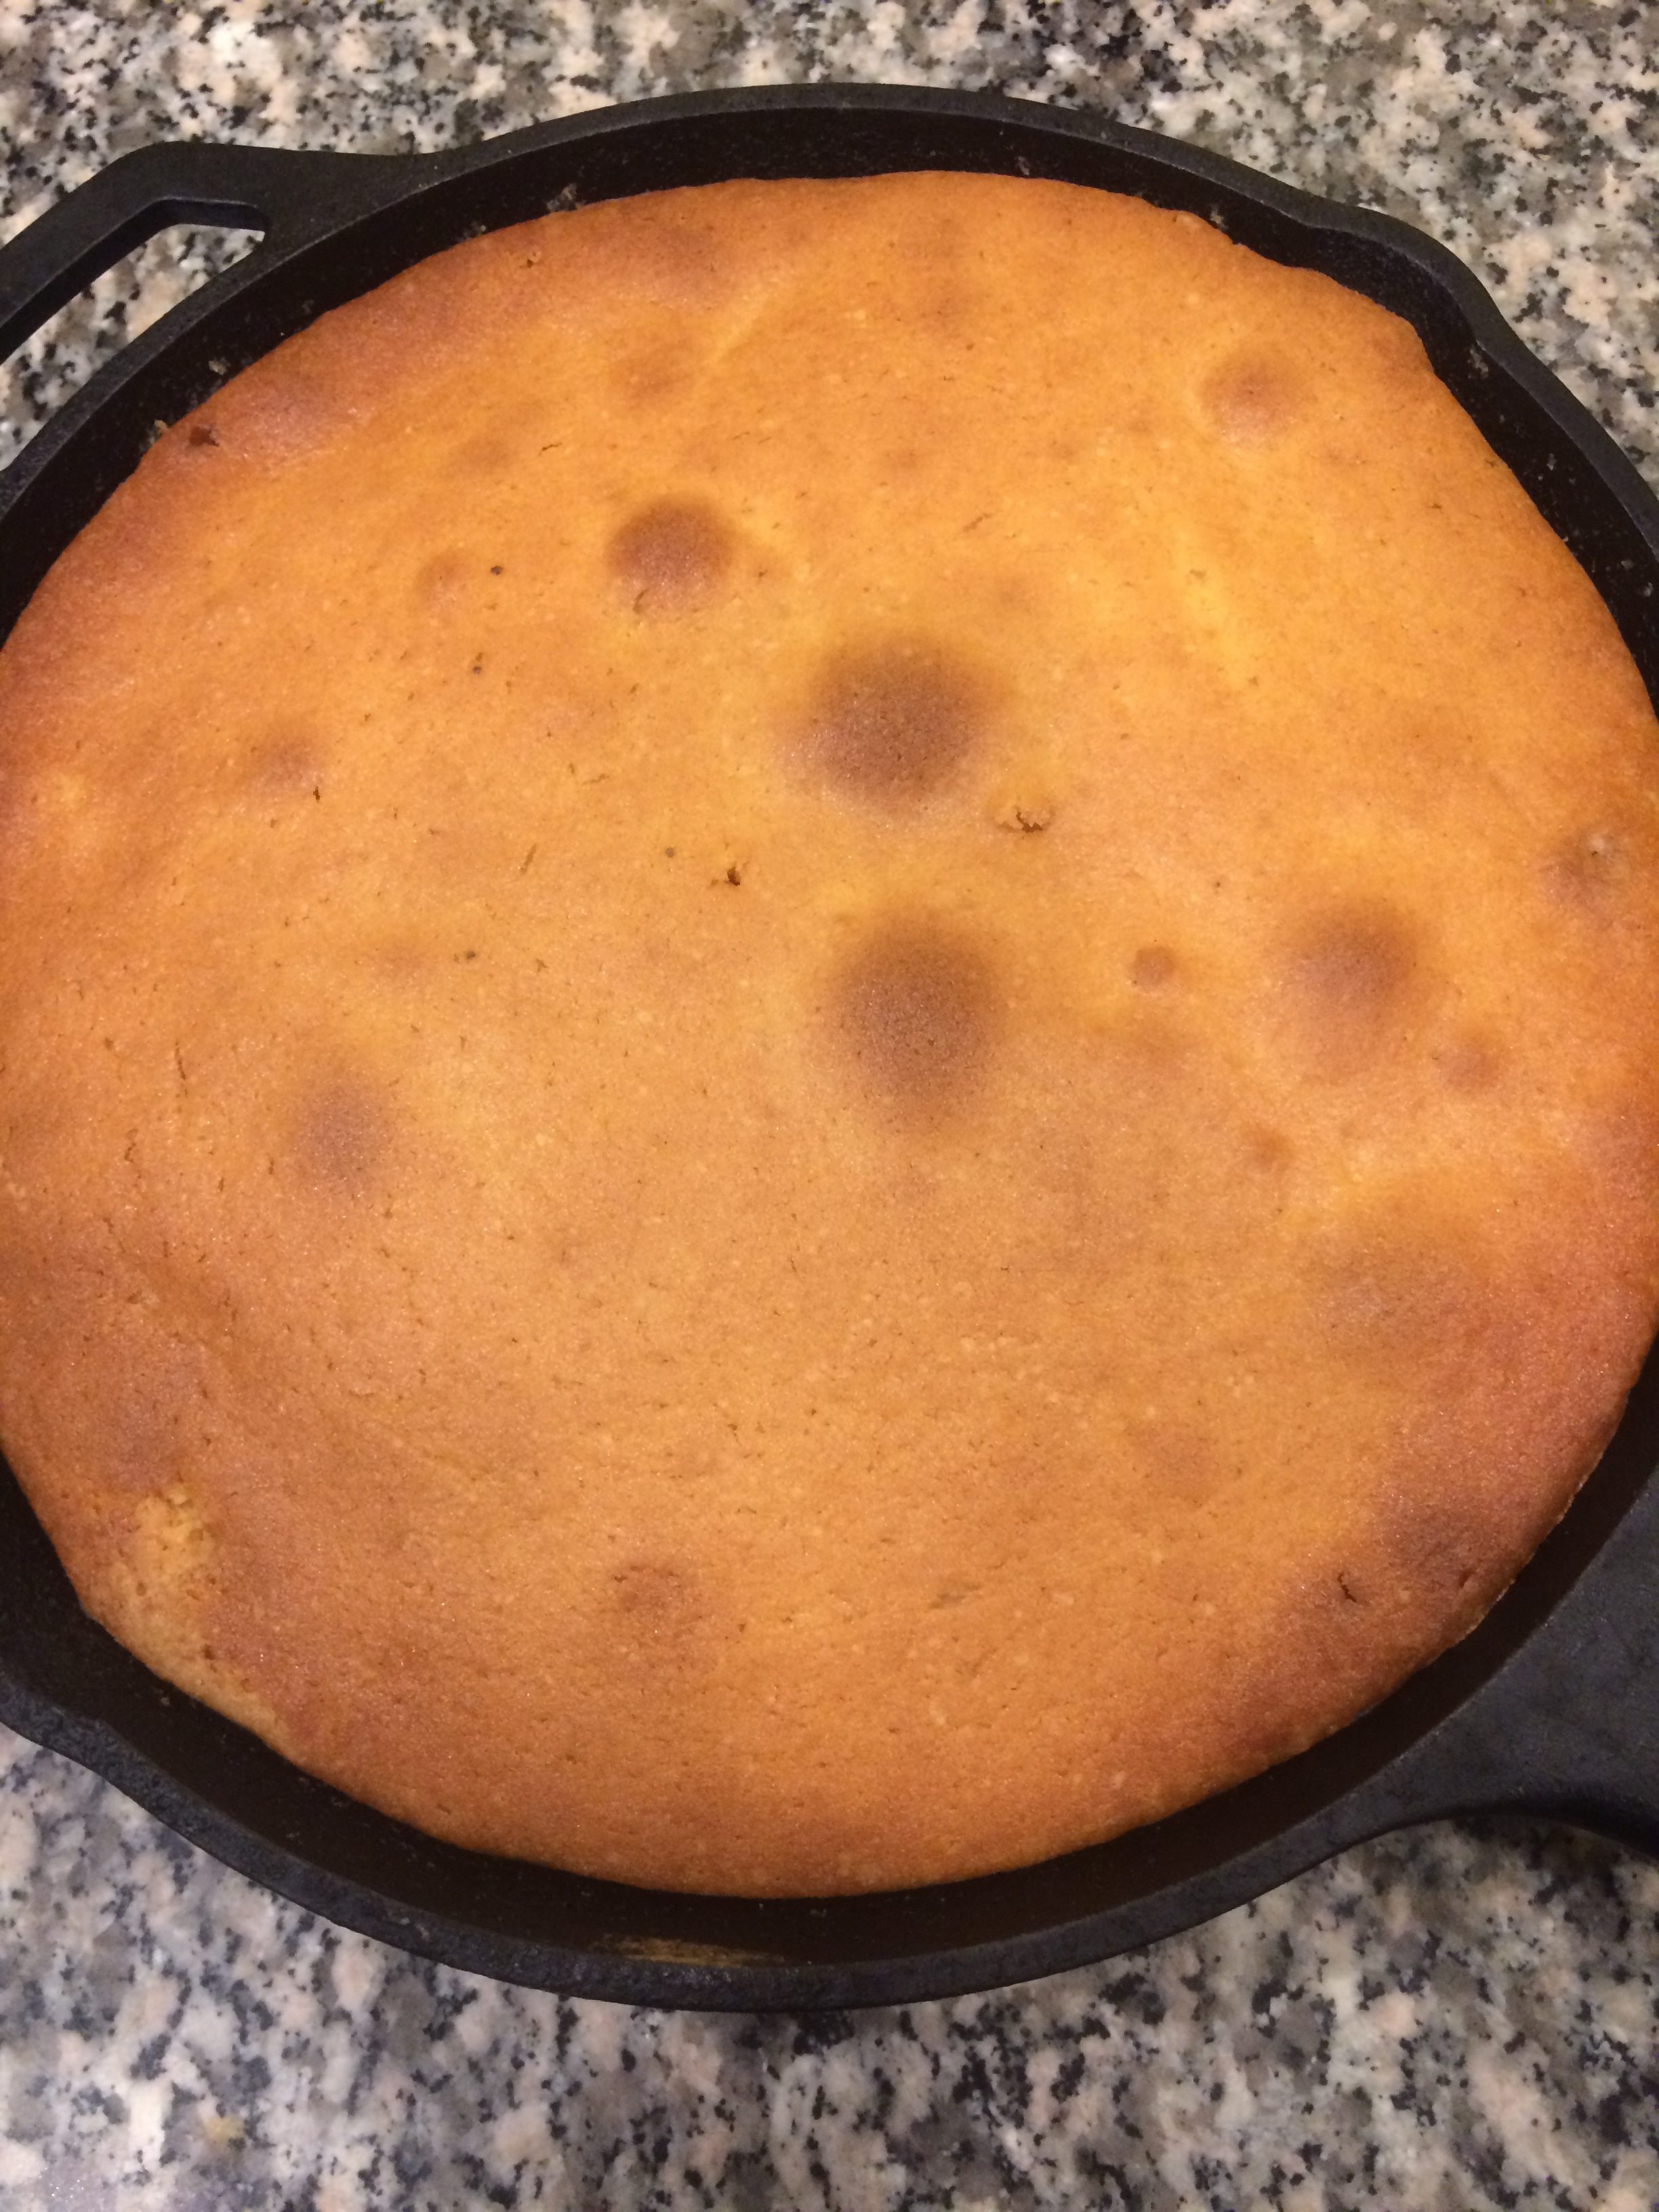
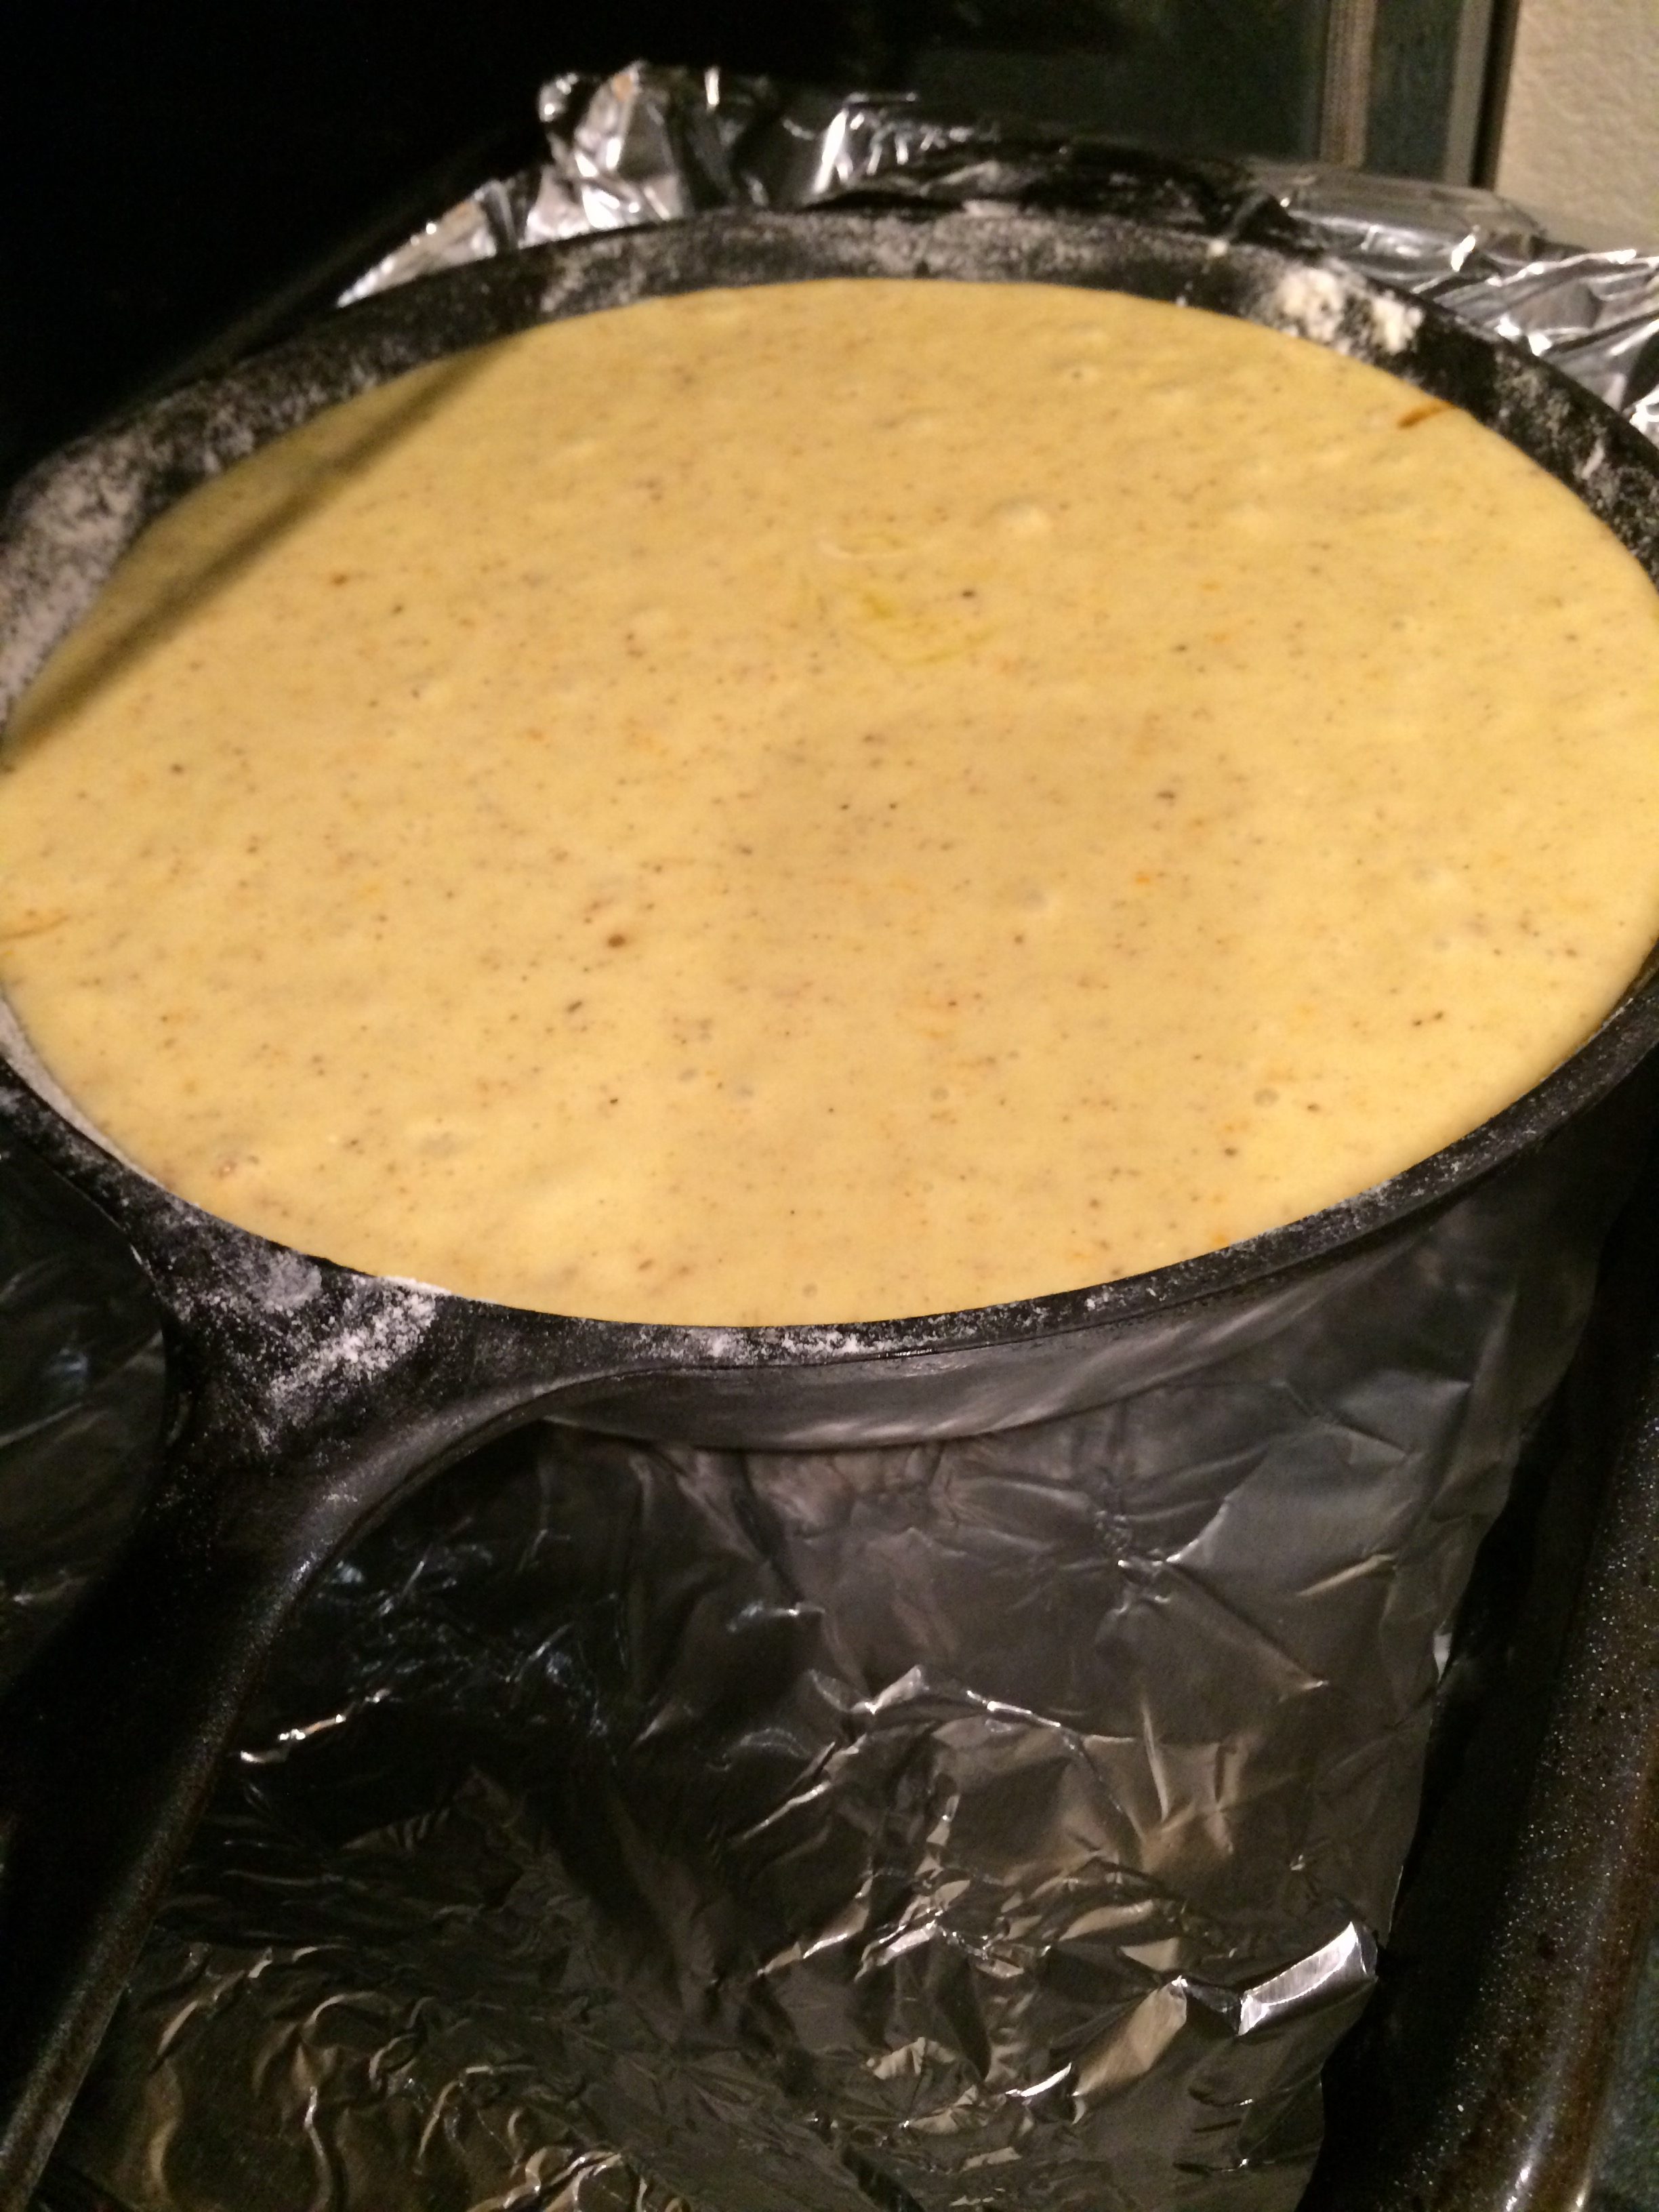
The Bon Appétit recipe calls for a 10″ cake pan that is at least 2″ deep.  I don’t own one, so I used my iron skillet and it worked like a dream.

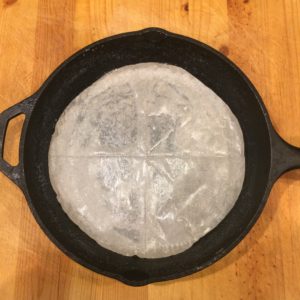
Preheat oven to 350 degrees.  Butter the cake pan and line bottom with a  parchment round.  Flour the sides of the pan.

img_6256

Cook Orange Juice, Molasses, Maple Syrup, 1/4 cup Sugar, and 2 Tbsp. Butter in a medium skillet (NOT THE SKILLET WITH PARCHMENT PAPER AND FLOUR! A clean skillet.)  over medium heat, stirring until Sugar is dissolved and mixture is slightly reduced, about 4 minutes.  Place Pears, cut-side up, in skillet and cook until juices release.  Do not disturb for 3 minutes or so.  Turn the Pears over and cook another 3 minutes until slightly softened.  Let cool slightly, then arrange Pears, cut side down, in prepared pan – cake pan or iron skillet.

Return the skillet with Orange Juice and Molasses mixture to medium heat and cook liquid until thickened and syrupy, about 5 minutes.

img_6279

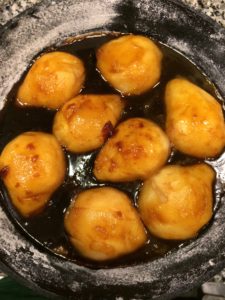
Pour syrup over Pears and freeze while you prepare the batter.  Do not freeze solid!

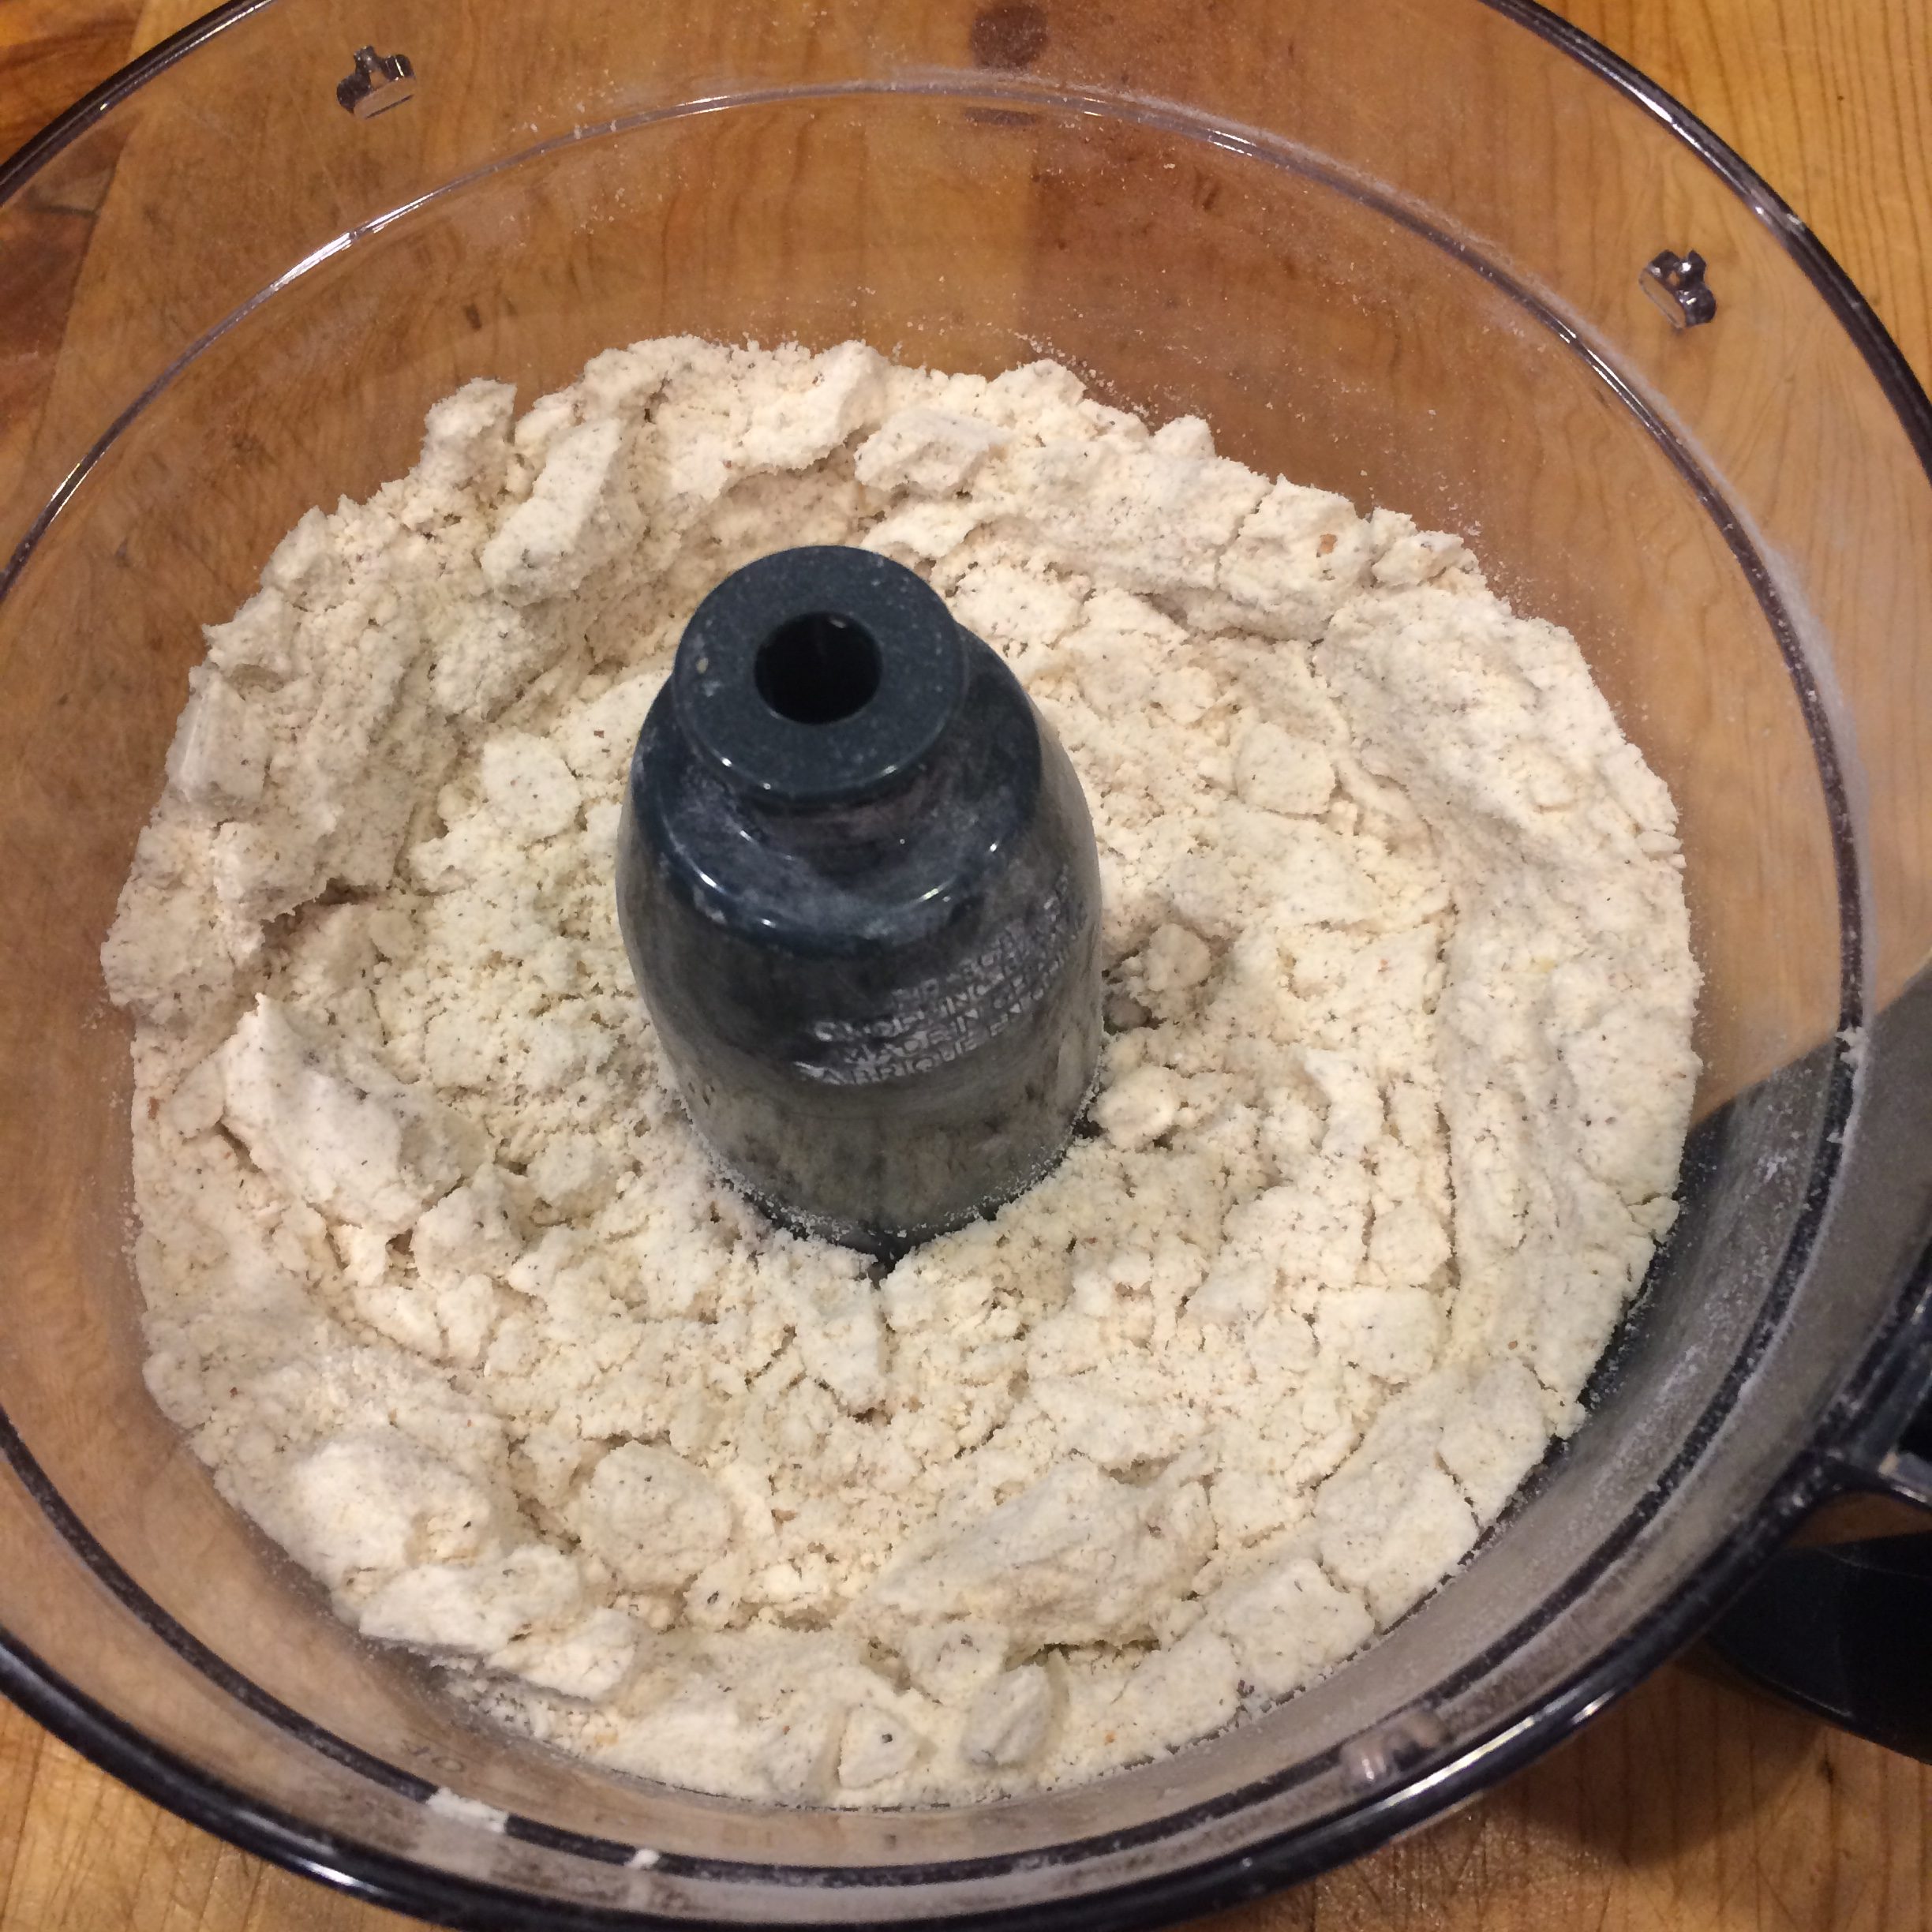
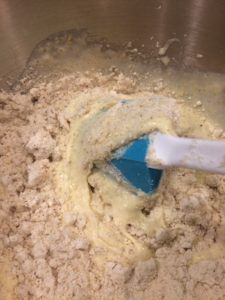
Meanwhile, pulse Walnuts and 1 1/2 cups Flour in food processor until Walnuts are finely ground.  Pulse in Baking Powder, Baking Soda, Salt and Cardamon.

img_6263

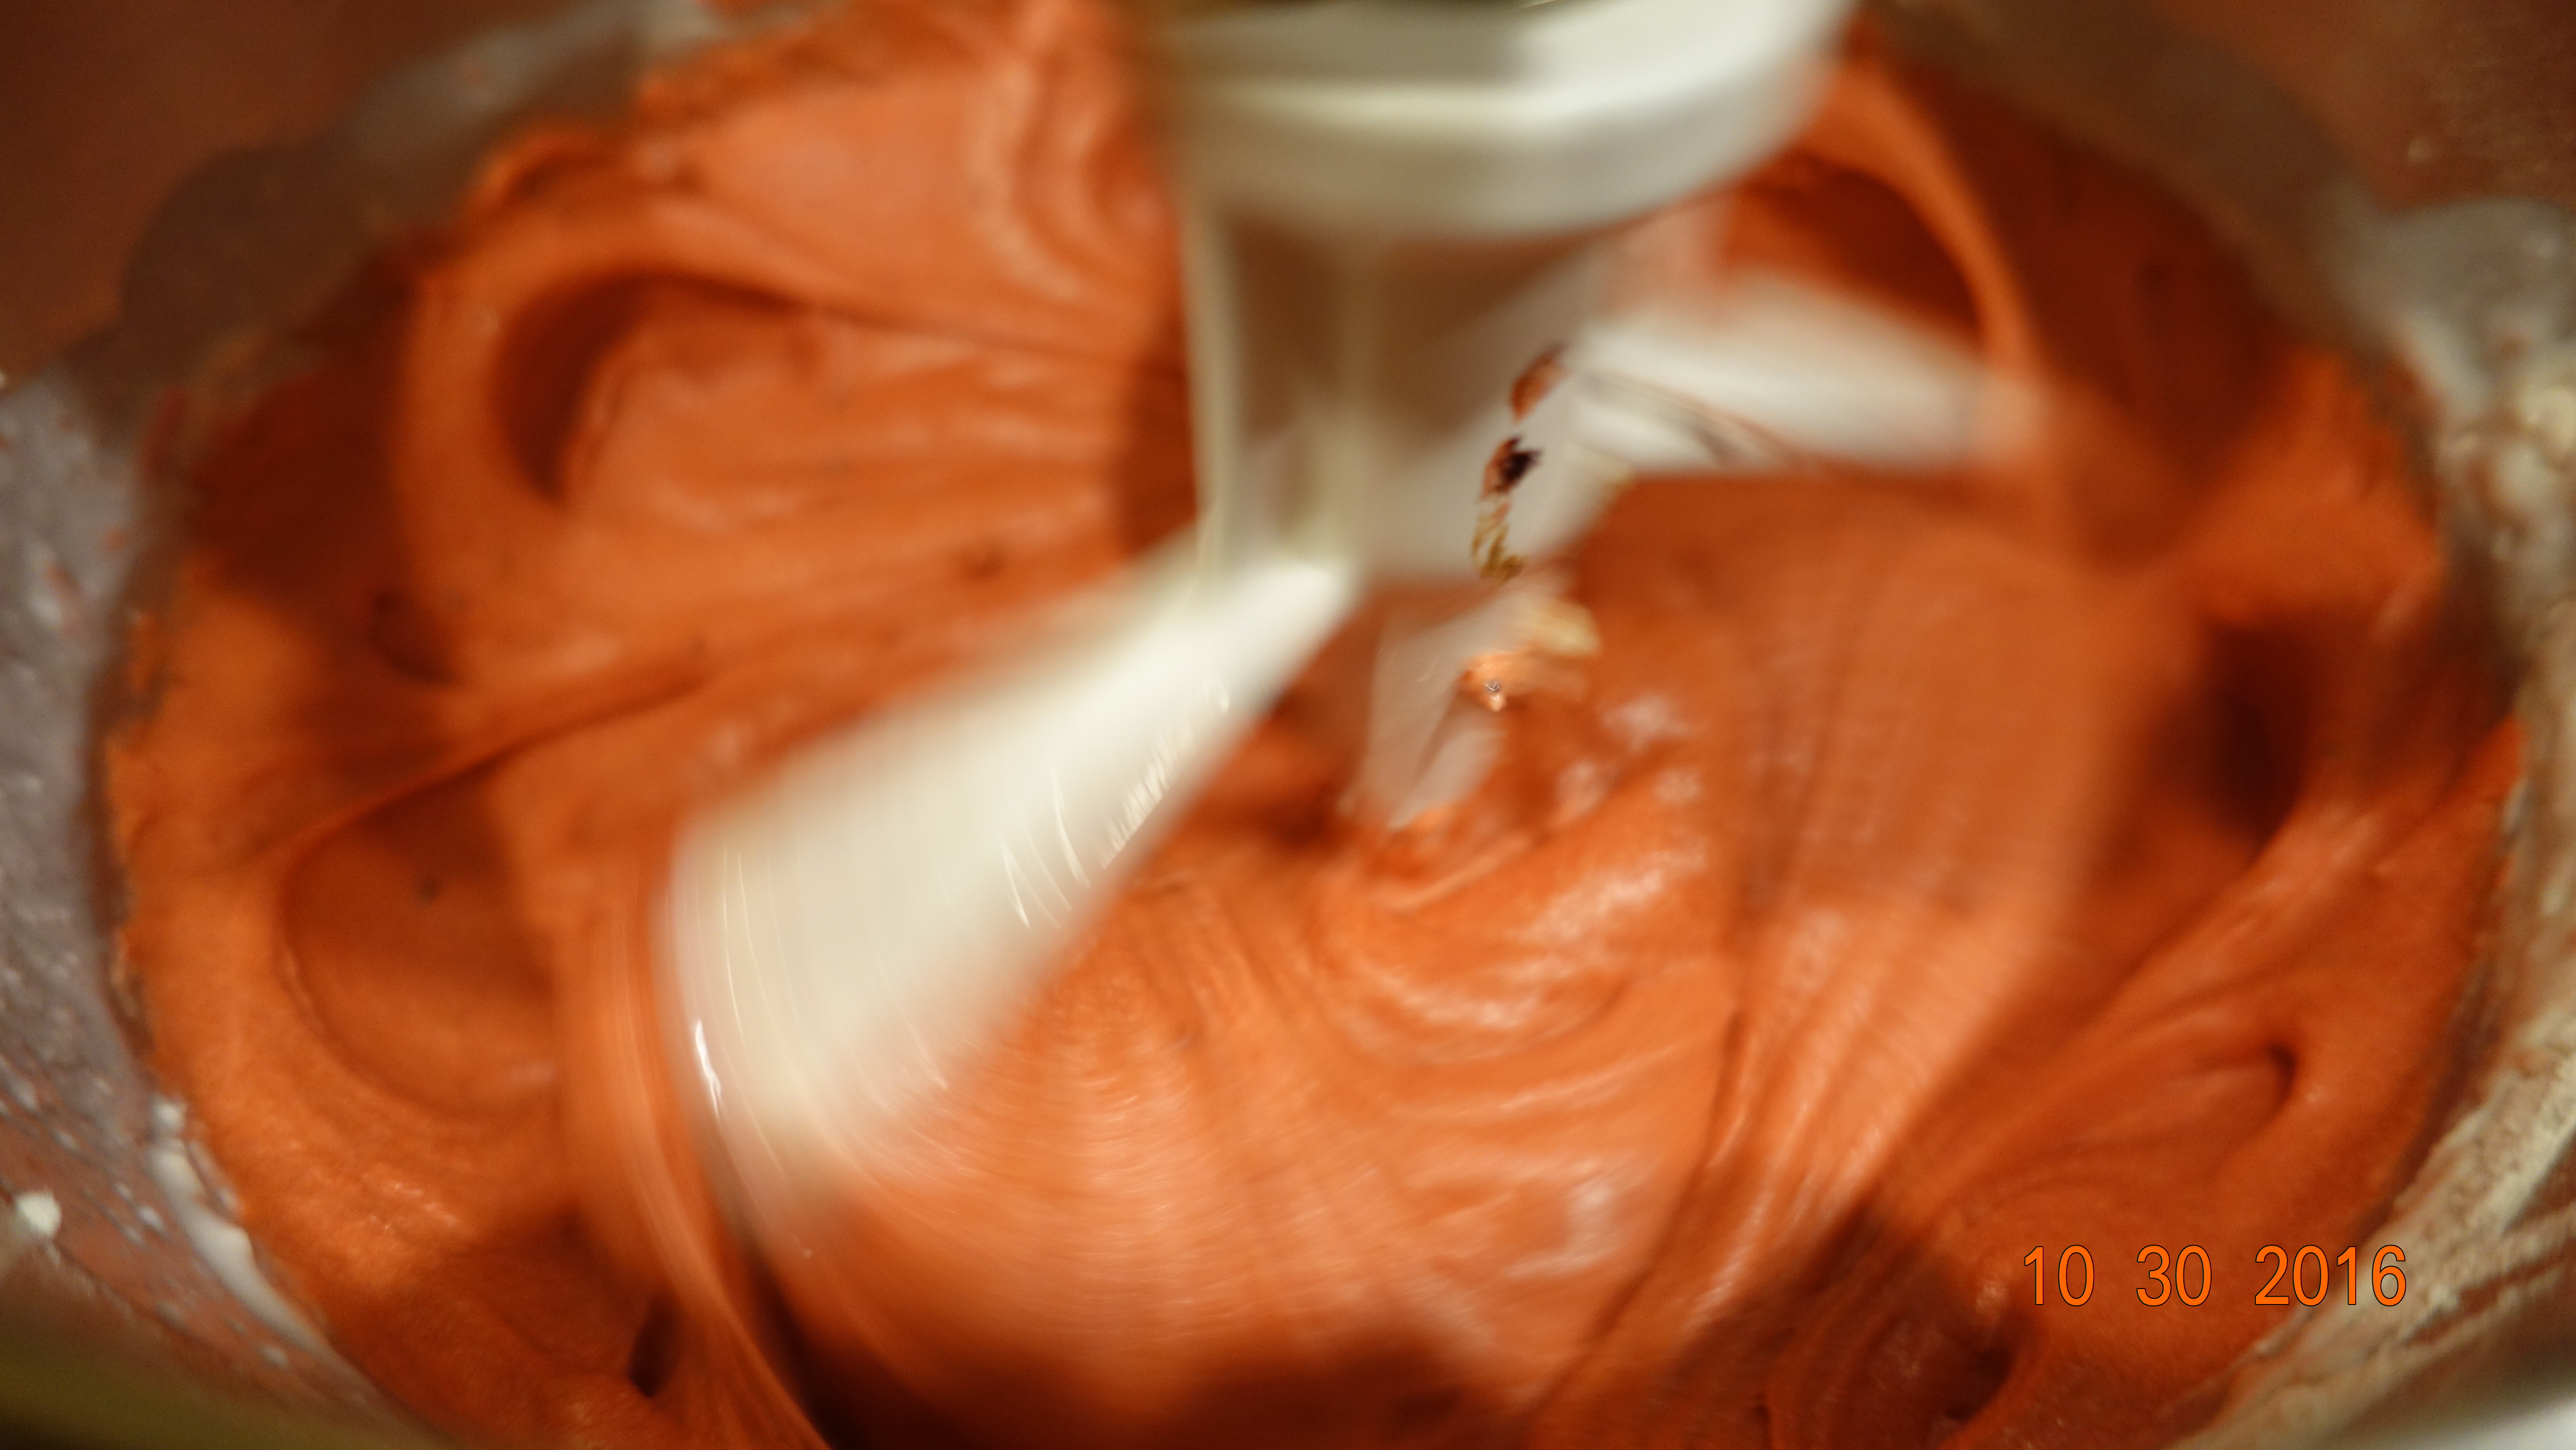
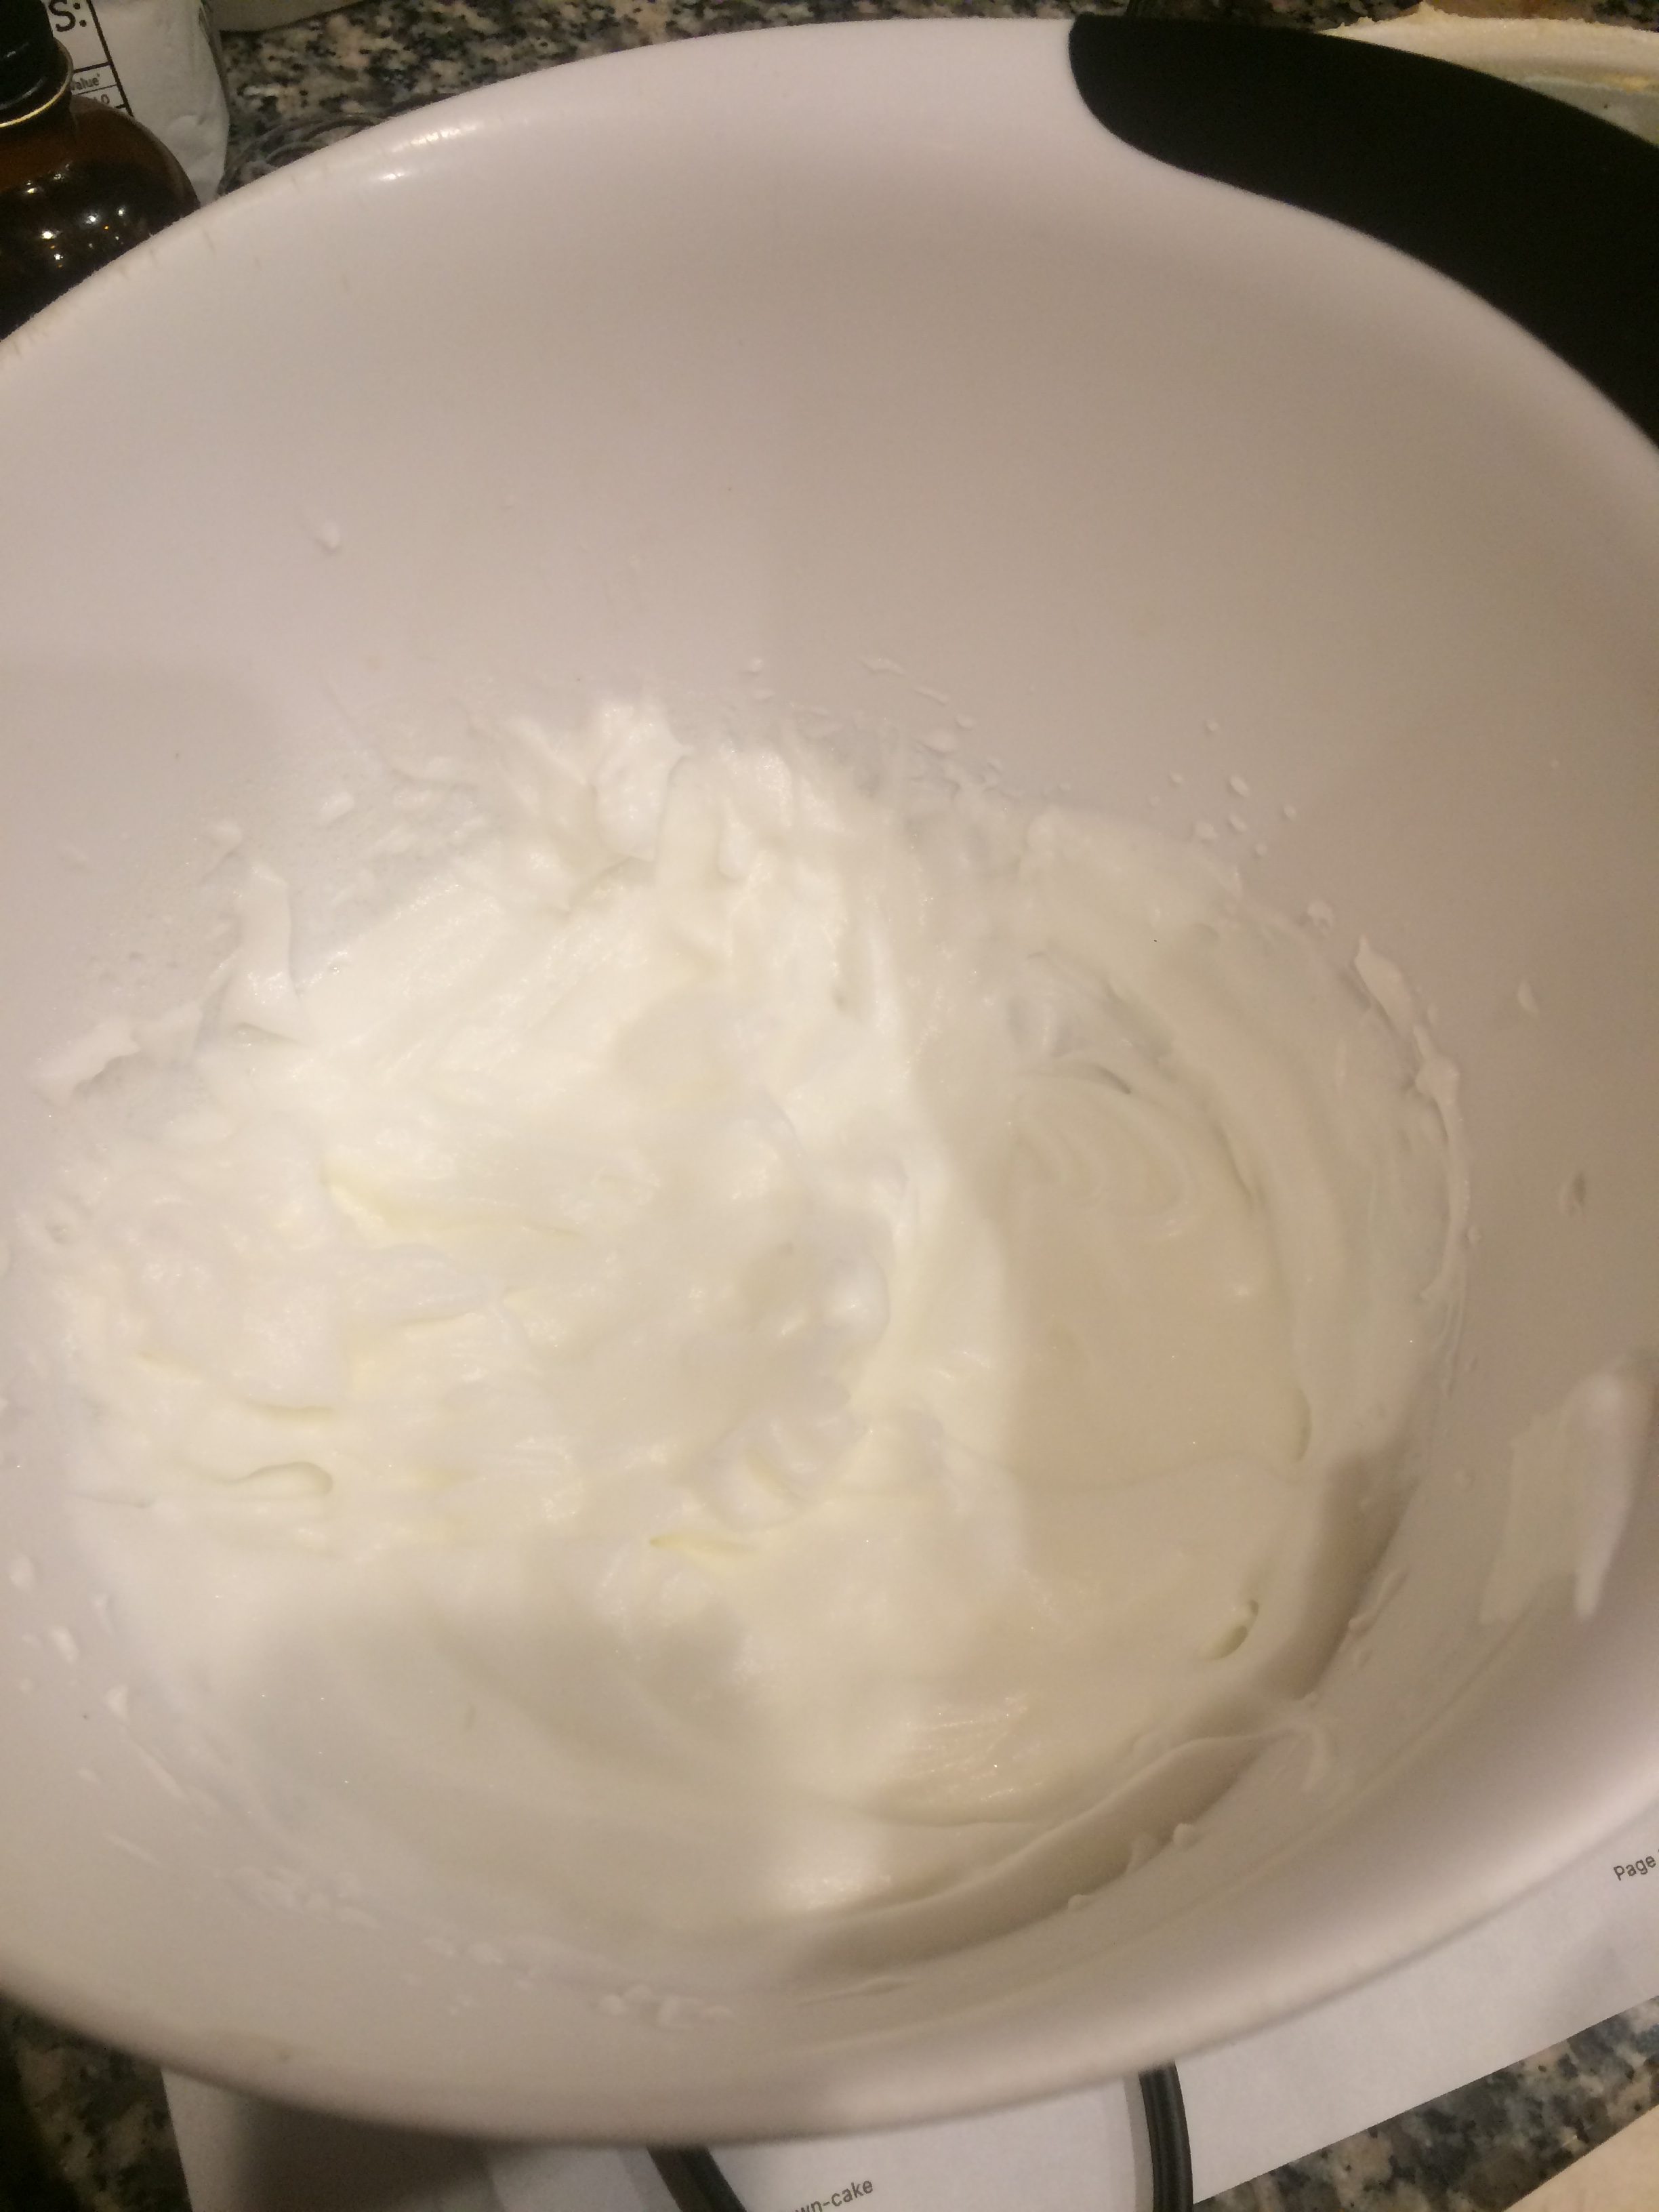
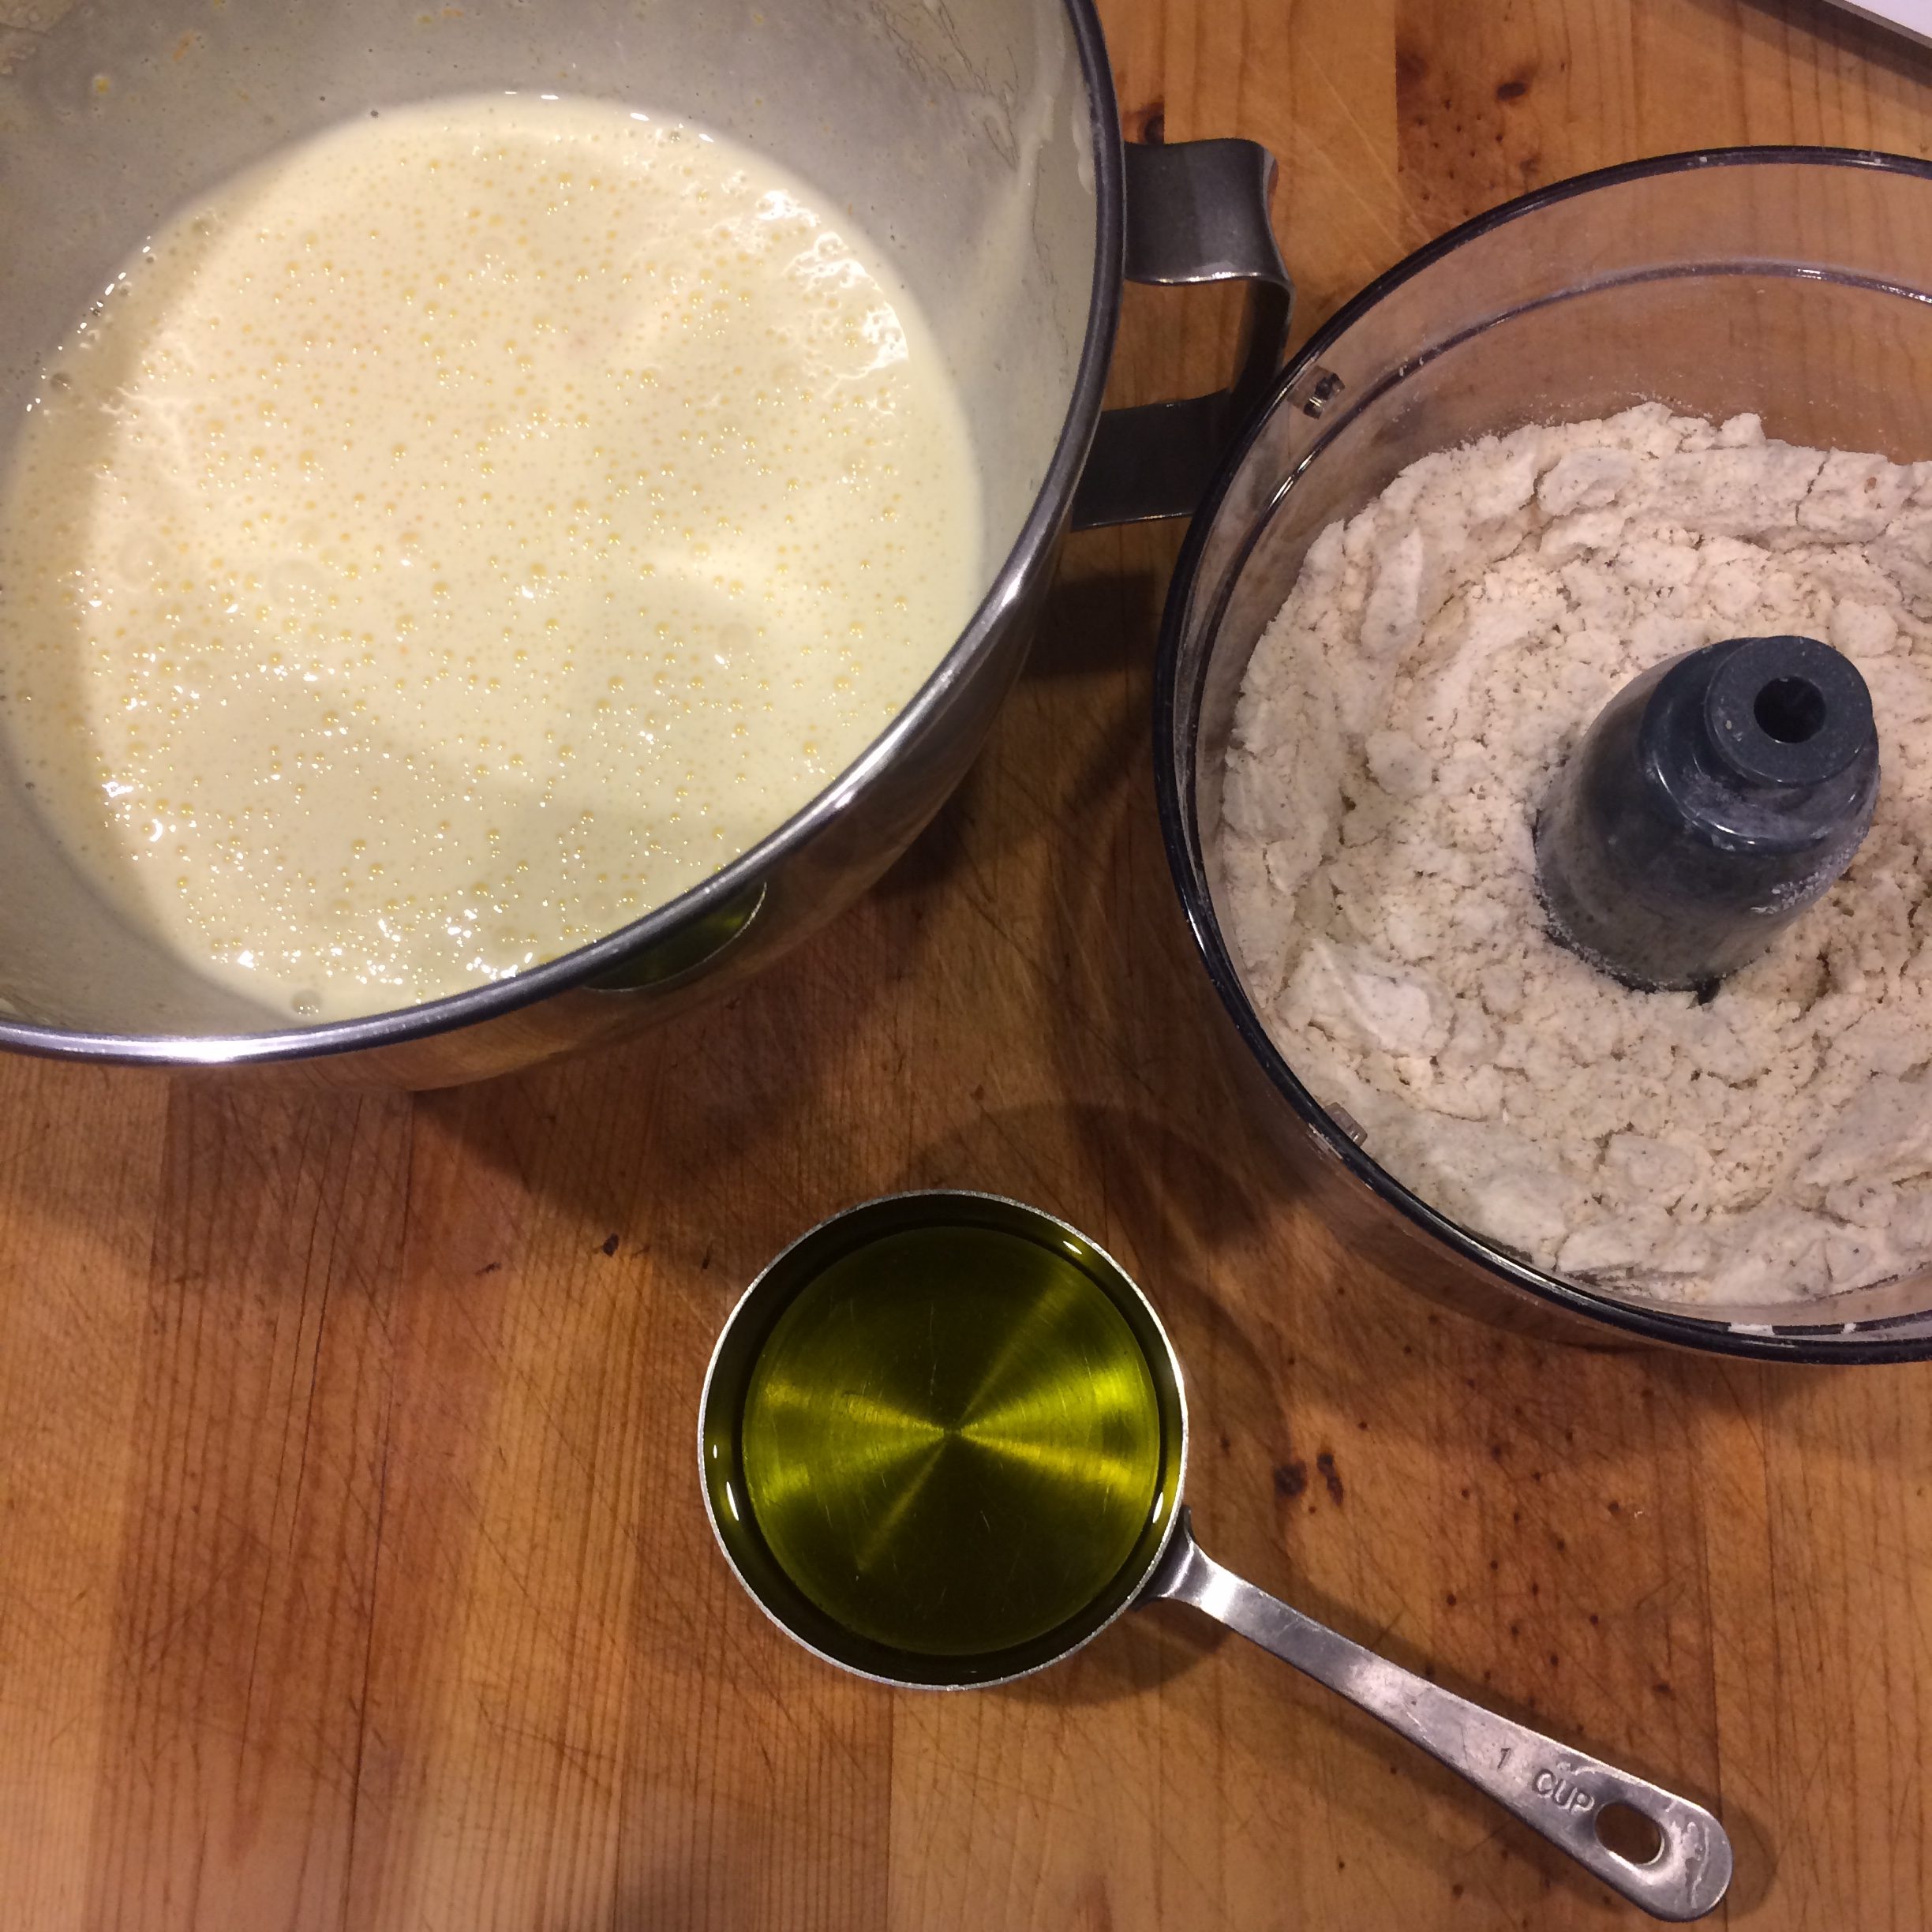
Using an electric mixer on medium beat Eggs, Orange Zest and 1 1/2 cups Sugar in a medium bowl until pale and fluffy, about 5 minutes.

img_6265

Fold in dry ingredients in 2 addition, making sure they are fully incorporated before adding more.

img_6267img_6269

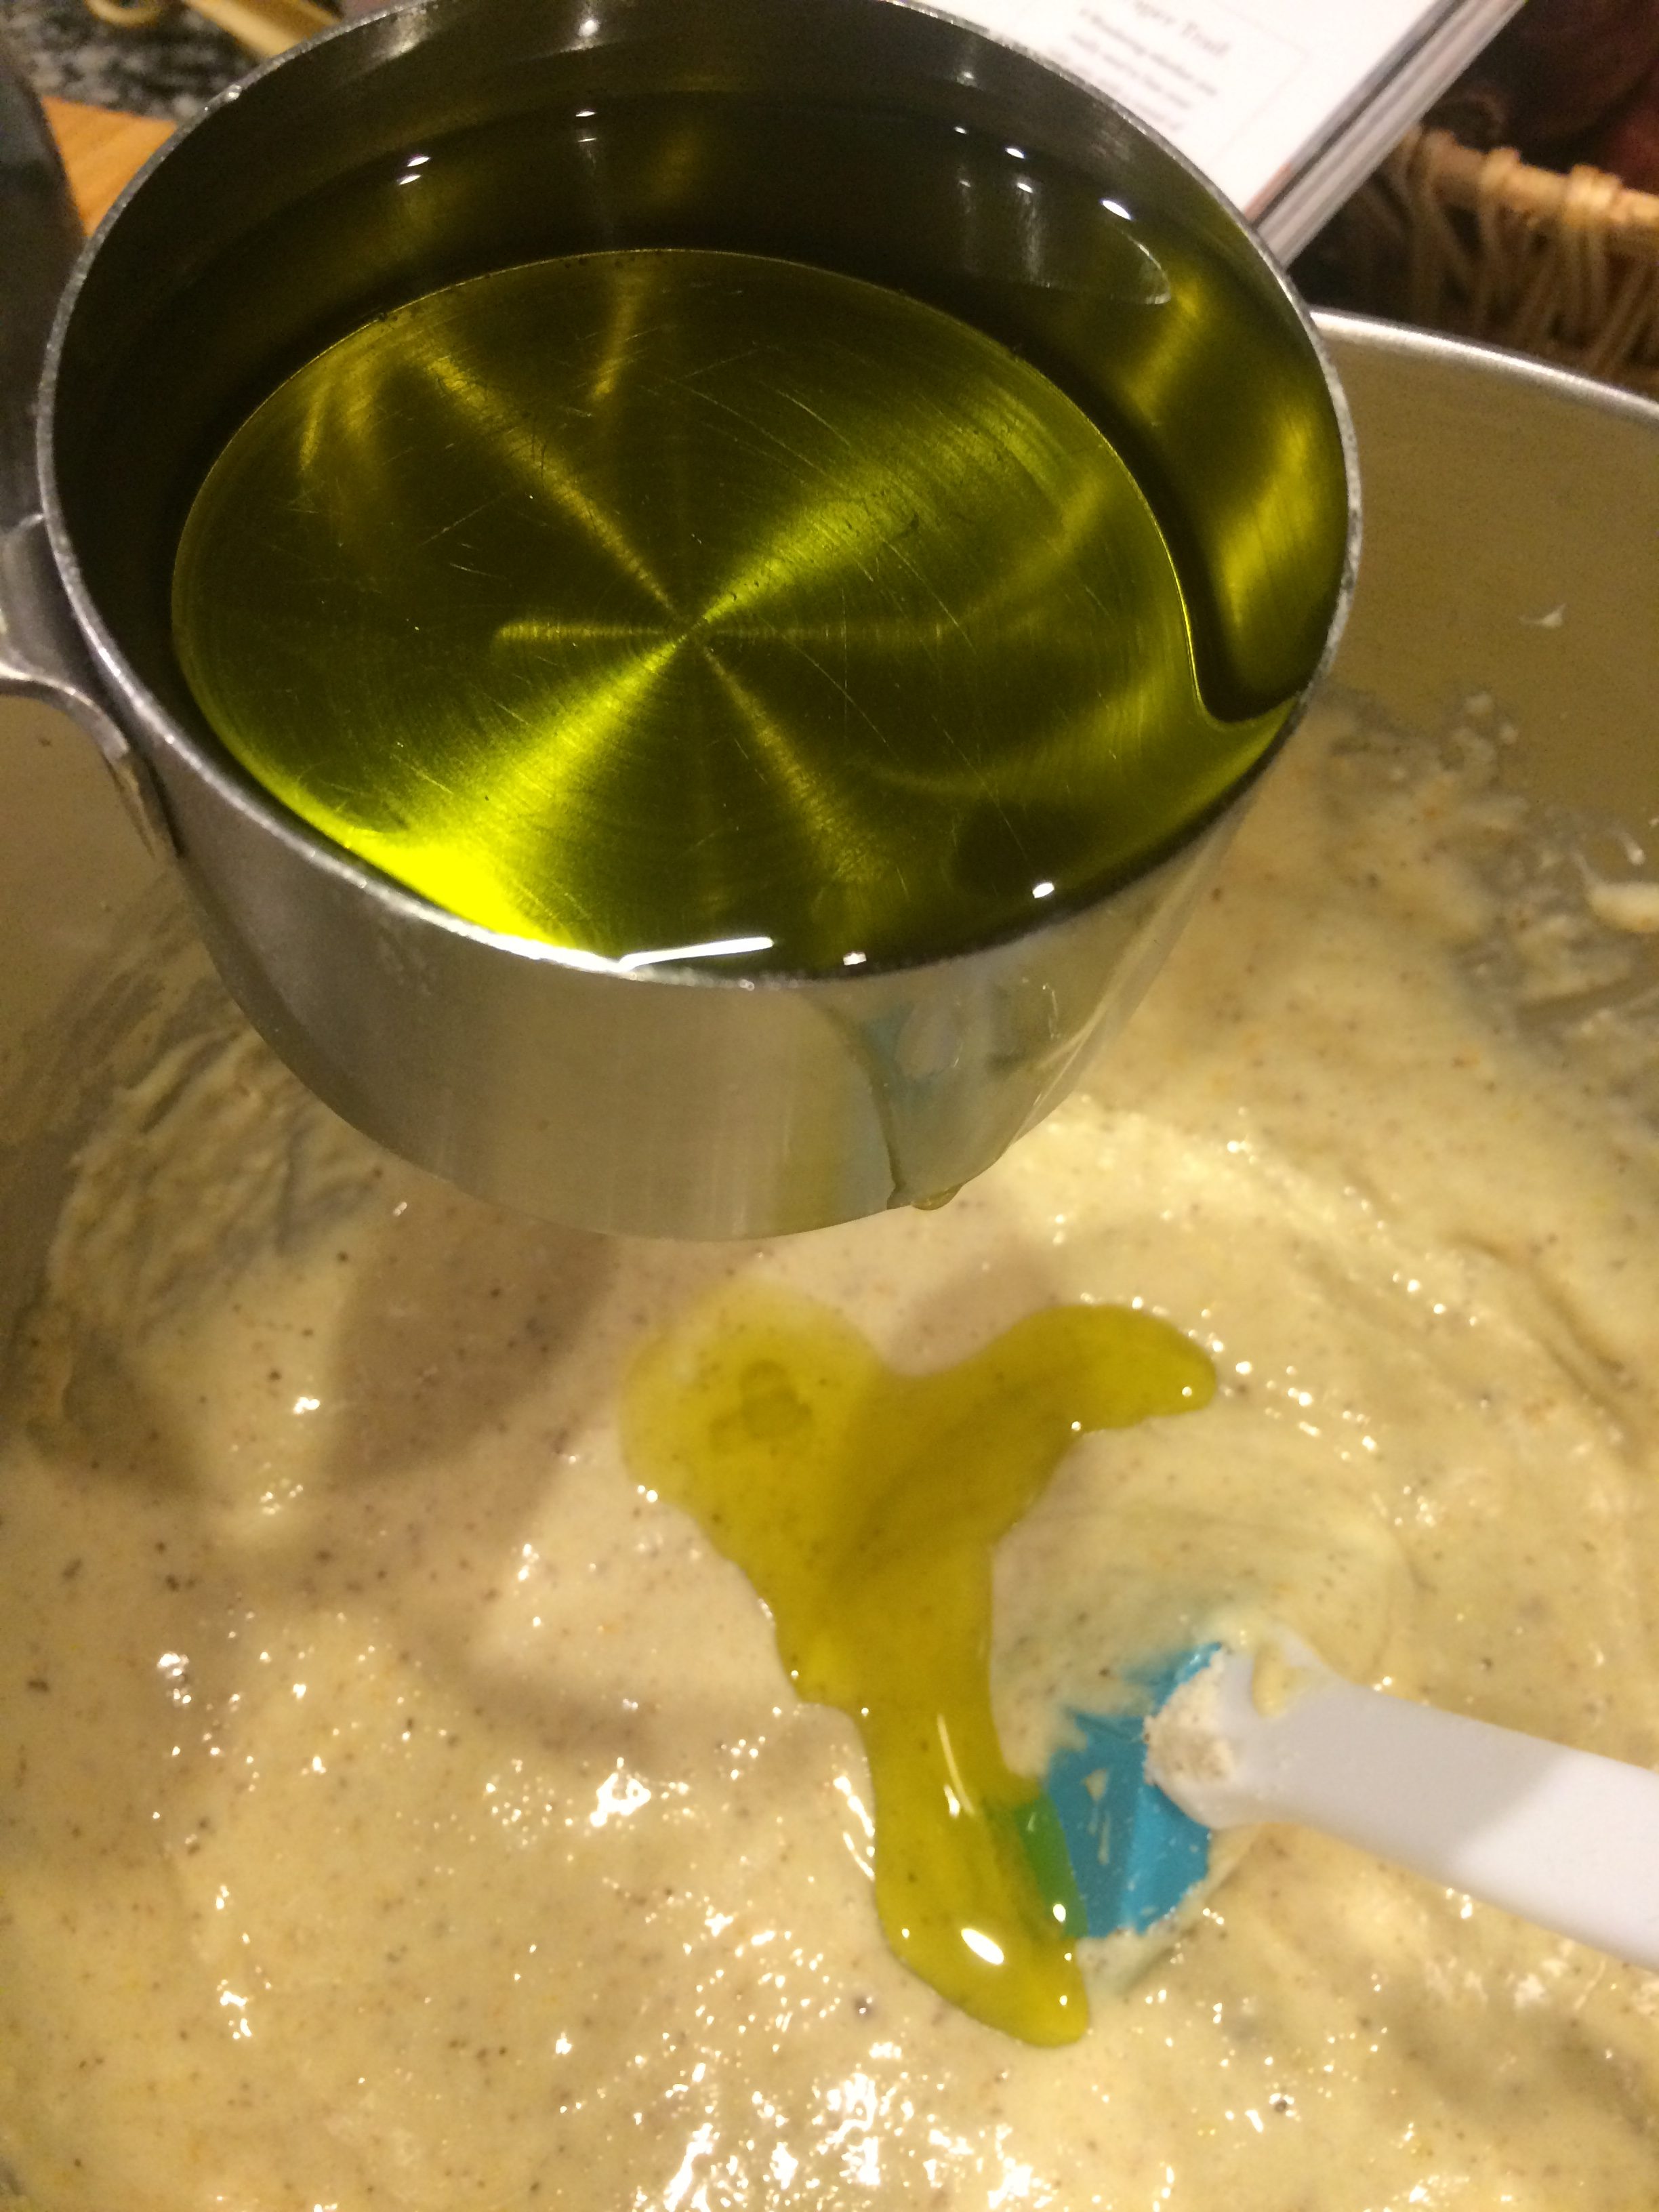
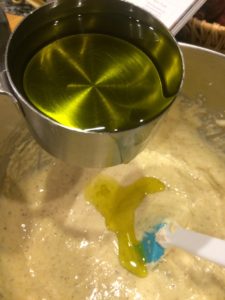
Gradually add the Olive Oil while mixing.

img_6273

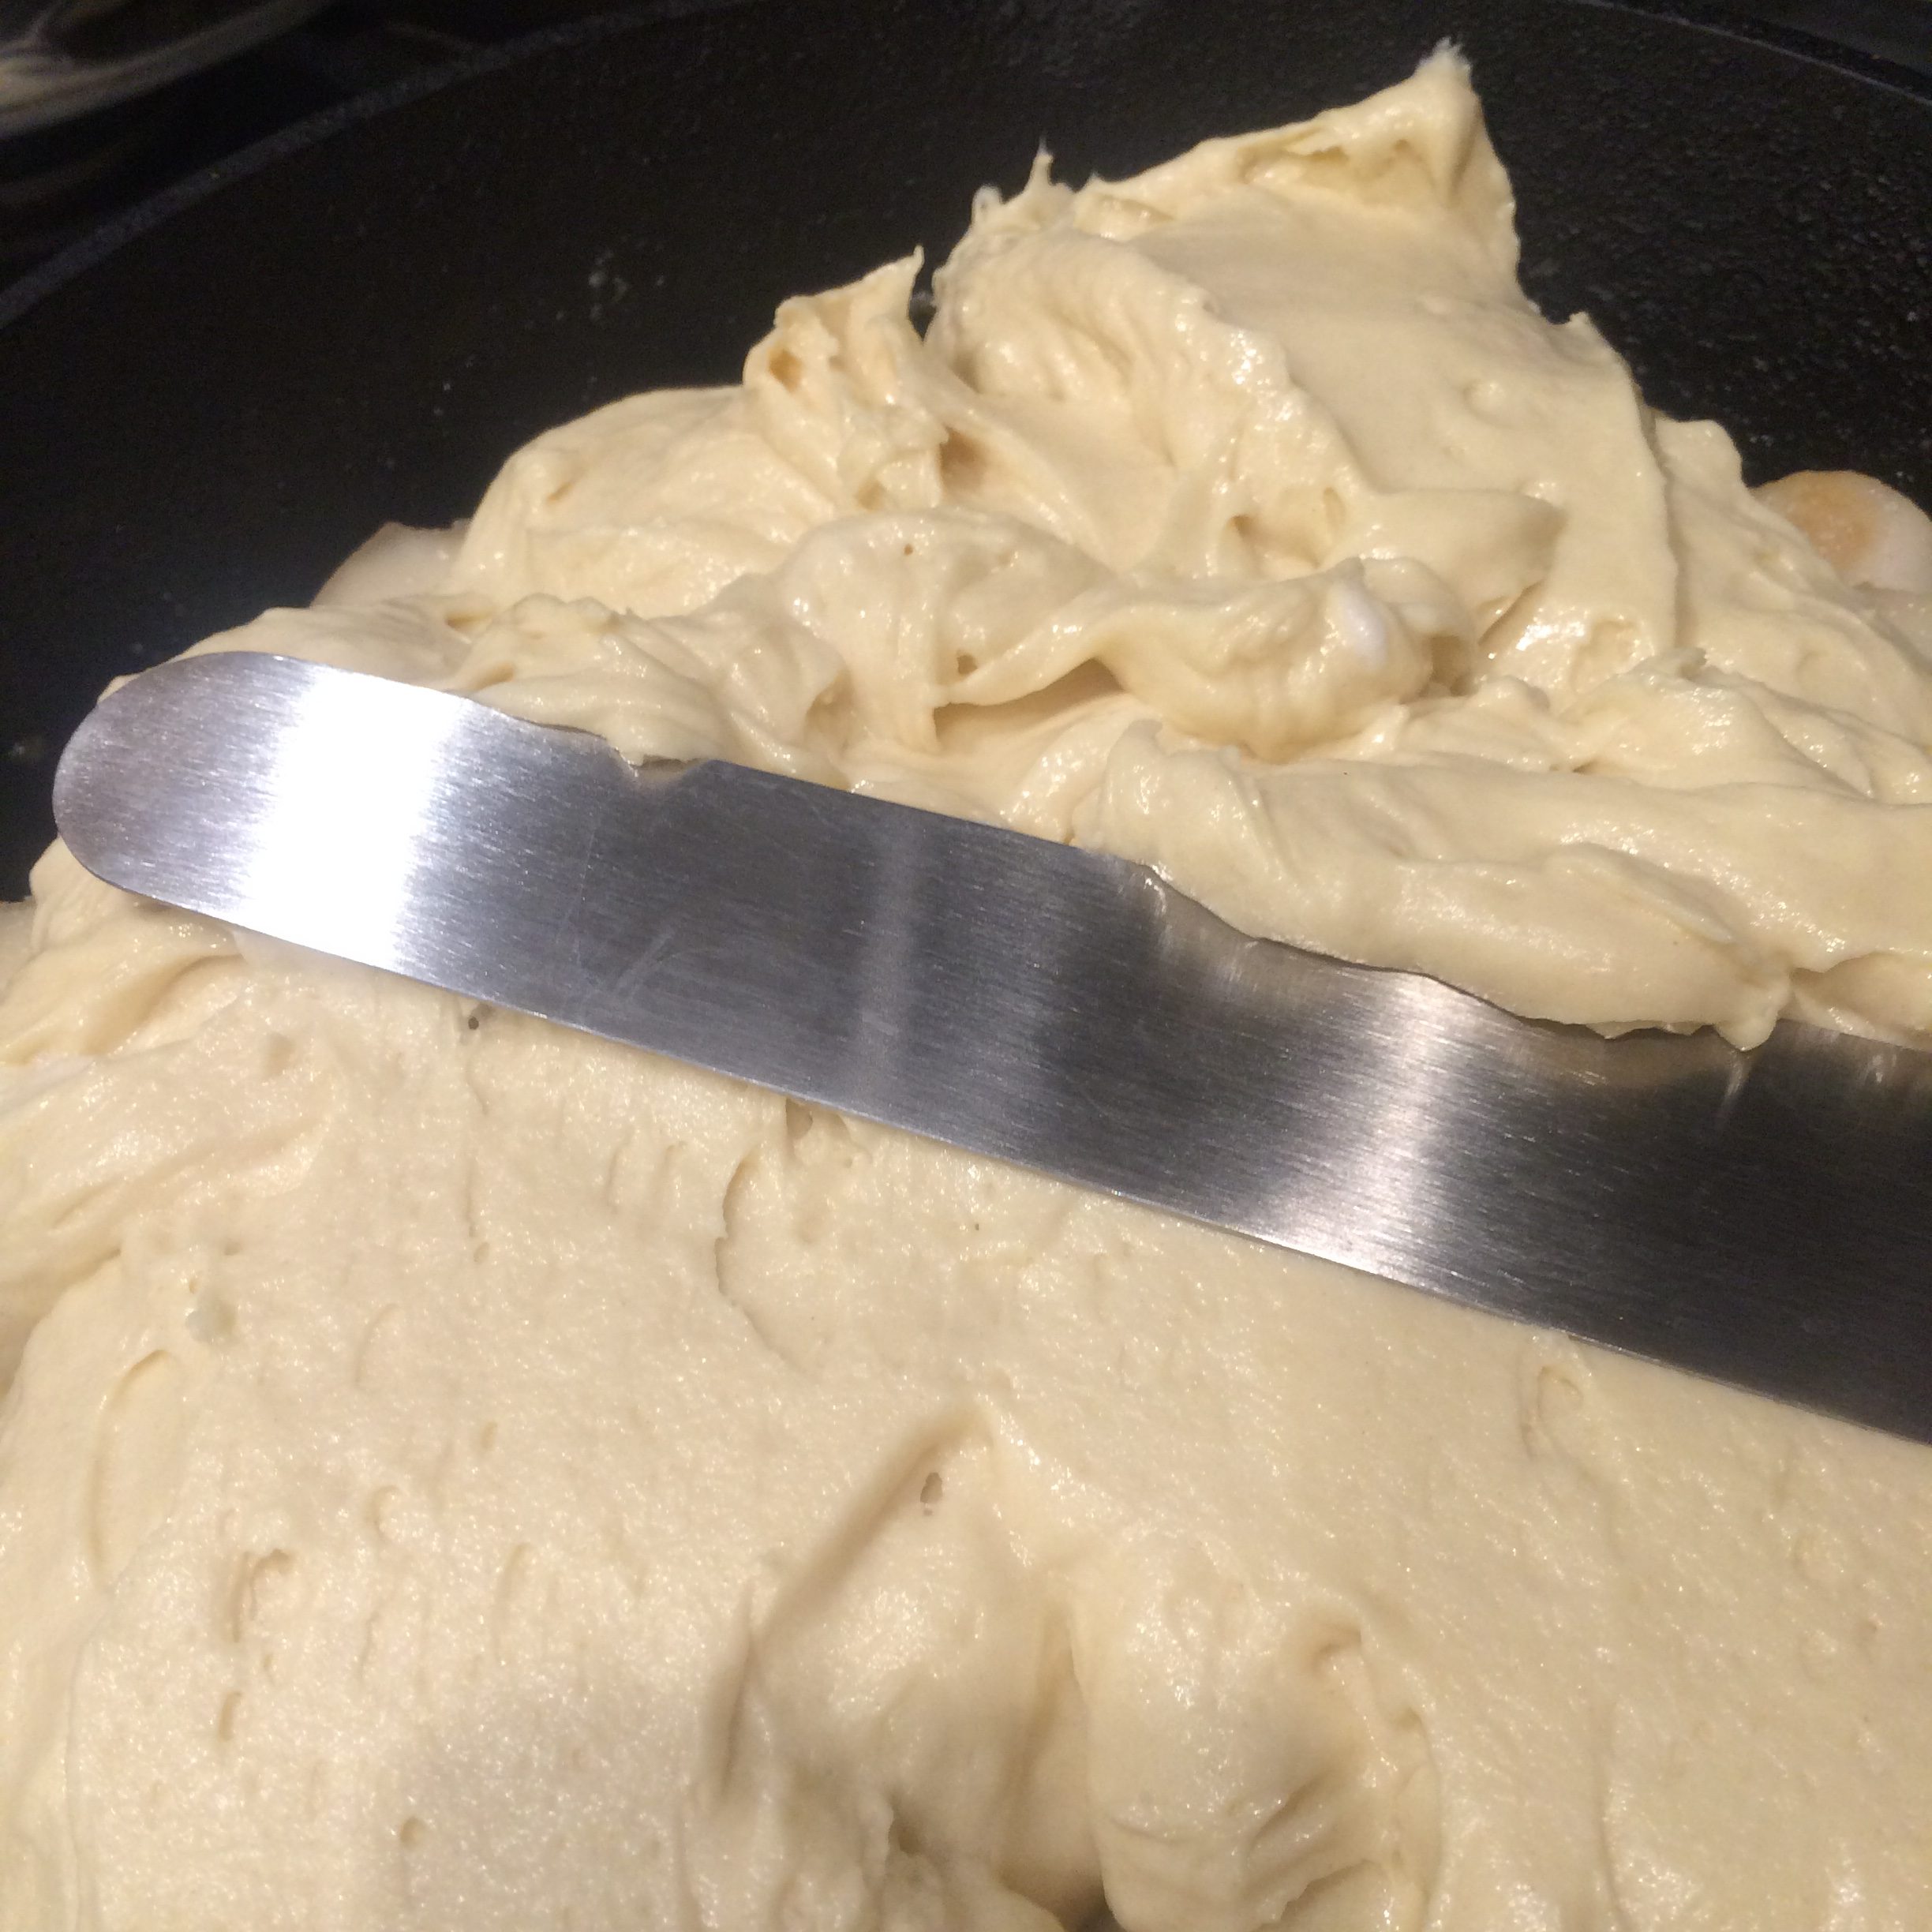
Pour batter over Pears and smooth.

img_6281

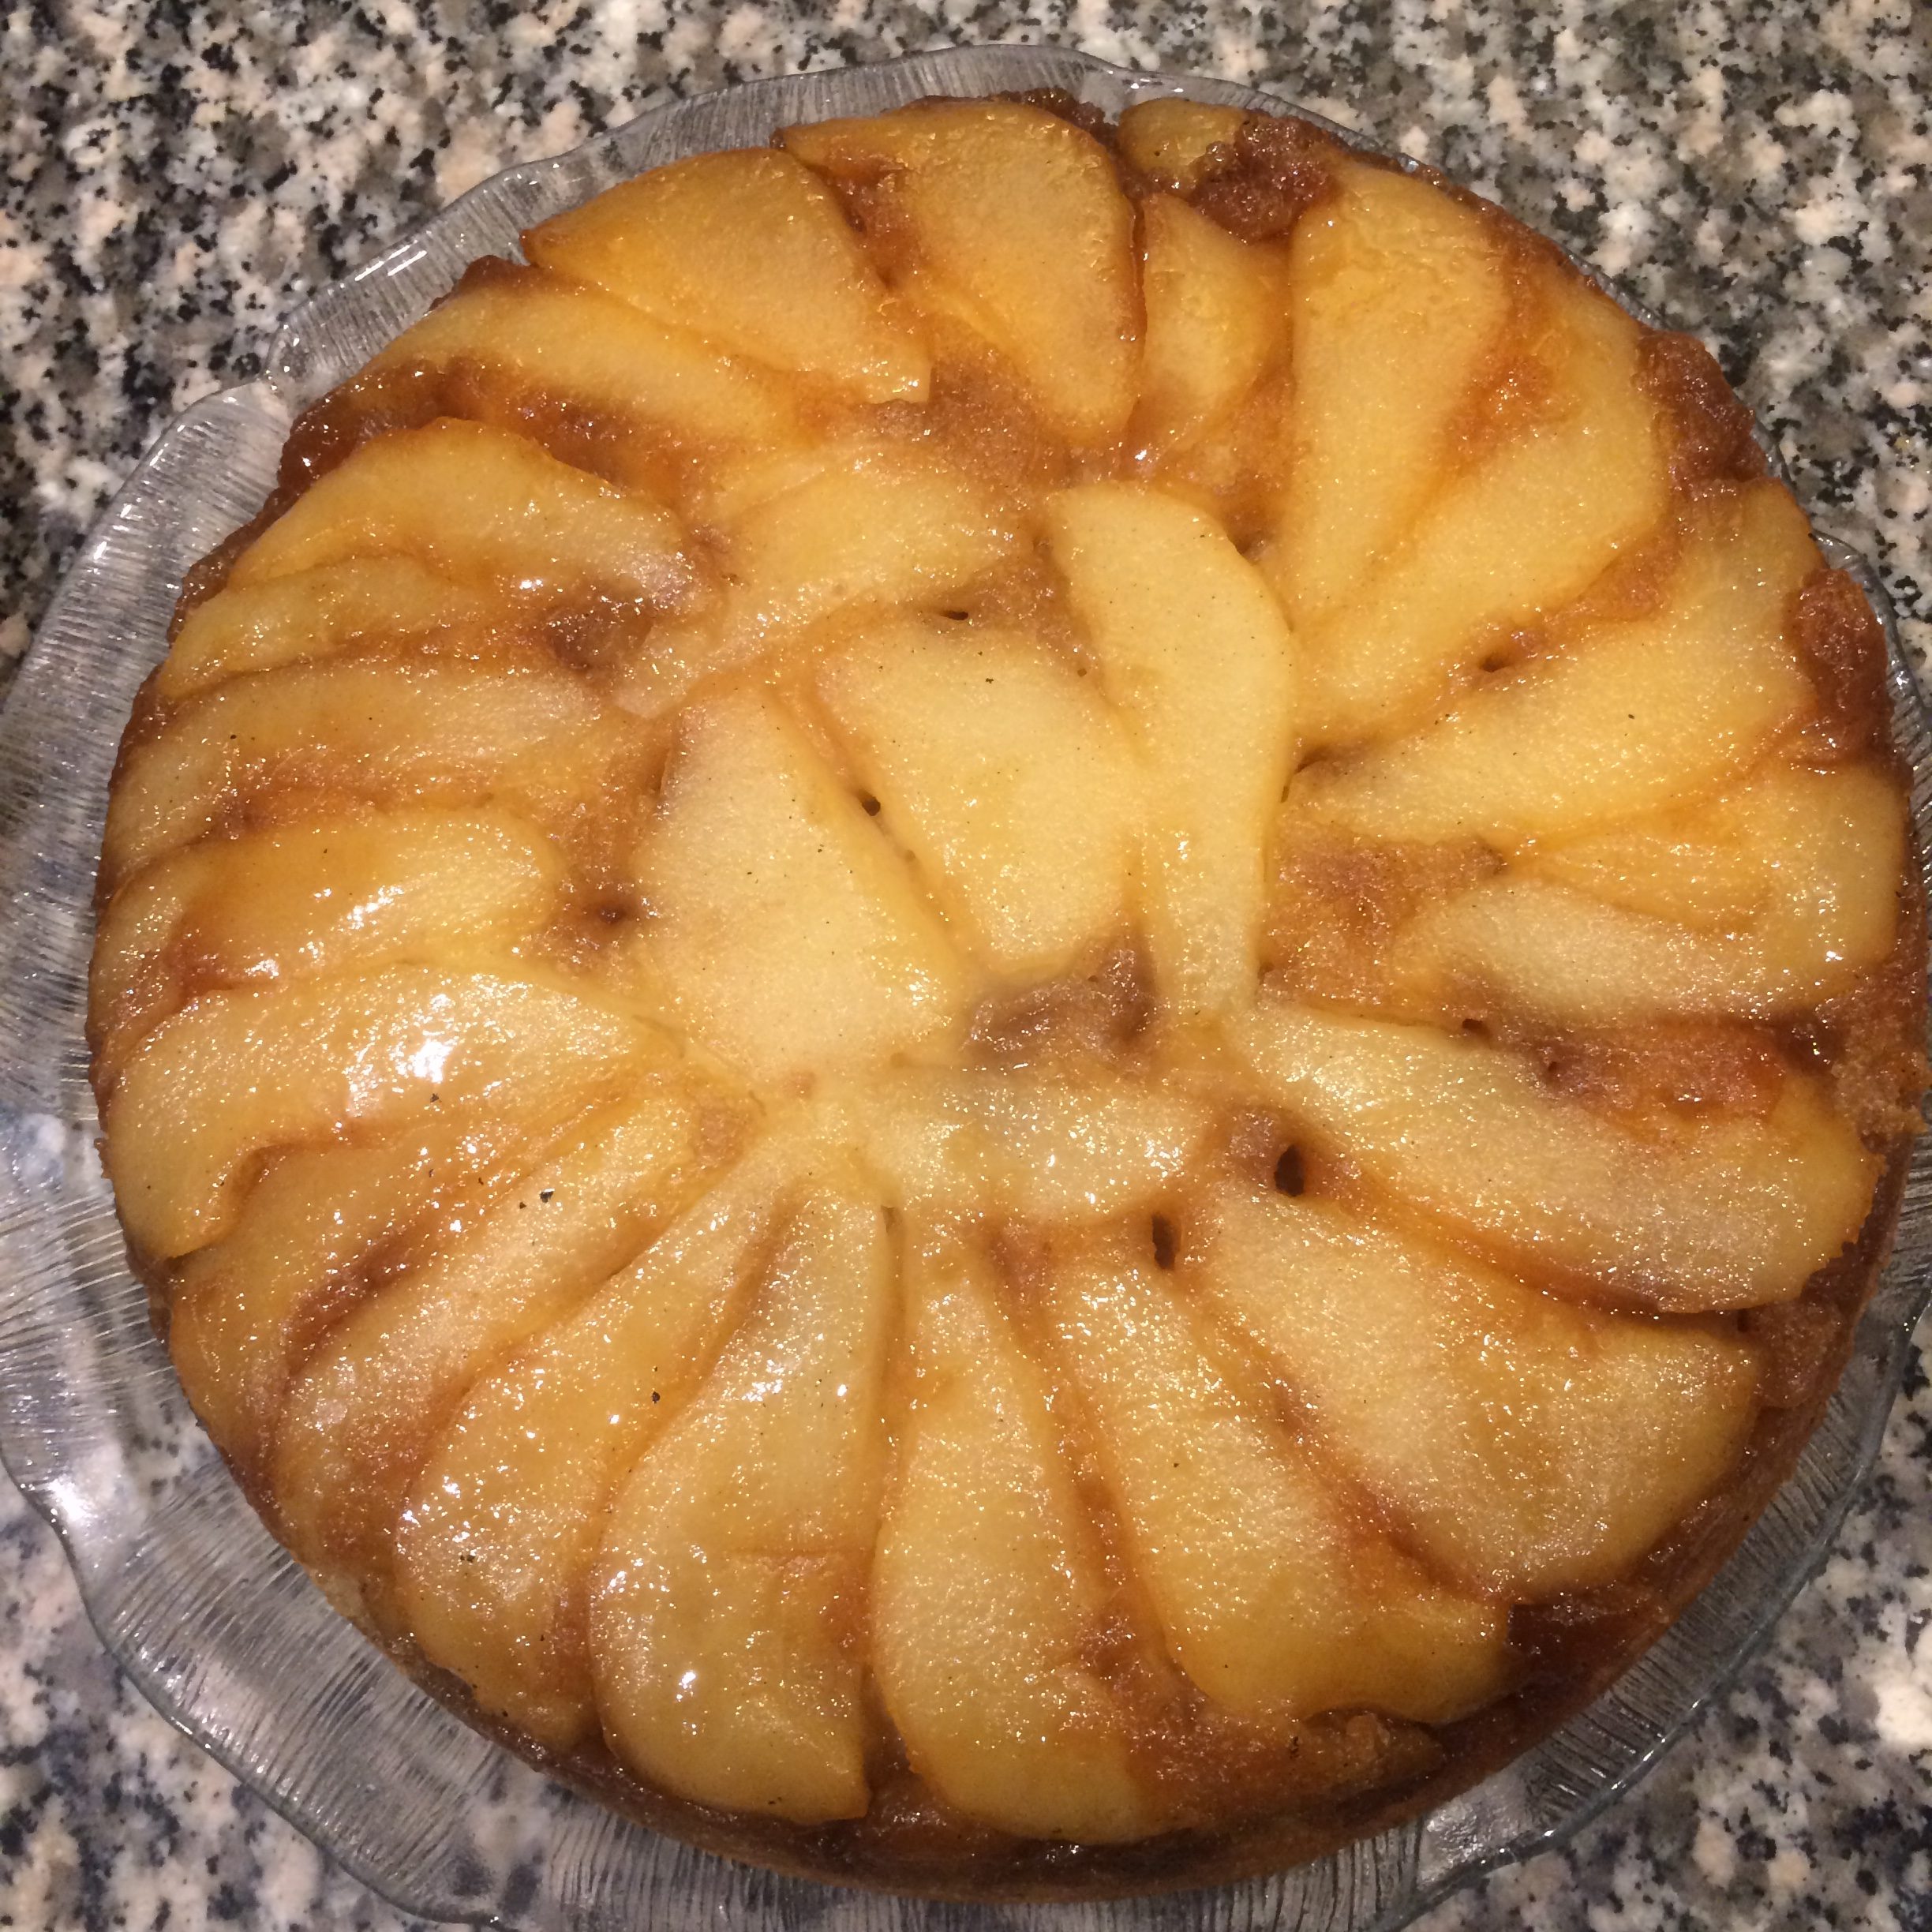
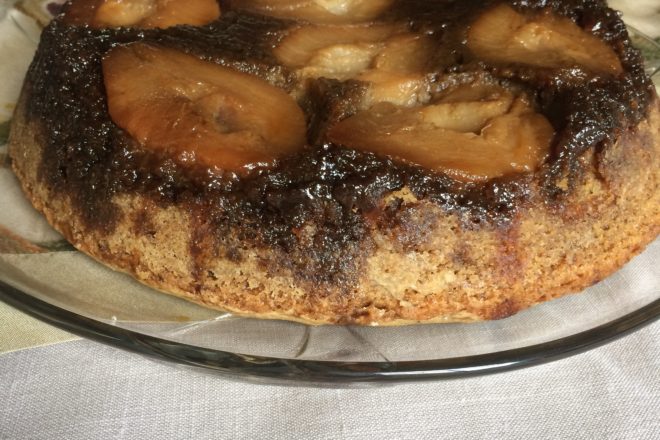
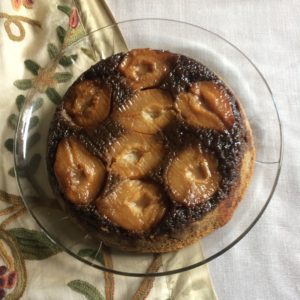
Set pan on a foil-lined baking sheet.  This is to catch any droppings.  (My iron skillet did not overflow.  So next time, I will forget the baking sheet.)  Bake until a cake tester comes out clean about 50 – 60 minutes.  Let cool on wire rack for 15 – 20 minutes.  Run a knife around the edges and invert it on to a dish.  Remove parchment and let cool completely.

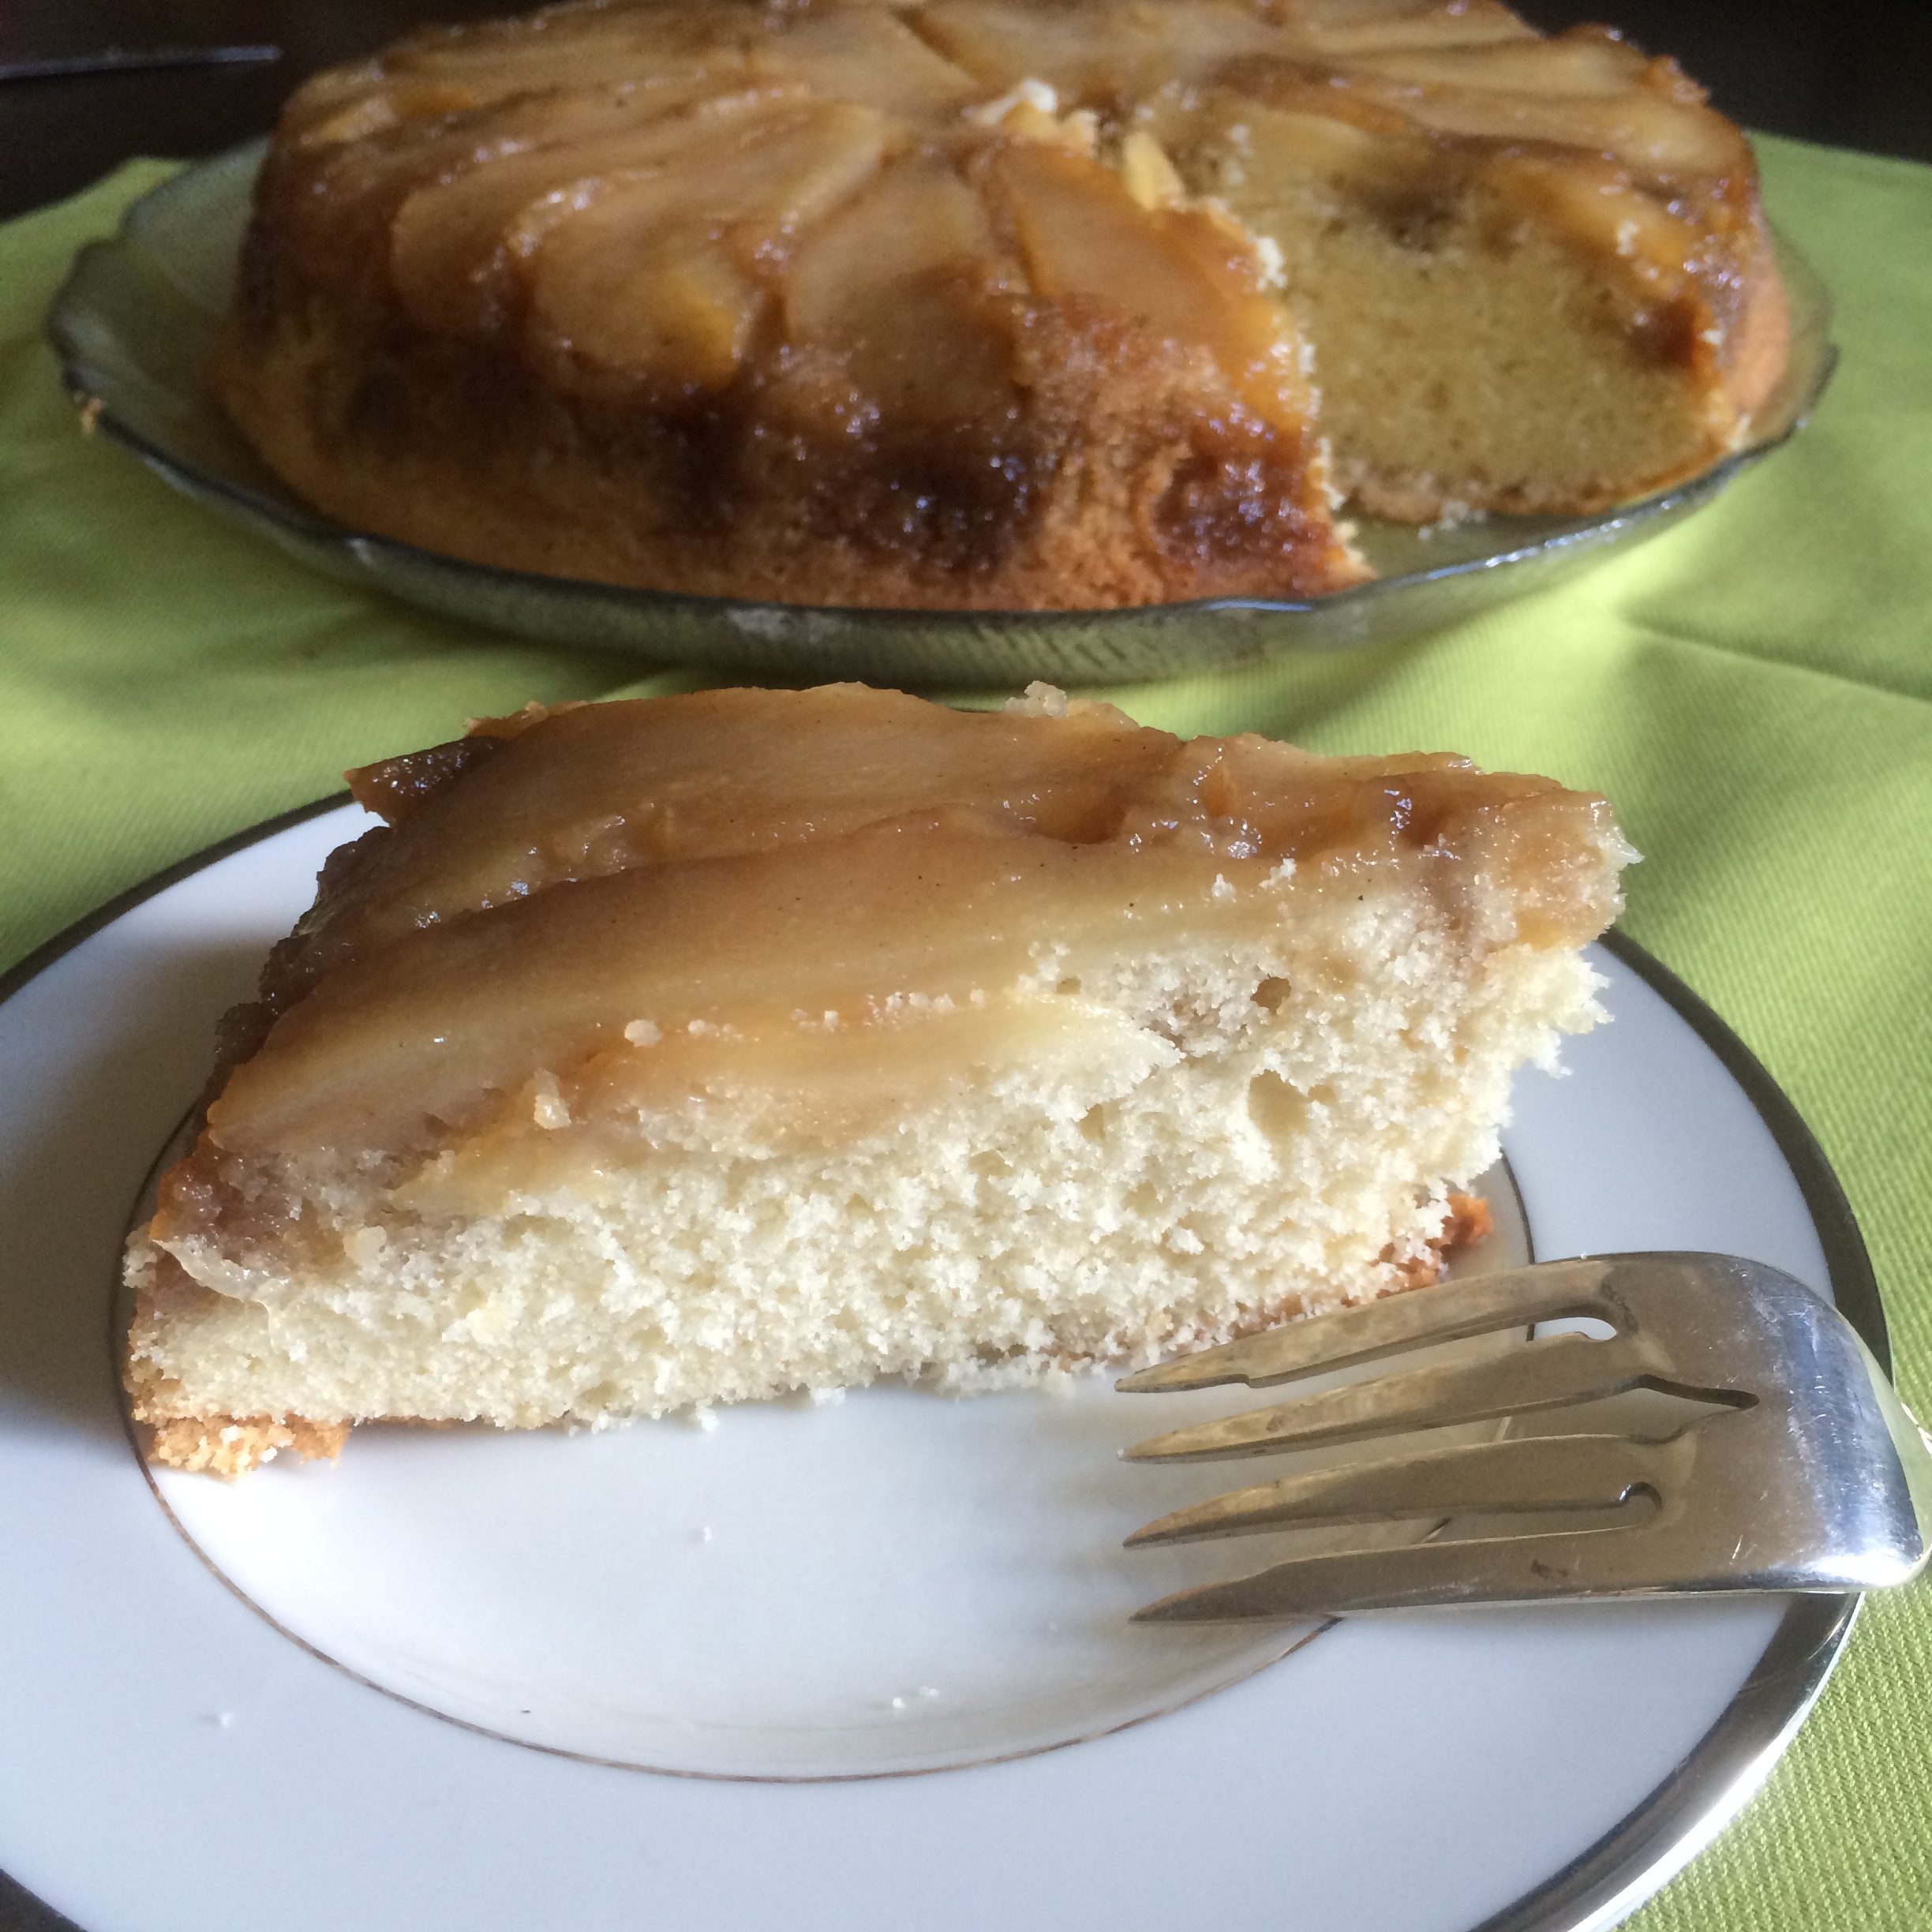
It is complicated but worth it.  It has a delicate complexity of tastes that I am sure you will enjoy.

img_6287

So as they say in French: Bon Appétit! – sorry I couldn’t help myself.

Remember eat well, drink well, live well.  See you soon.


Cookies and Cream Cupcakes

Last Tuesday, I had a visiting chef at my home.  She is all of 11 years old and the daughter of a friend that I have known since Eighth Grade, not my Eighth Grade, my friend’s Eighth Grade.  My friend is considerably younger than I.  This sweet young chef, Emma, will be coming to cook or bake with me every so often.  I thought I would be teaching her some techniques but really she has enough expertise to get around the kitchen pretty well.  The plan is for her to chose a recipe and we, then, get together and chat, stir and sample our way to a yummy dish.  Her choice this week was Cookies and Cream Cupcakes.  She is a lover of Oreo cookies, so this recipe was a perfect beginning.

Emma brought a Martha Stewart recipe over and we spent a few hours deciphering the directions and putting them into practice.  She moved around the kitchen knowing what she was doing.  I just observed.  I did step in when we were using the food processor to crush the Oreos.  I had originally thought of having her smash the cookies in a plastic bag with a rolling pin until I saw the quantity of cookies – 22!  That’s when I took out the processor.  The only other time I stepped in a little was with the Cookies and Cream Buttercream which begins with a bain Marie and that can get a little treacherous, plus whisking for a few minutes is tiring.

The cupcakes are a nice batter made of buttermilk and cocoa with an Oreo cookie surprise in the middle.  I didn’t try one, although I sampled everything, taking licks from the spatula and mixer paddle in the end.  Emma was a little disappointed when she first bit into the cupcake and found that the cookie doesn’t keep its crunch.  That makes sense but my first reaction was the same as Emma’s – What???

The frosting was a recipe I had never done before.  Whisking egg whites and sugar in a double boiler and then beating them until glossy was something I had never encountered in a frosting recipe.  When you add the butter and vanilla, the frosting curdles, or at least that’s how it looks.  I freaked out that we had done something wrong but if you keep mixing it, it will eventually come out smooth and creamy.  And there is lots and lots of frosting.  The original picture shows a cupcake with as much frosting as cake.  So, pile it on.

I hope that you invite a young one into your kitchen to cook this week.  I found it so enjoyable and I am sure you will, too.

img_6234

Ingredients:

Cupcakes

1 cup Unbleached Flour

1/2 cup Unsweetened Cocoa Powder

1 cup Sugar

3/4 tsp. Baking Soda

1/2 tsp. Baking Powder

1/2 tsp. Salt

1 Egg plus 1 Yolk, lightly beaten

2 Tbls. Unsalted Butter, melted

1/2 cup Buttermilk

1/2 tsp. Vanilla Extract

1/2 cup Hot Water

22 cream-filled Chocolate Sandwich Cookies

Cookies and Cream Buttercream Frosting

4 Egg Whites

1 cup Sugar

pinch of Salt

1 1/2 cups Unsalted Butter, softened

1 tsp. Vanilla Extract

2 cups finely crushed cream-filled chocolate sandwich cookies ( 20+ cookies)

This recipe makes 22 cupcakes.  Line two 12 cup muffin tins with paper liners.  In a large bowl, combine Flour, Cocoa, Sugar, Baking Soda, Baking Powder and Salt.   Add Eggs, melted Butter, Buttermilk, Vanilla and Hot Water.  Whisk until smooth.  Preheat oven to 350 degrees.

img_6241

Spoon 1 Tablespoon of batter into each muffin tin.  Use only 22 cups.  Press a cookie firmly into each cup until batter comes up sides of cookie.  Divide remaining batter evenly among cups.  Bake, rotating pans halfway through, until cupcakes are puffed and set 15 to 17 minutes.  Let cool completely in pan on wire rack.

Meanwhile, In a heatproof bowl of an electric mixer, combine Egg Whites, Sugar and Salt over a pot of simmering water (bain marie).  Whisking constantly, cook until sugar and salt dissolve and the mixture is warm to touch (about 160 degrees).

Remove from stove, using the whisk attachment, beat mixture on low speed and gradually increase to high, beating until mixture is stiff and glossy, 10 minutes or so.

With mixer on low, add Butter a bit at a time, then whisk in Vanilla.  (Here is where the batter looks curdled).

Using paddle attachment, beat buttercream until mixture is smooth. Gently fold in crushed cookies.

Put buttercream in a large piping bag fitted with 1/2 inch plain round tip or snip a ziplock bag to make a 1/2 diameter.  Pipe onto cupcakes and sprinkle with some additional crushed crumbs.

img_6244


It is a time consuming recipe but worth it. Definitely a great treat for a young person in your life.

As I always say, eat well, drink well, and live well.  Until next time.