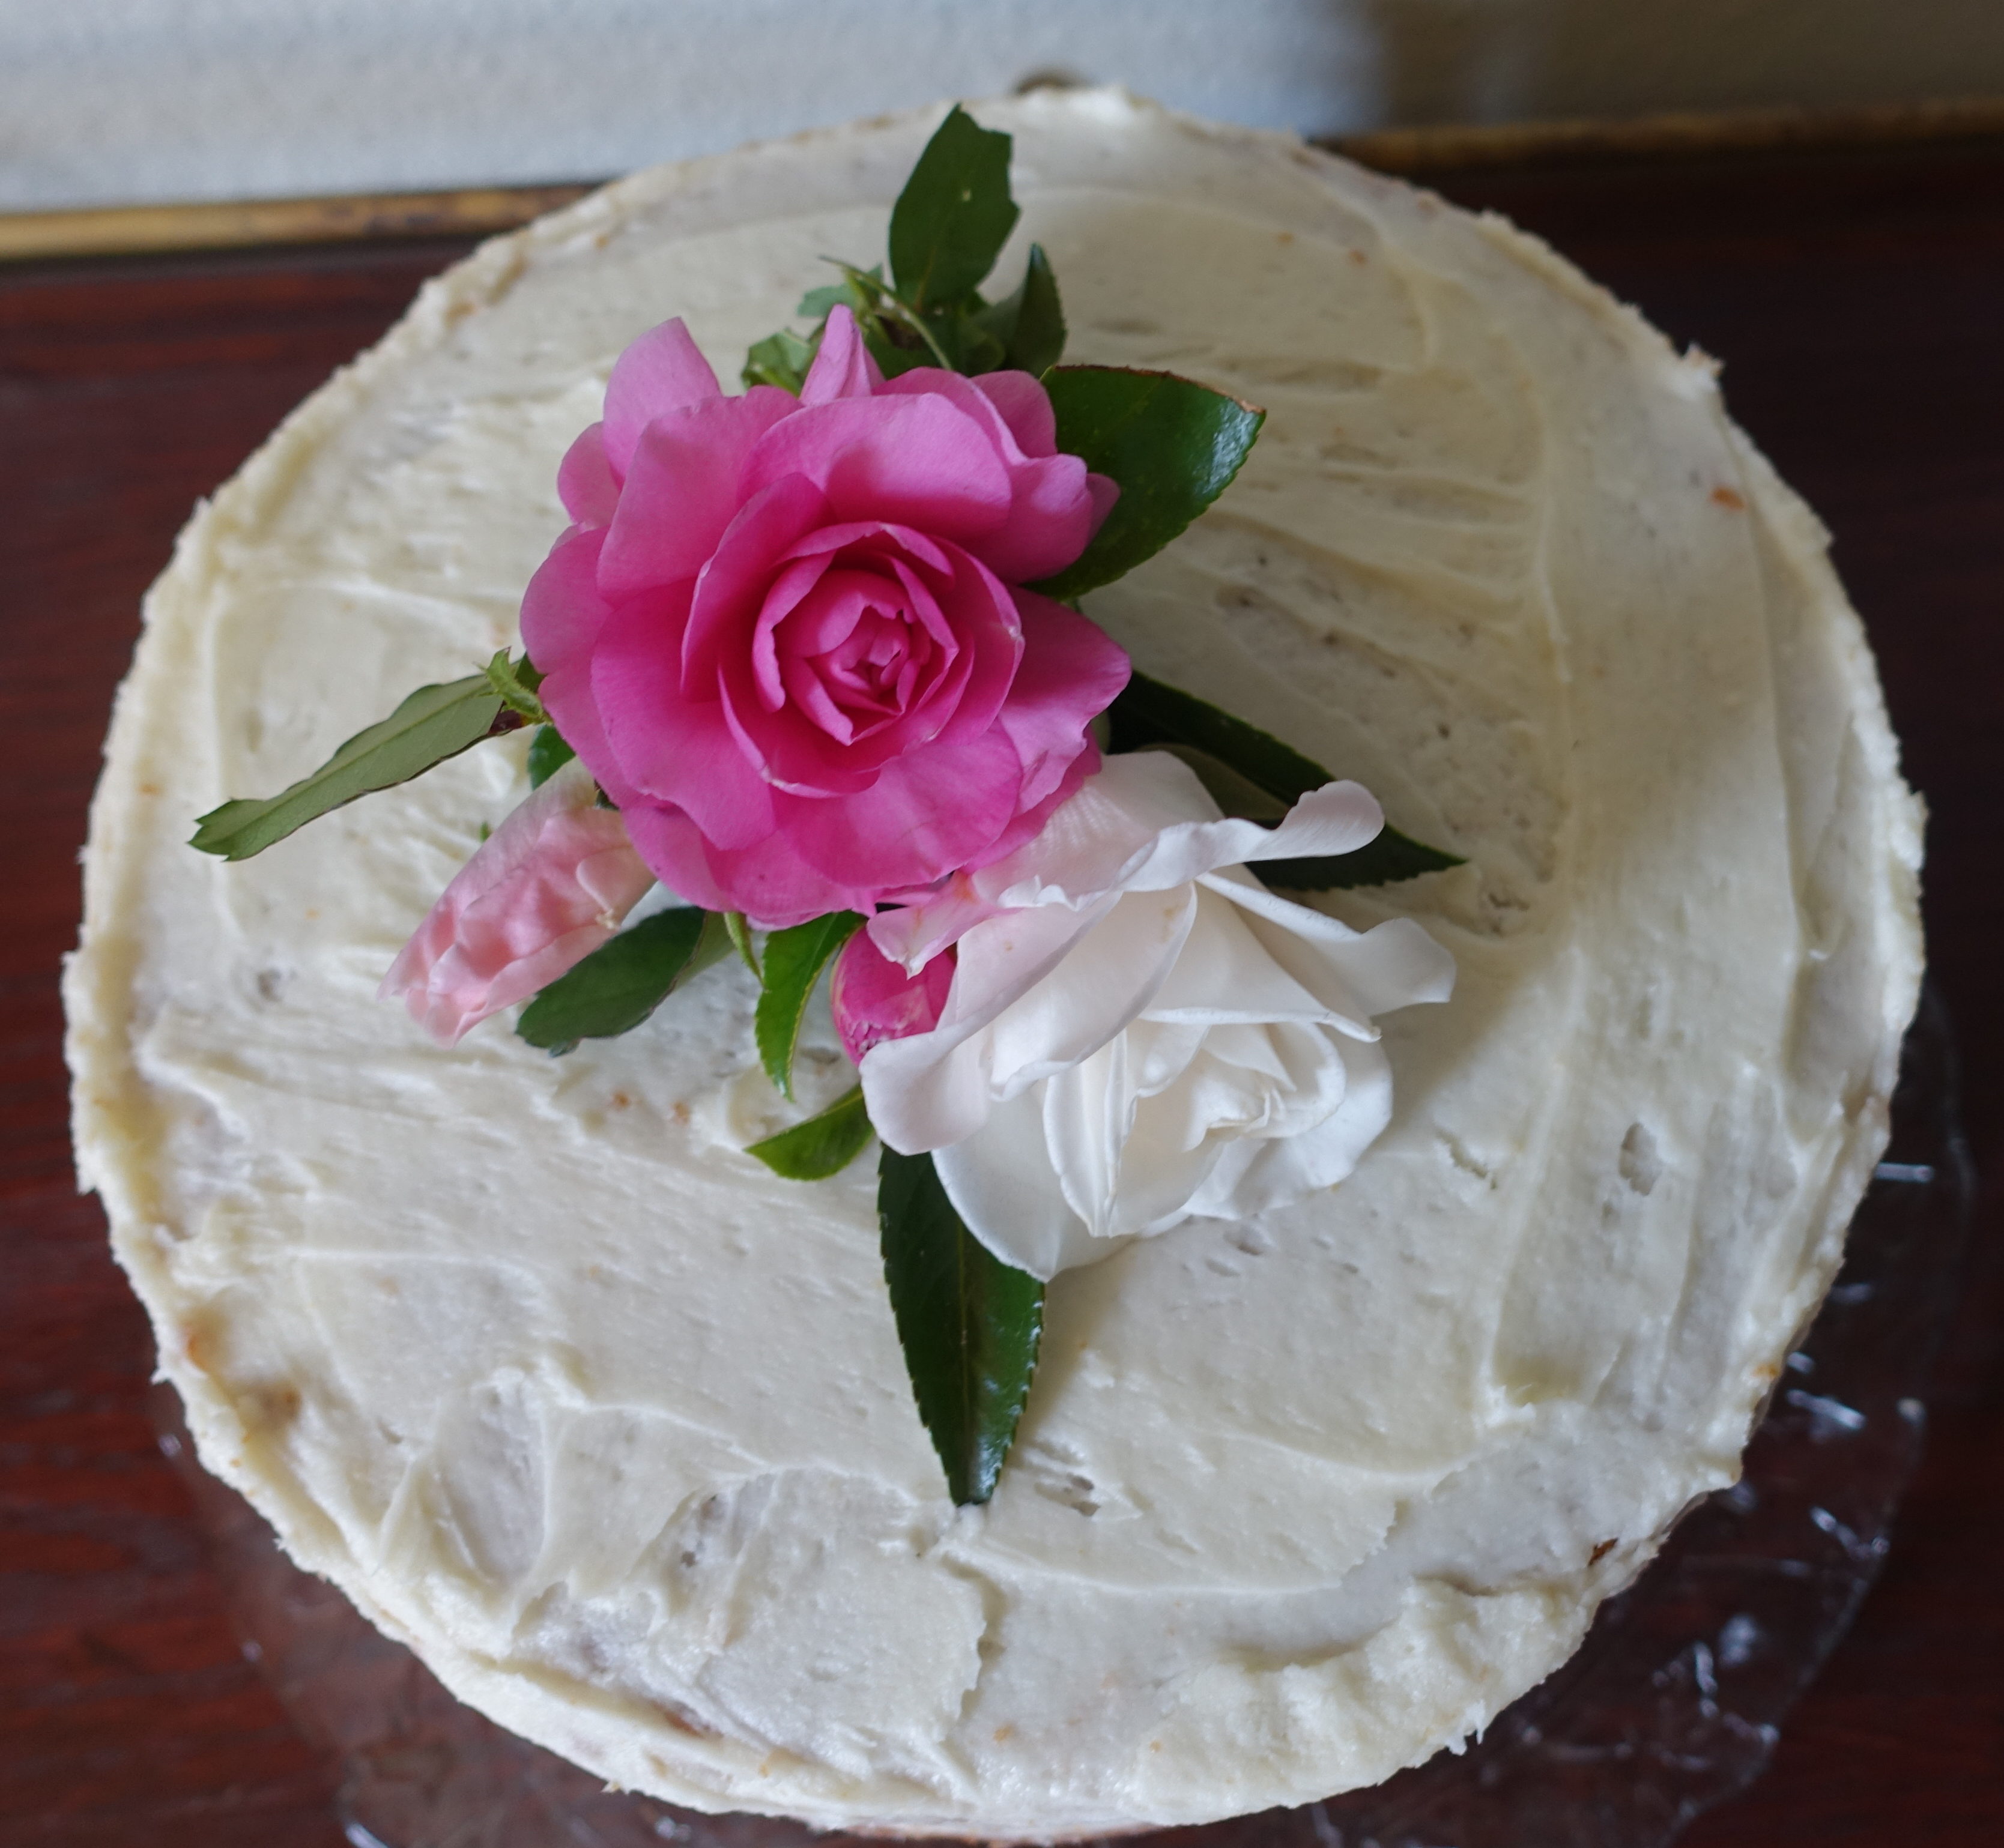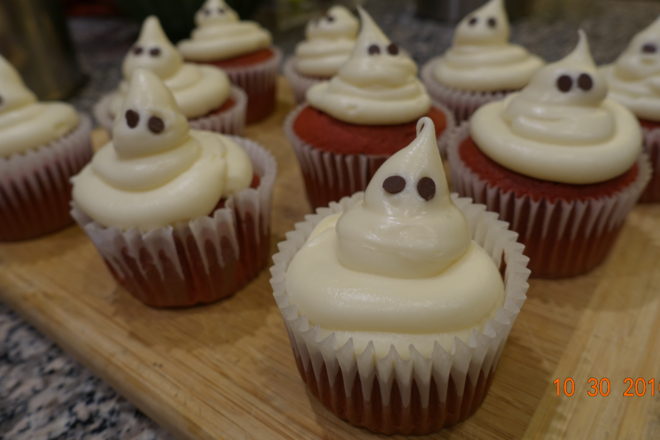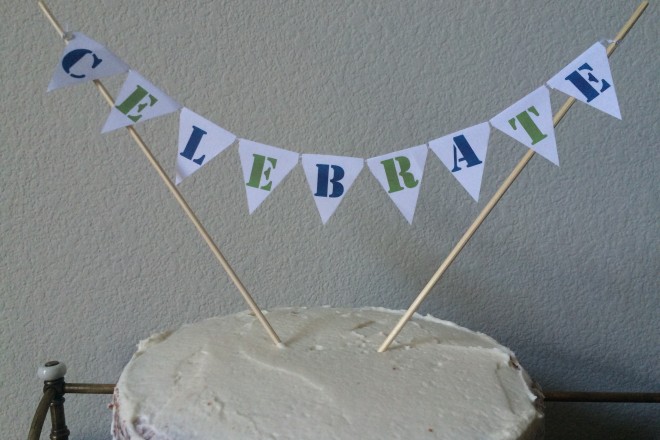
Celebrations are the landmarks of our lives. A celebration can mean different things to different people. For me, it has to include friends and family, food and cake. This is my Go-To Birthday cake. It is deliciously dense. I found this recipe on themodernproper.com. It’s a great website. You should check it out.
I had a comment on a Facebook post recently from a woman who never used olive oil for sweet recipes. I like olive oil in cakes and brownies because it creates such a moist and rich dessert. Remember that you can substitute the butter for olive oil at a 1 to 2/3 ratio. In other words, if it asks for 1 tablespoon of butter, use 2/3 tablespoon of olive oil. I suggest that you substitute all your recipes that use any other oil for olive oil, even coconut oil unless you are seeking that coconut taste. Make sure you use unrefined coconut oil. Remember that any oil that is refined has been processed with heat and/or chemicals. That’s not the case with olive oil. Please make sure that your olive oil is fresh. Smell it, taste it, make sure it isn’t rancid or you will taste the rancidity in your baked goods. Check the date on the bottle. Does it have a harvest date or a best used by date? More importantly, how long have you had it opened? Longer than three months? Six months? It might be rancid after three. It will probably be rancid after six. It might be rancid right from the store shelf! YES, that’s right, straight from the market. Don’t worry if your oil is a robust and strong olive oil. If it is fresh, it will not flavor your recipe.
I don’t recommend substituting olive oil in baking mixes. Those boxes of cake and brownie mixes take on the olive oil flavor sometimes. Really, baking a cake or brownies from scratch is not that much more work and the results are definitely worth it.
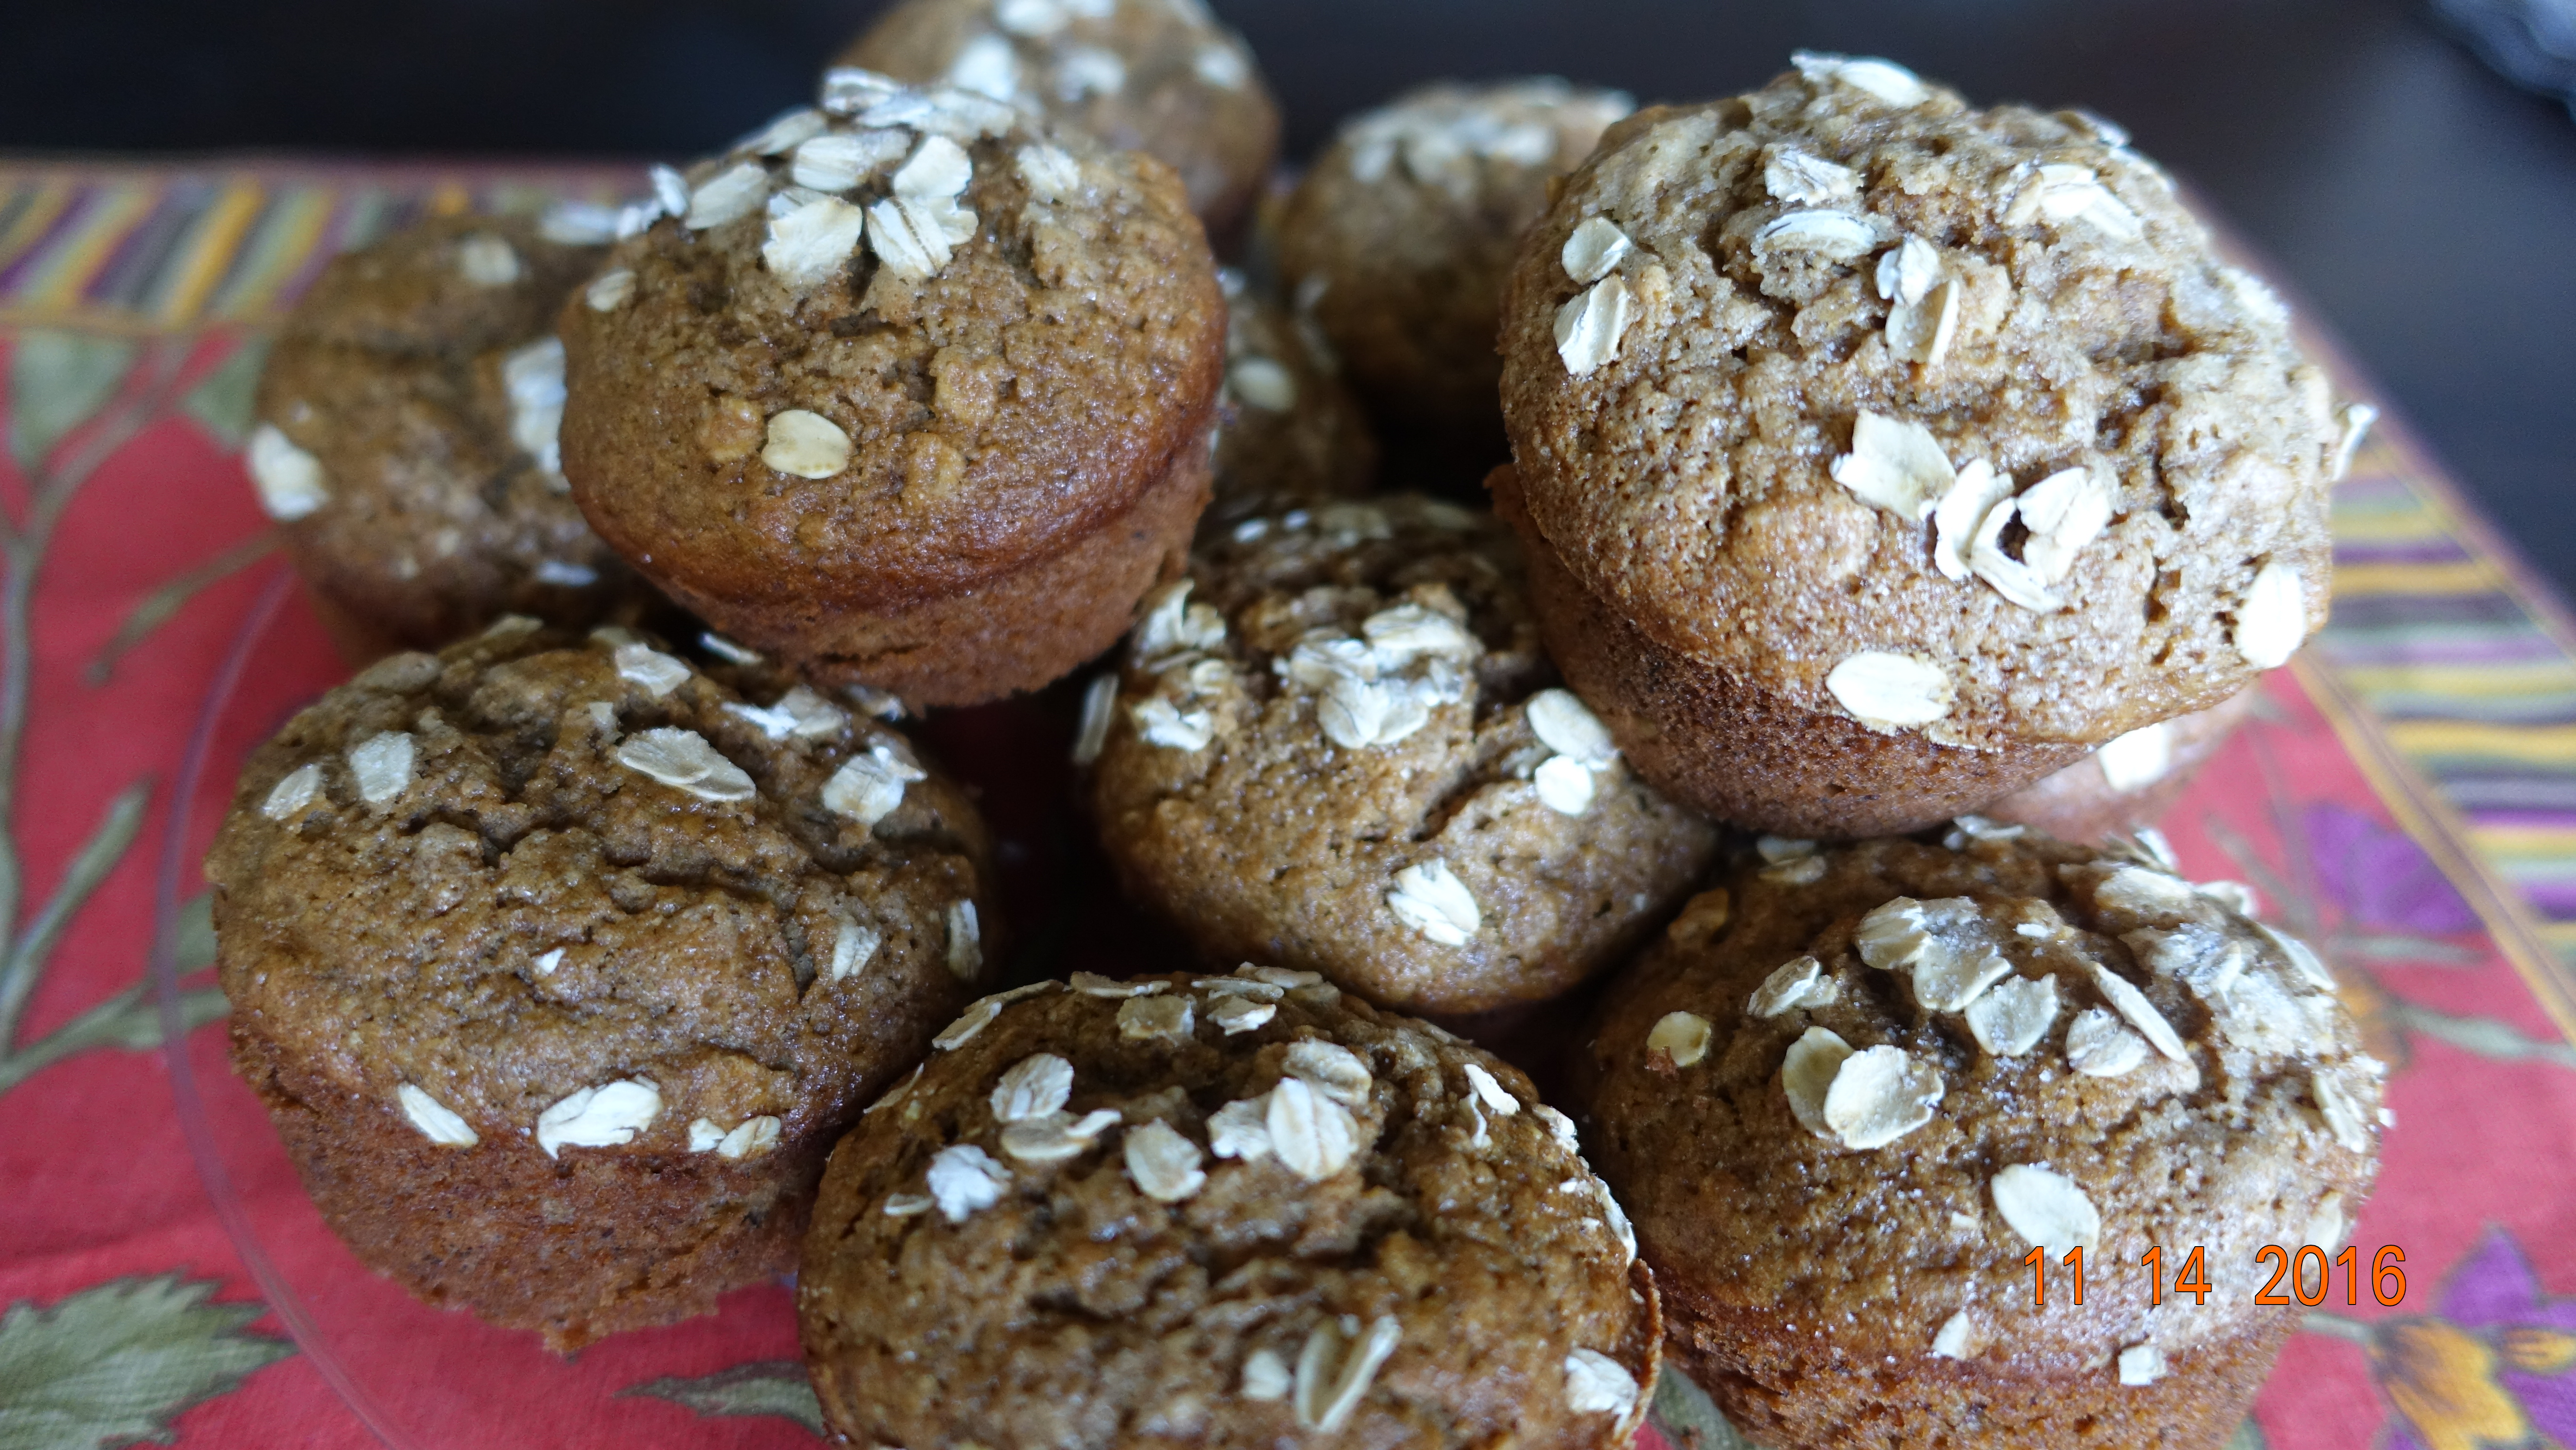
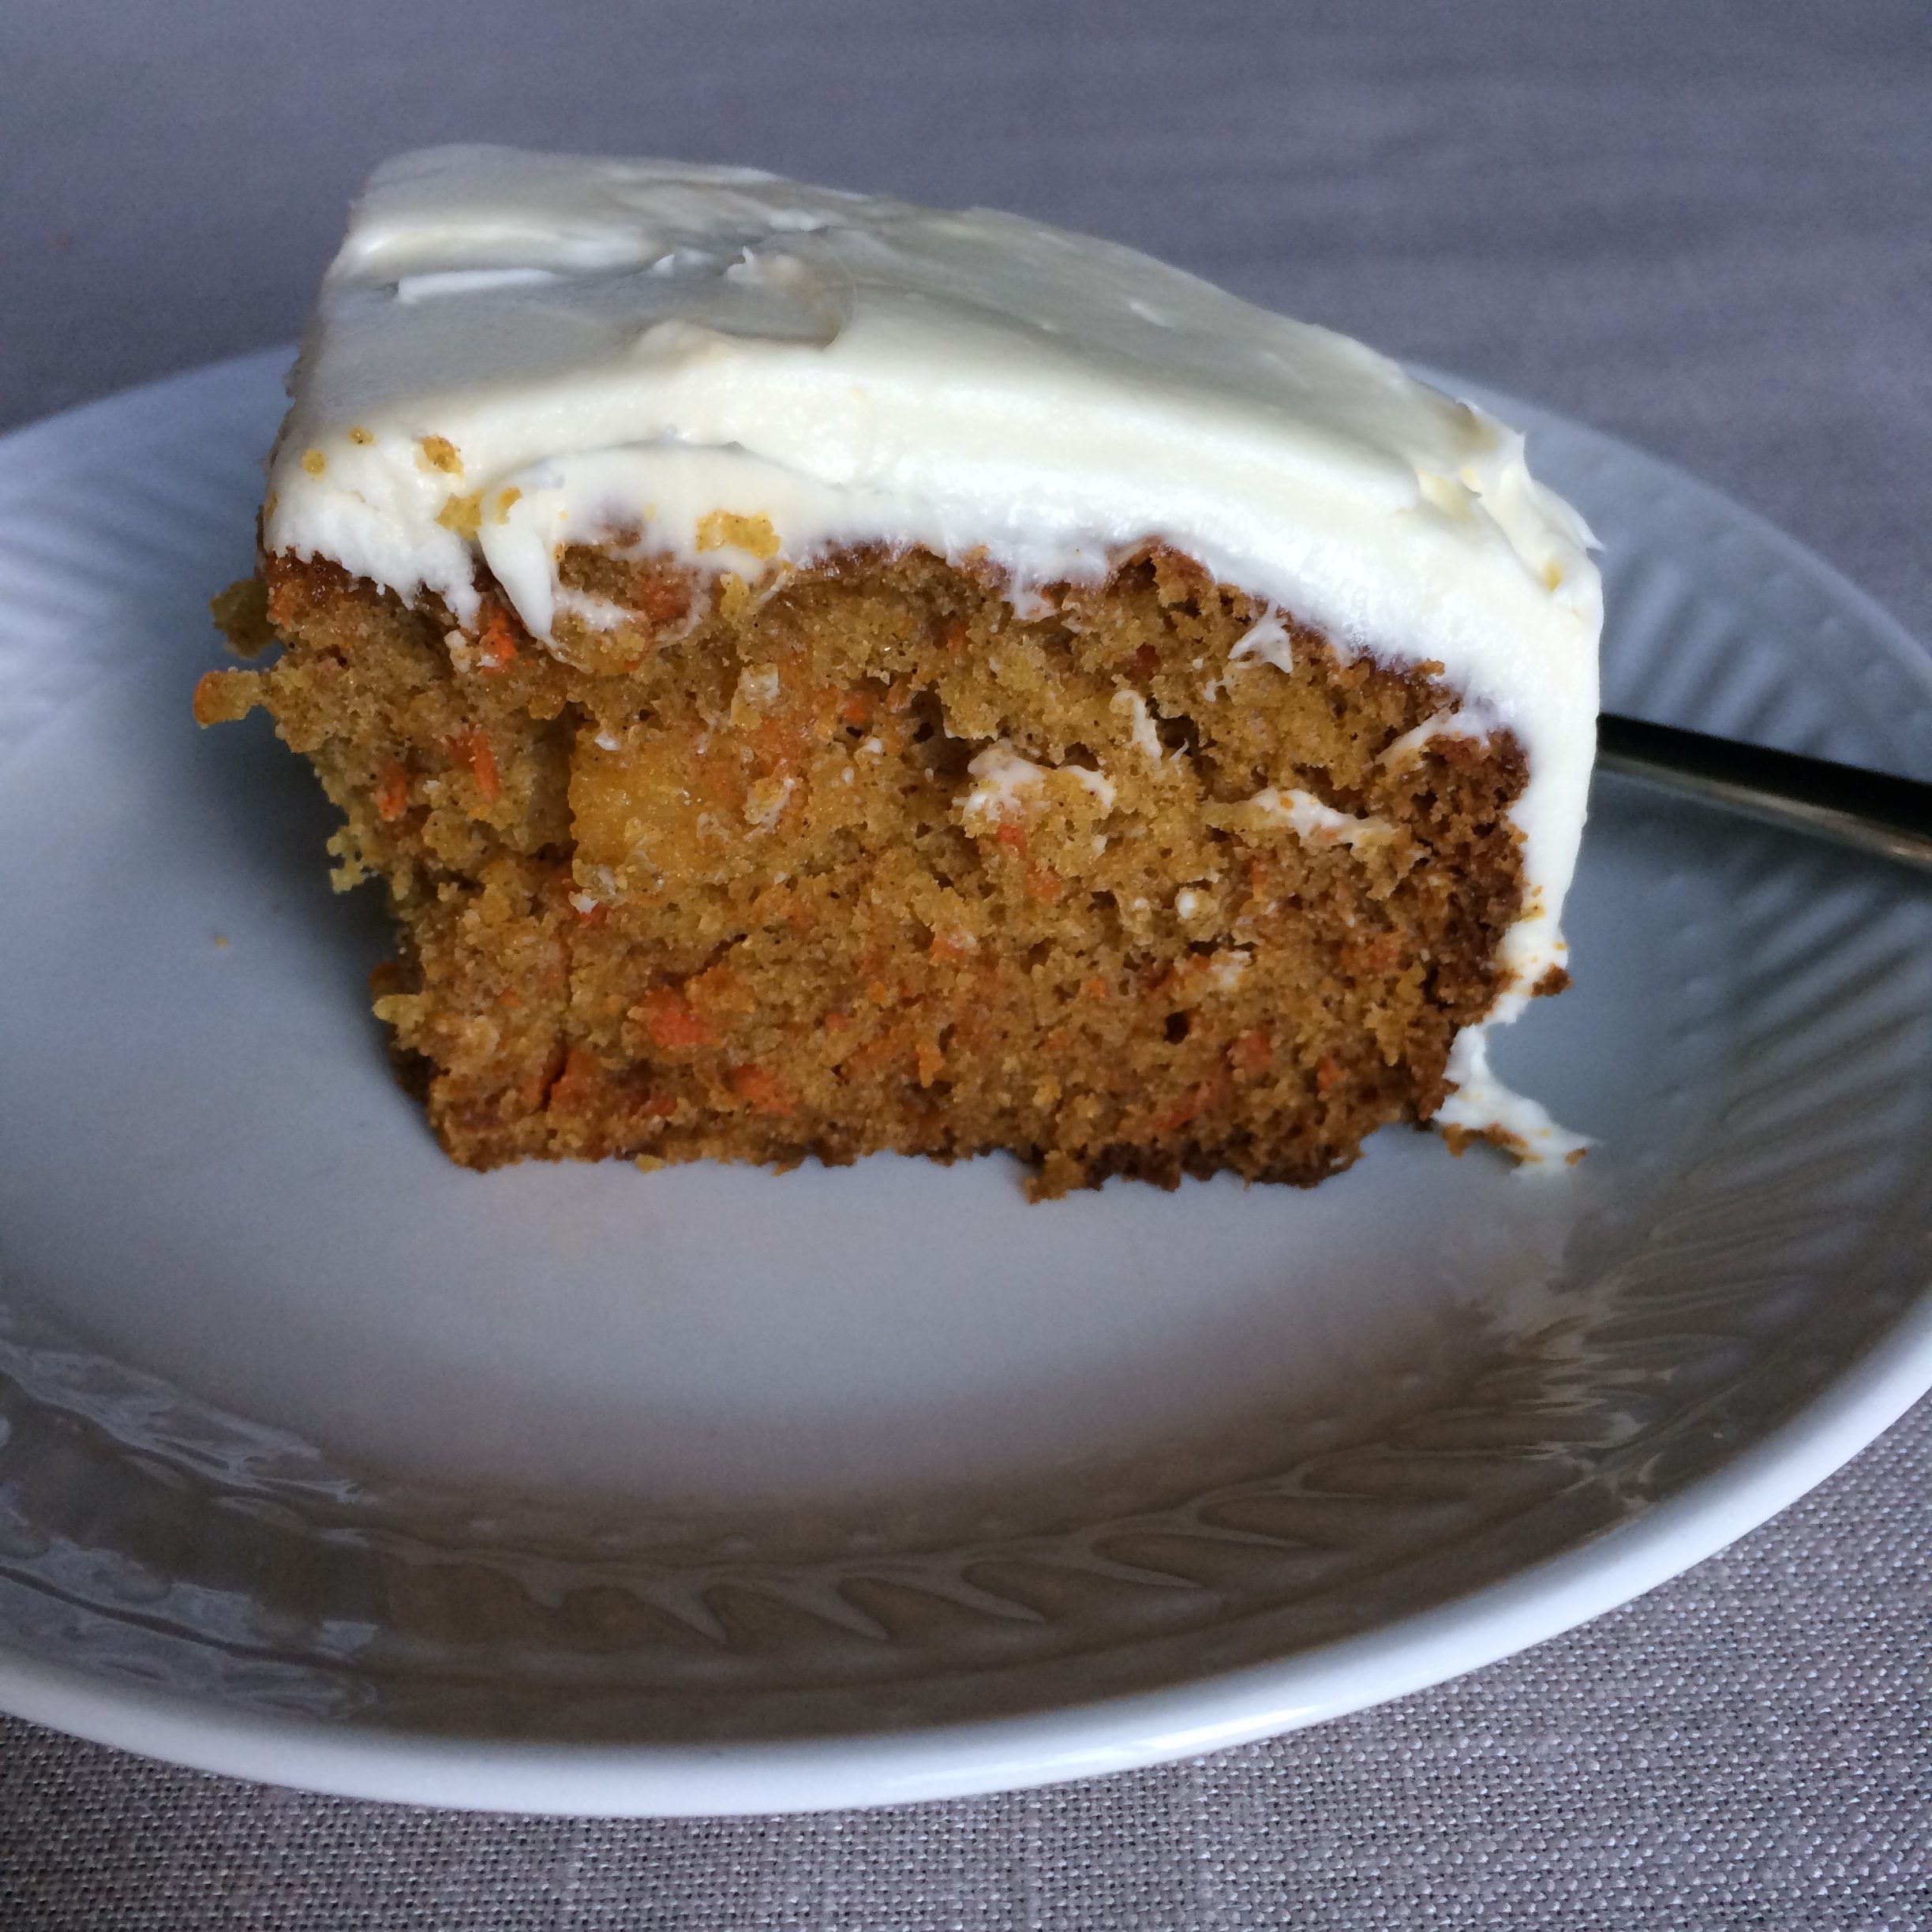
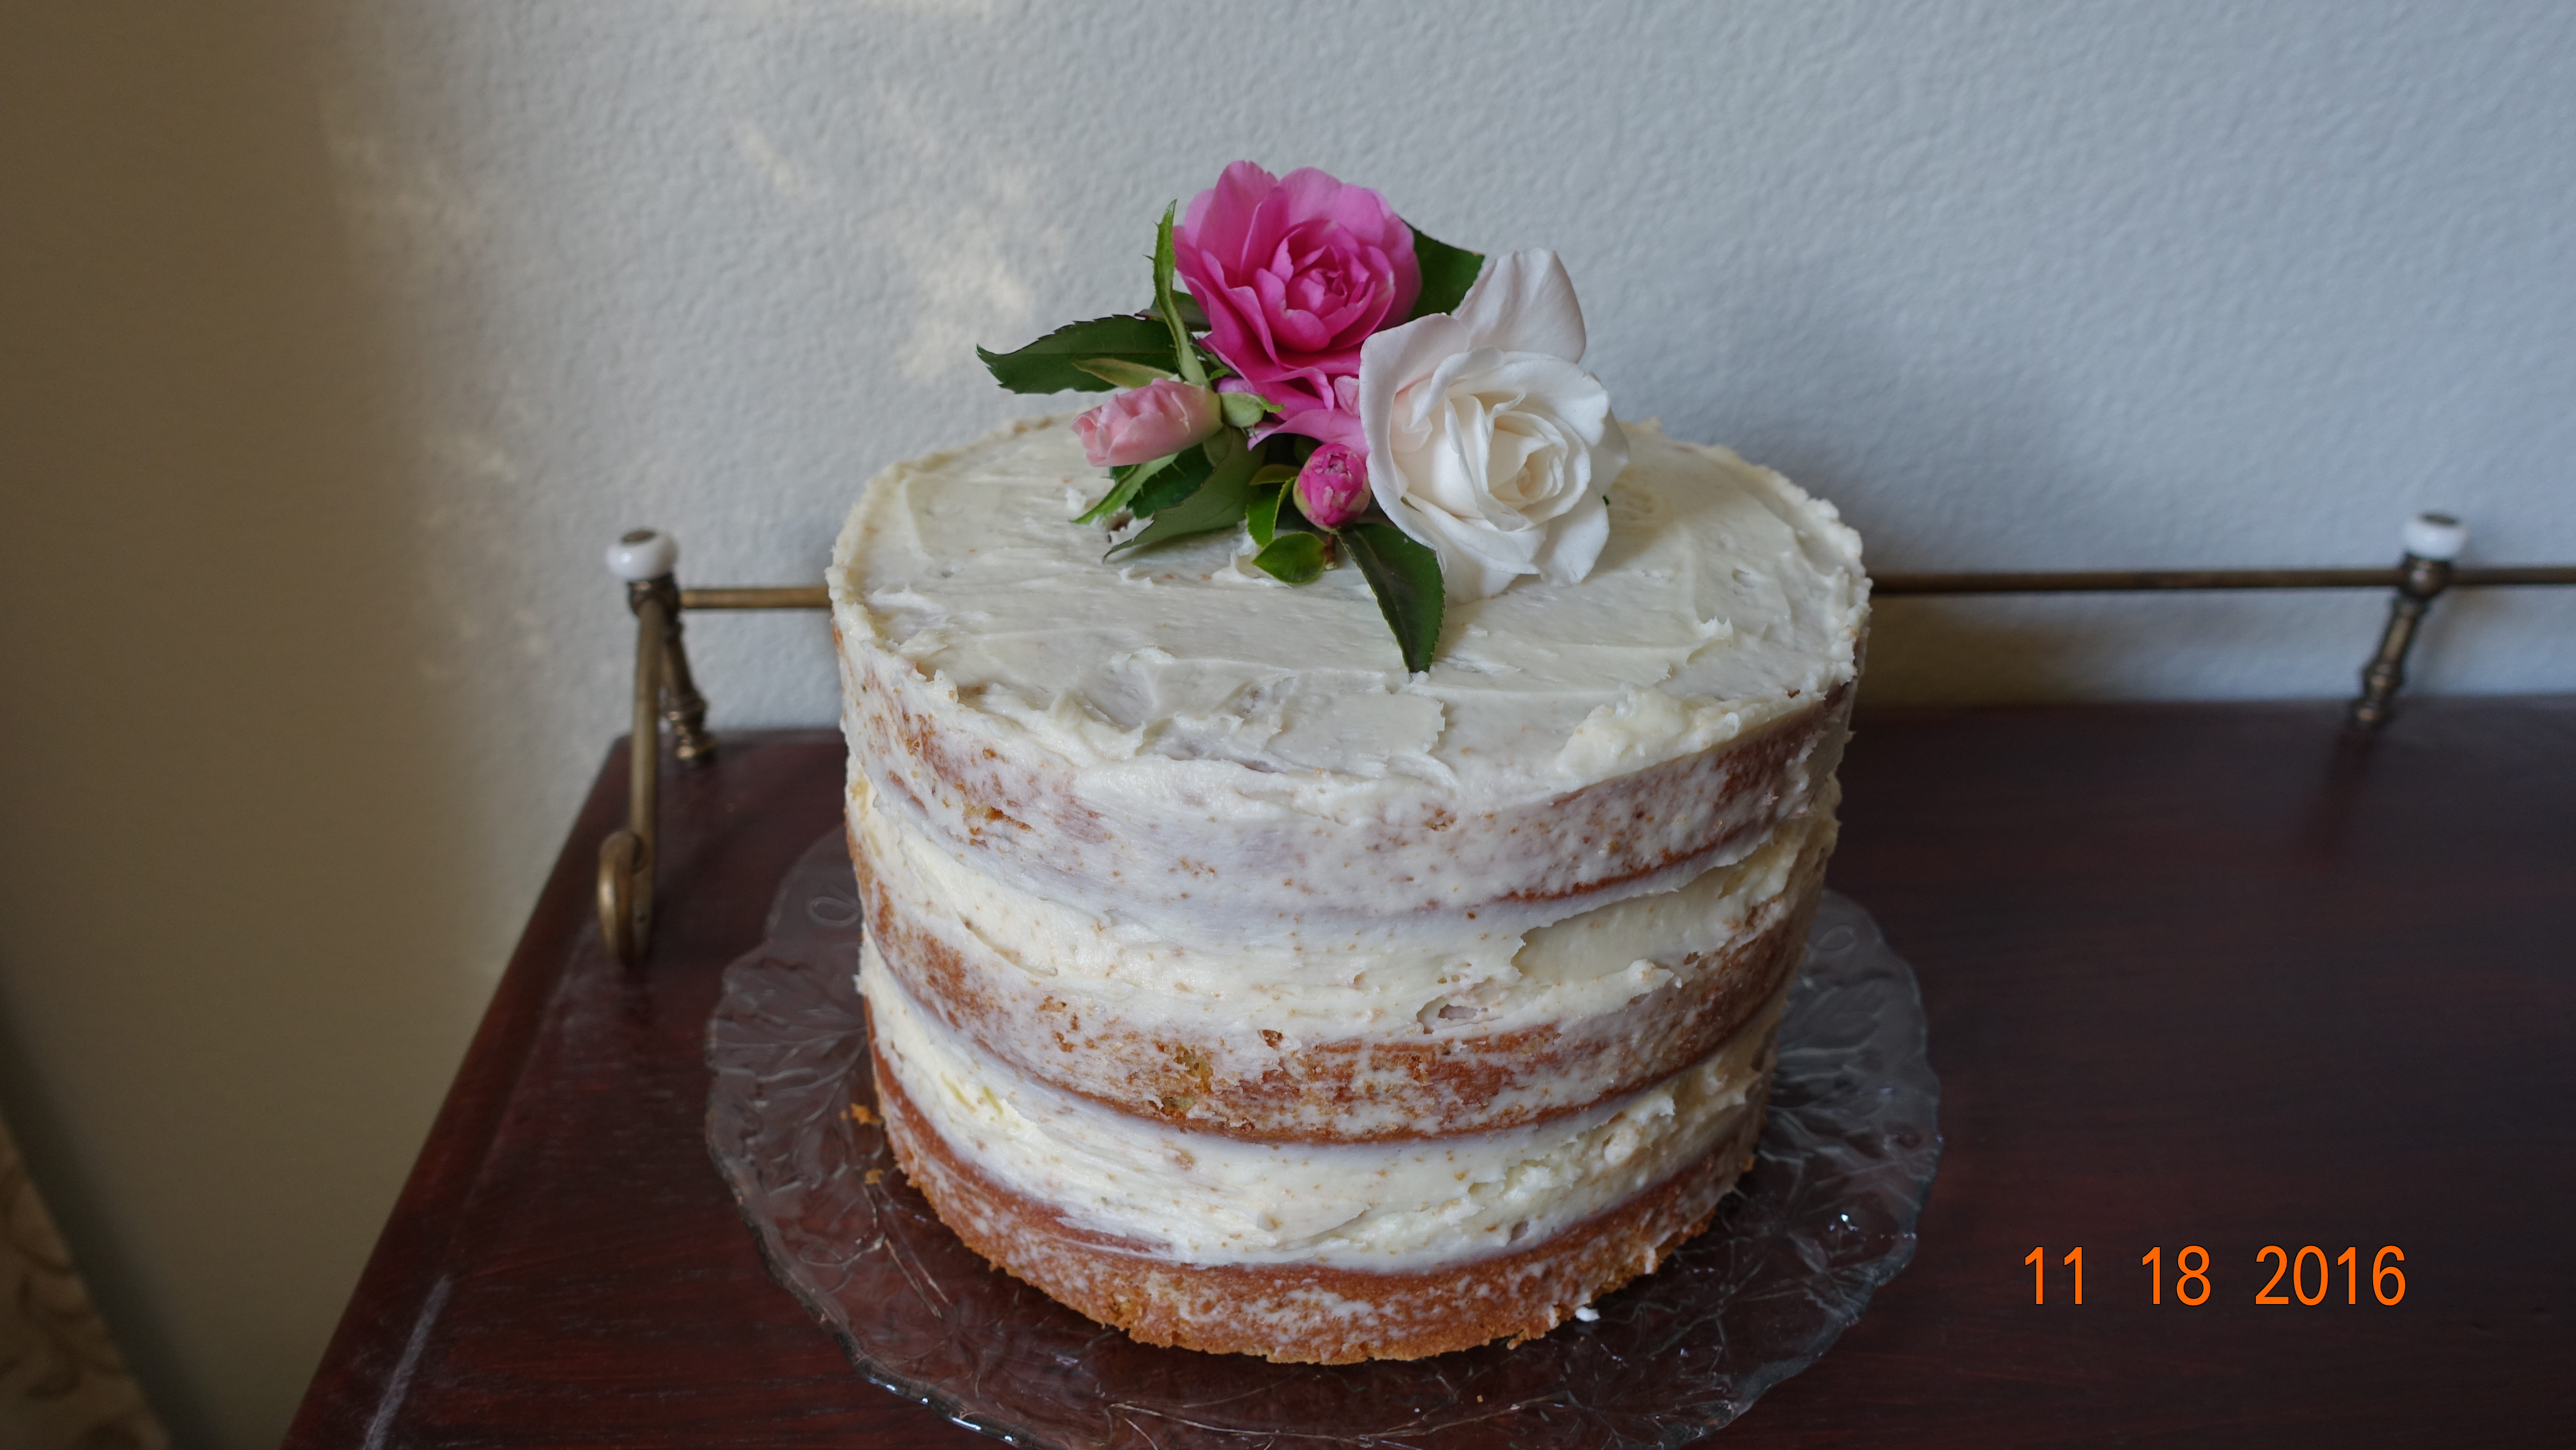
Talking about work, this recipe is a little more complex than your average cake. This is a naked cake and so it has very little frosting on the side. It has some really good for you ingredients. Notice I didn’t say healthy. That word is so over used plus this is a cake, so you know where I’m headed with that. The ingredients include Olive Oil, Yogurt, Pistachios, and Lemon. All good for you ingredients. I used my homemade Yogurt in the pictured cake but if you buy a commercial yogurt, make sure you check the ingredients. Many of the Greek-style yogurts have gelatin and other unnecessary ingredients.
If you have never worked with parchment paper, I have some tips below.
Let me know how it went. Leave a comment below.
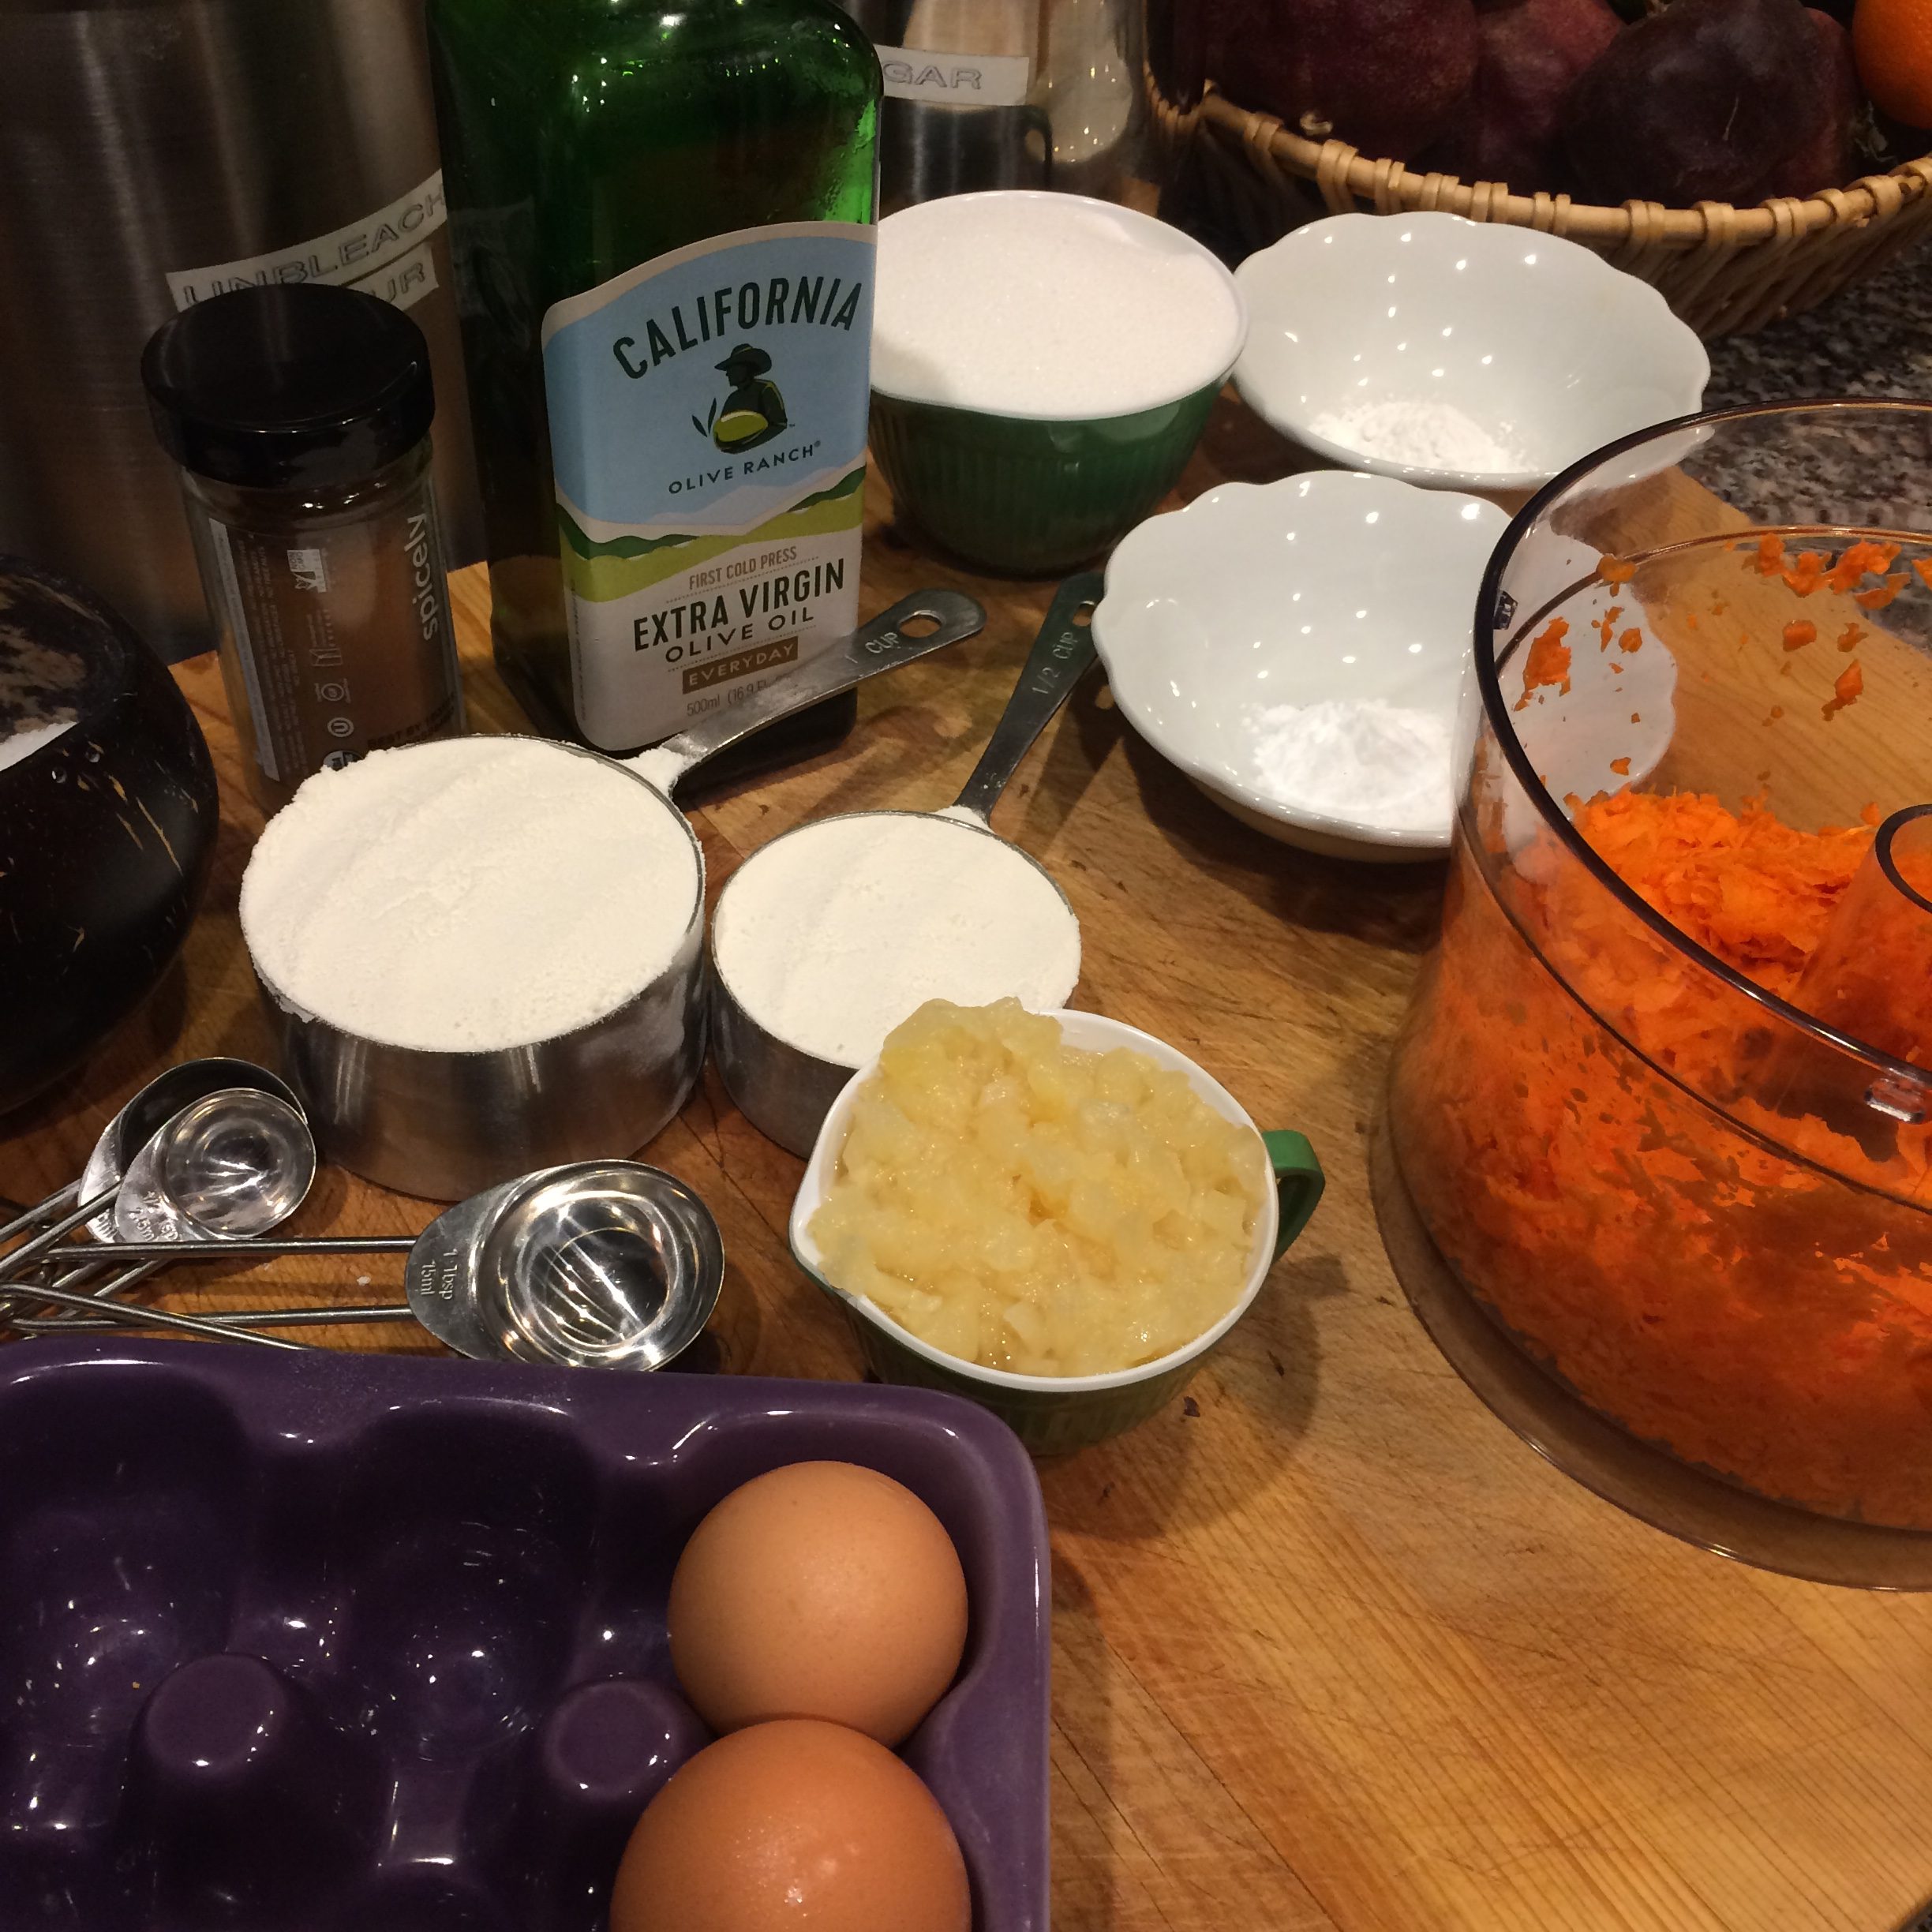
Ingredients
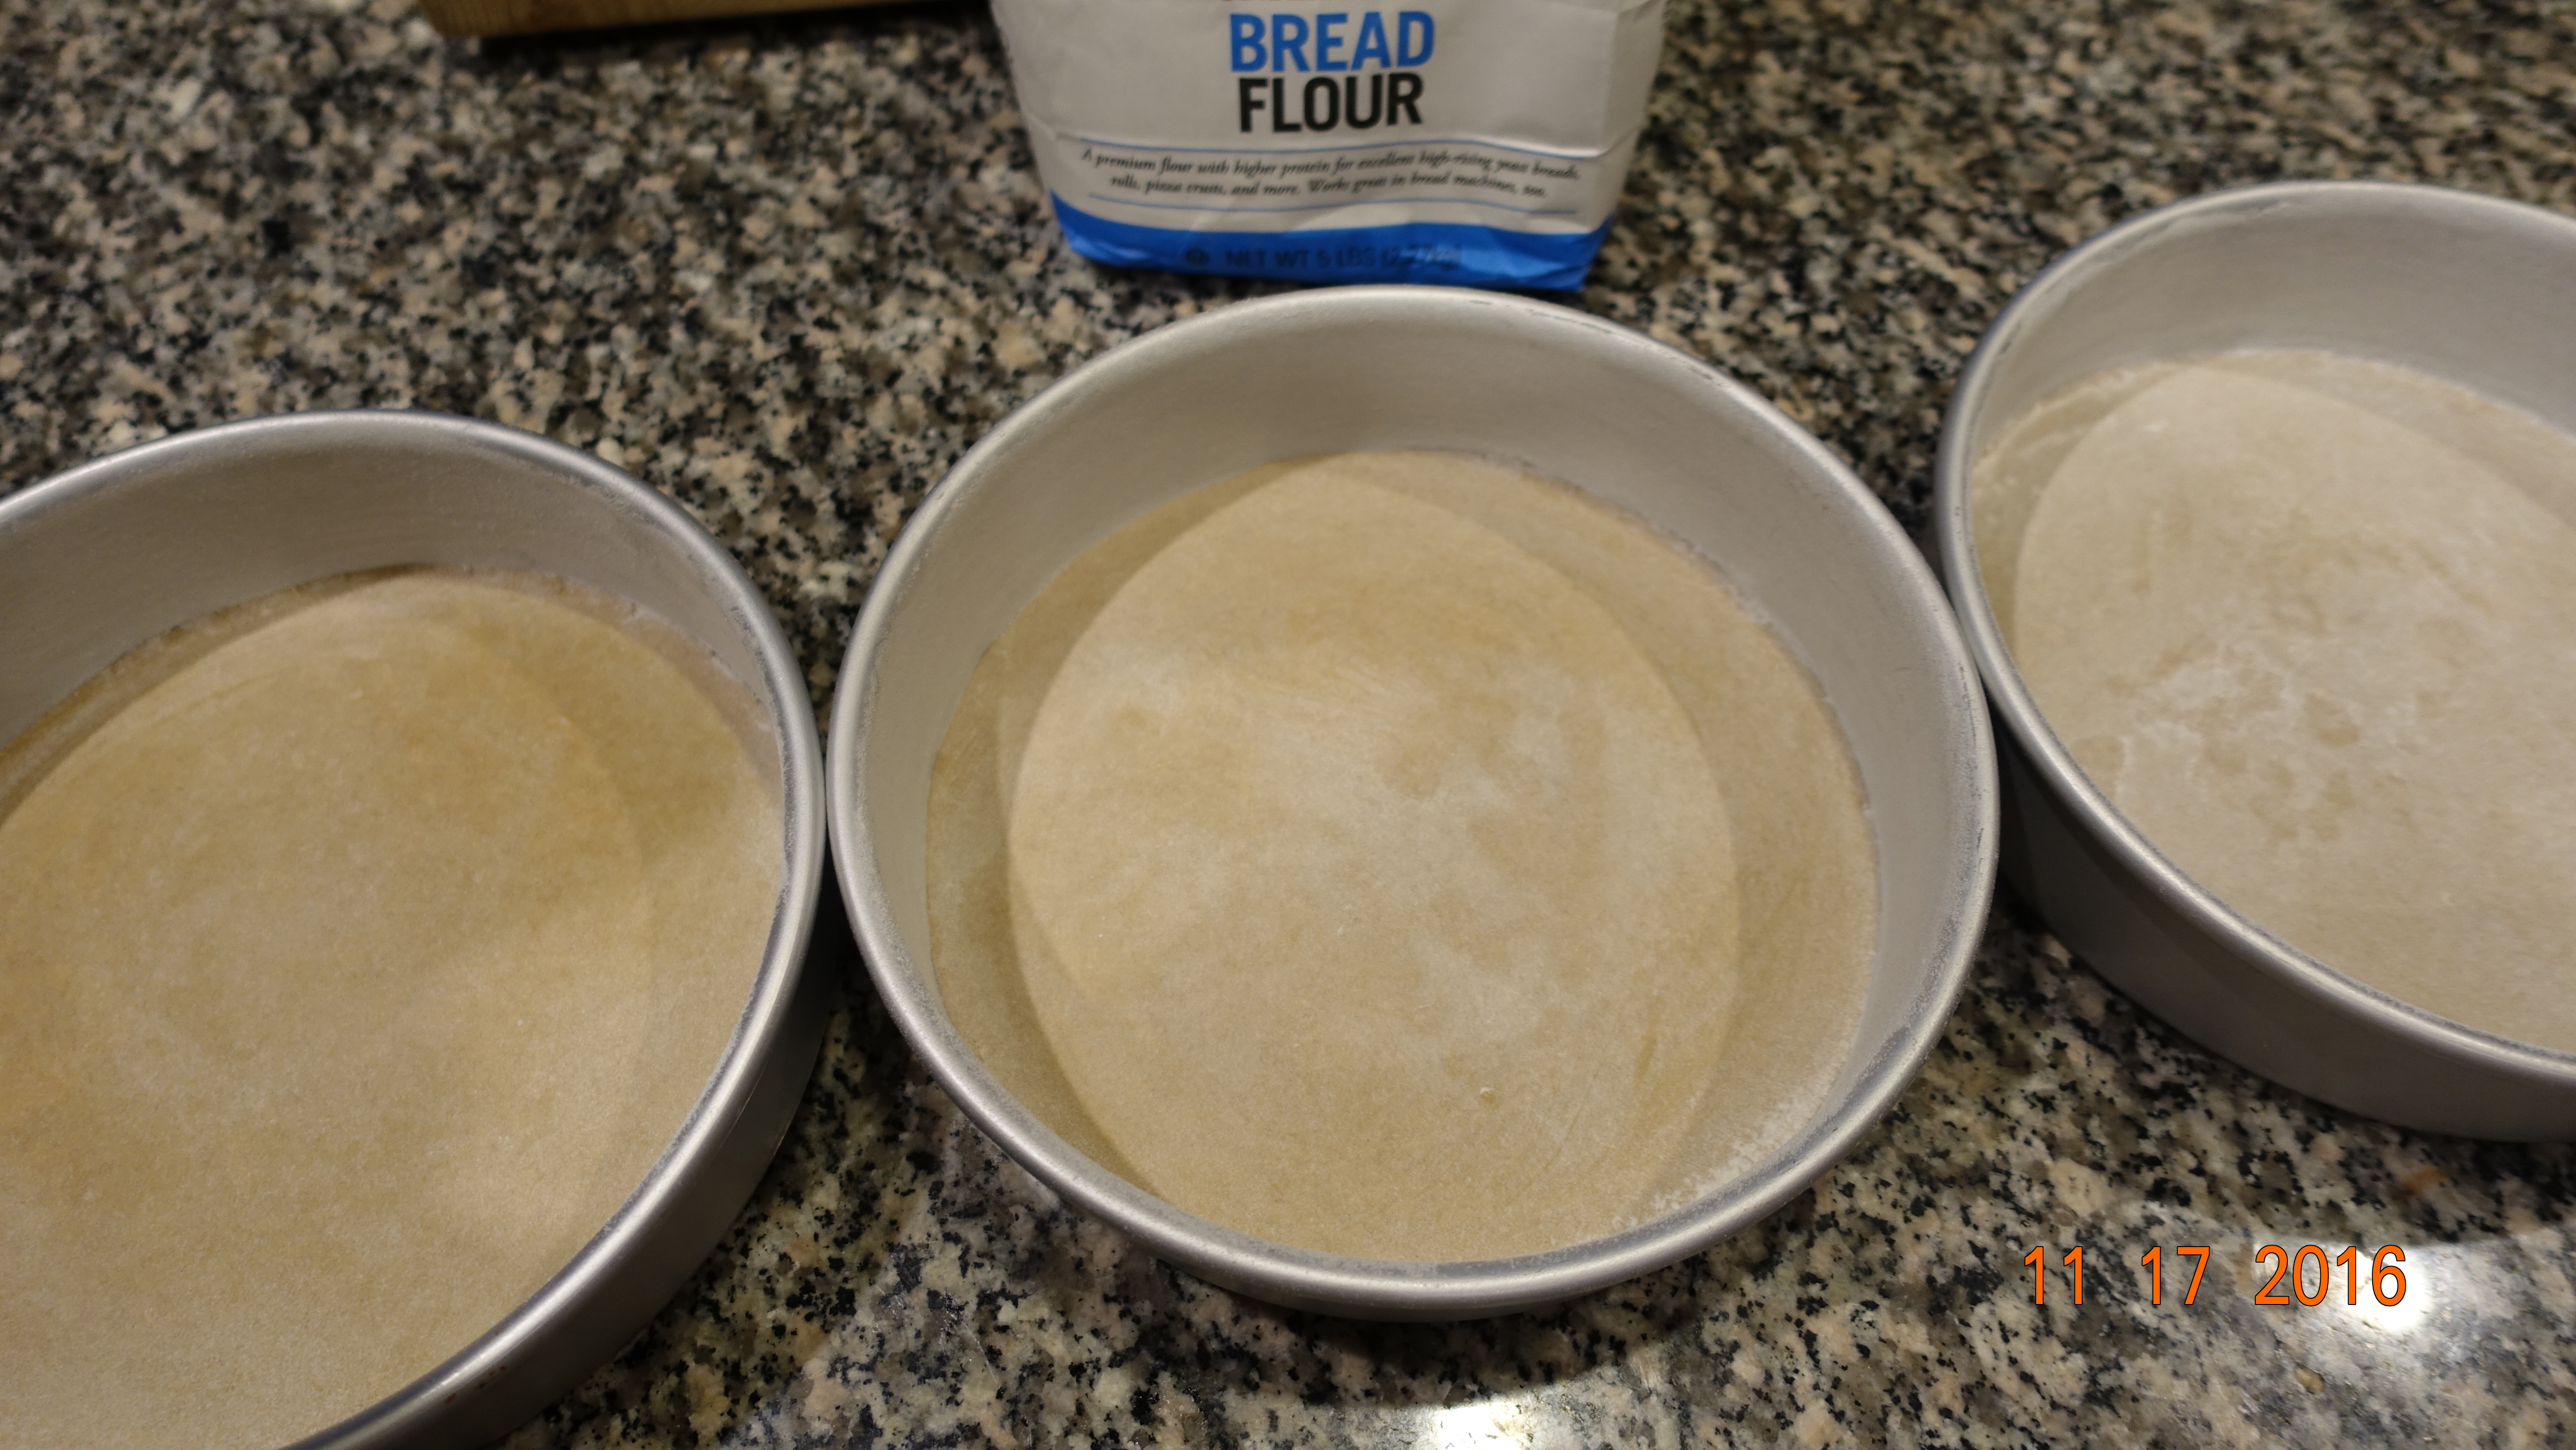
**You will need three 8-inch round cake pans.**

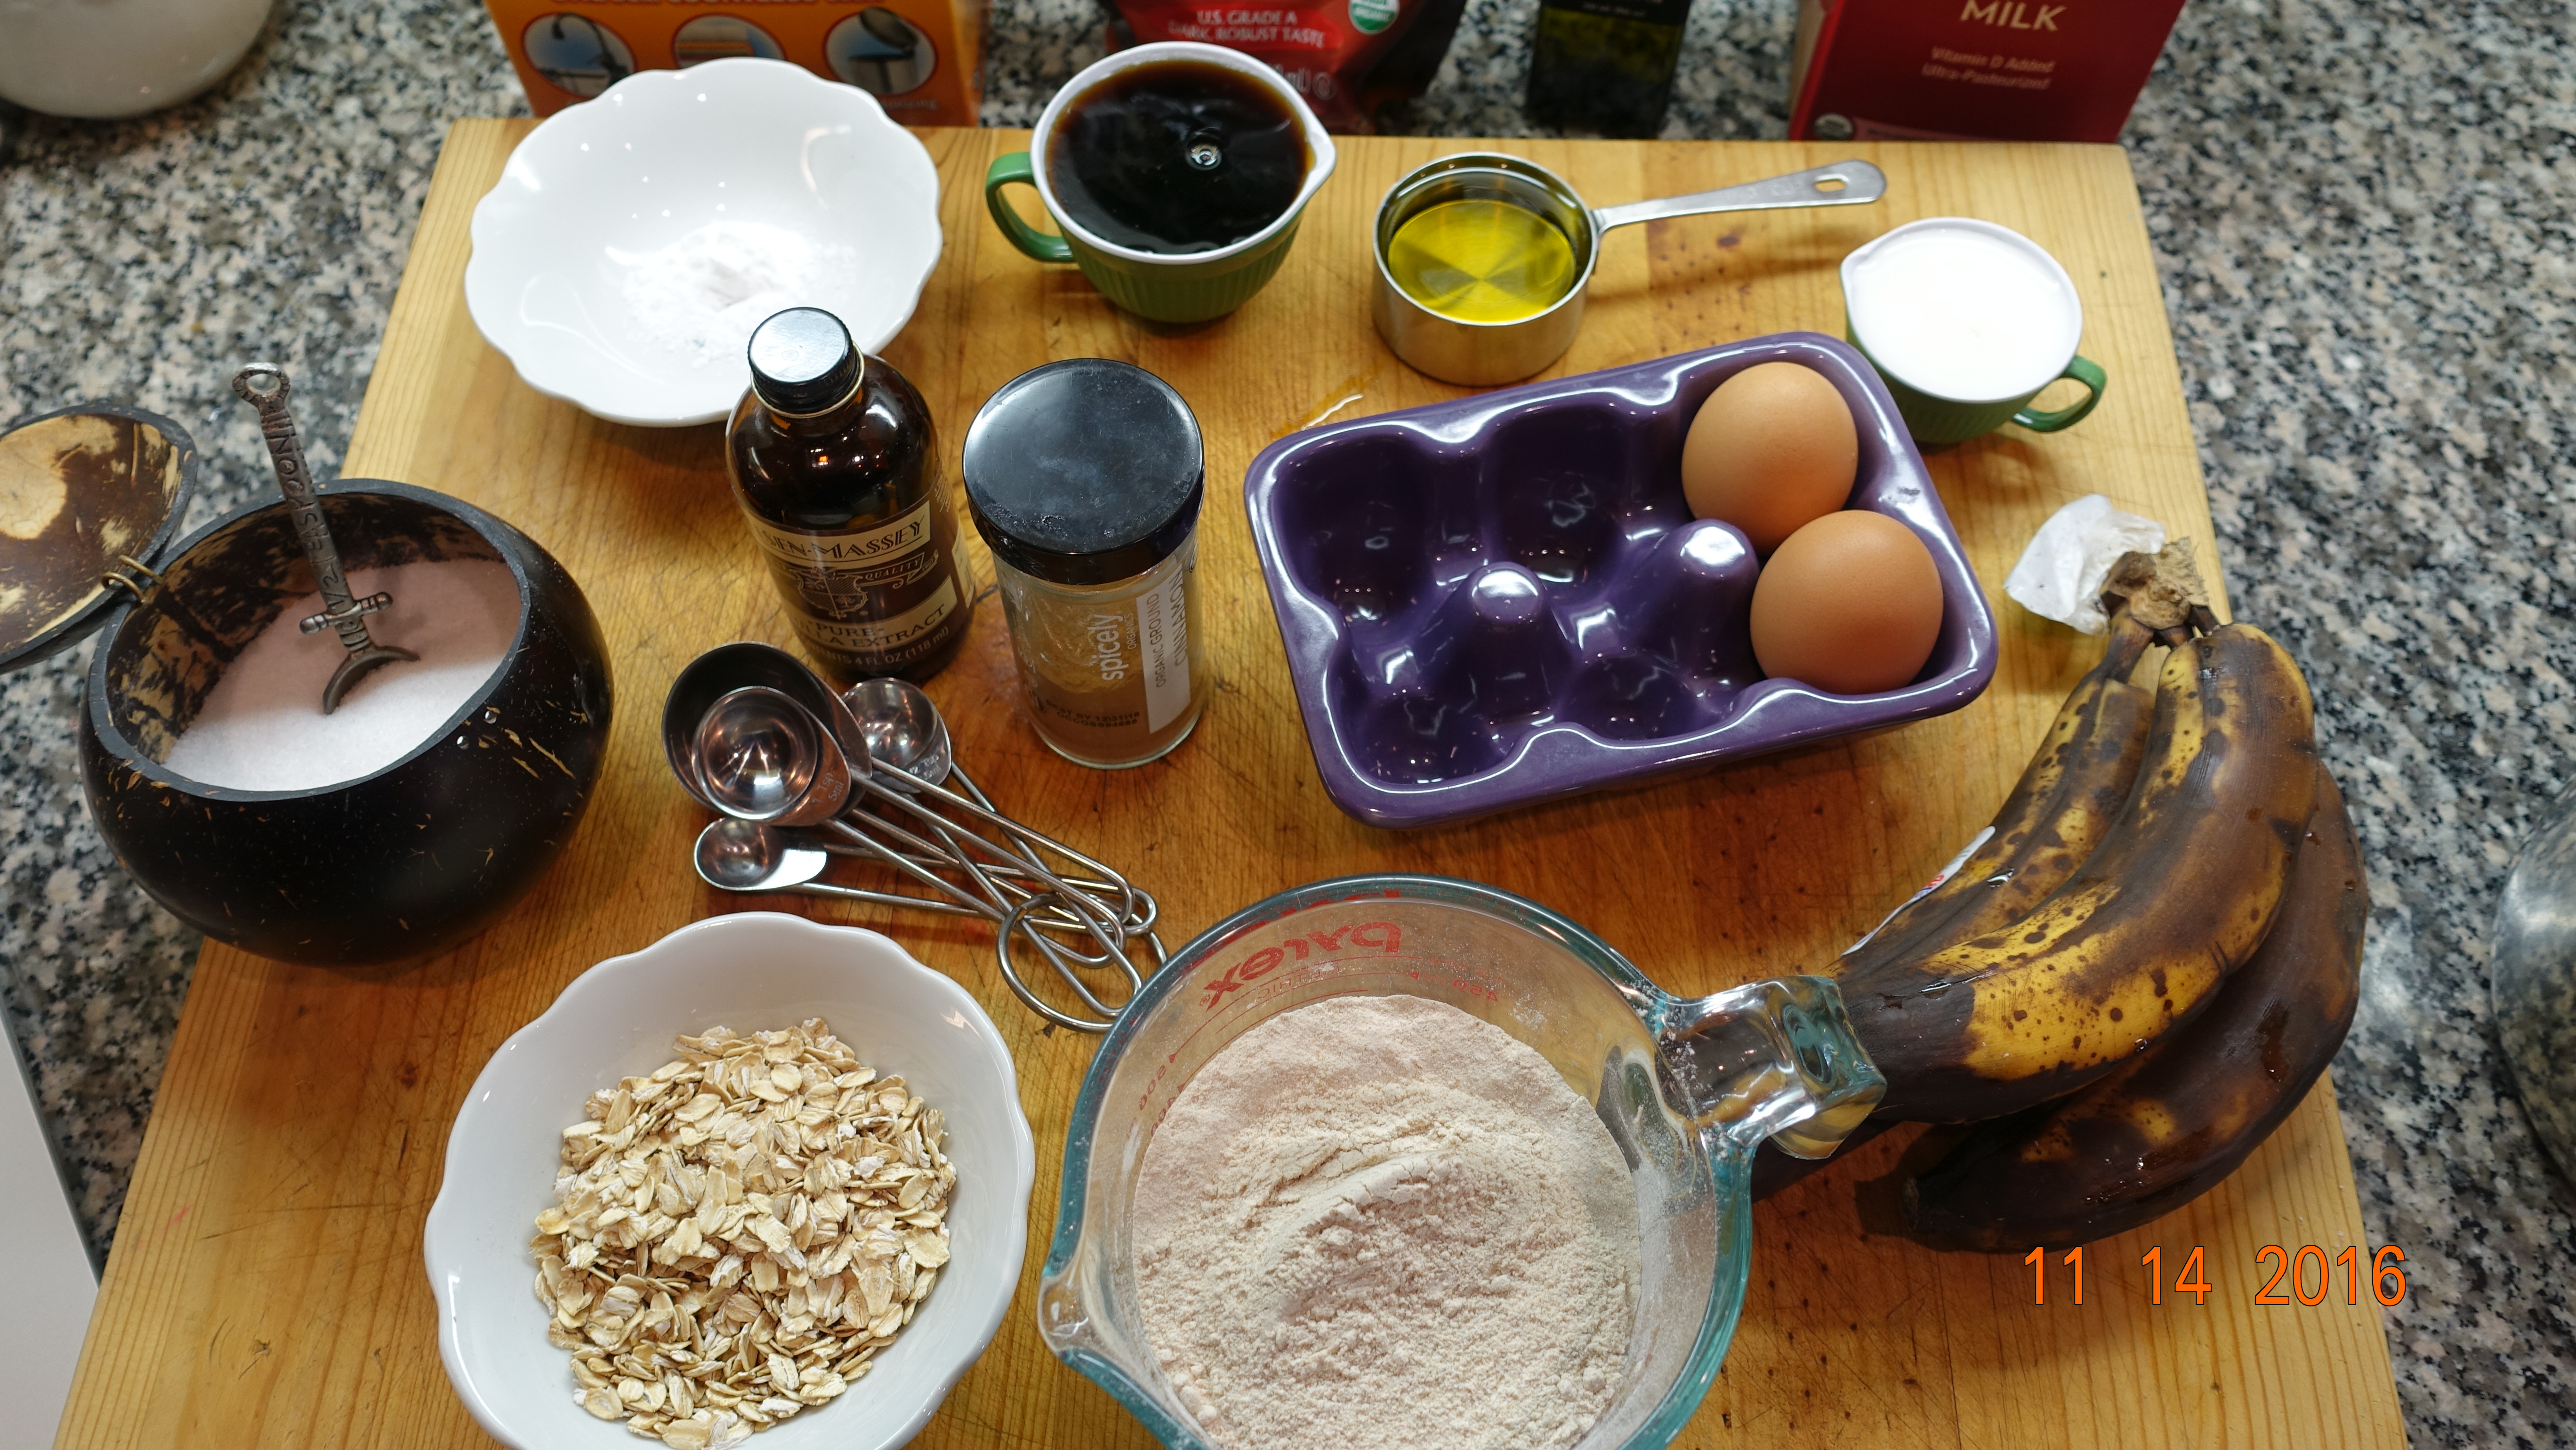
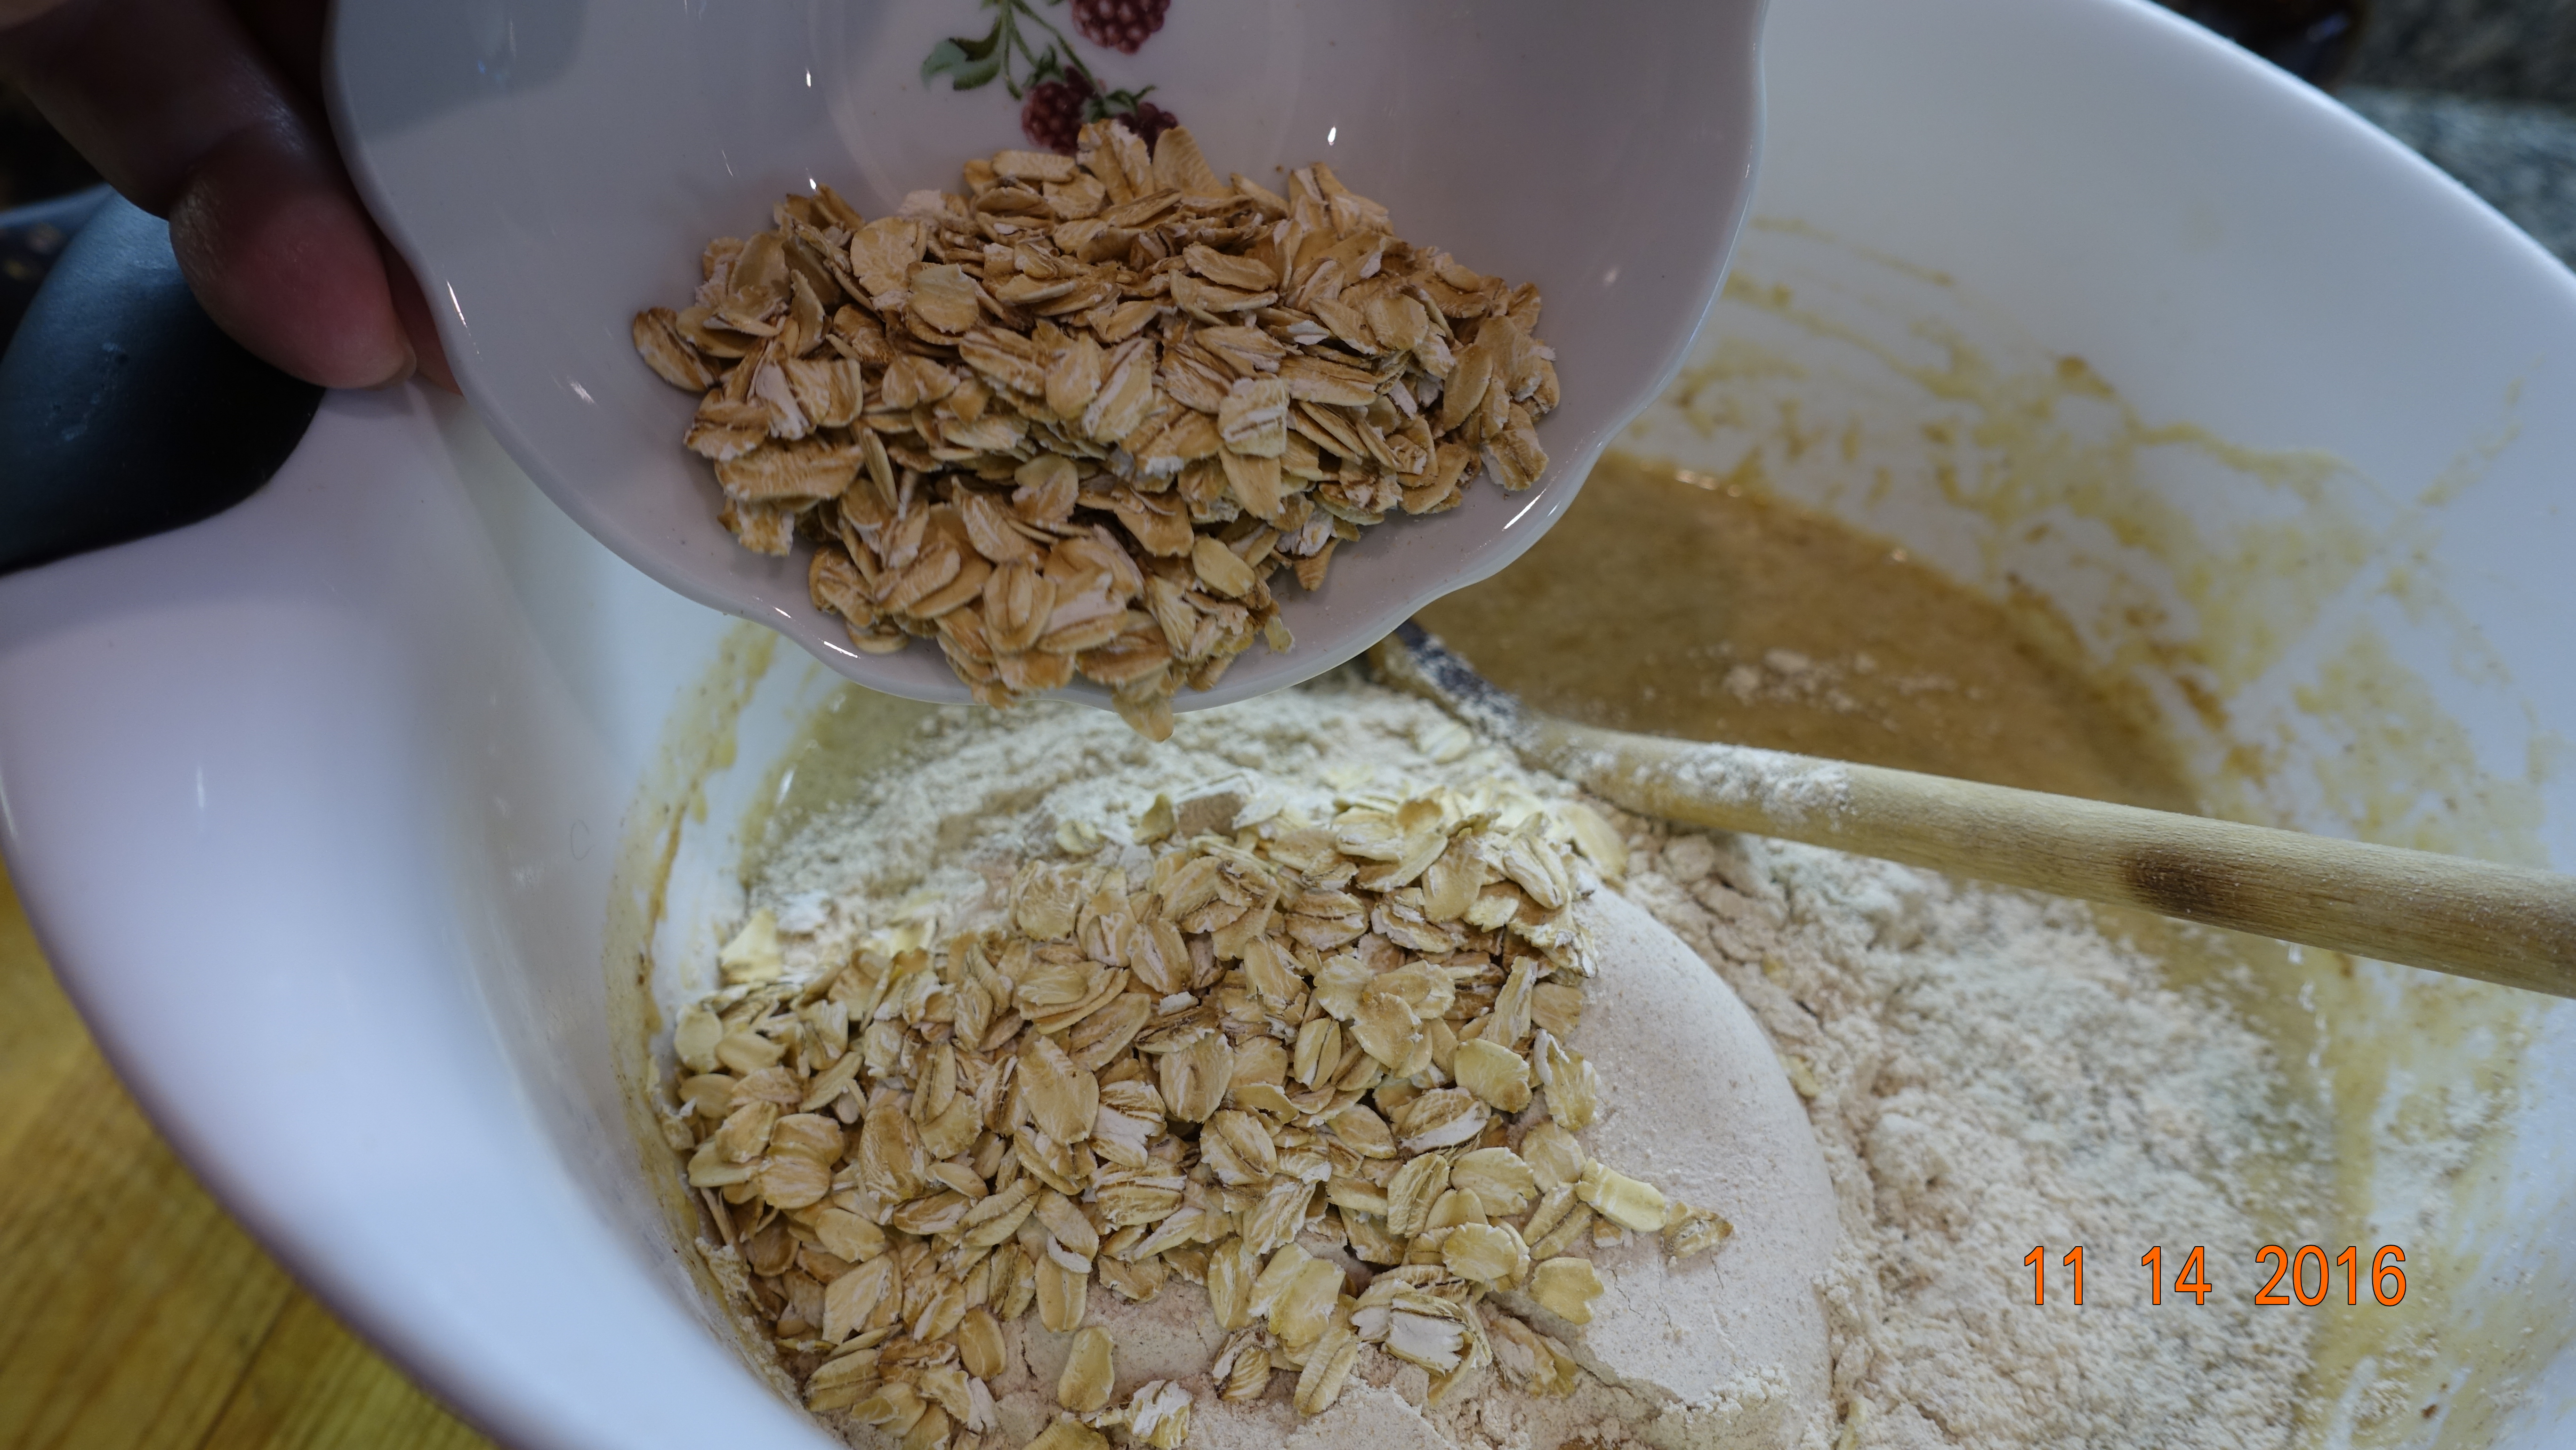
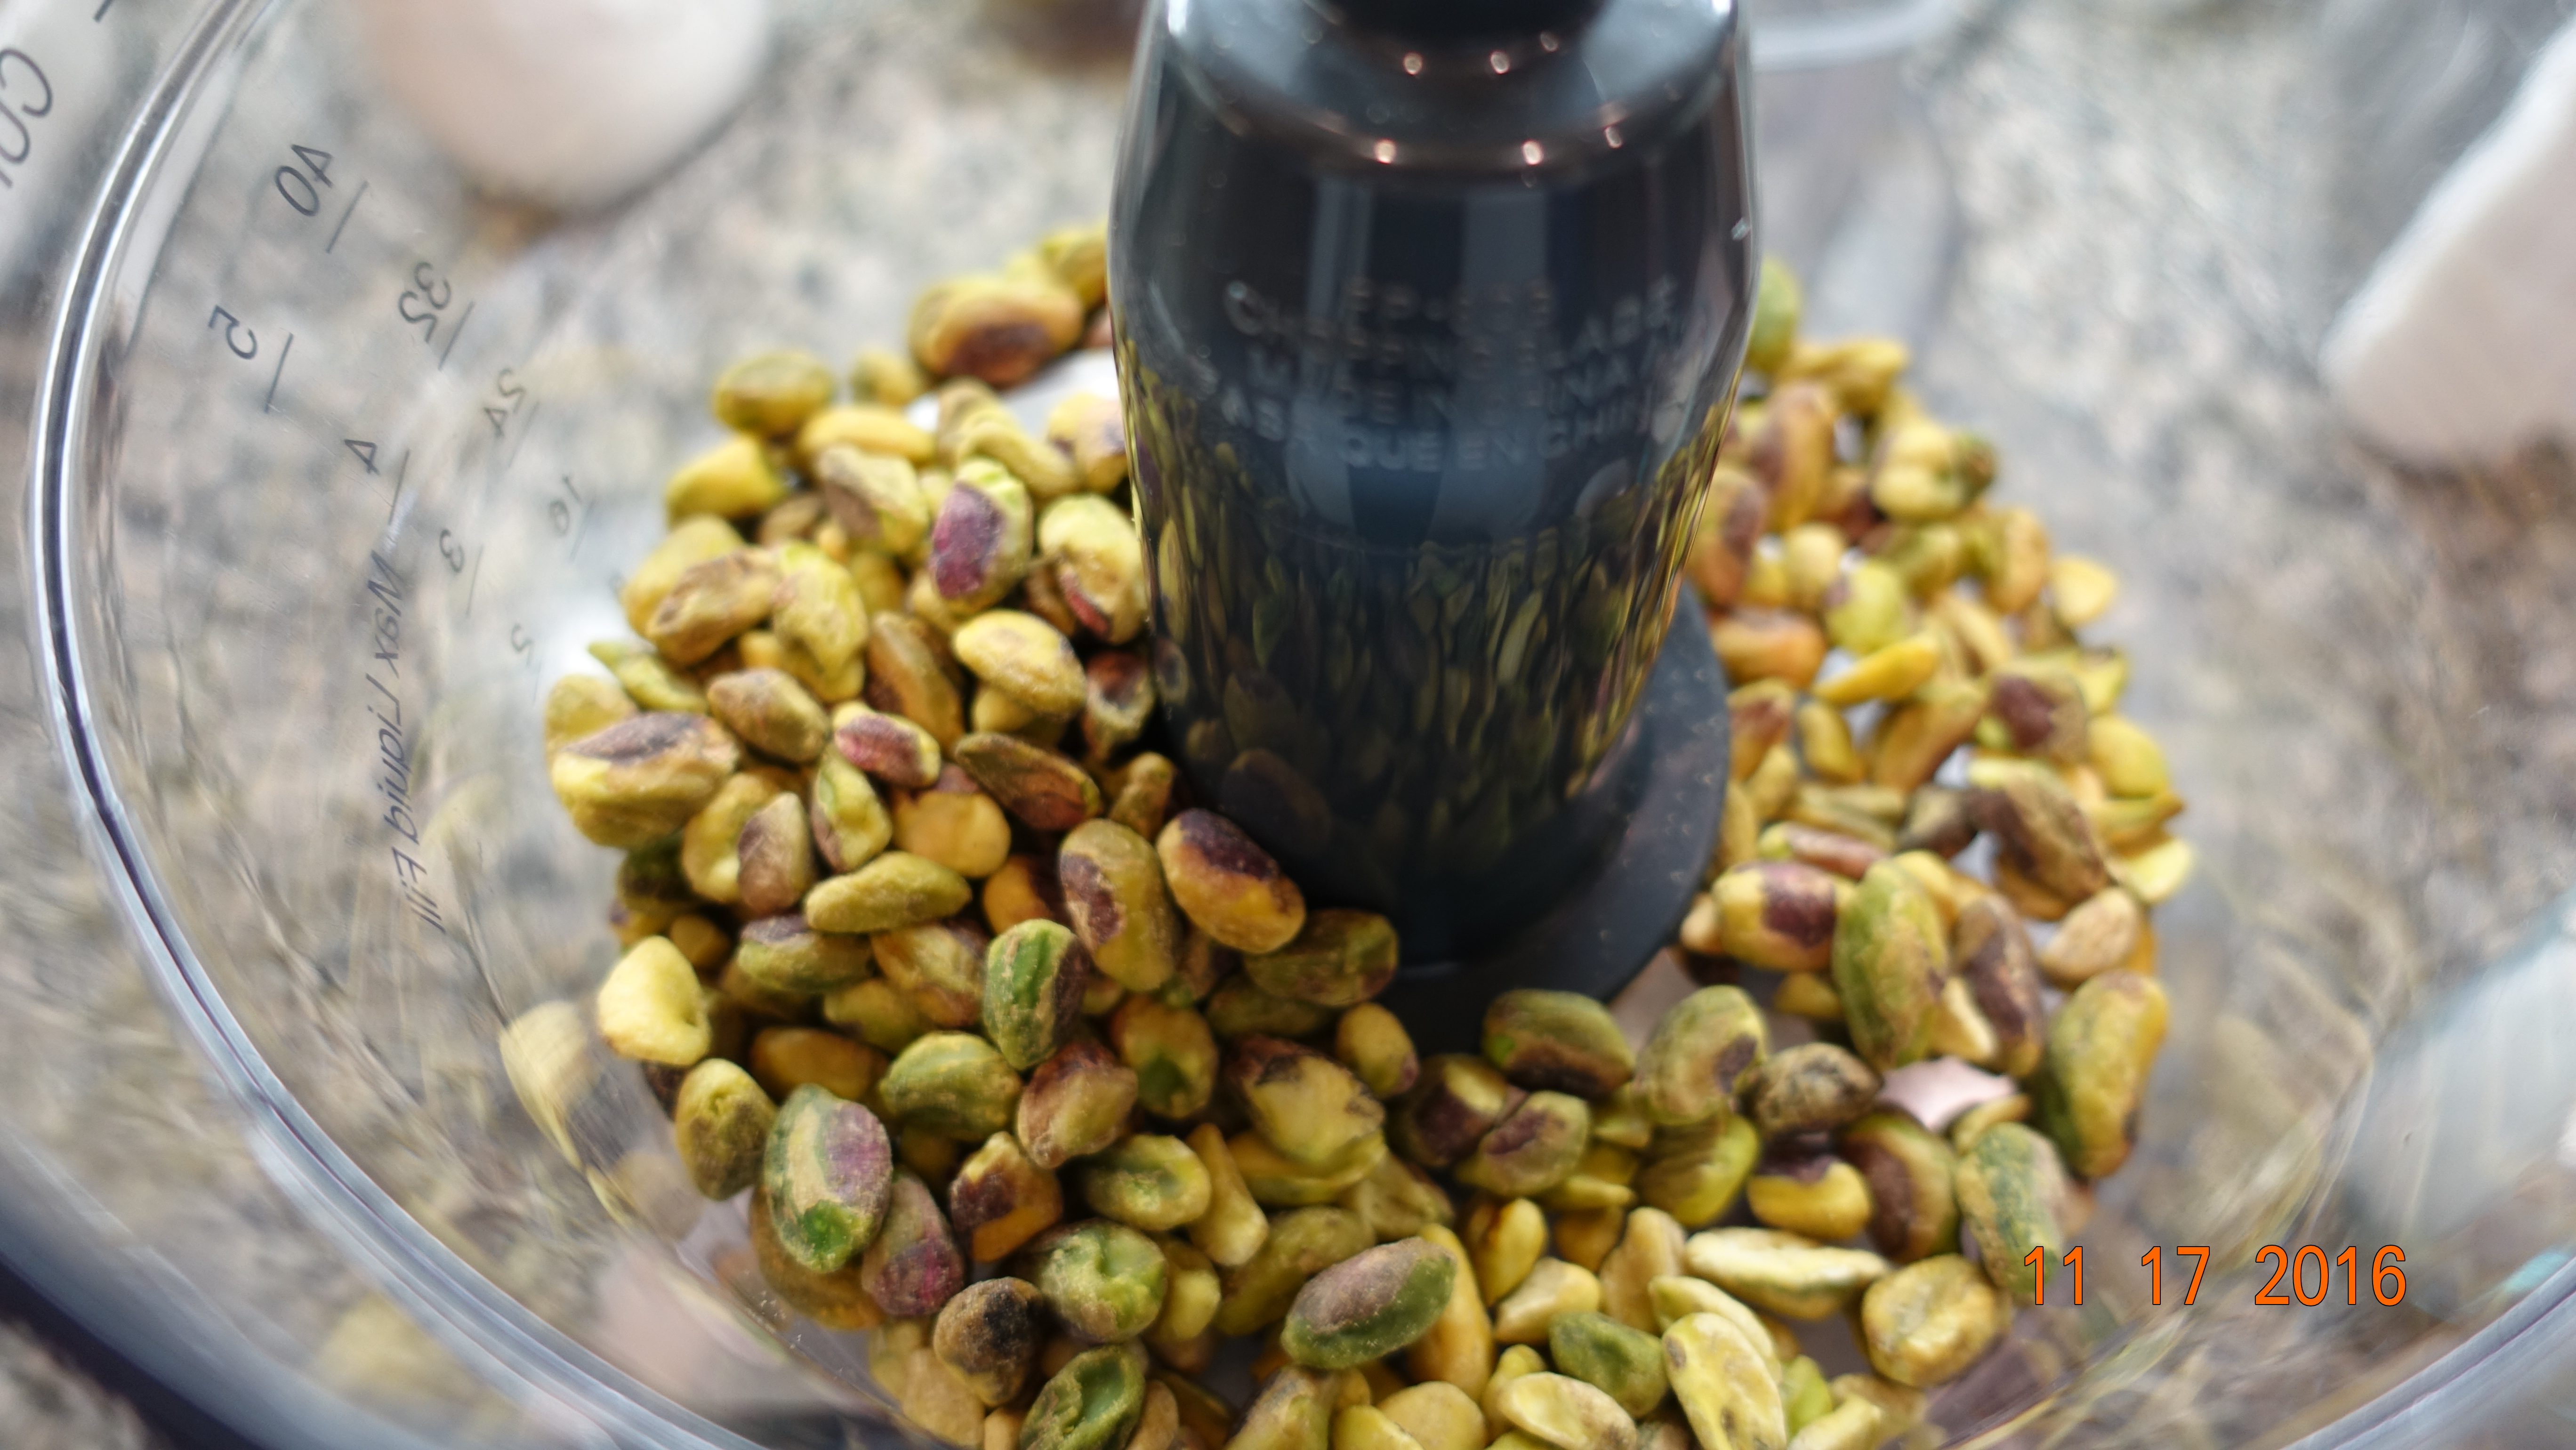
1 cup unsalted, shelled Pistachios
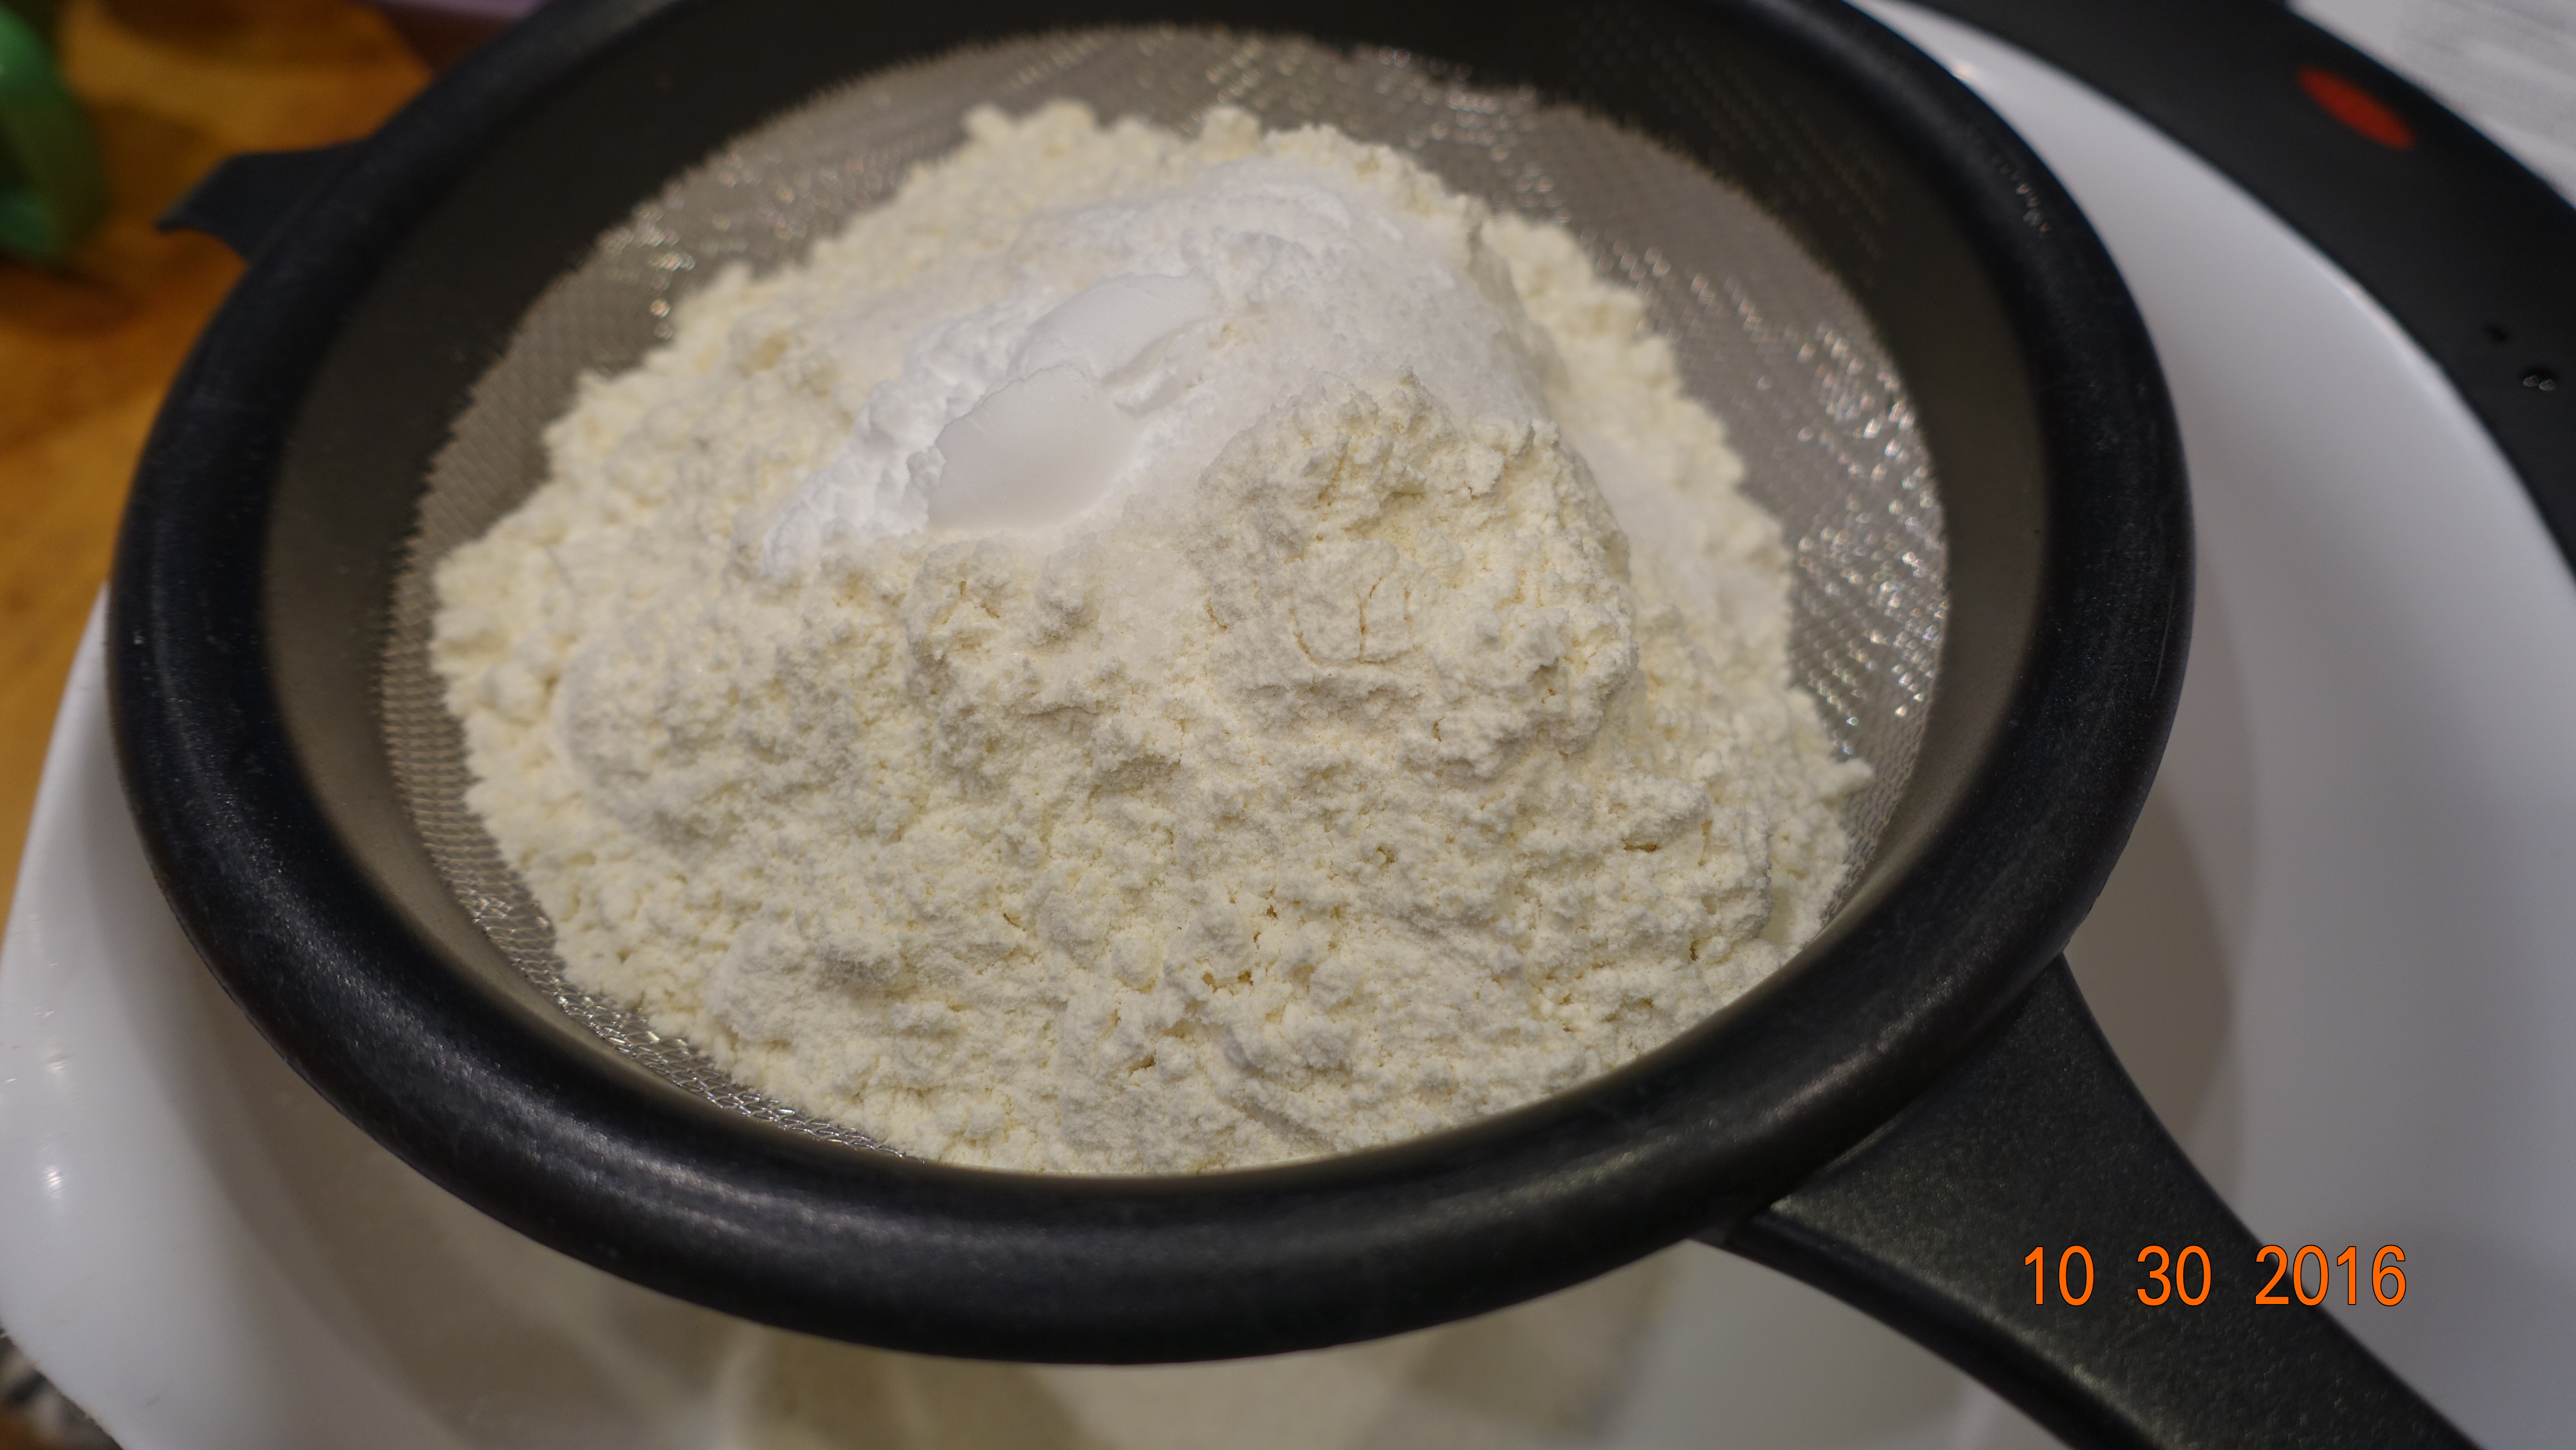
2 cups Cake Flour
(I did’t have any in my pantry, so I used Bread Flour instead.)
4 tsp. Baking Powder
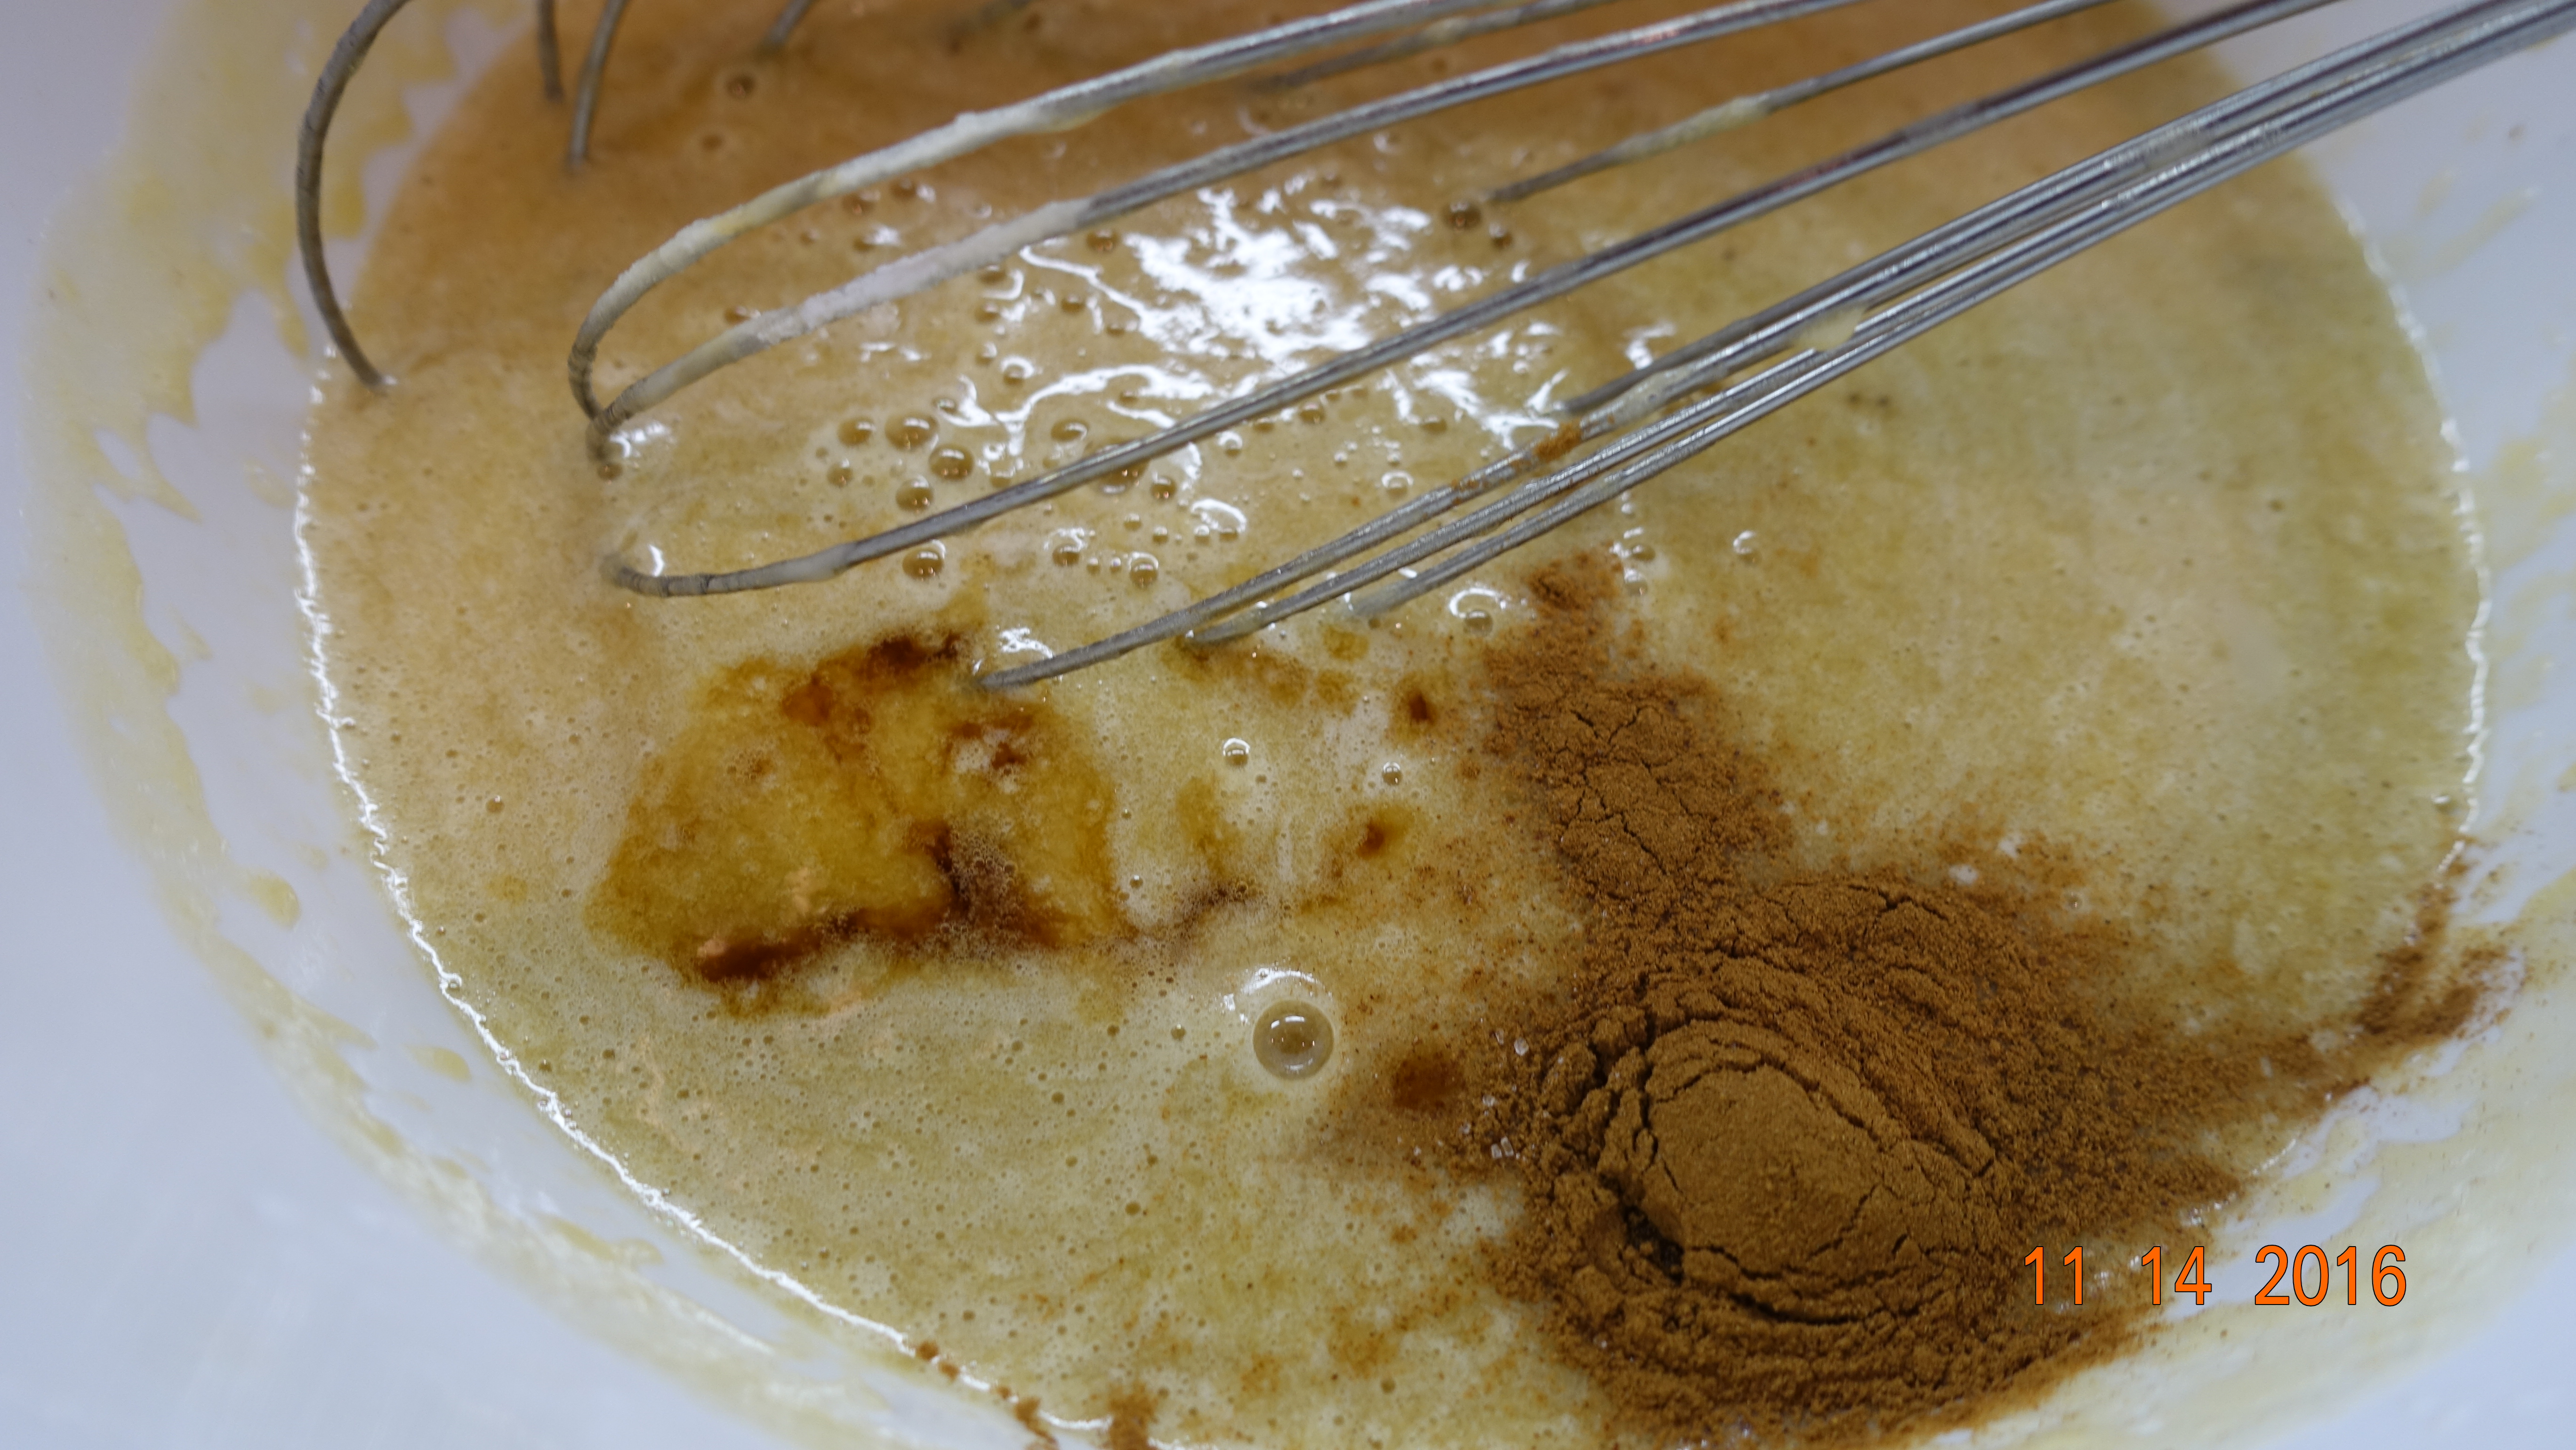
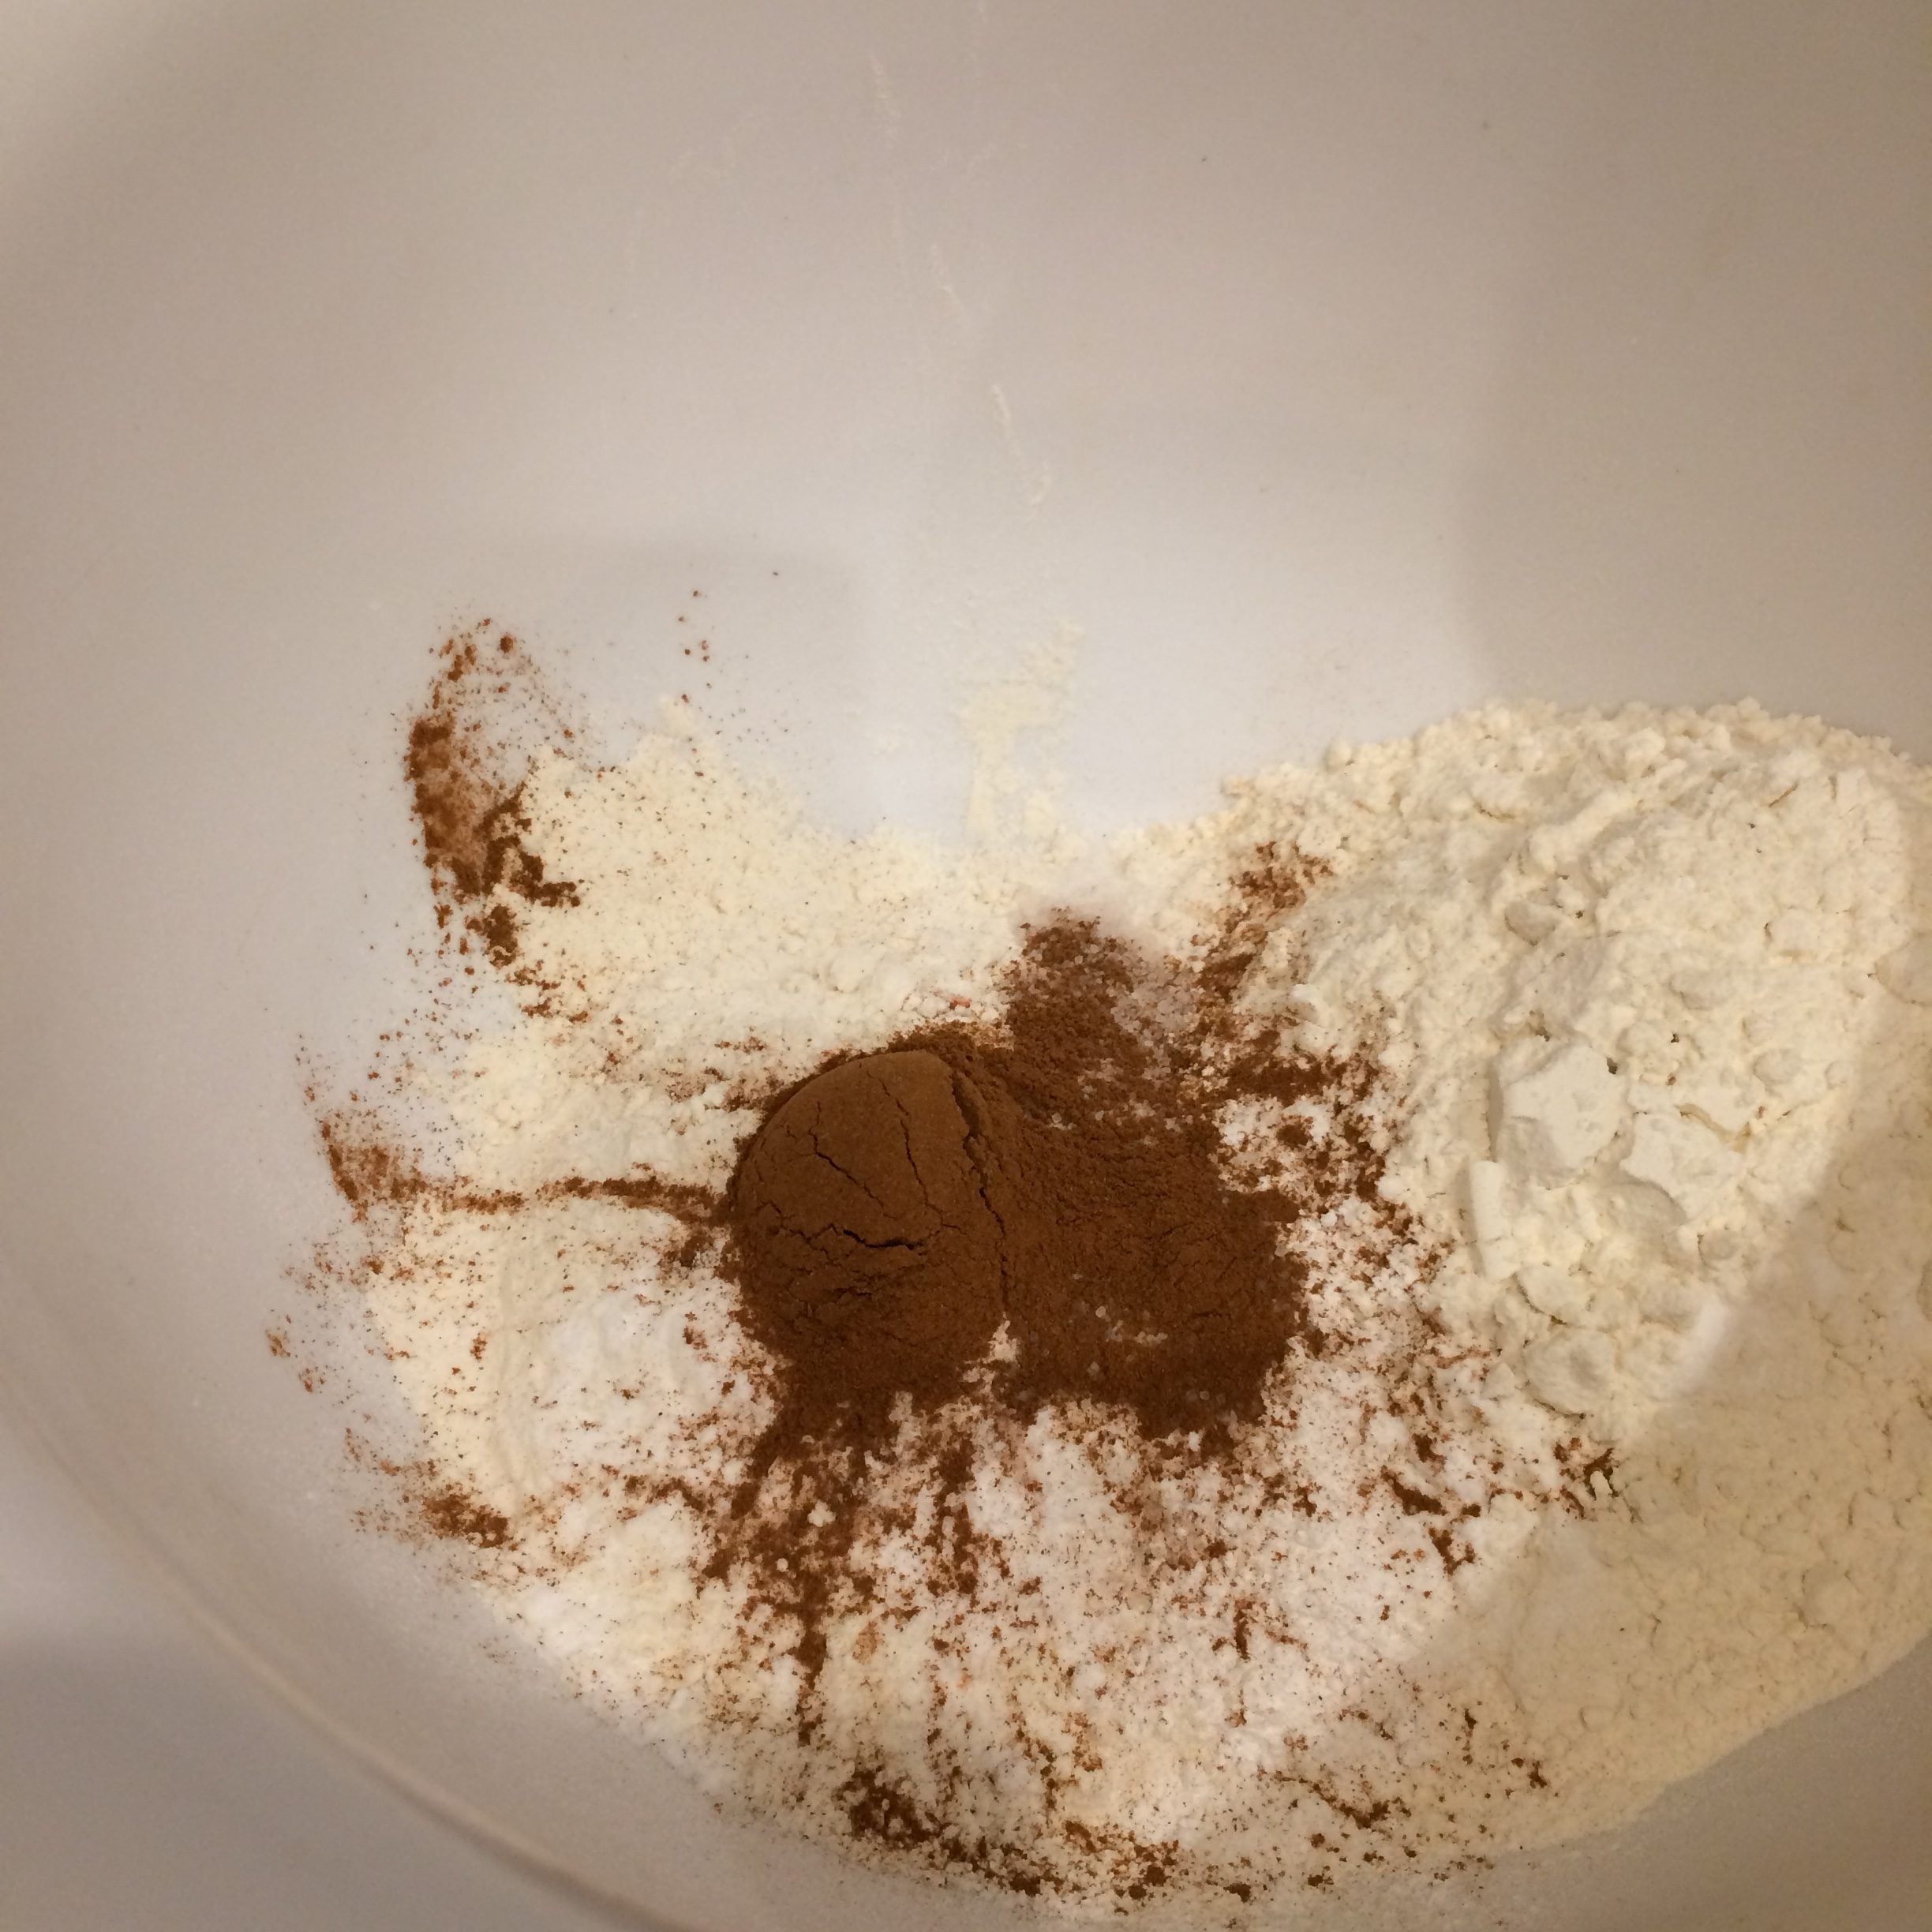
2 tsp. Ground Cardamom
1/2 tsp. Salt
2 cups Sugar
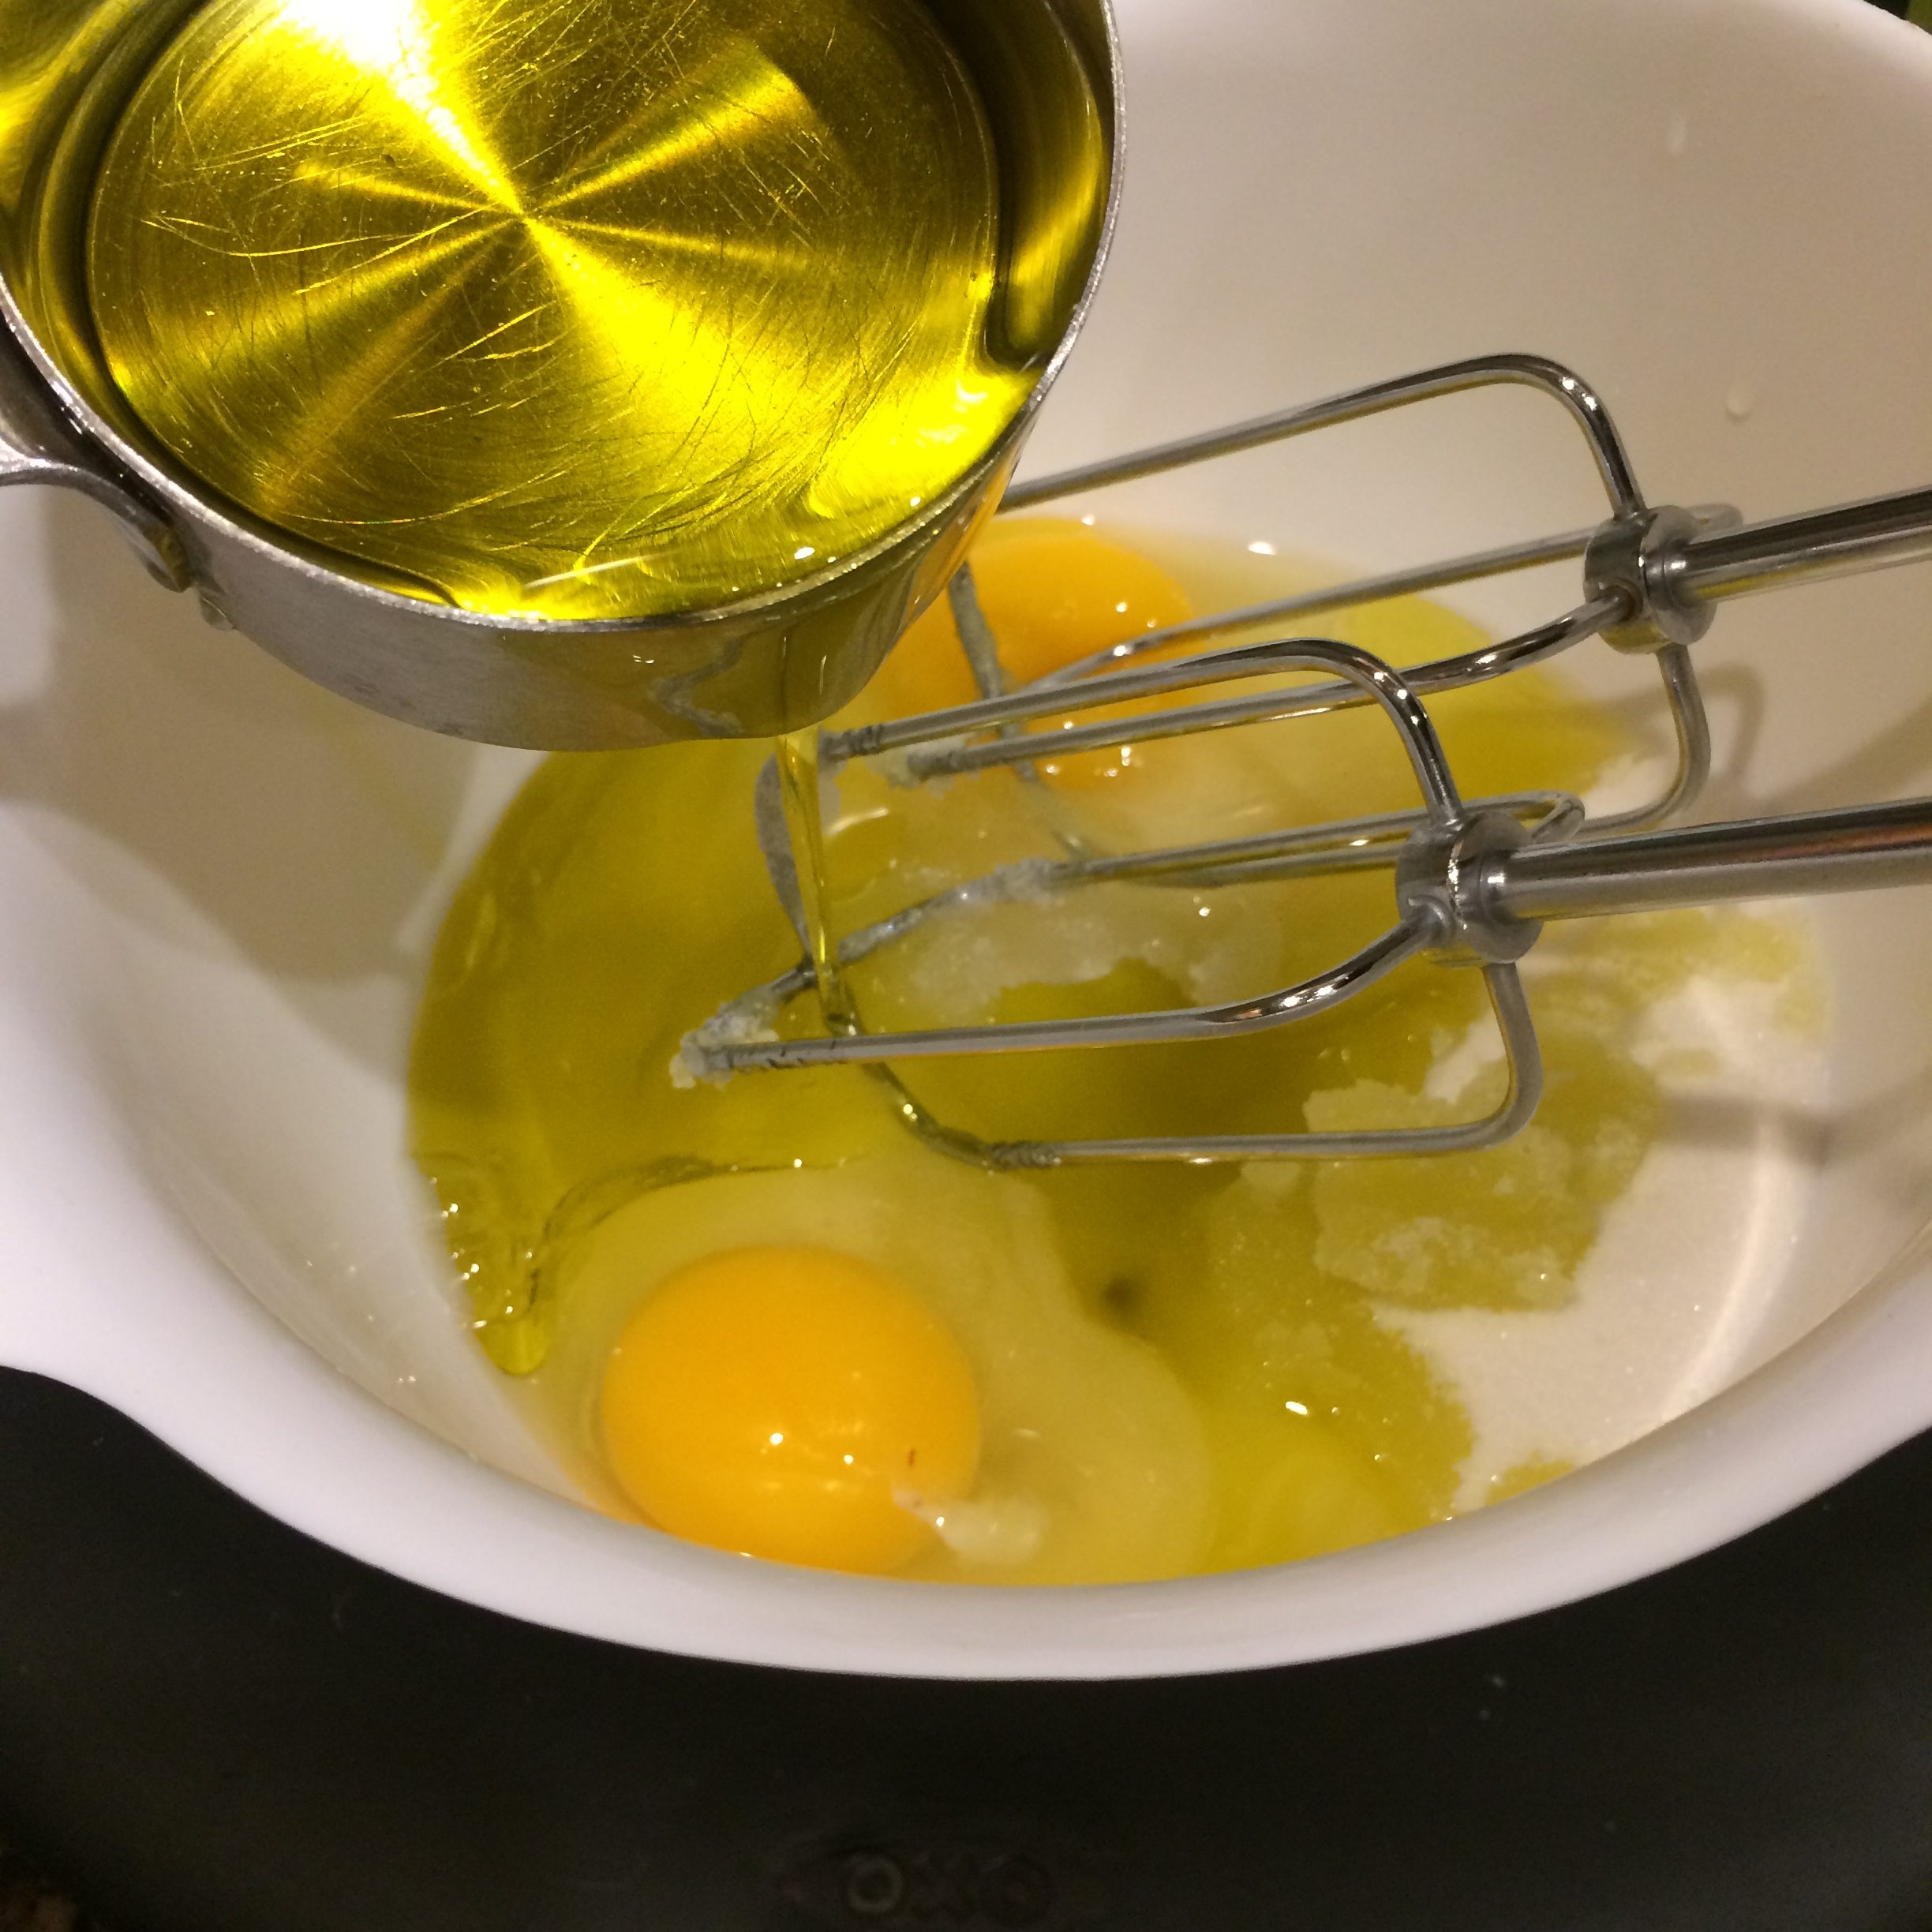
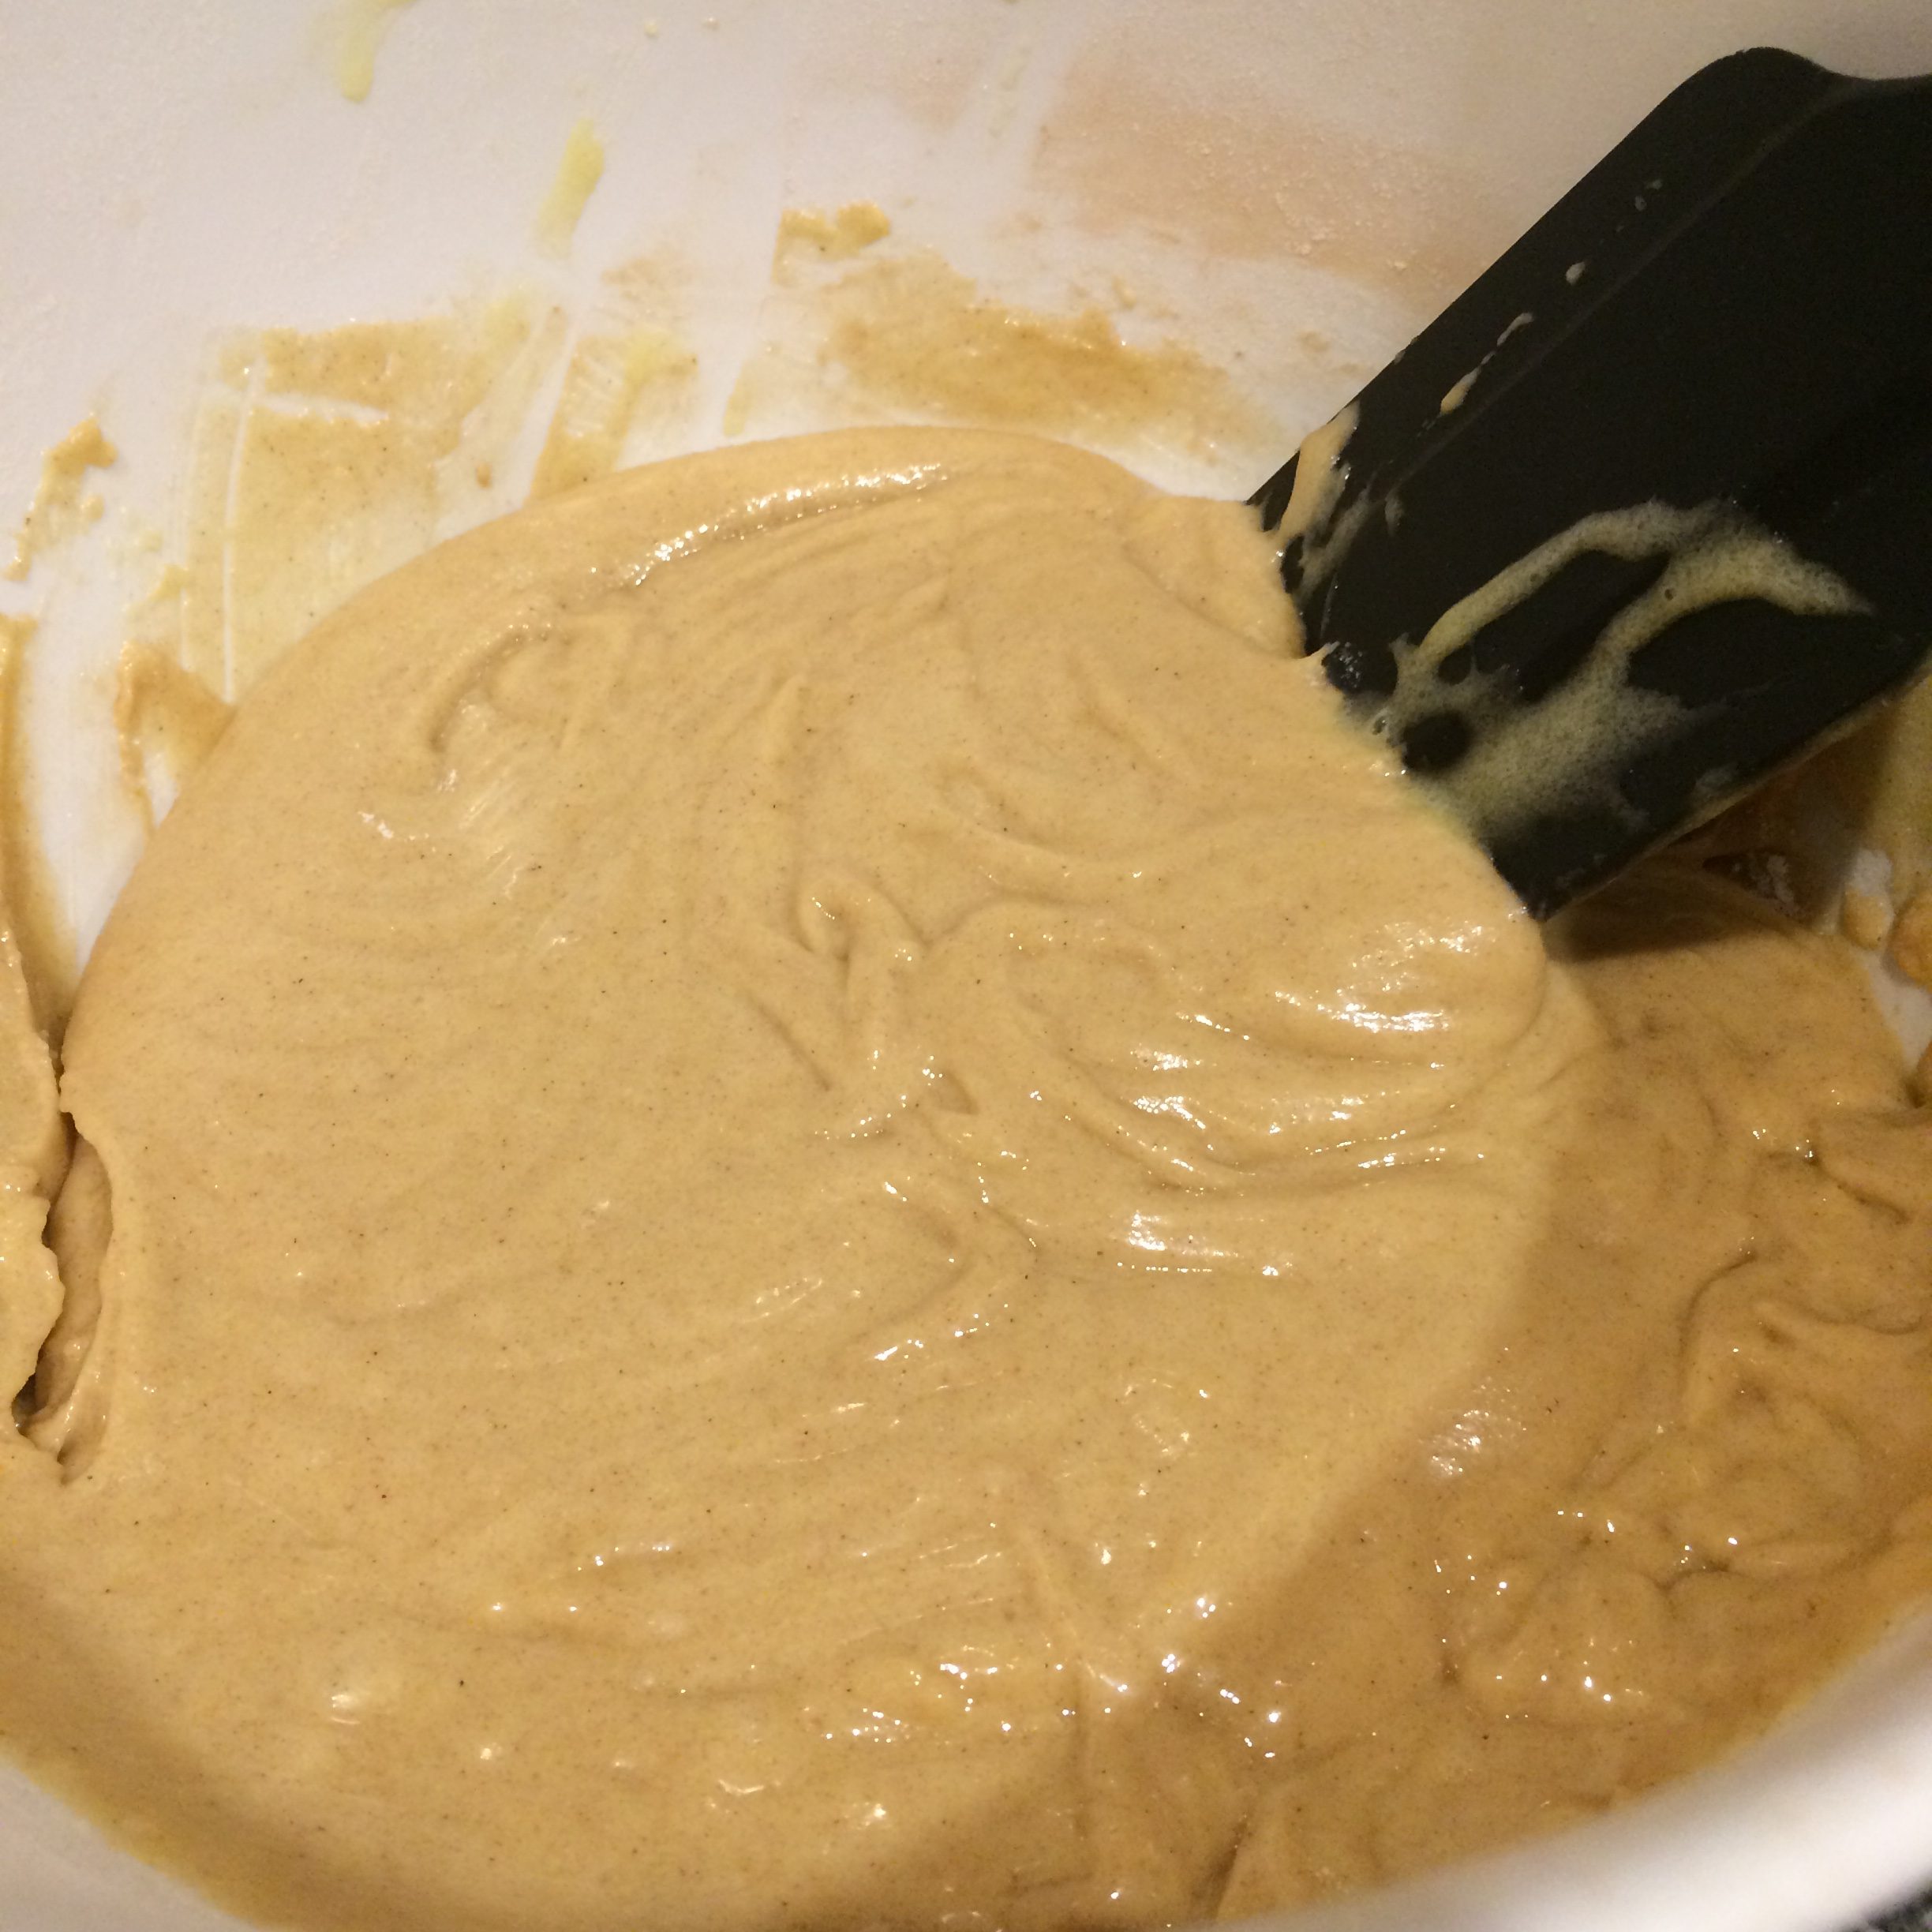
1 cup Olive Oil
1/2 tsp. Vanilla
1 cup Plain Greek Yogurt
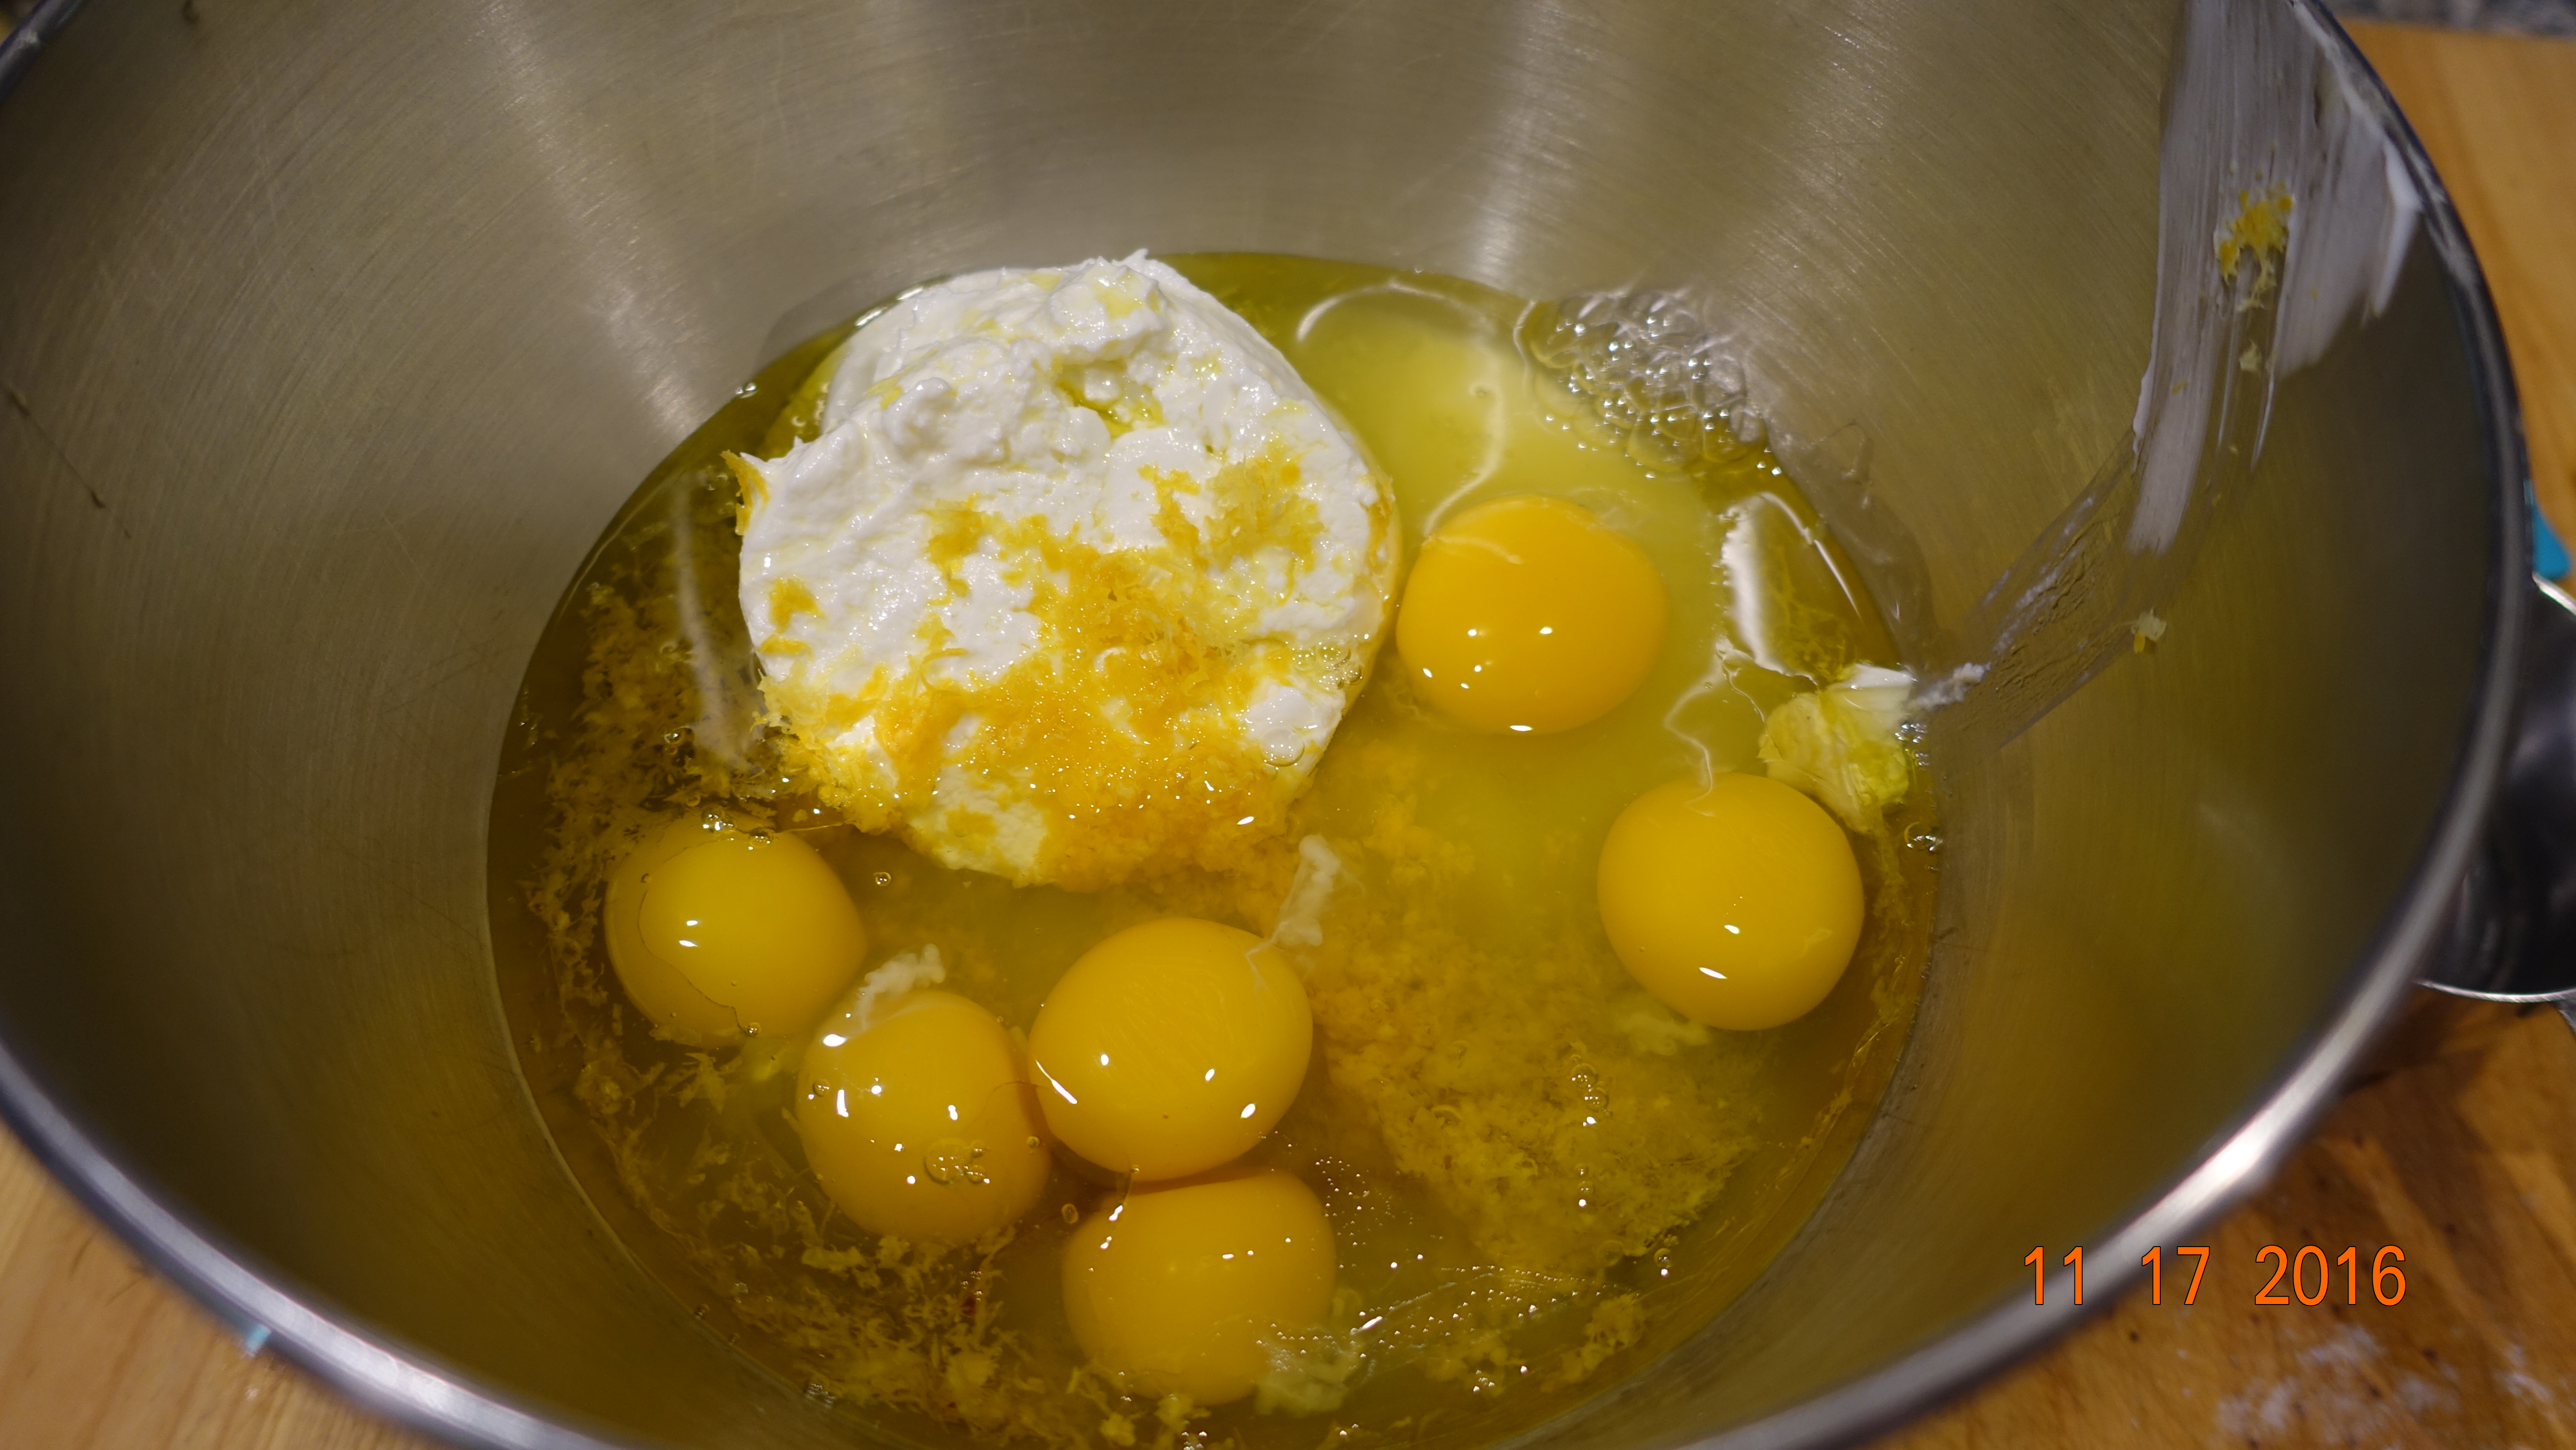
6 large Eggs
2 Tbsp. finely grated Lemon Zest
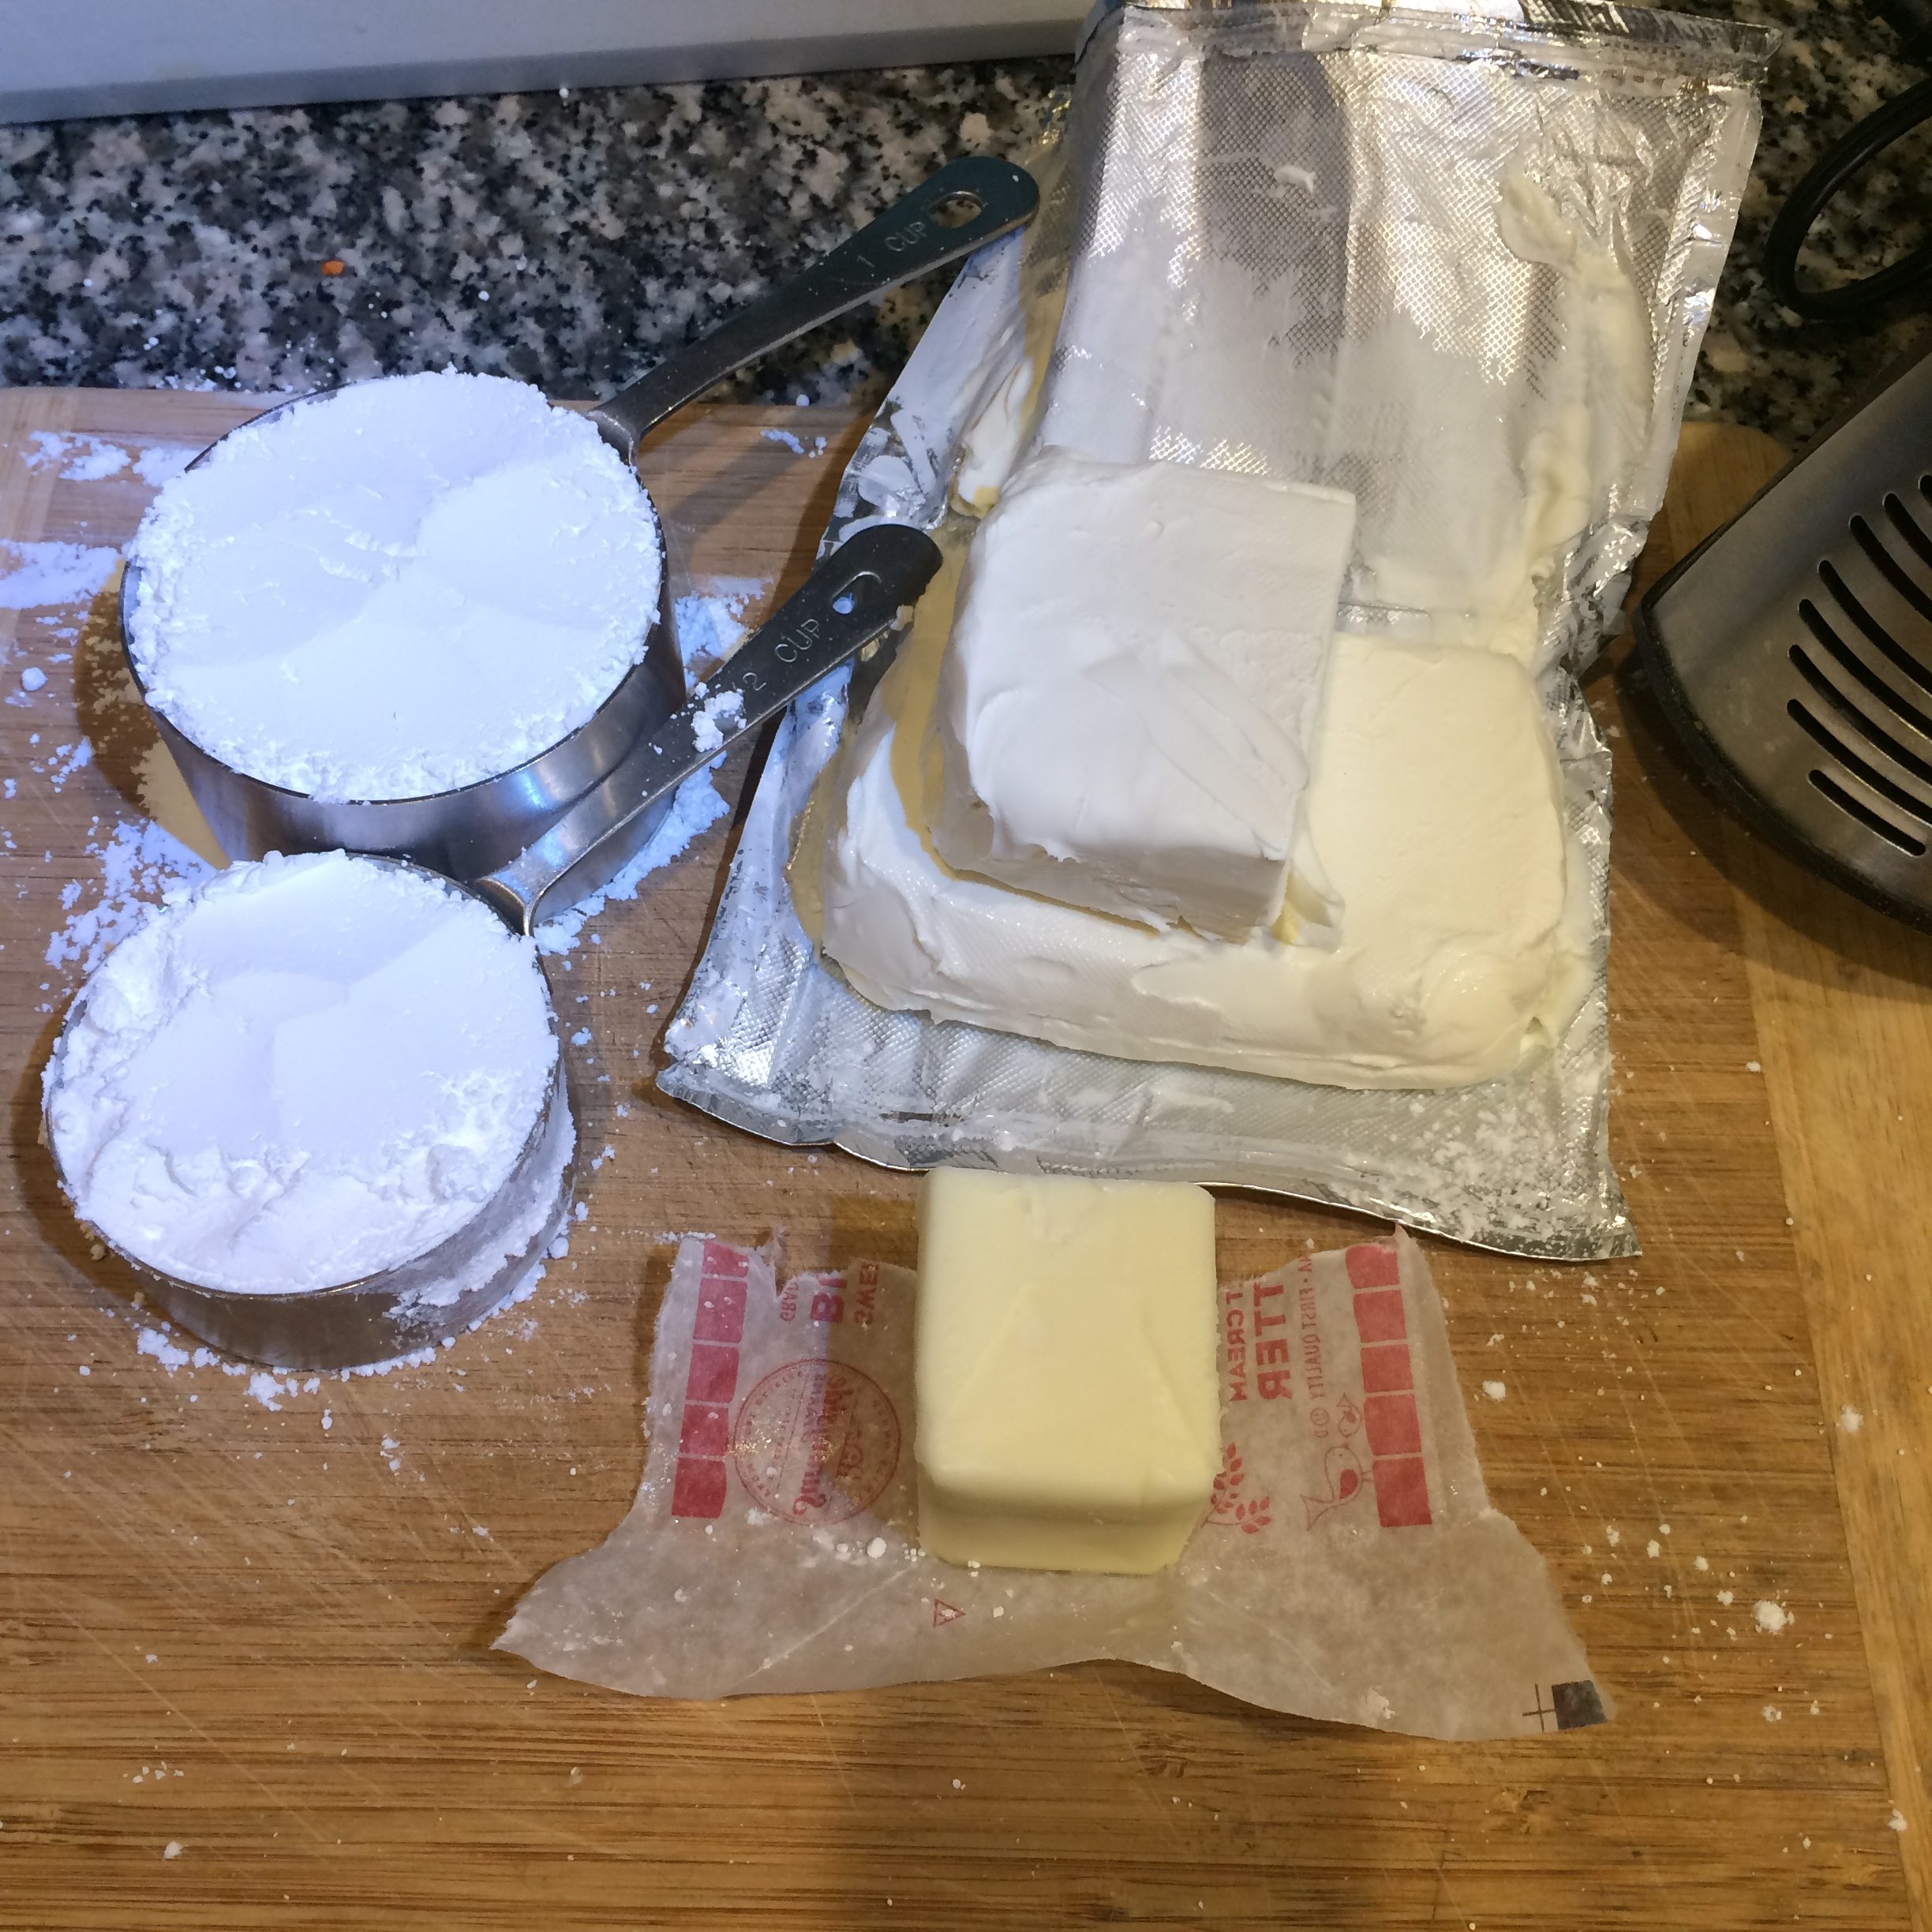
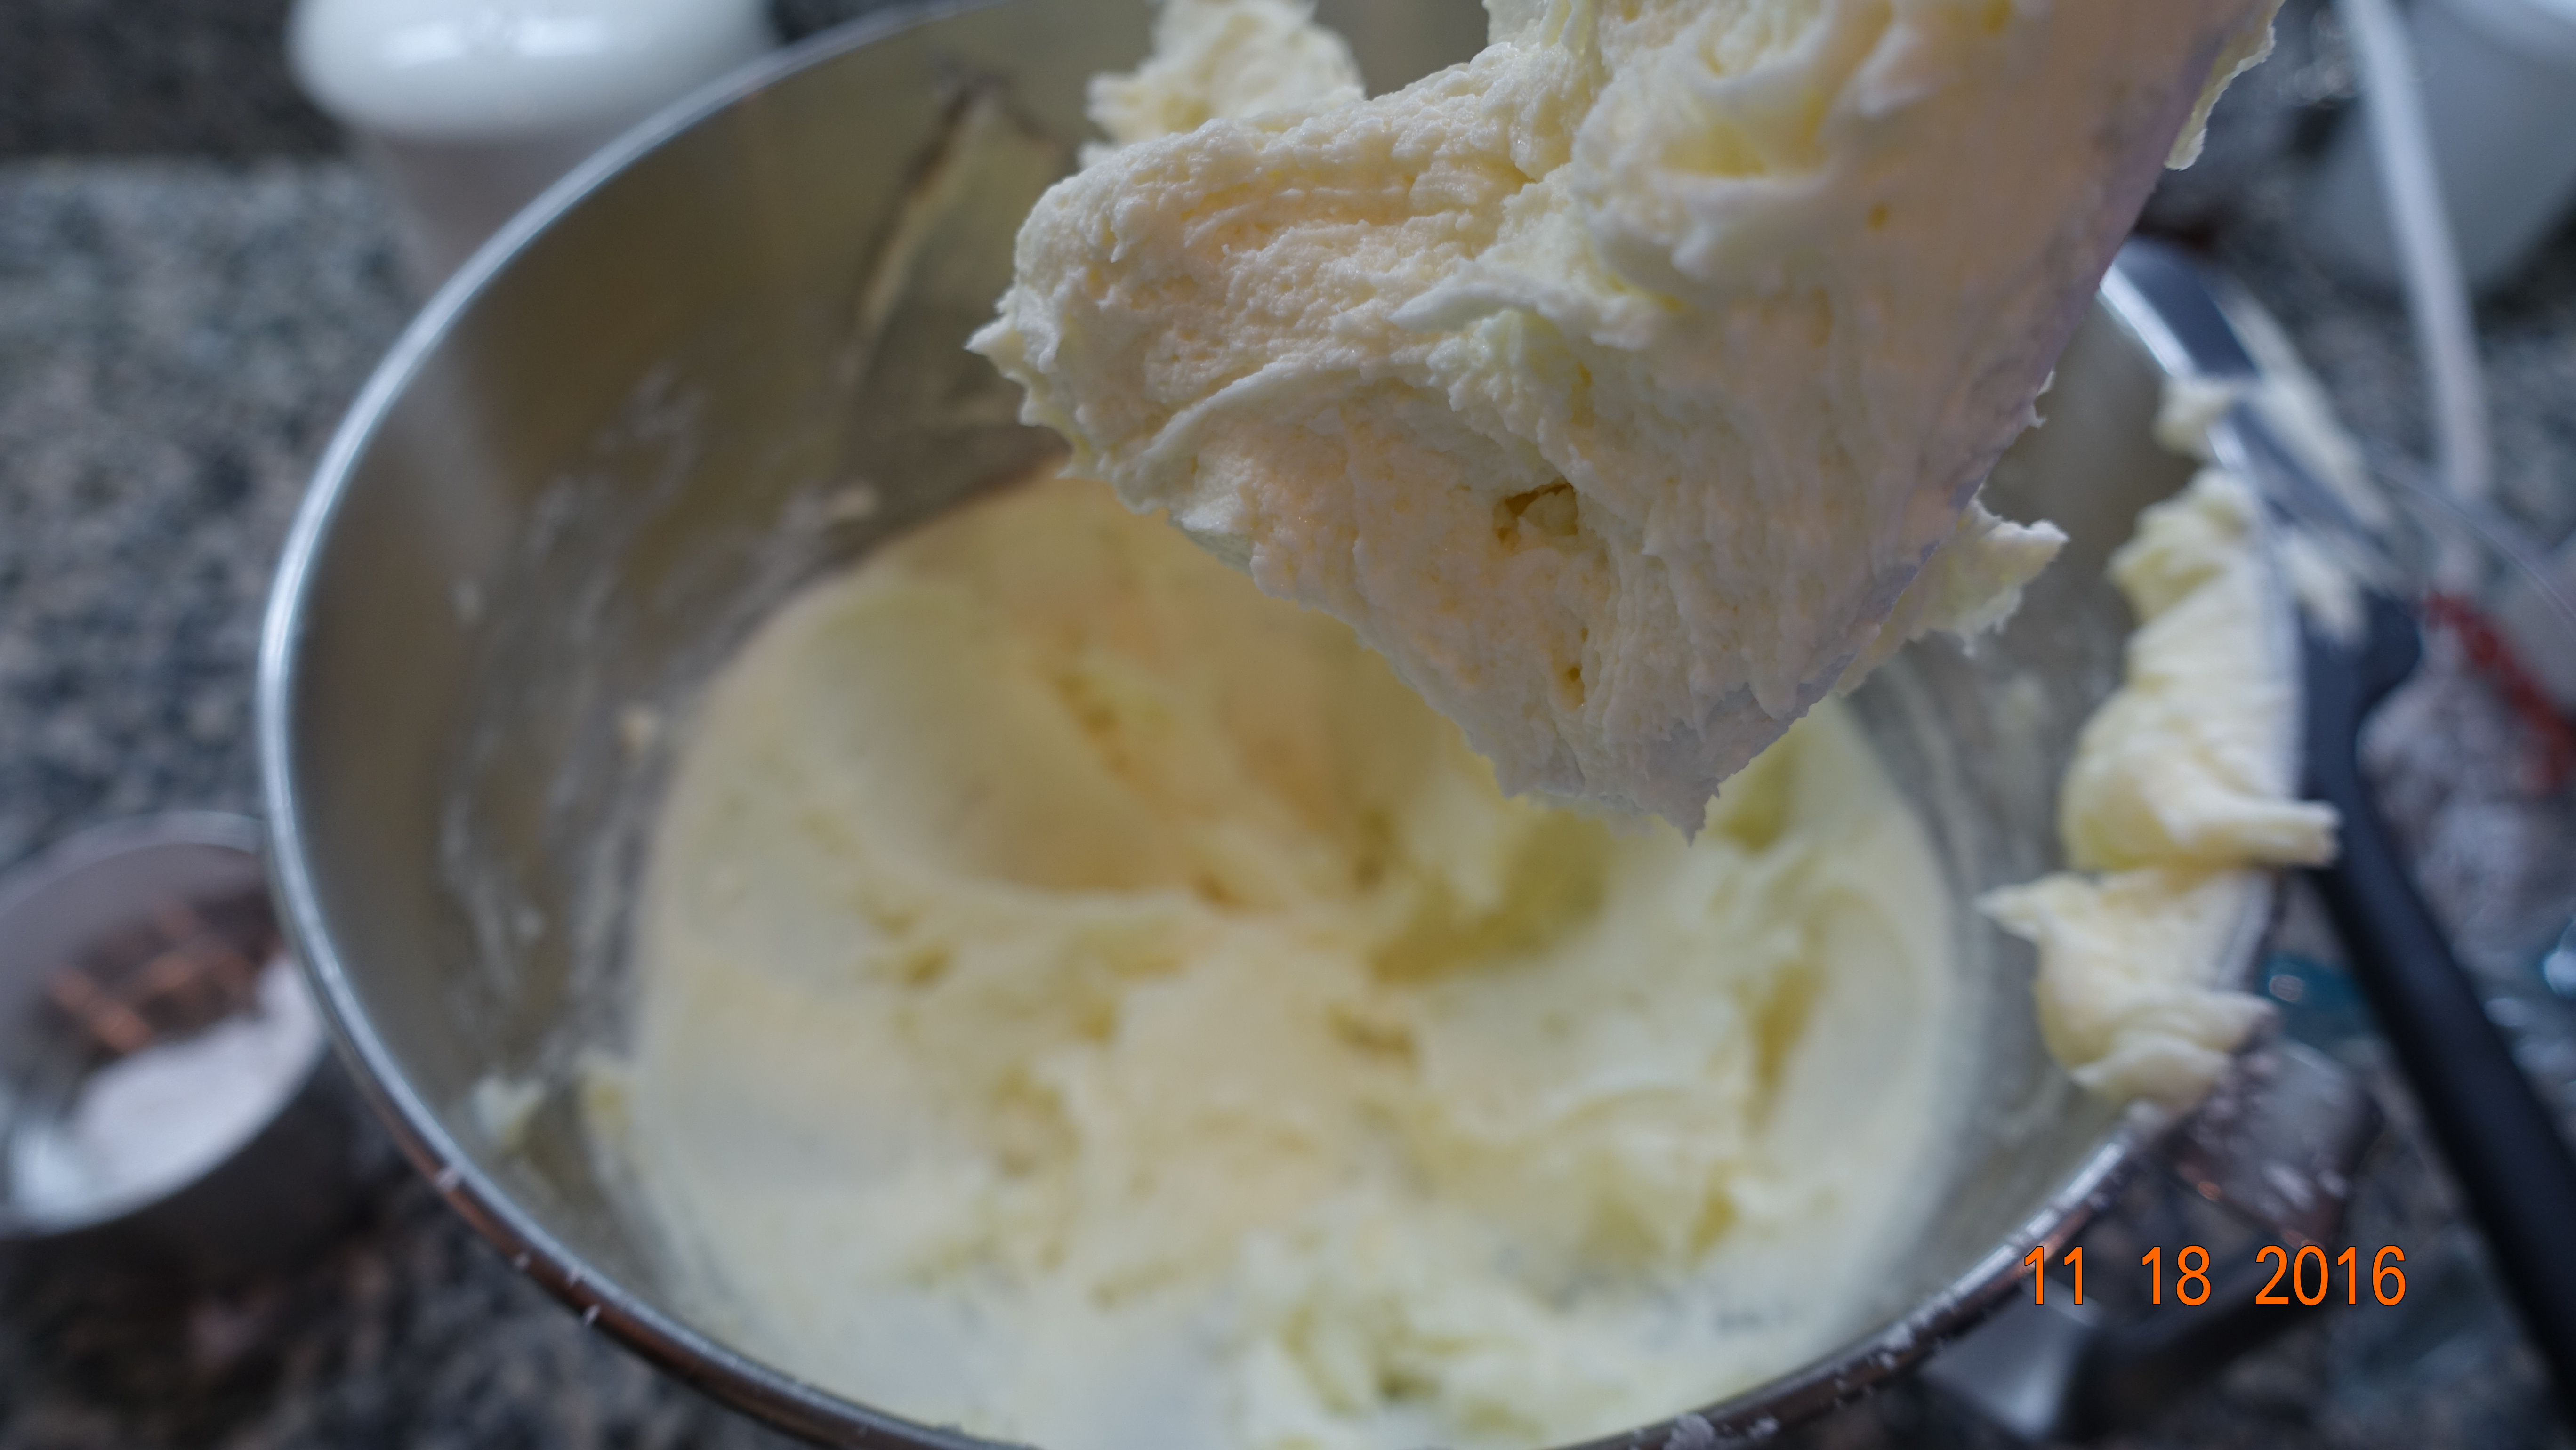
Lemon Butter Cream Frosting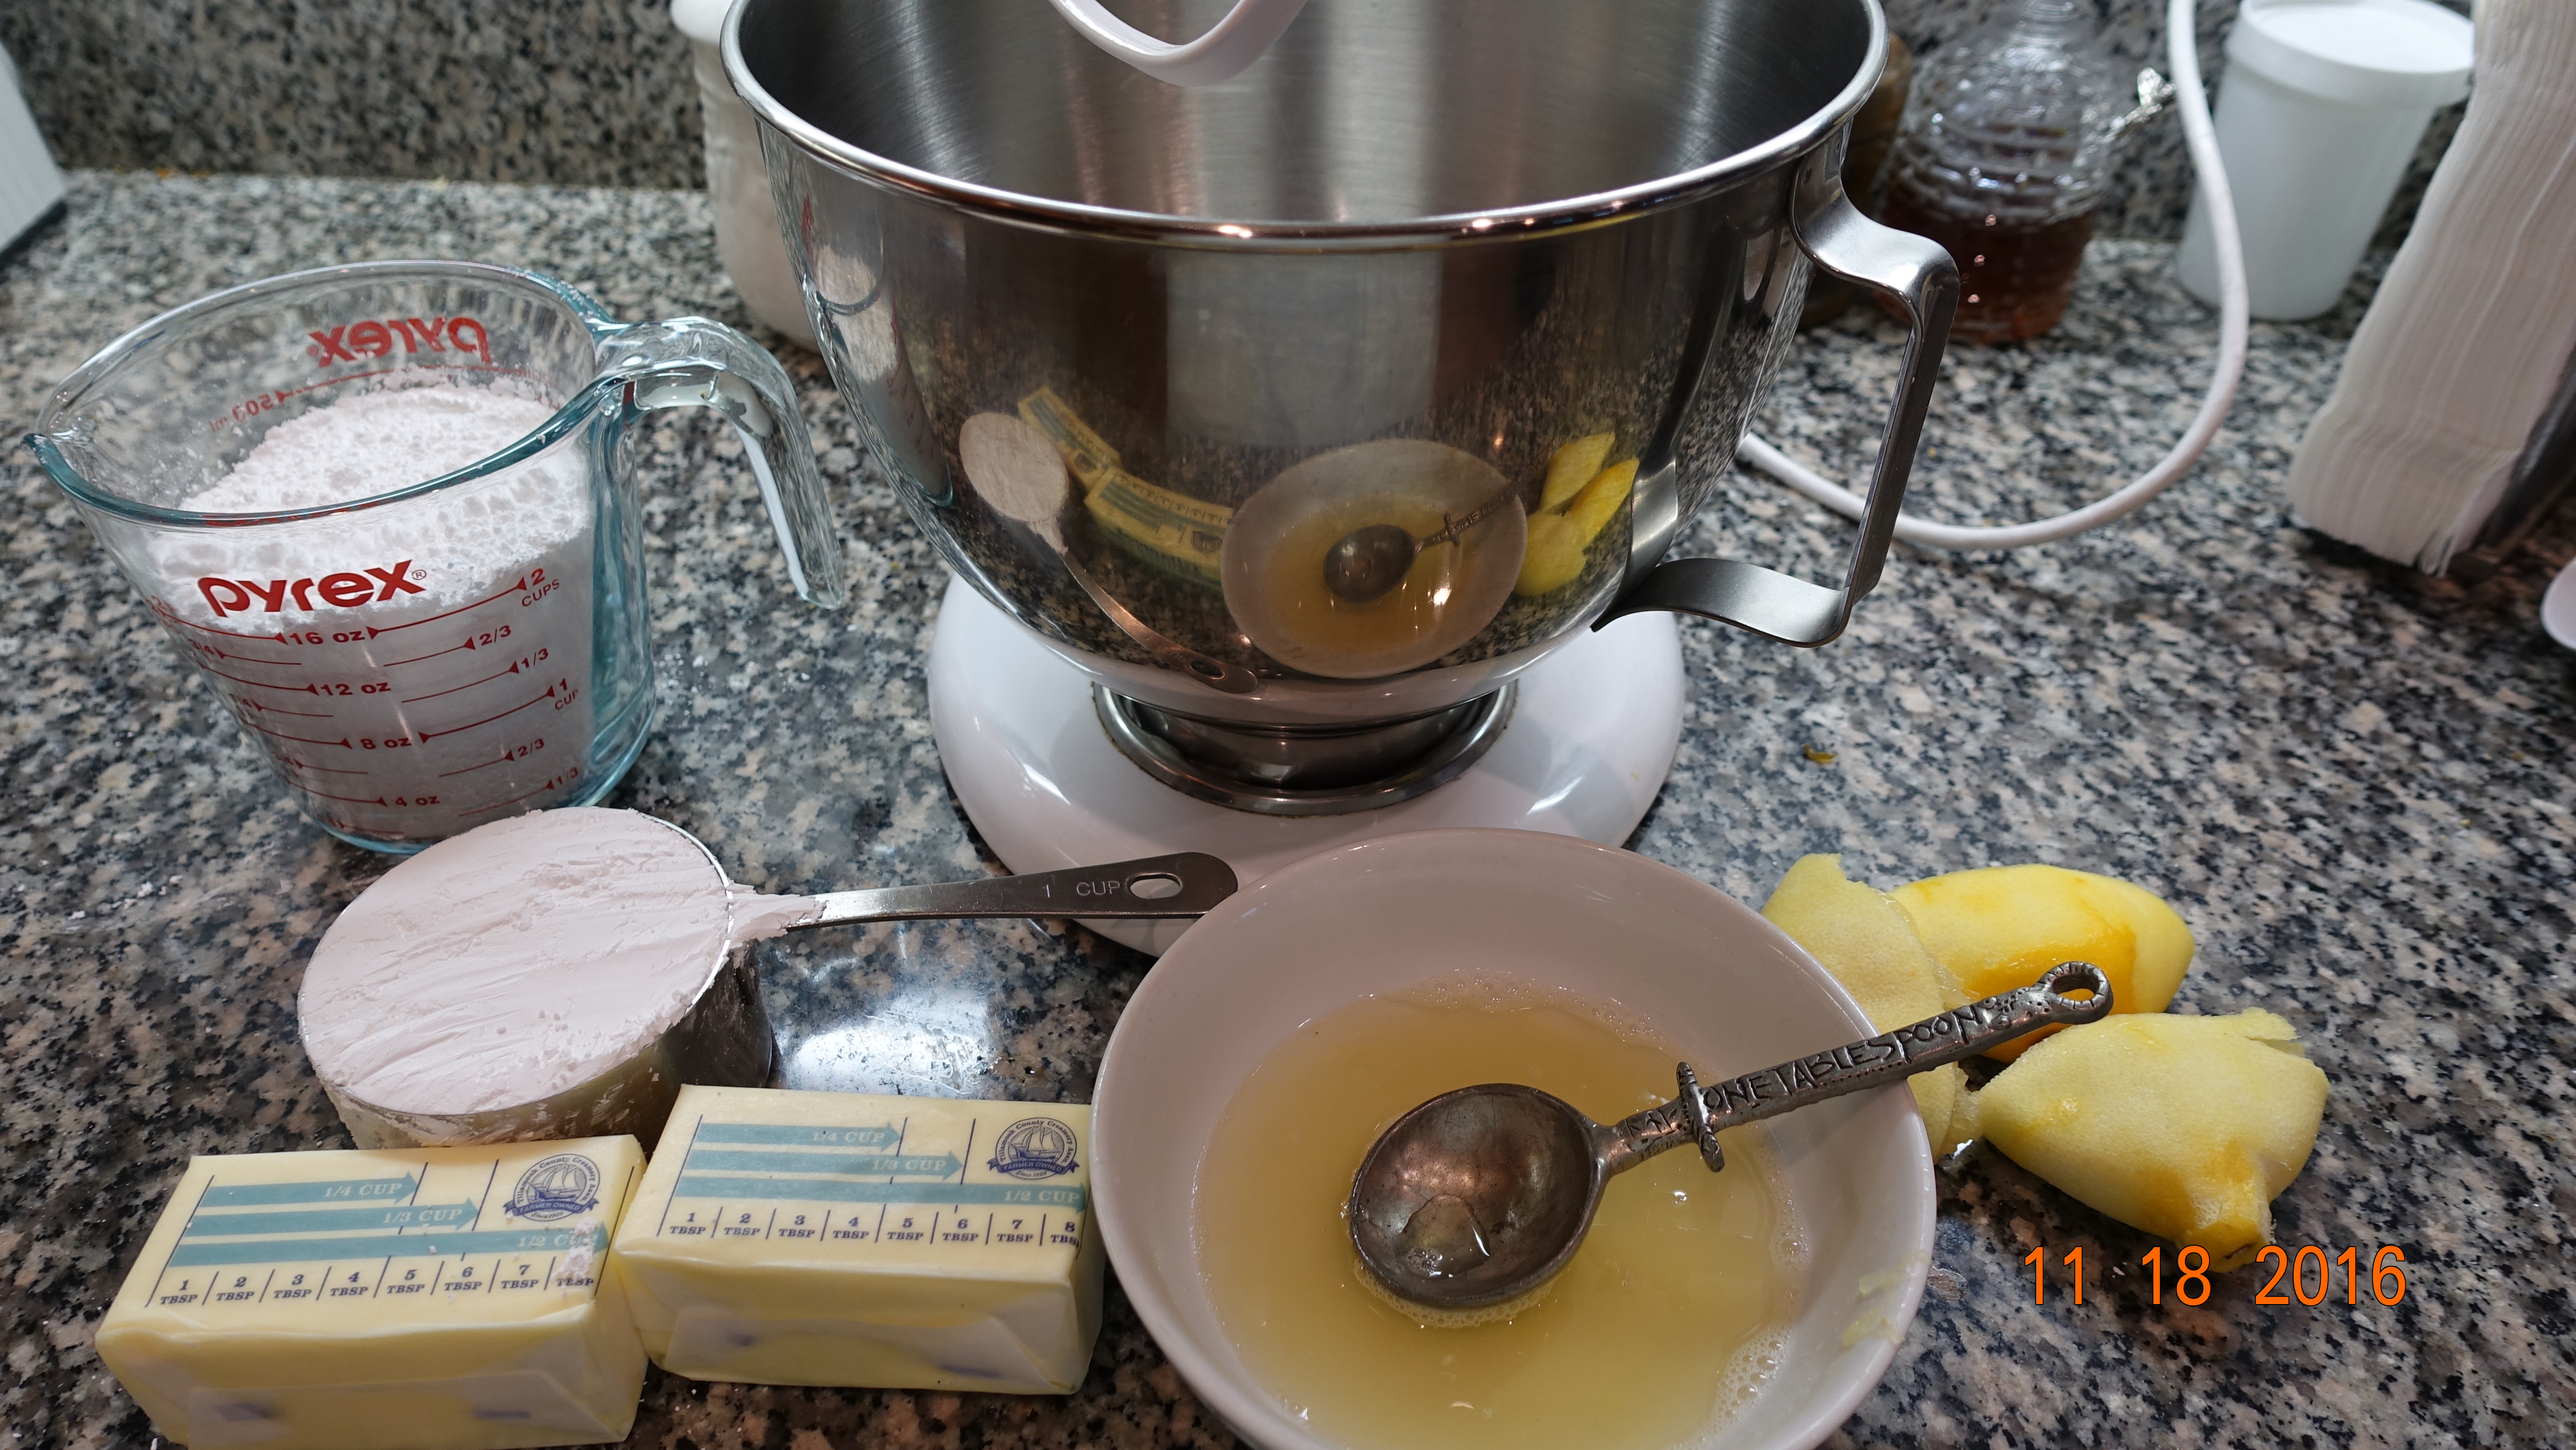
1 cup Butter
3-4 Tbsp. Lemon Juice, freshly squeezed
1/2 tsp. Vanilla Extract
3 cups Confectioners’ Sugar
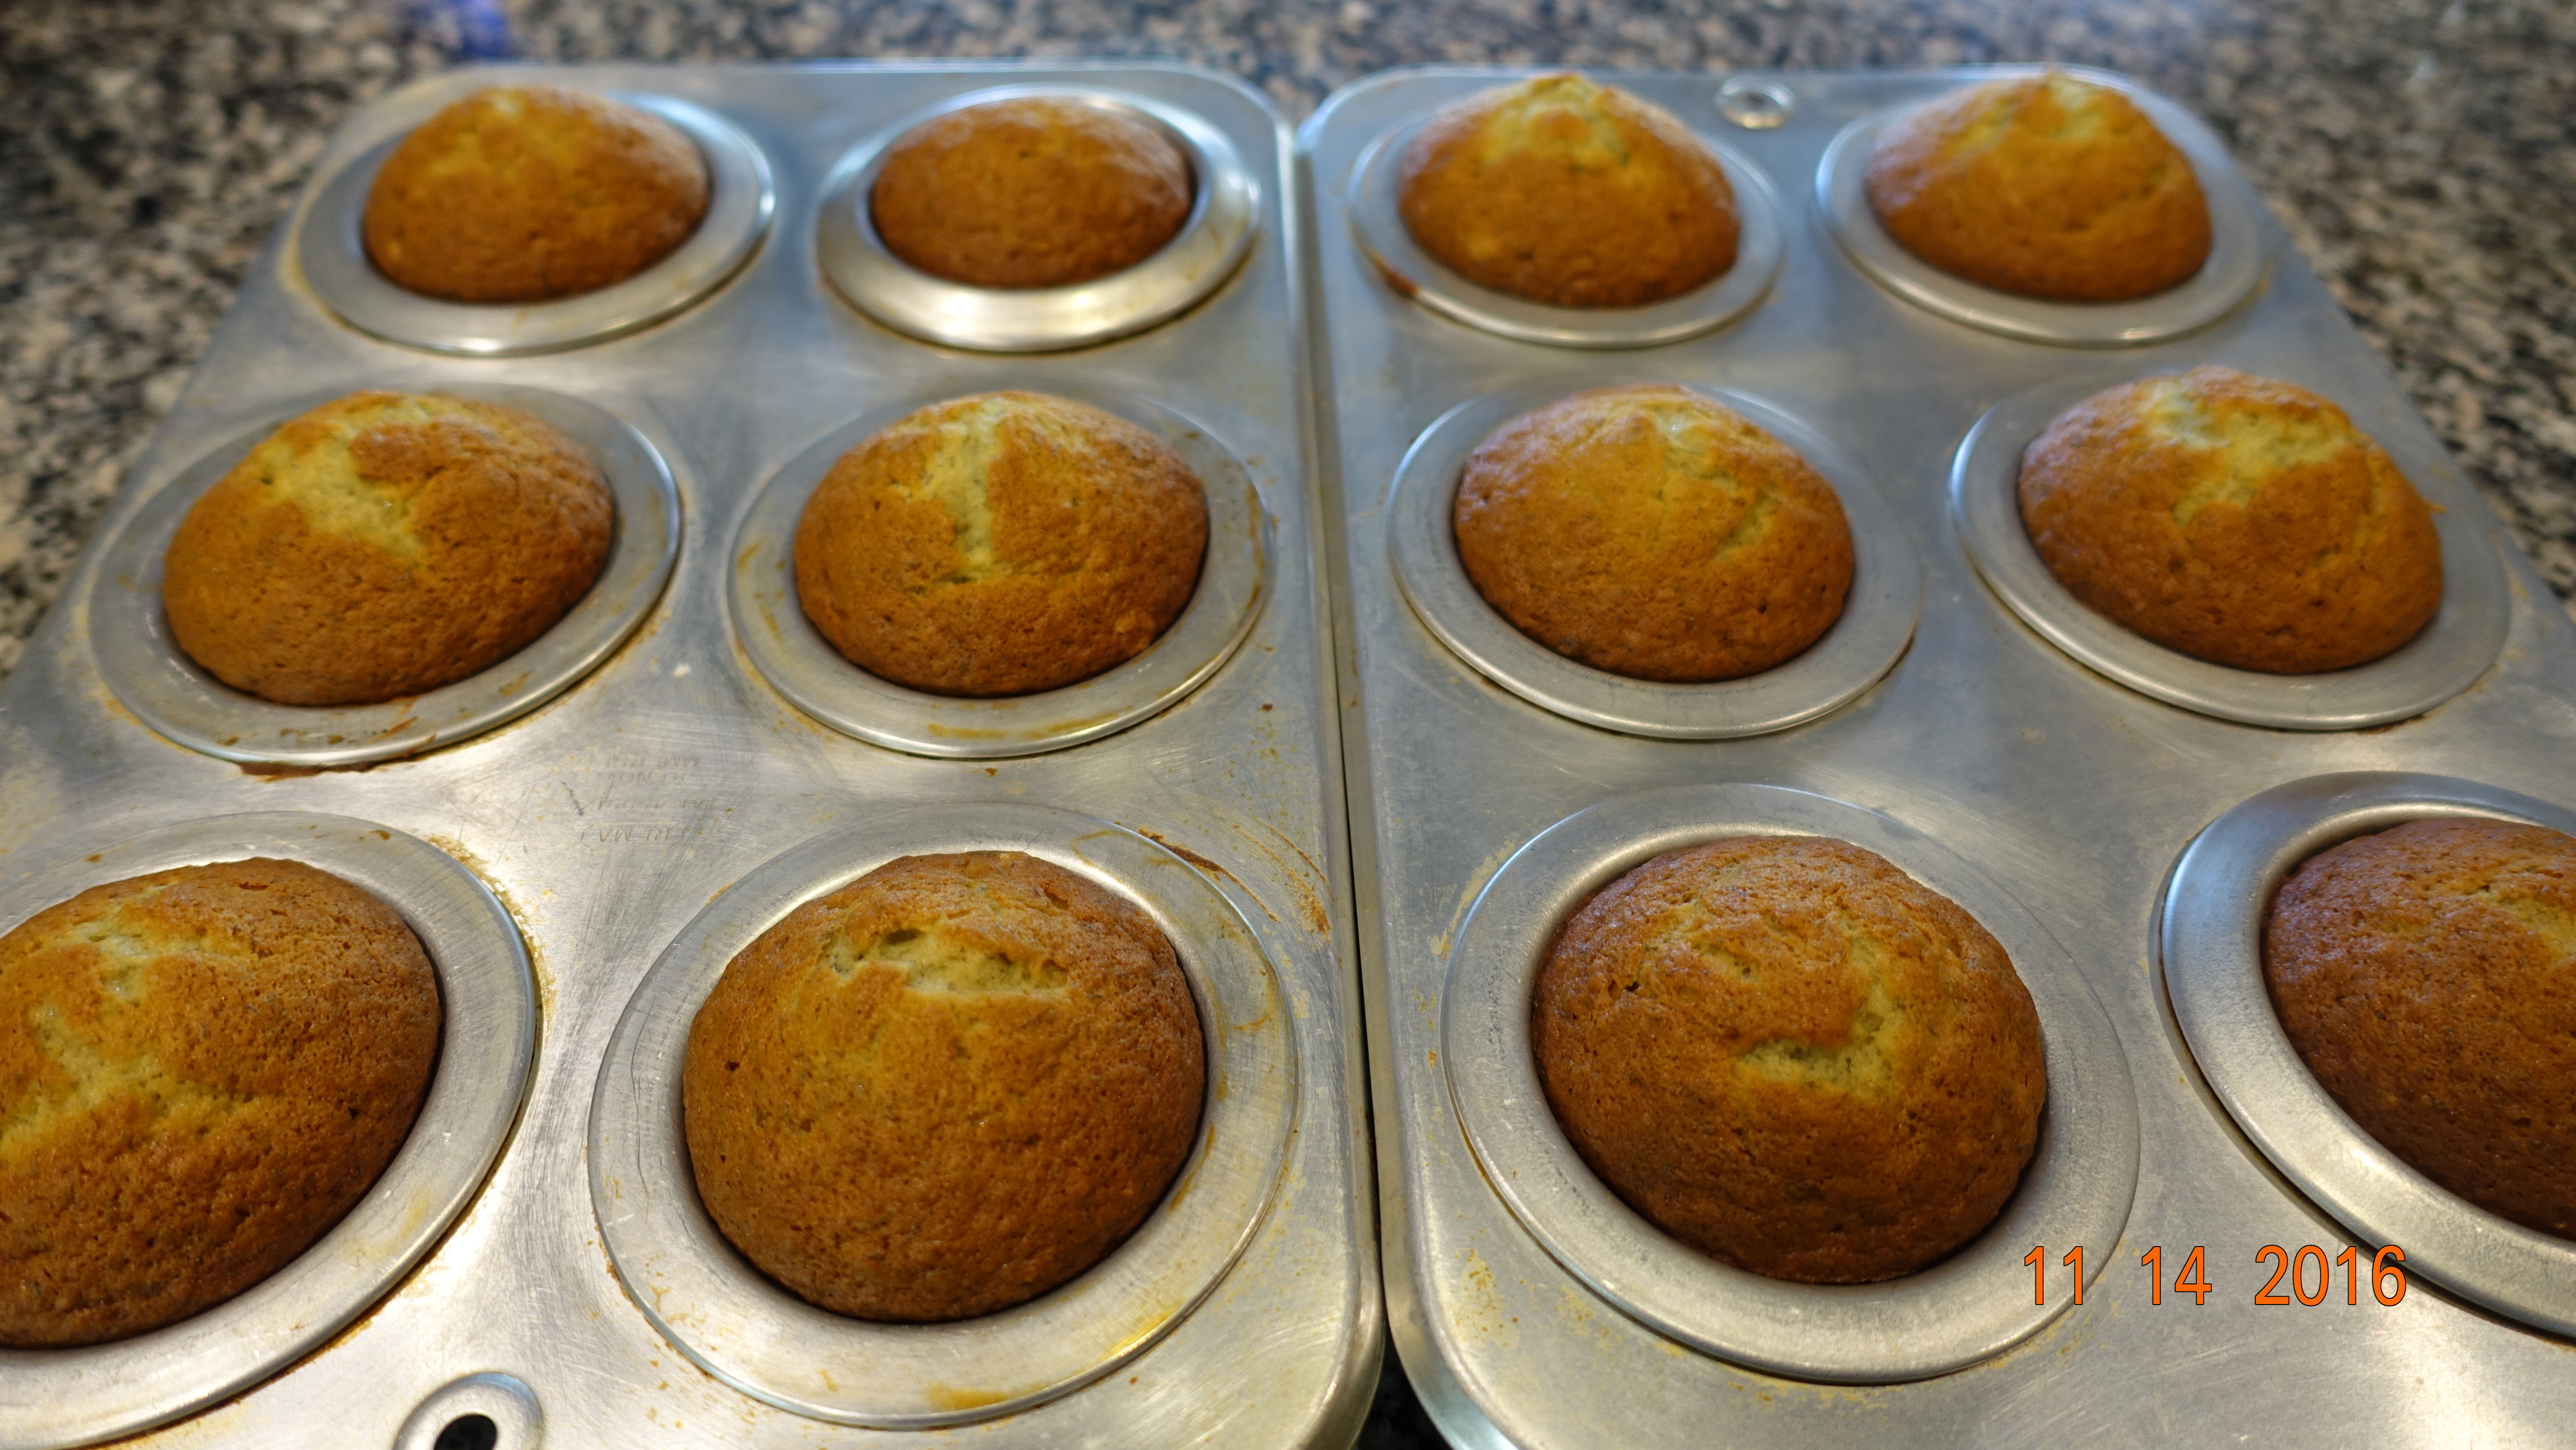
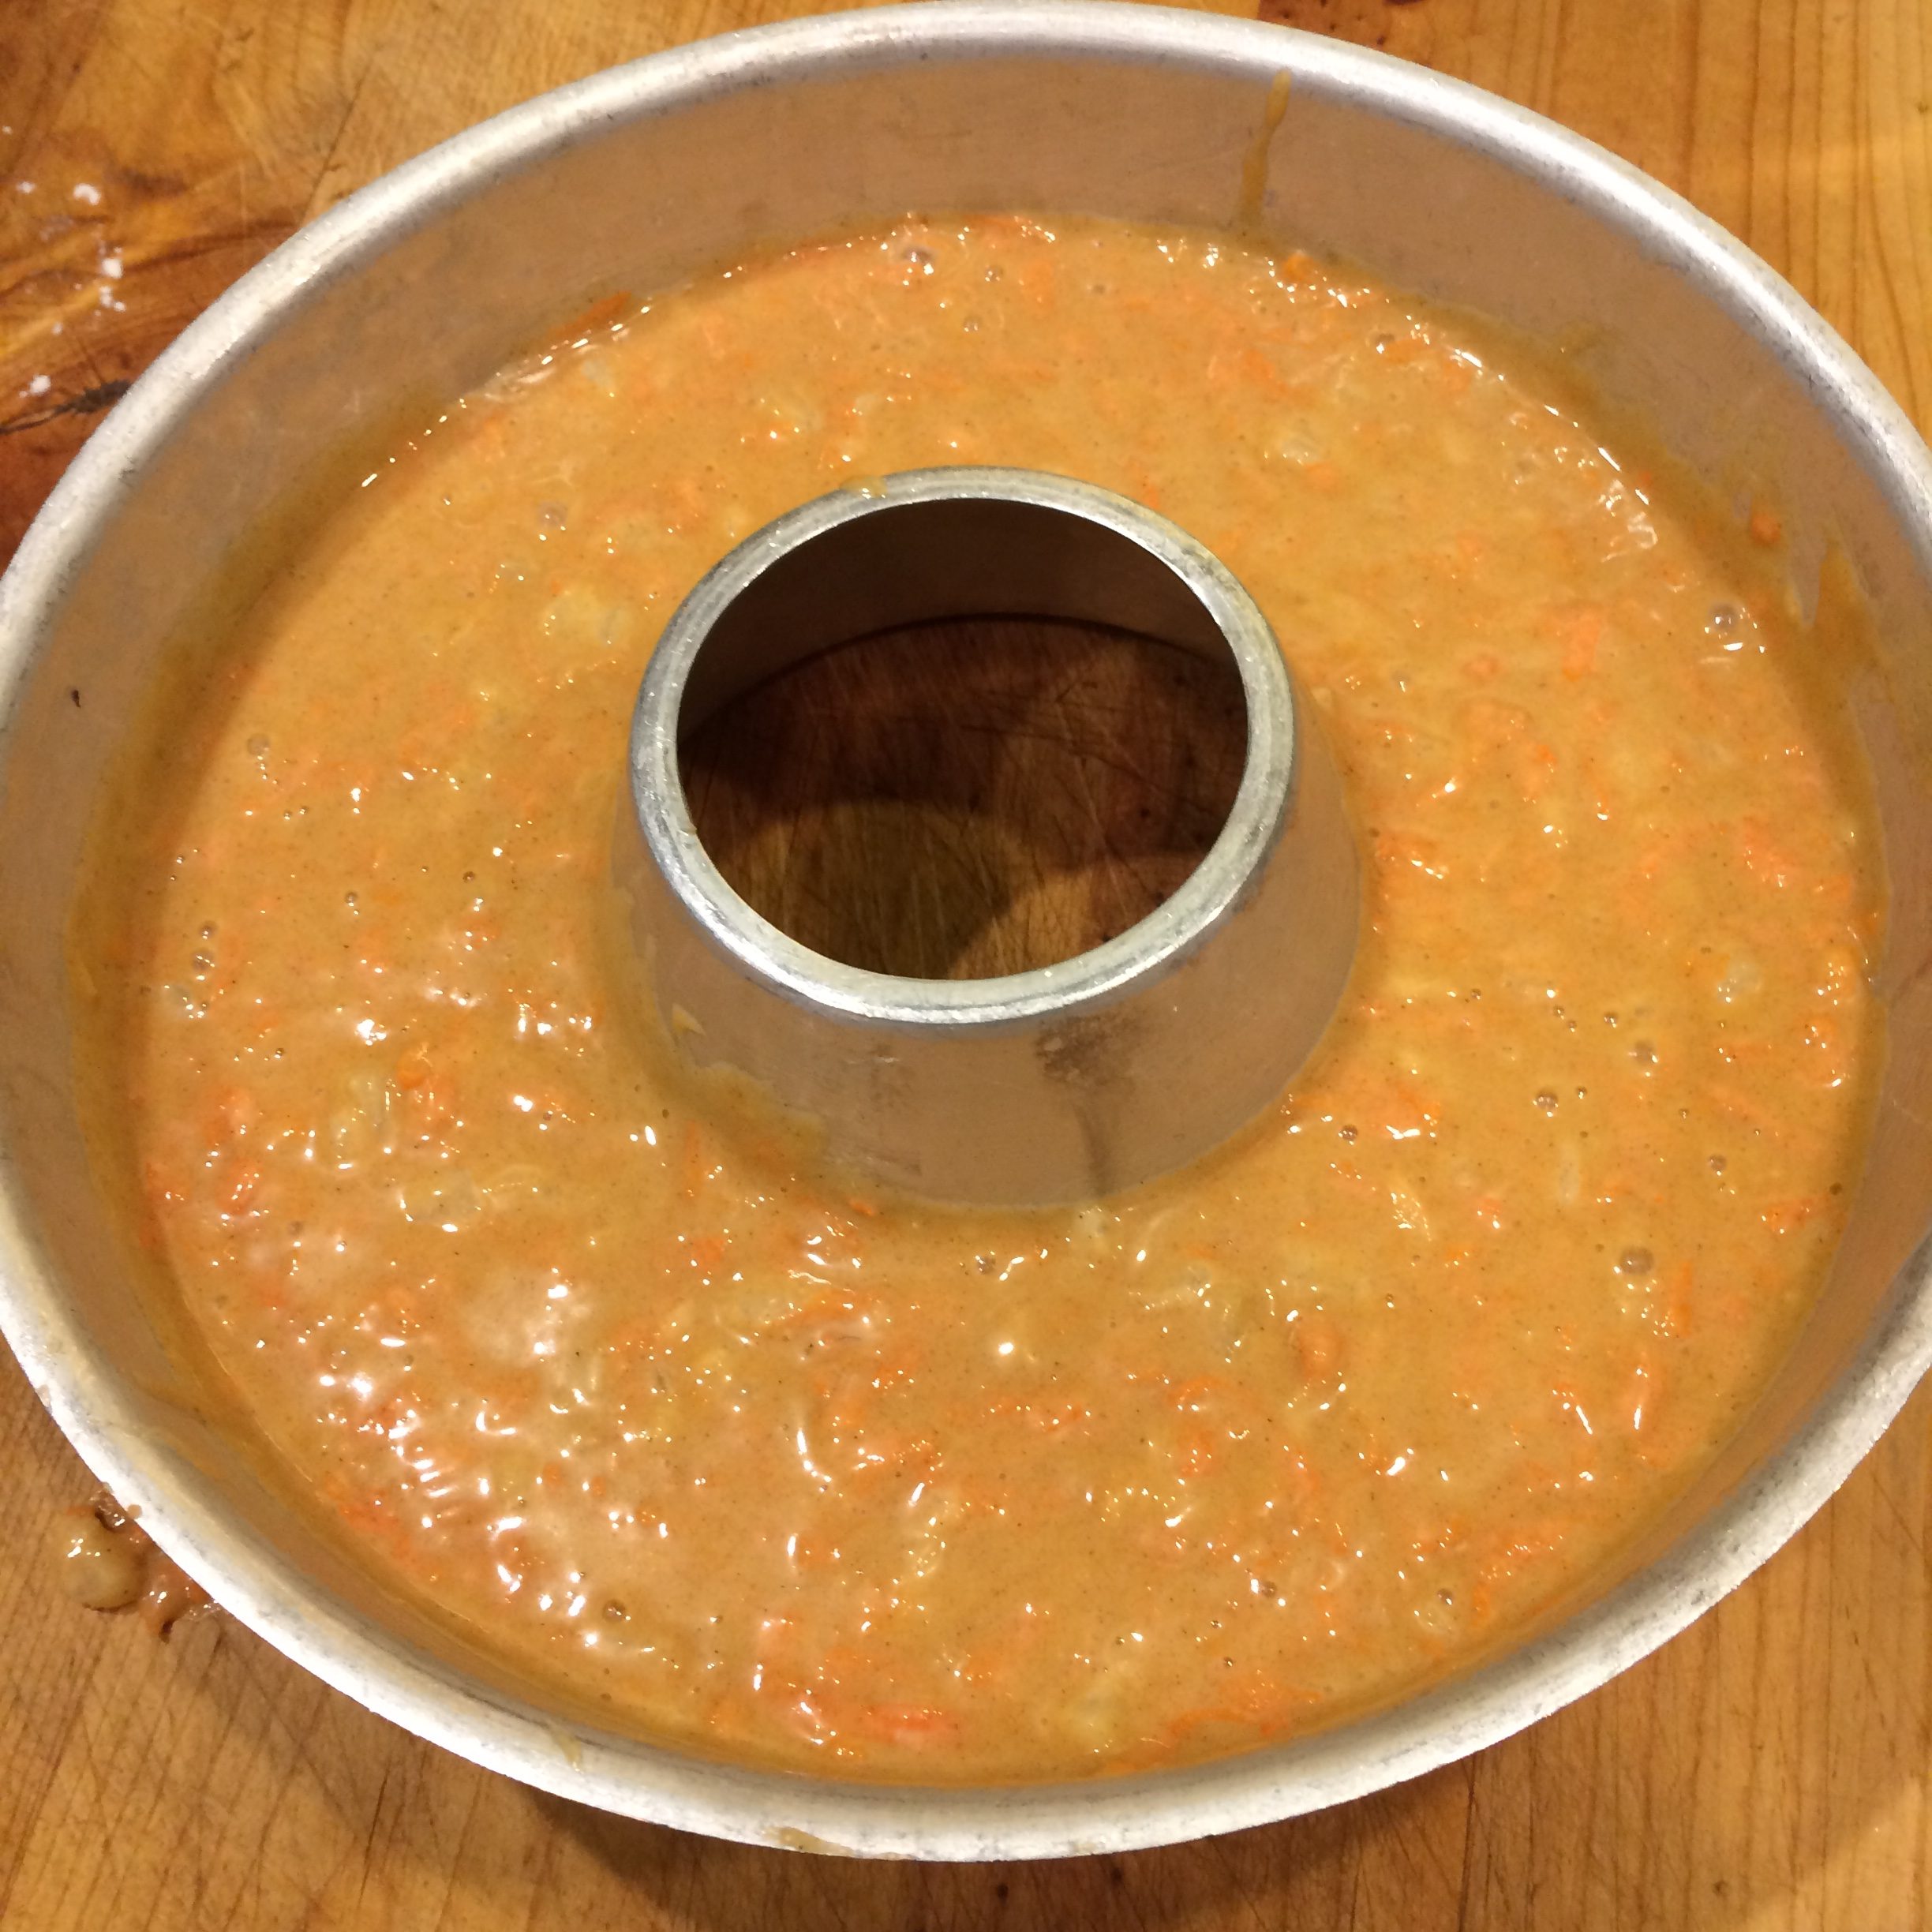
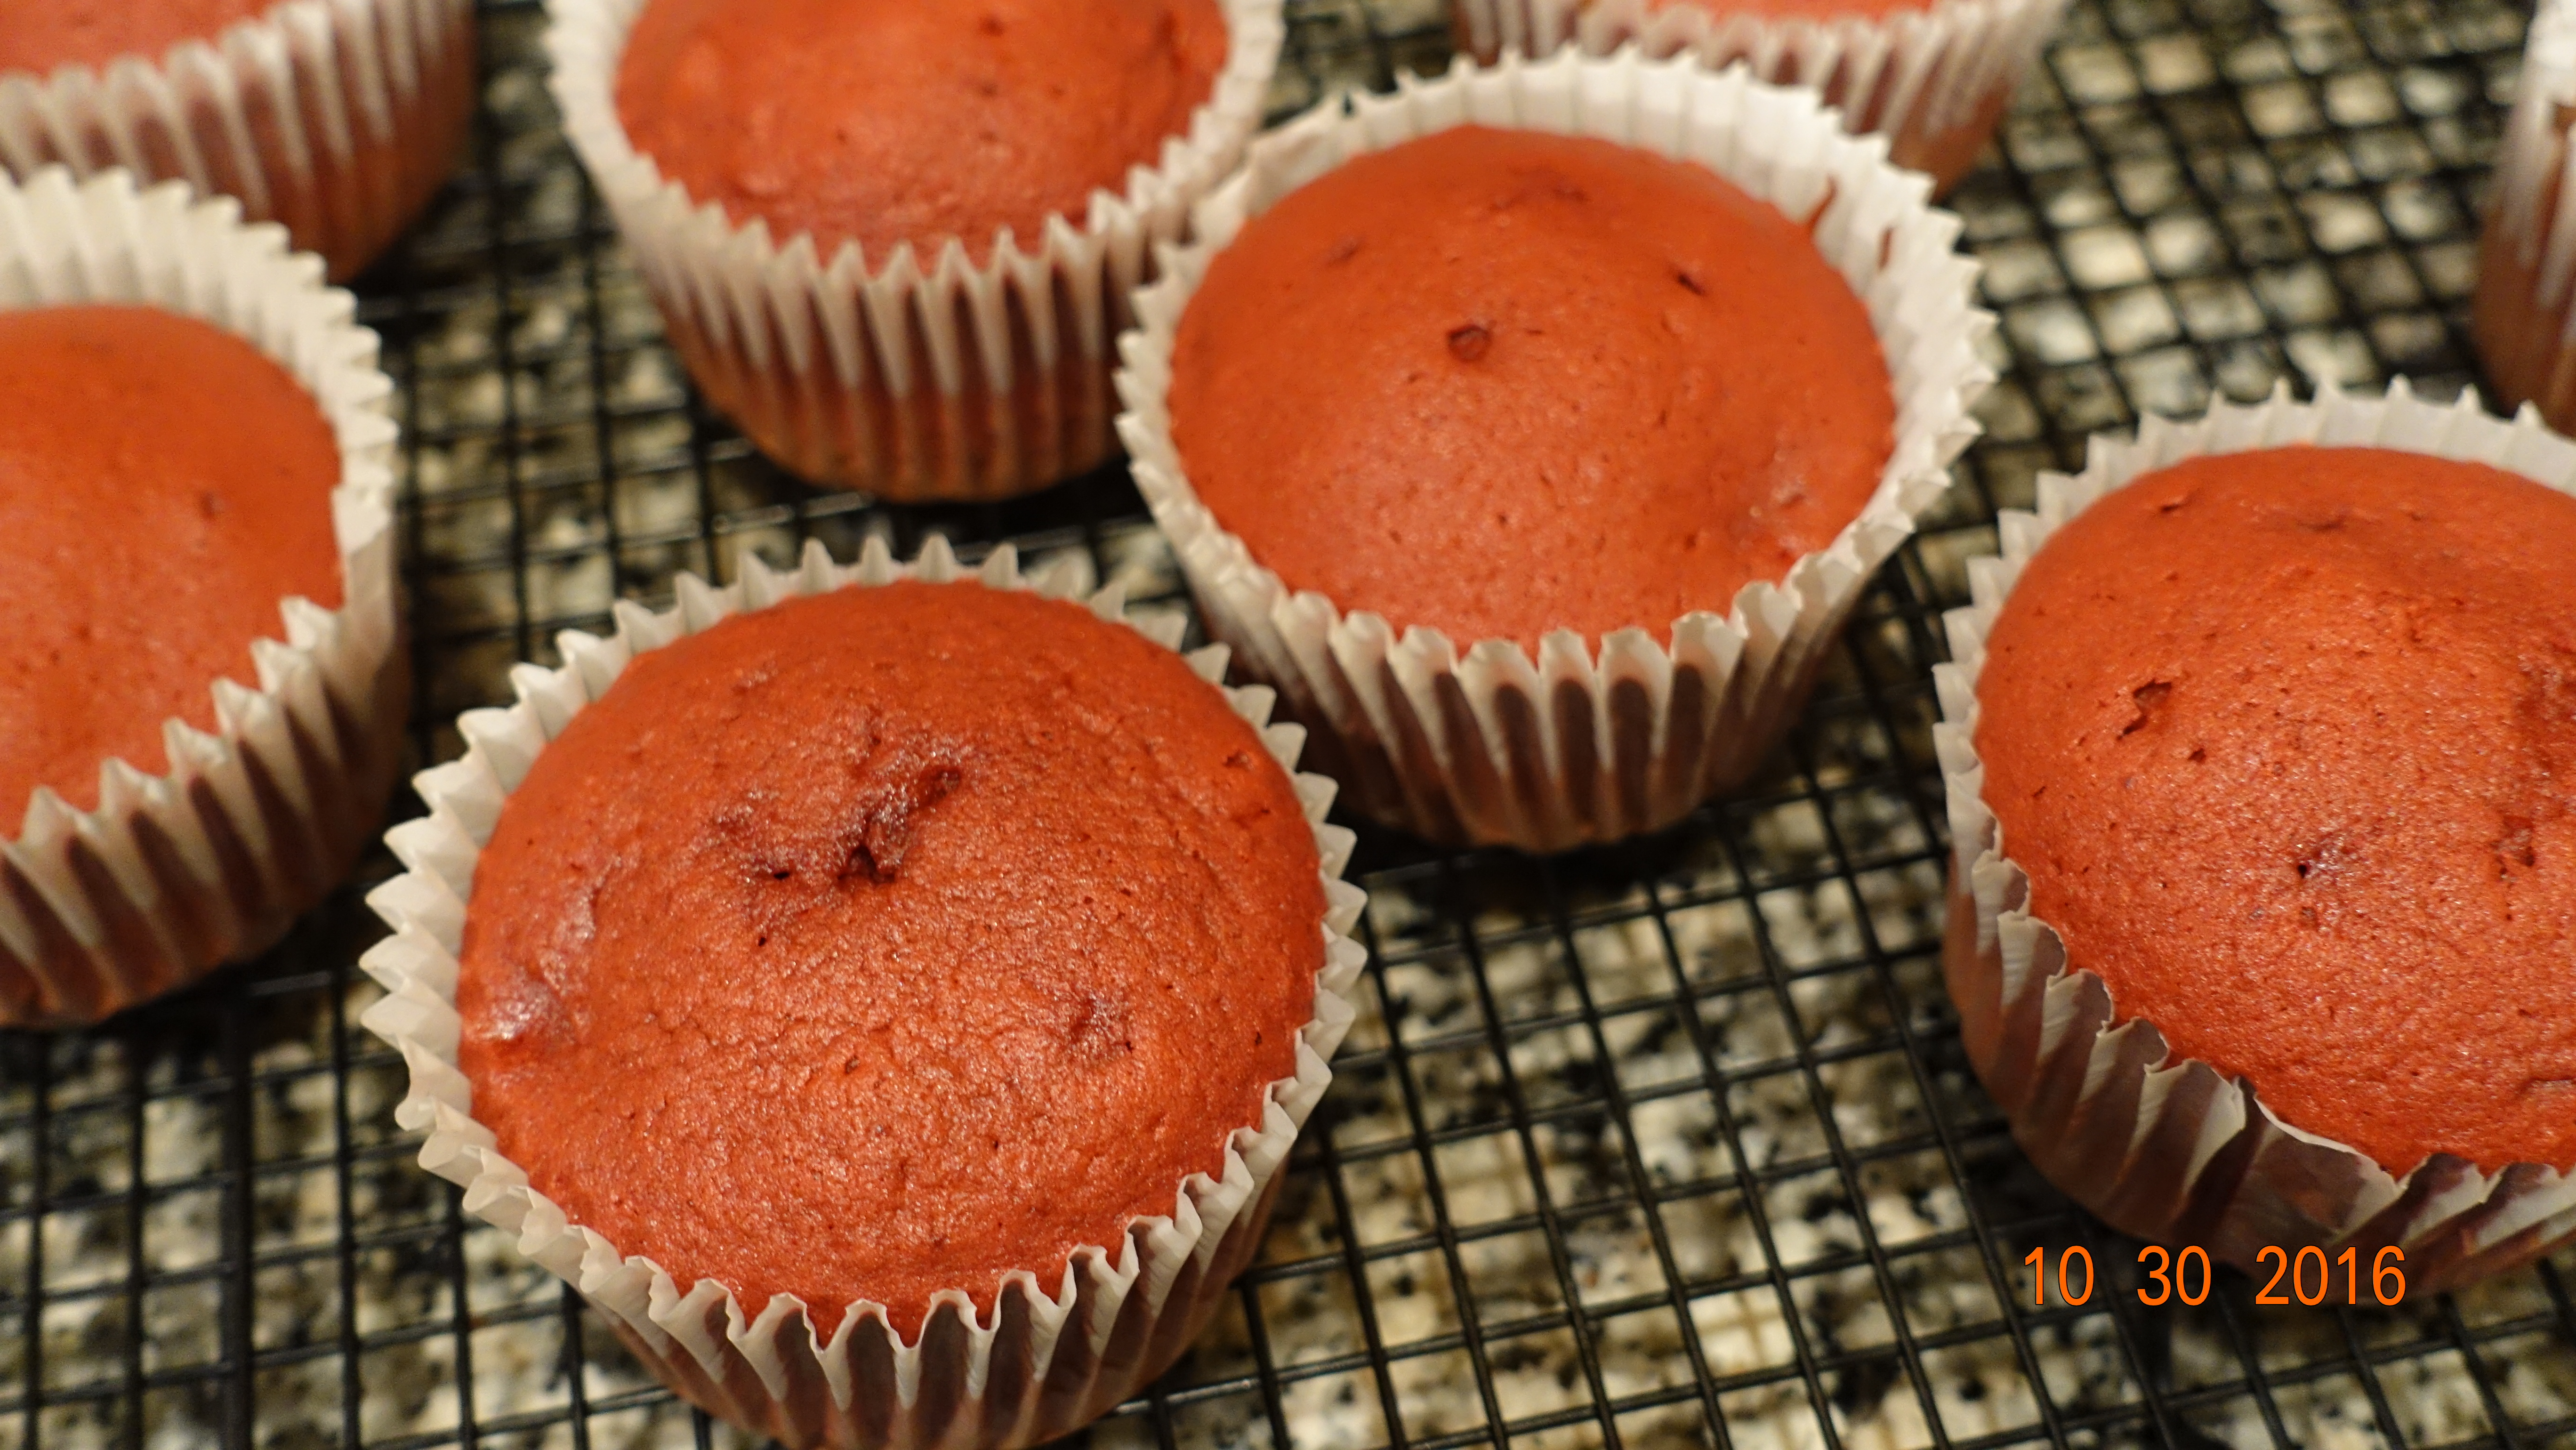
Preheat oven to 350 degrees. Butter and dust with Flour the bottom and sides of three 8-inch round cake pans lined with parchment paper. (See TIPS below.)
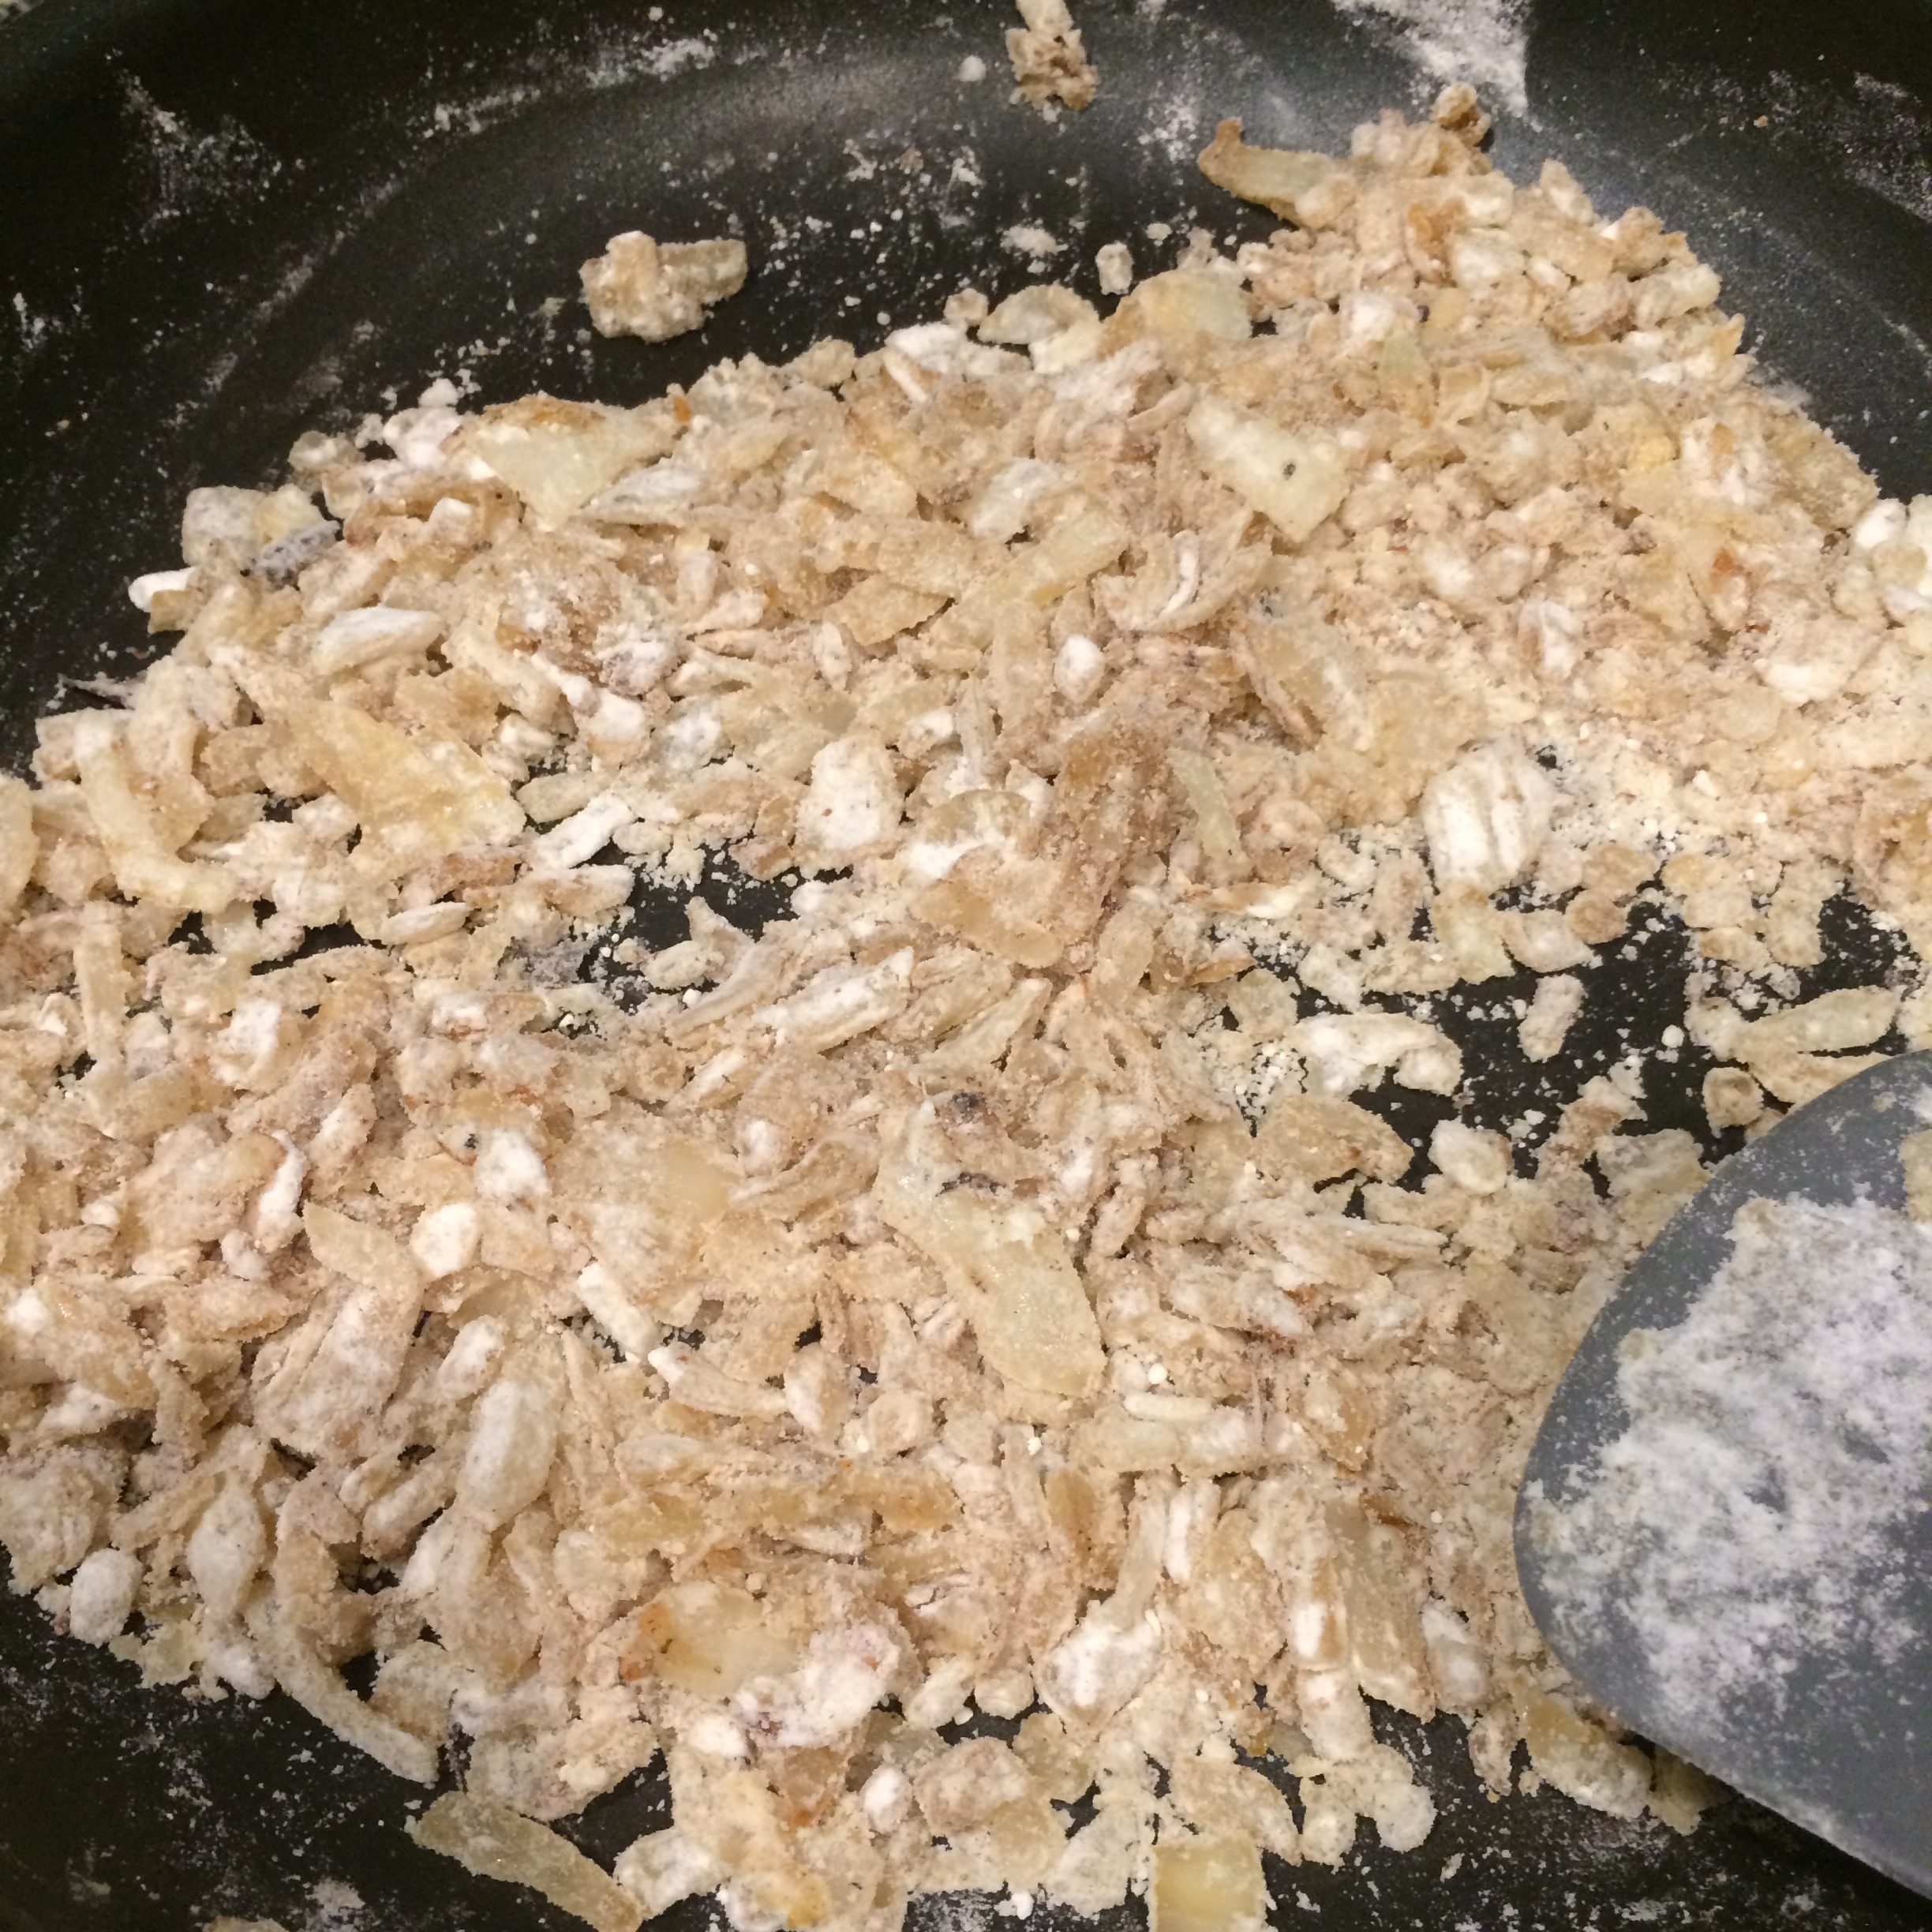
Pulse in a food processor the Pistachios until finely ground for about 1 minute.
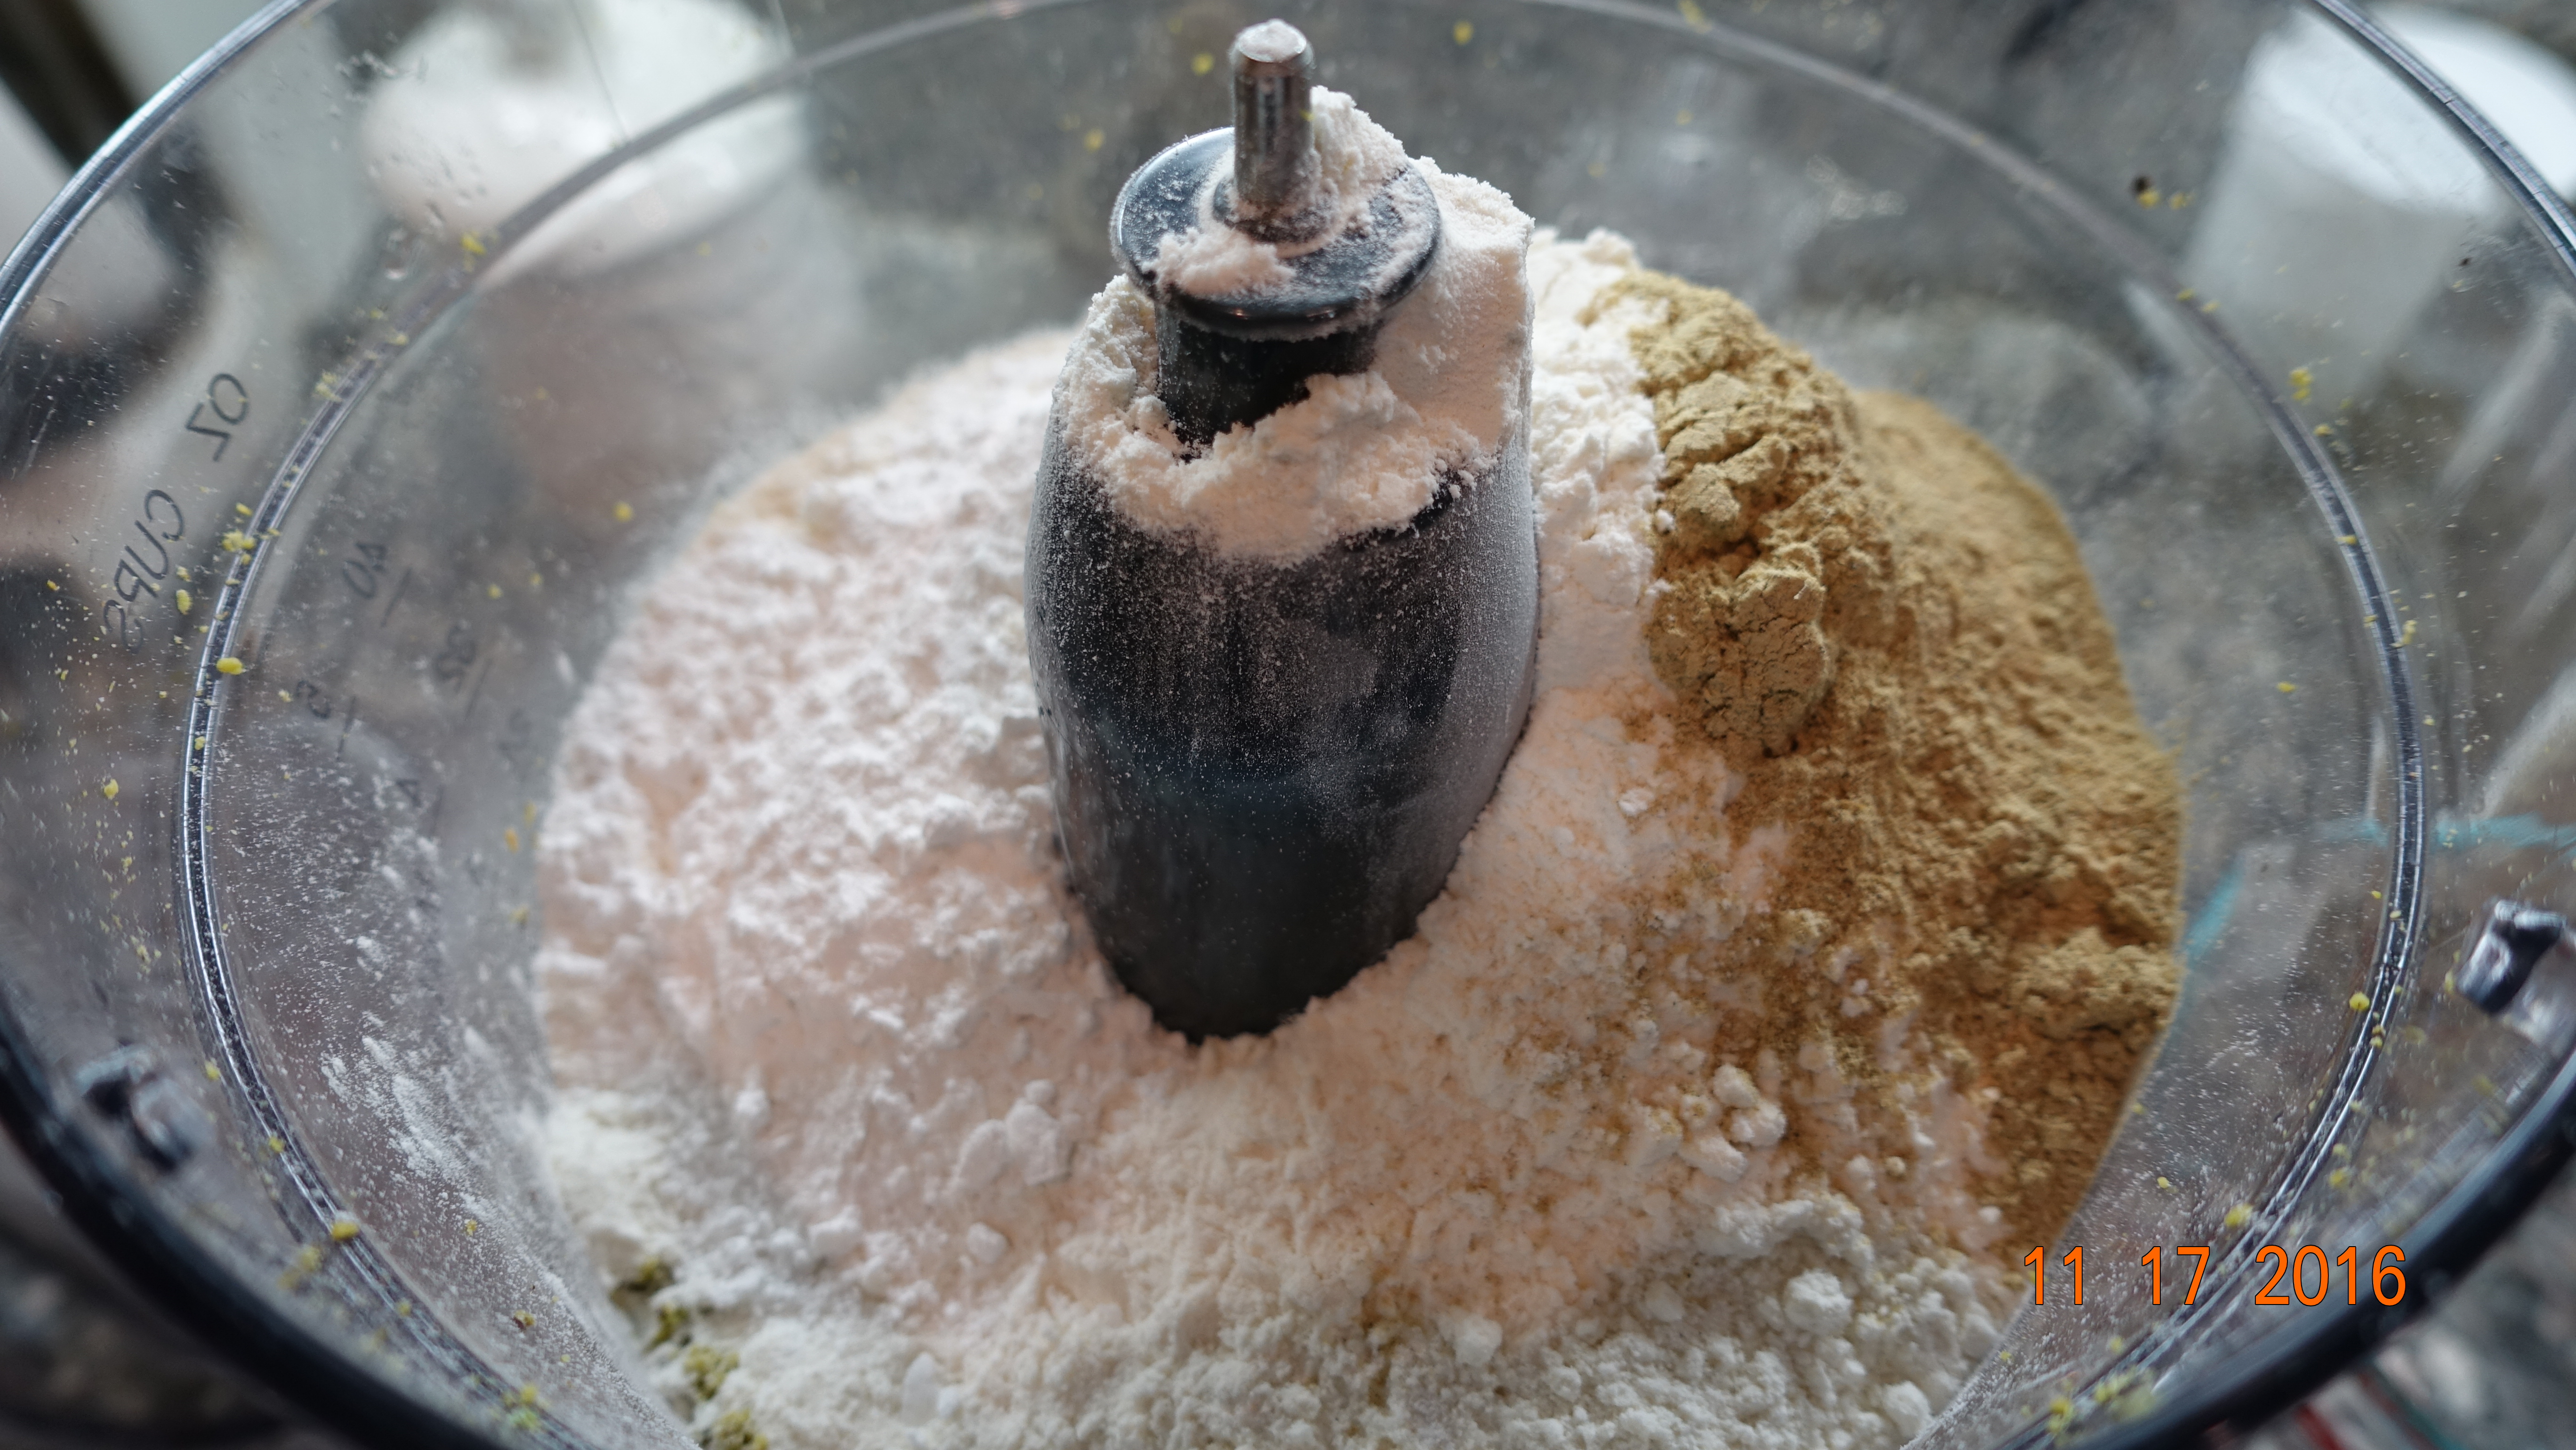
Add Flour, Baking Powder, Cardamom, and Salt. Pulse a few times to combine.
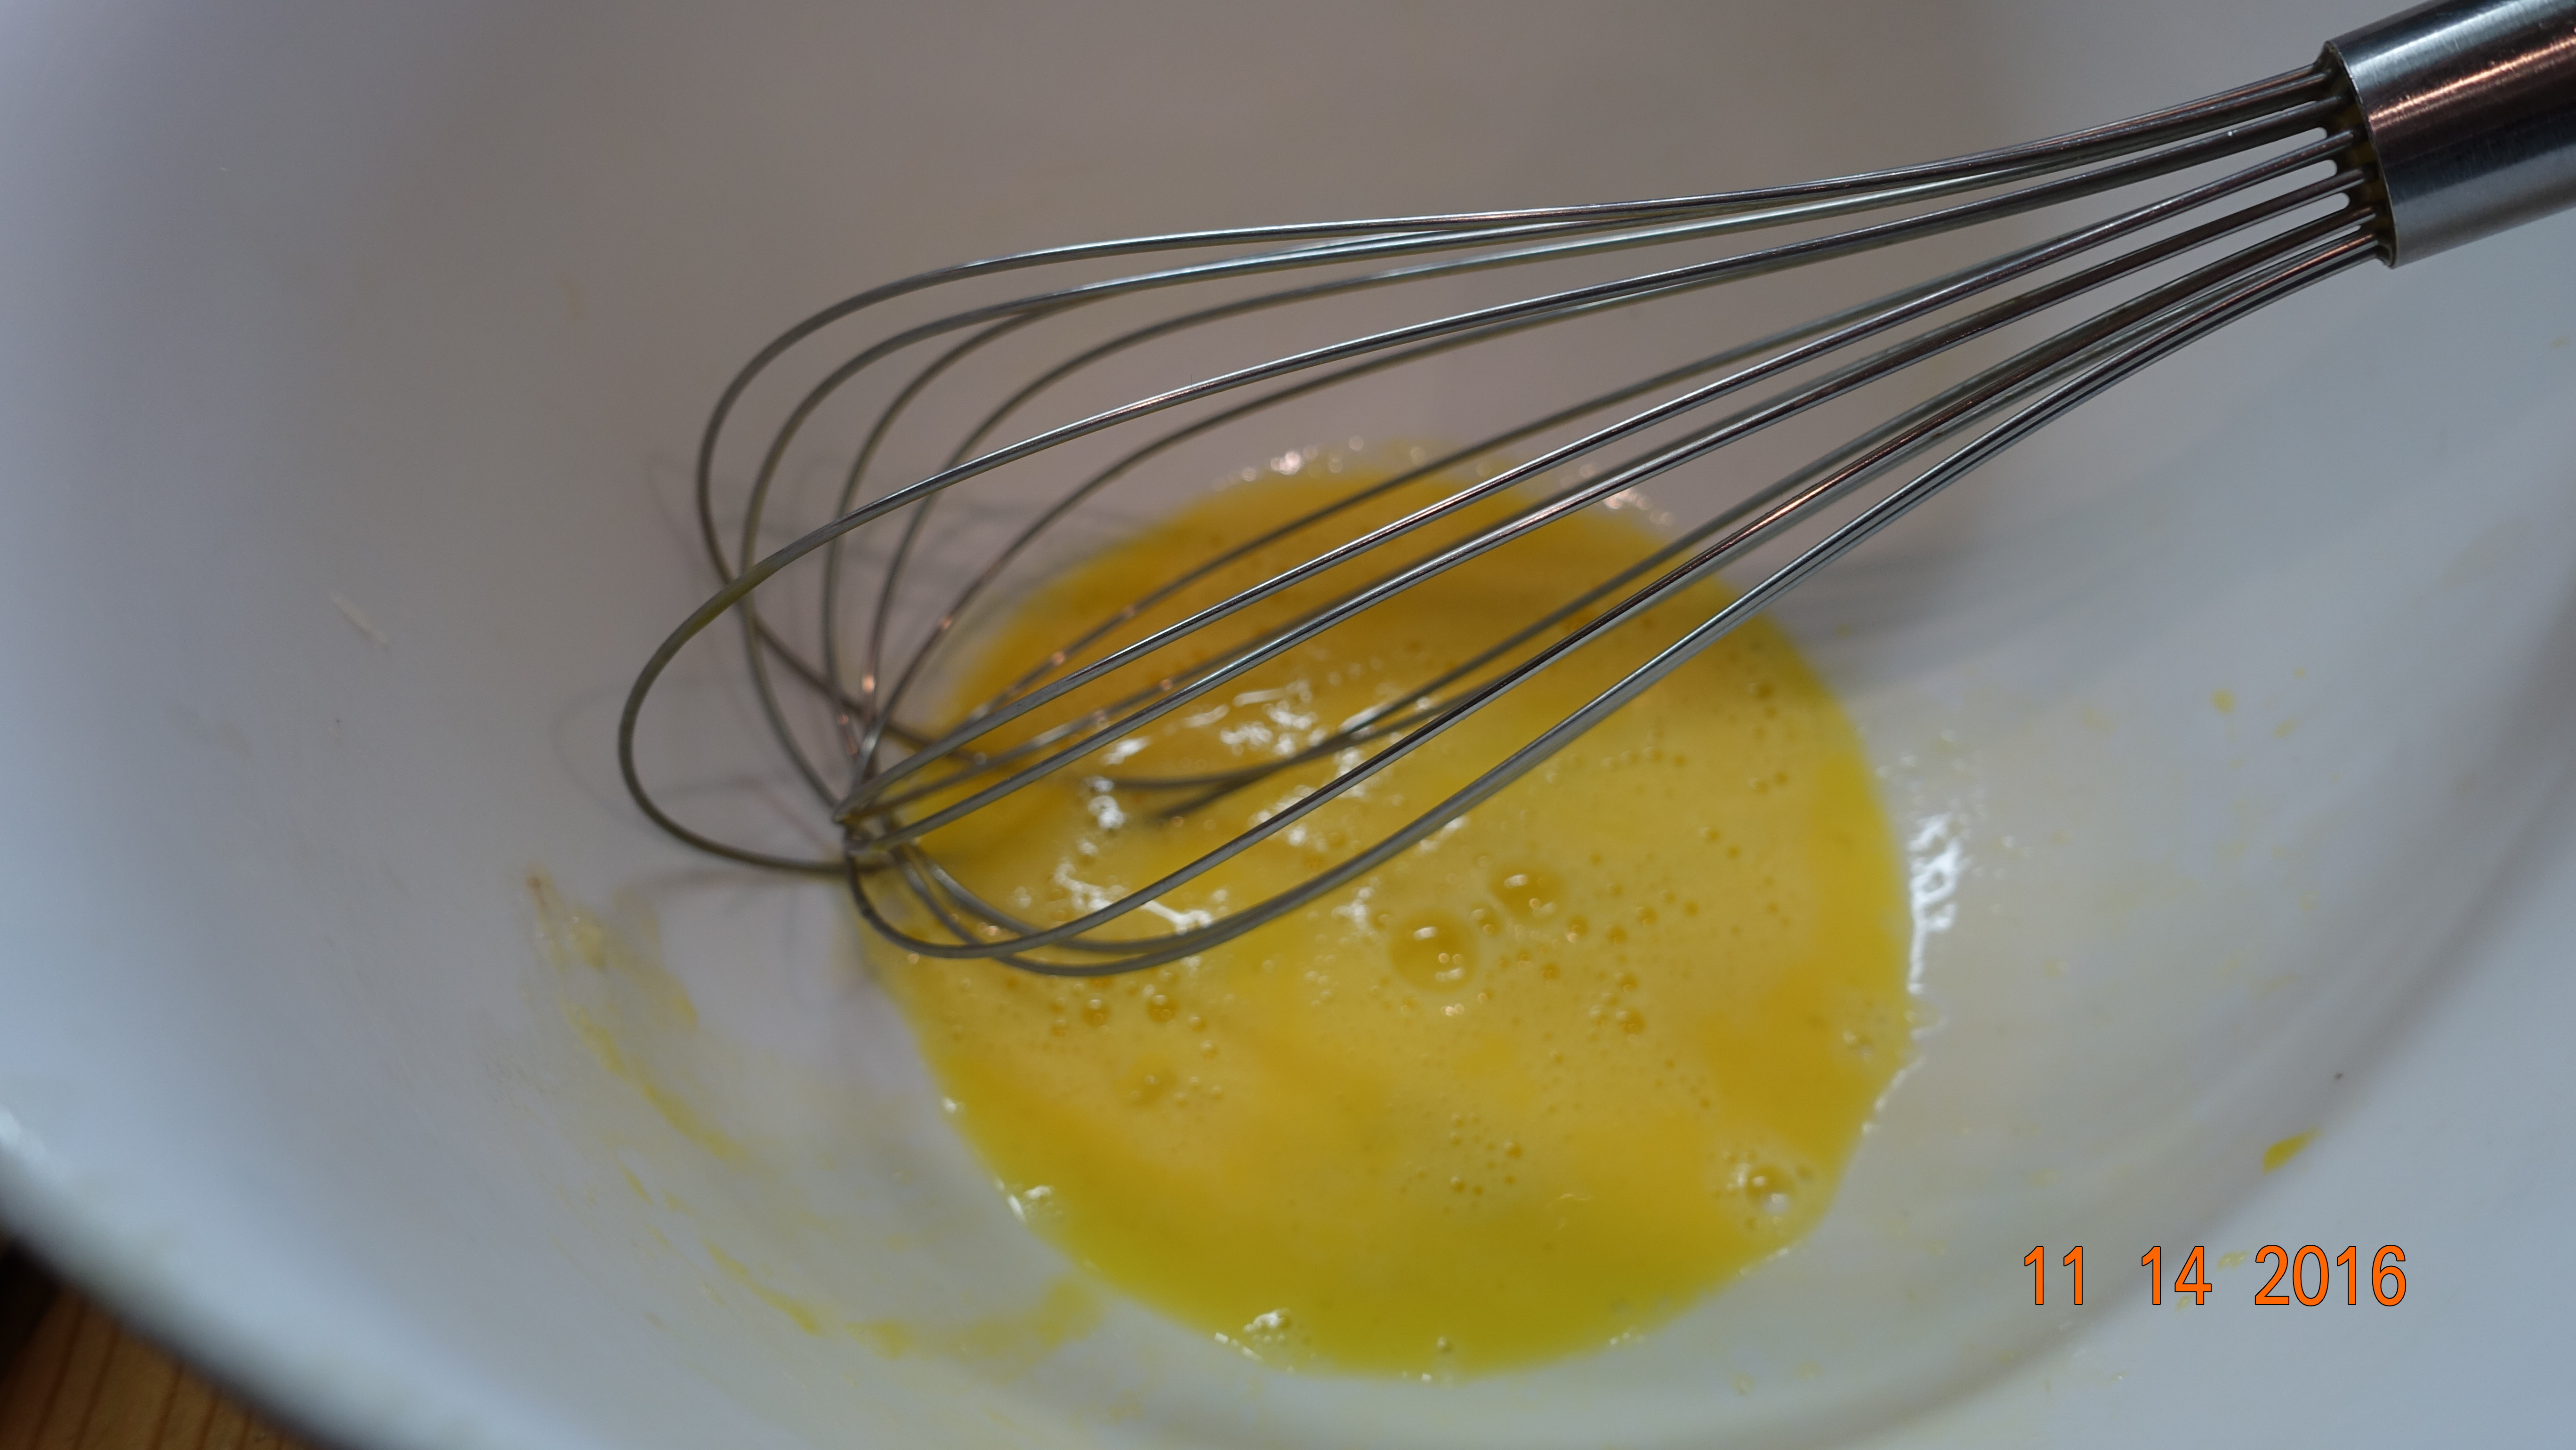
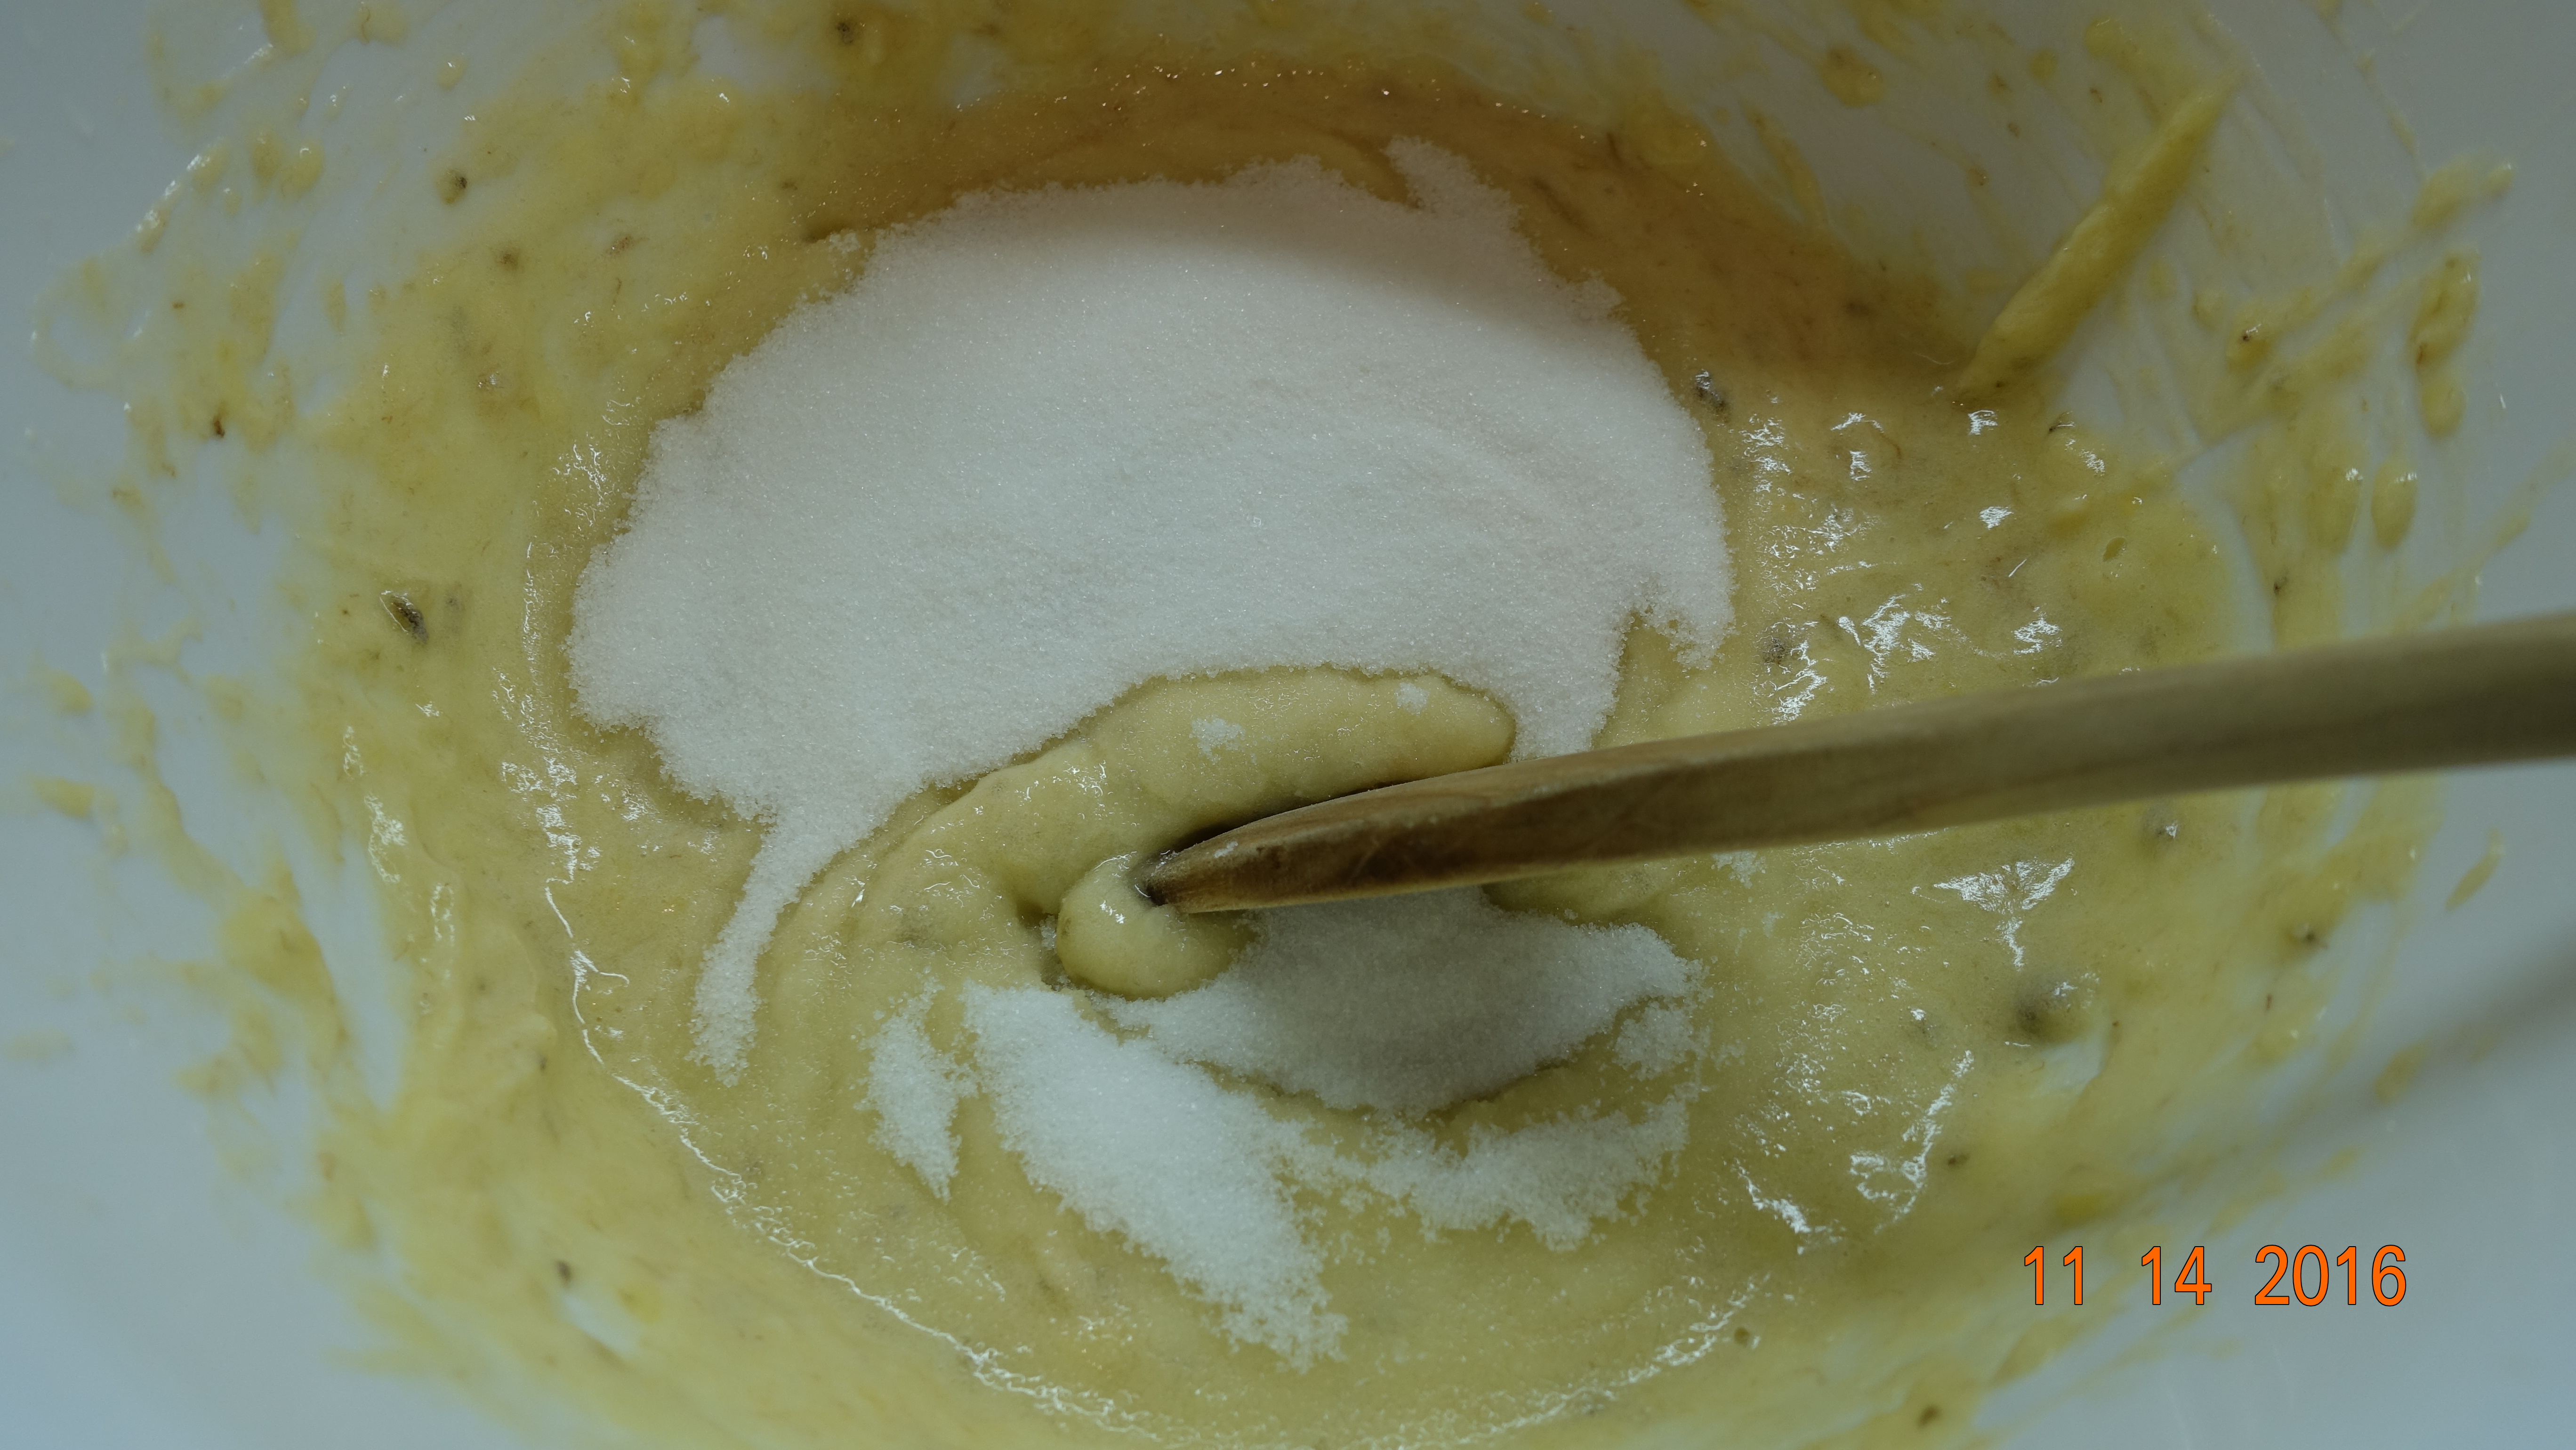
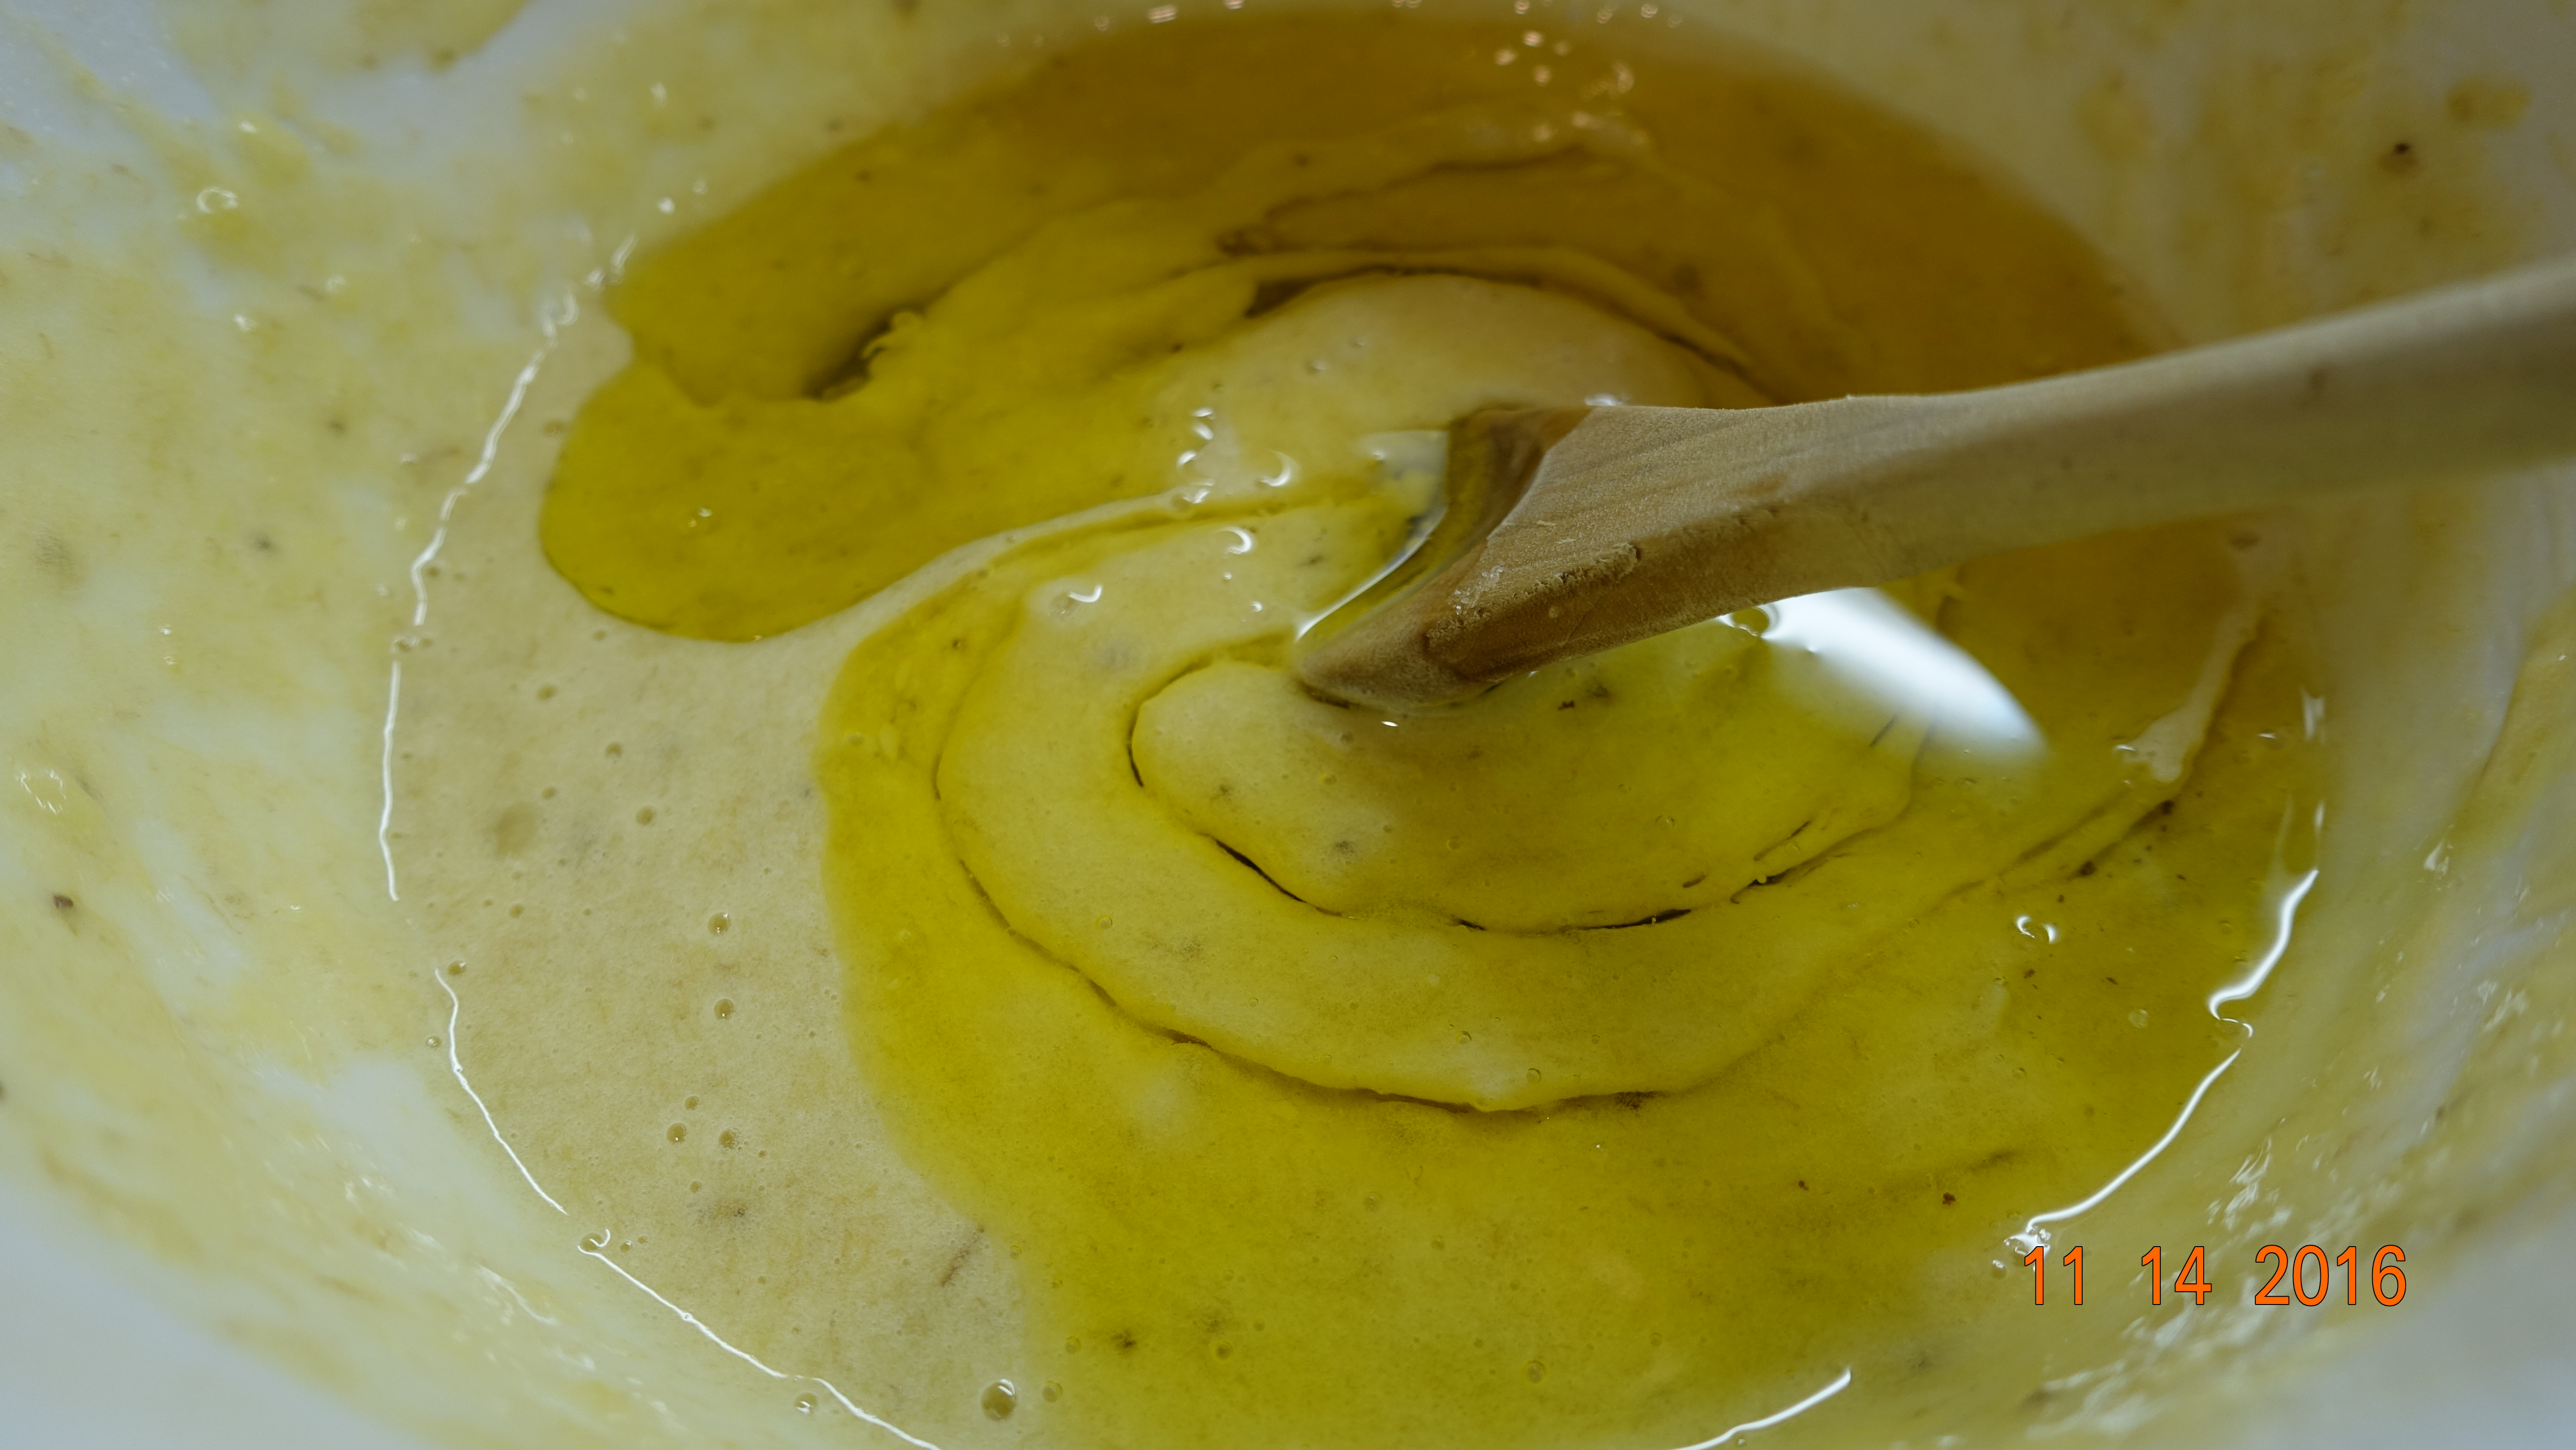
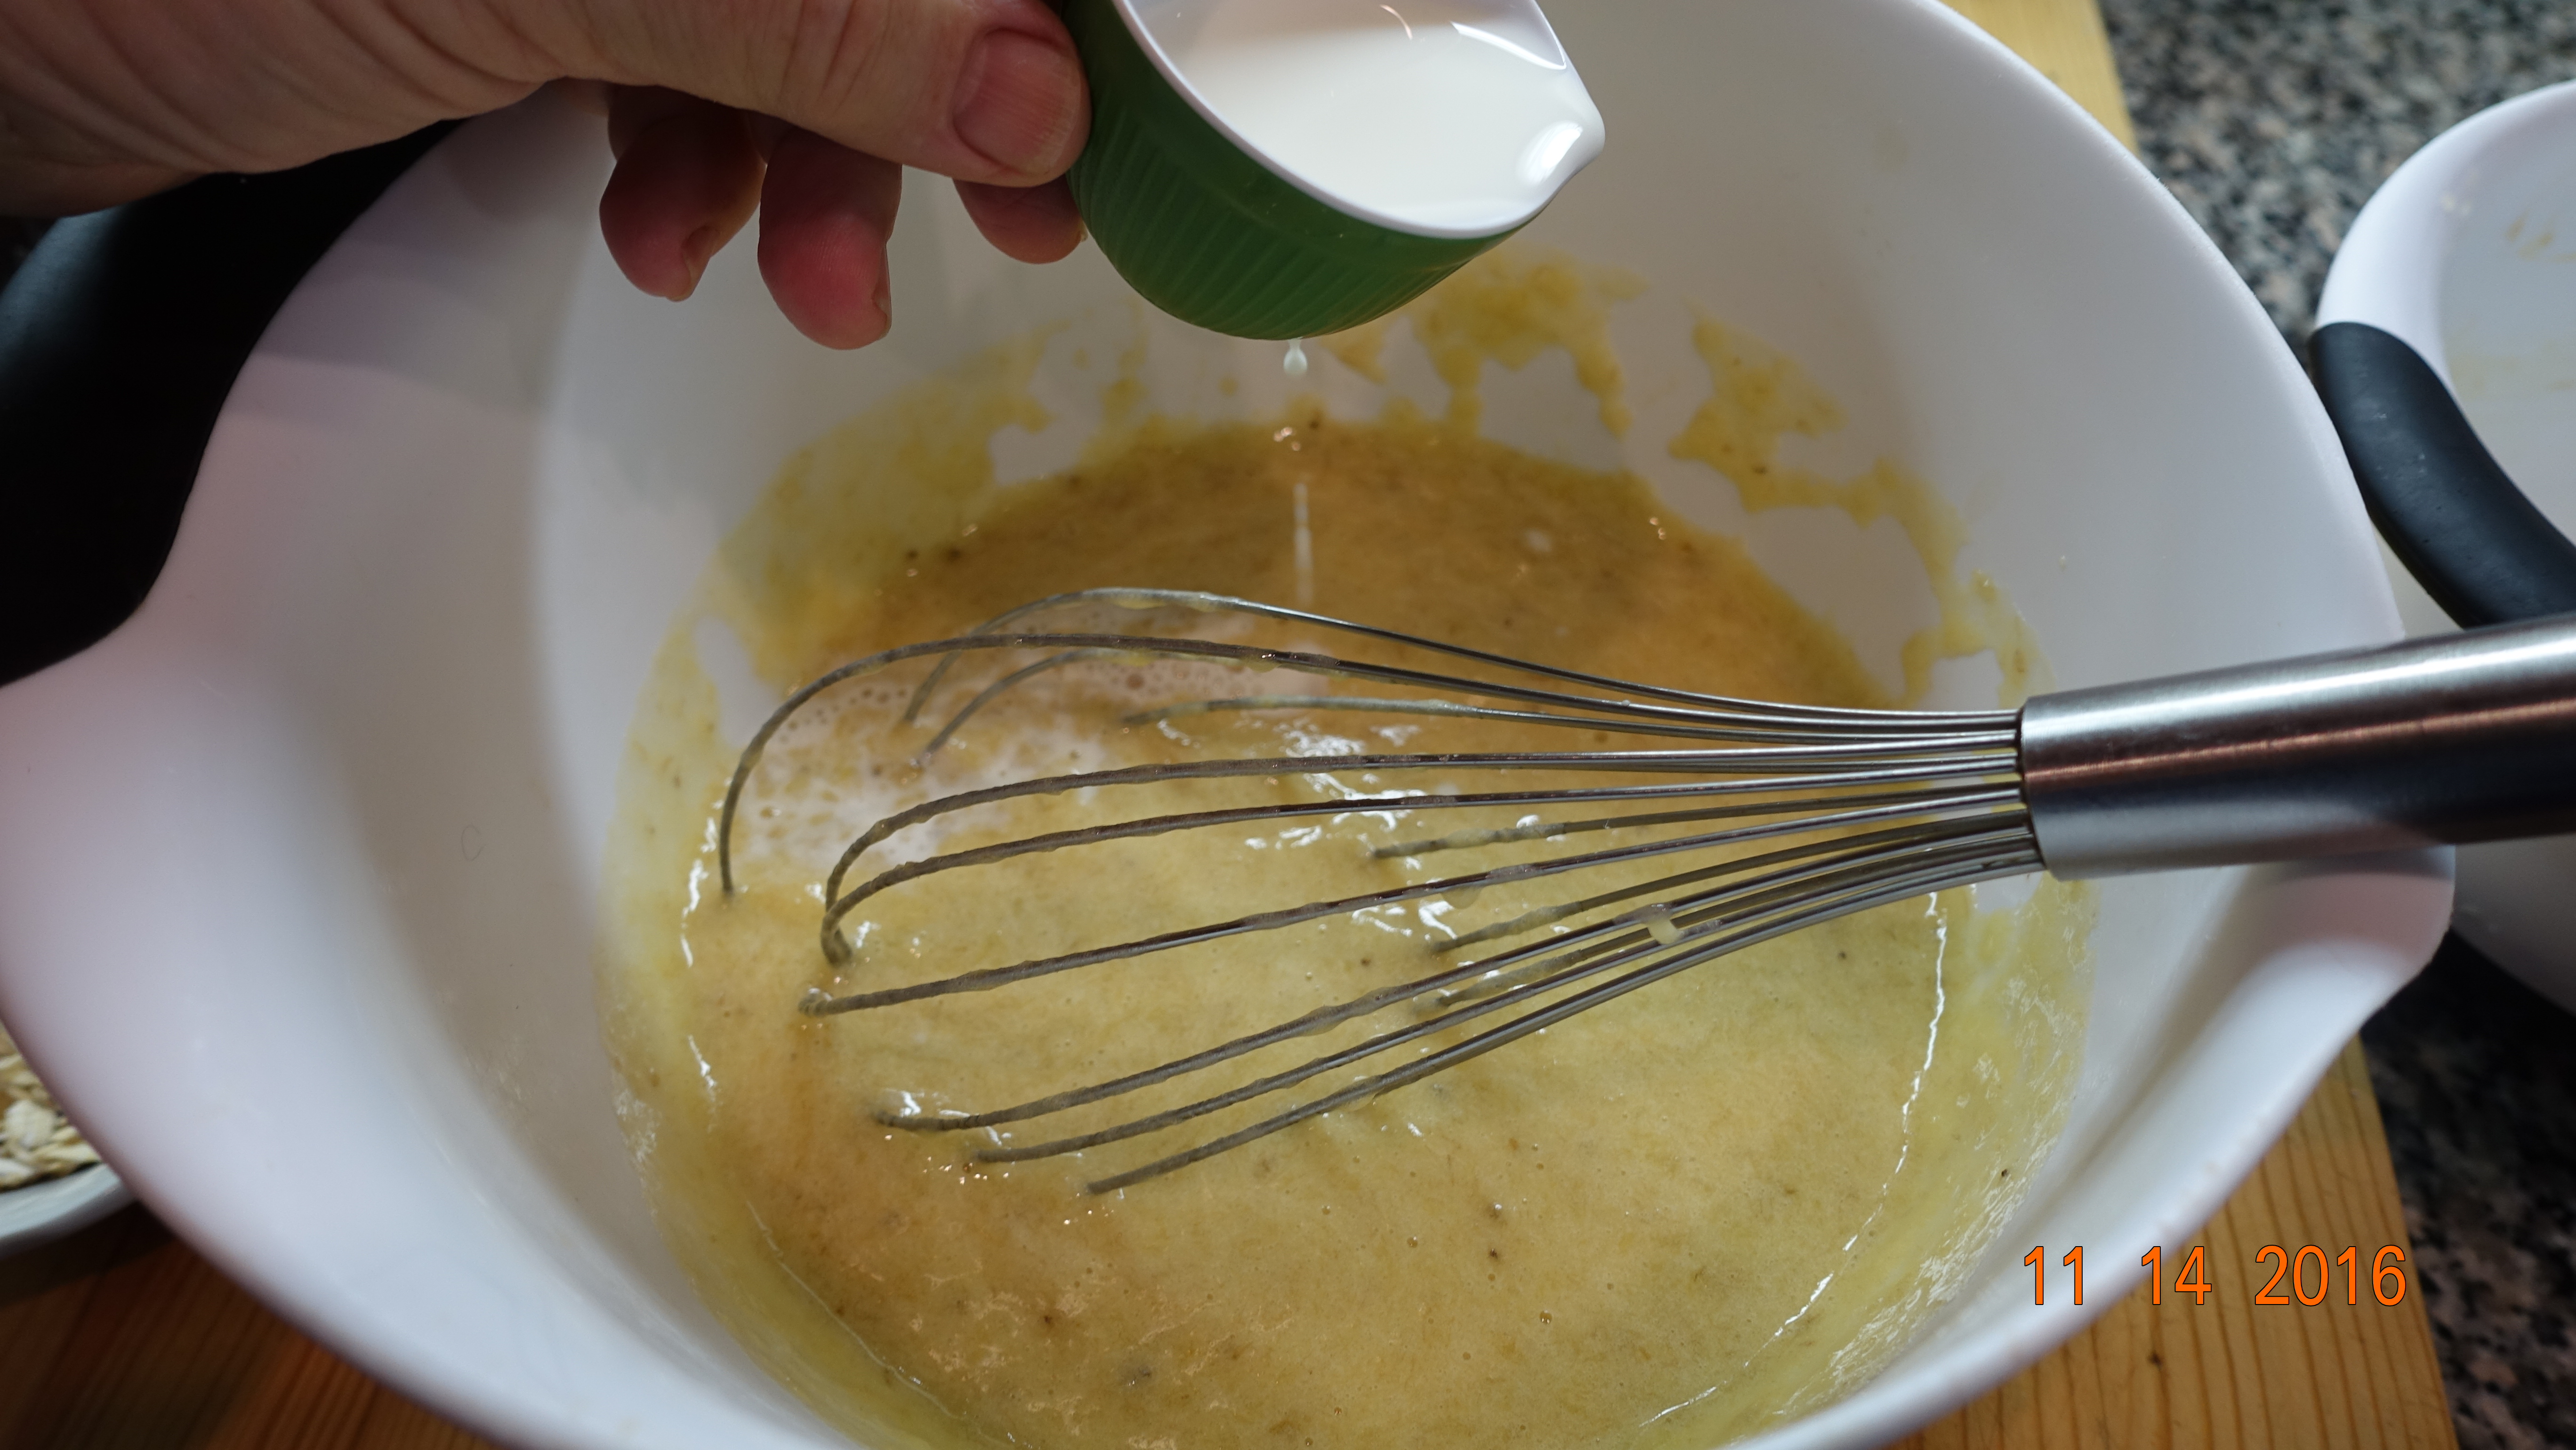
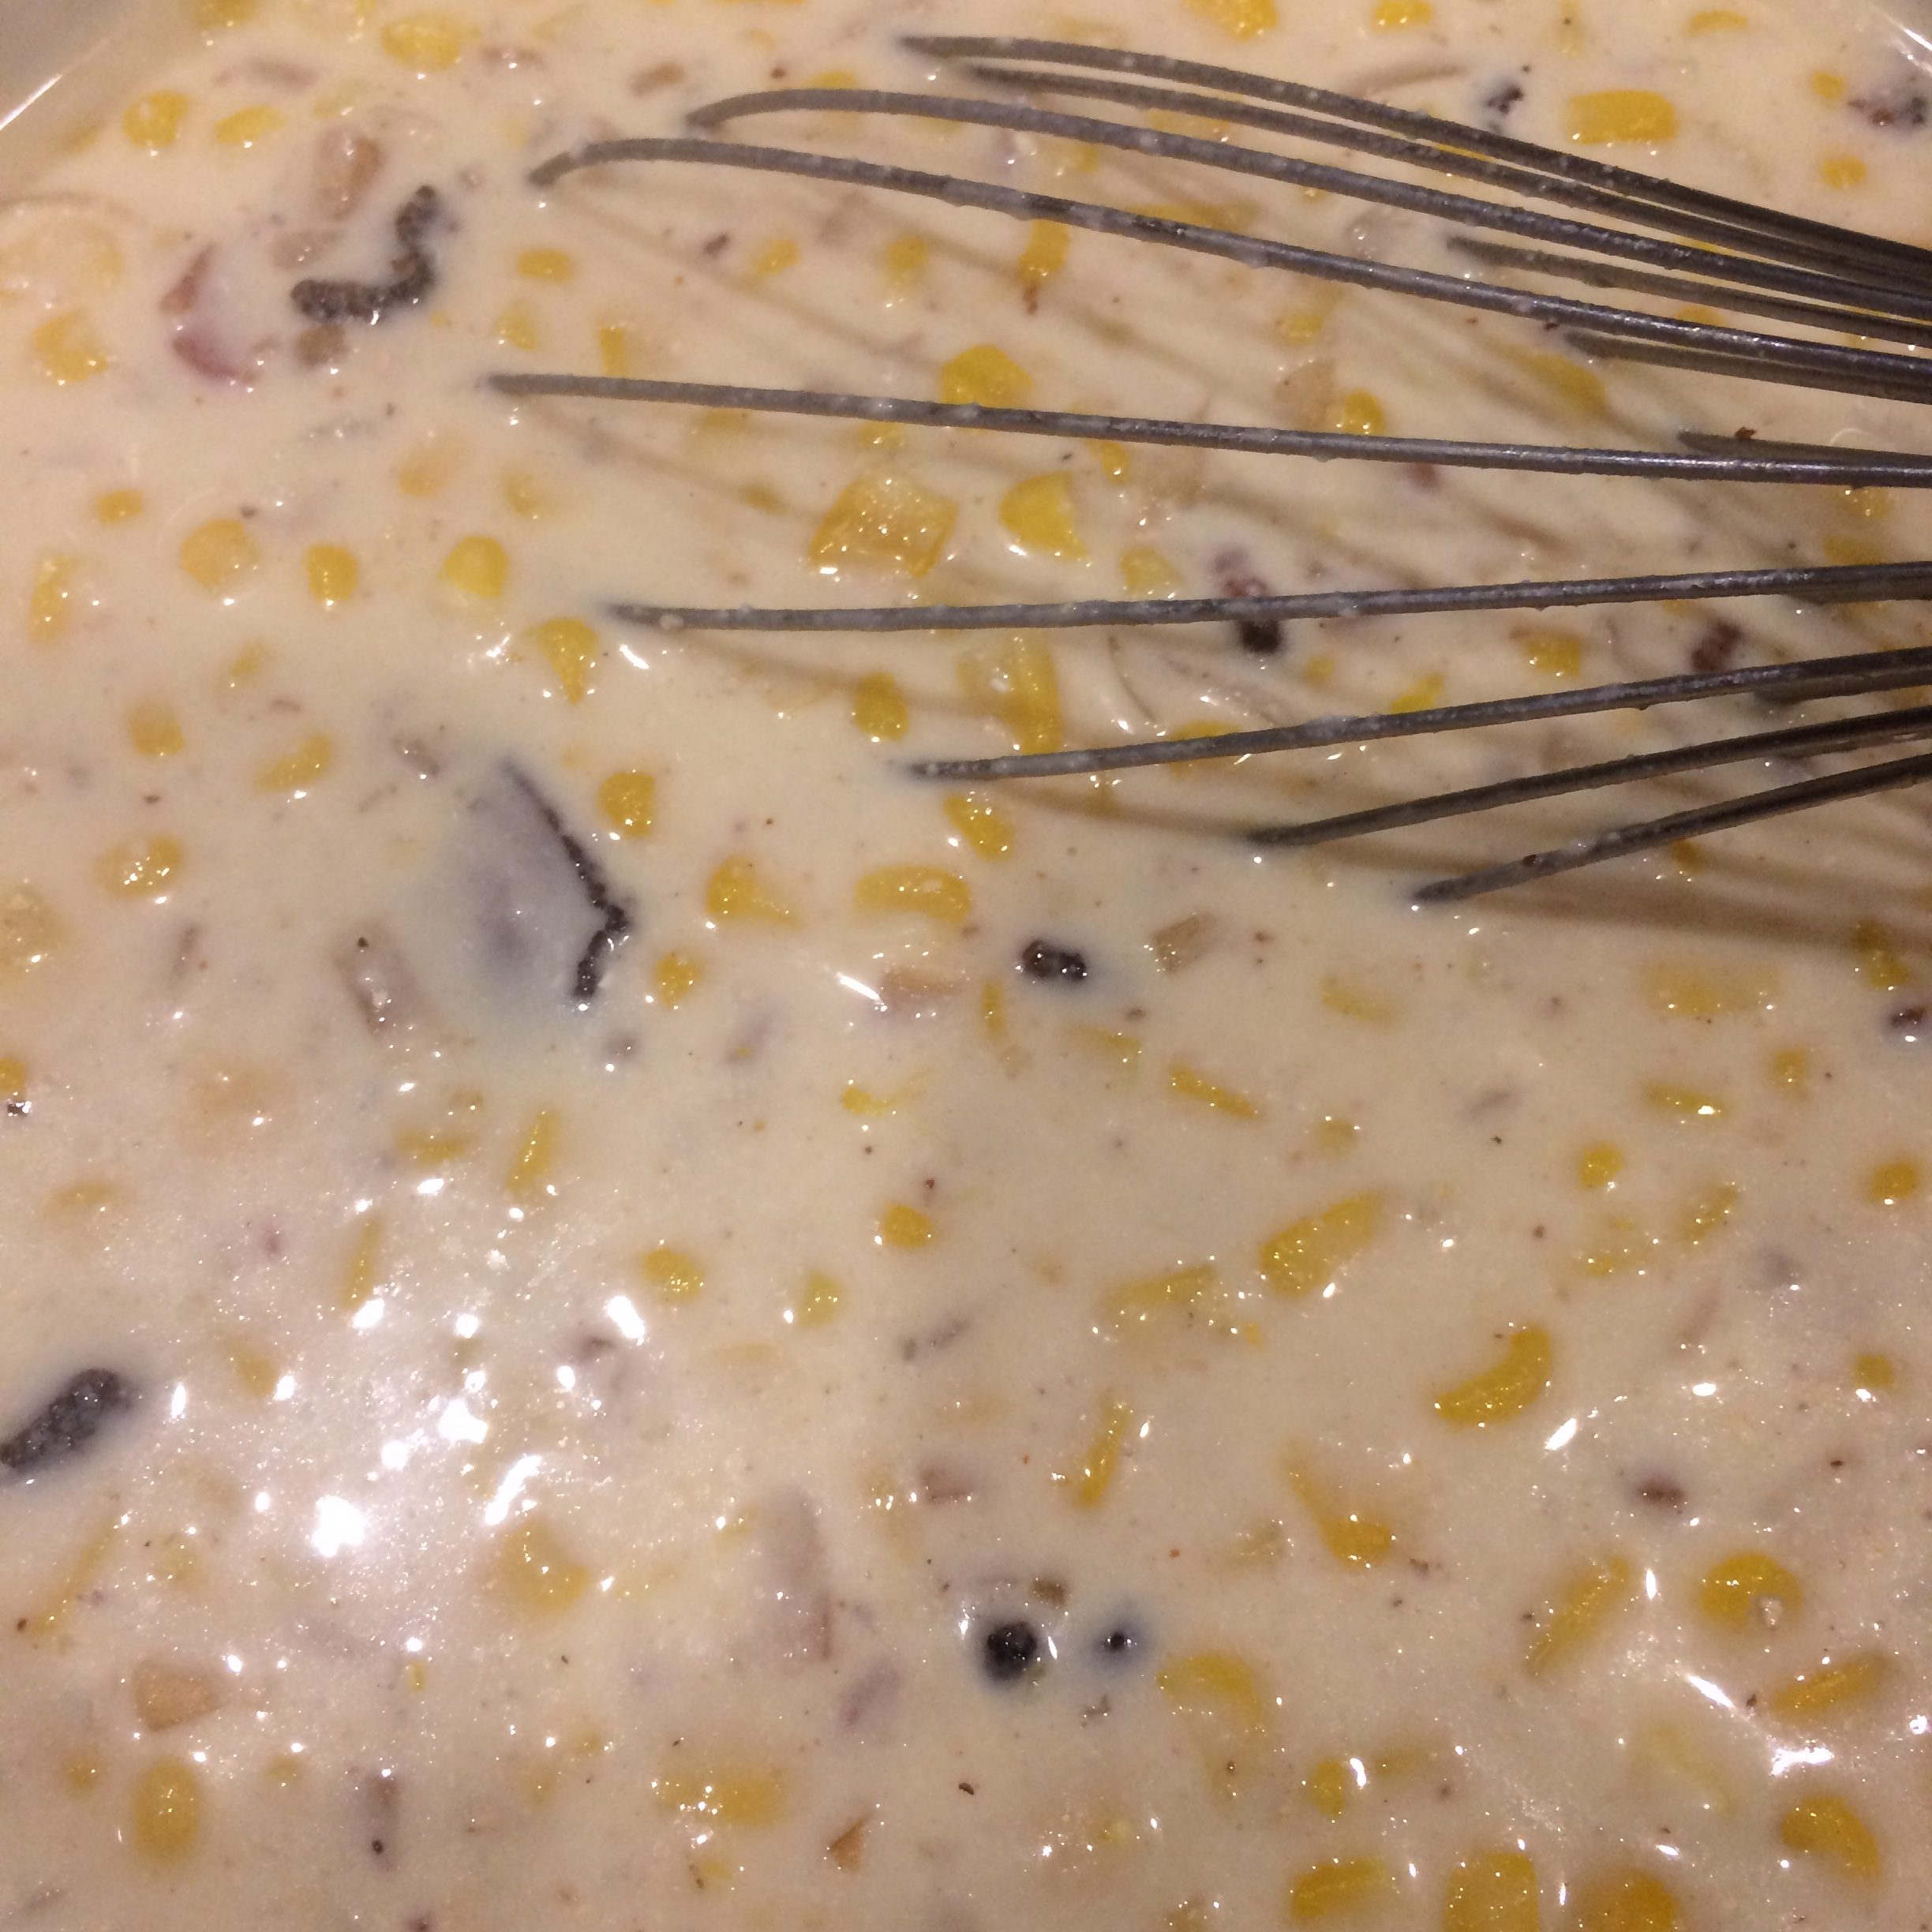
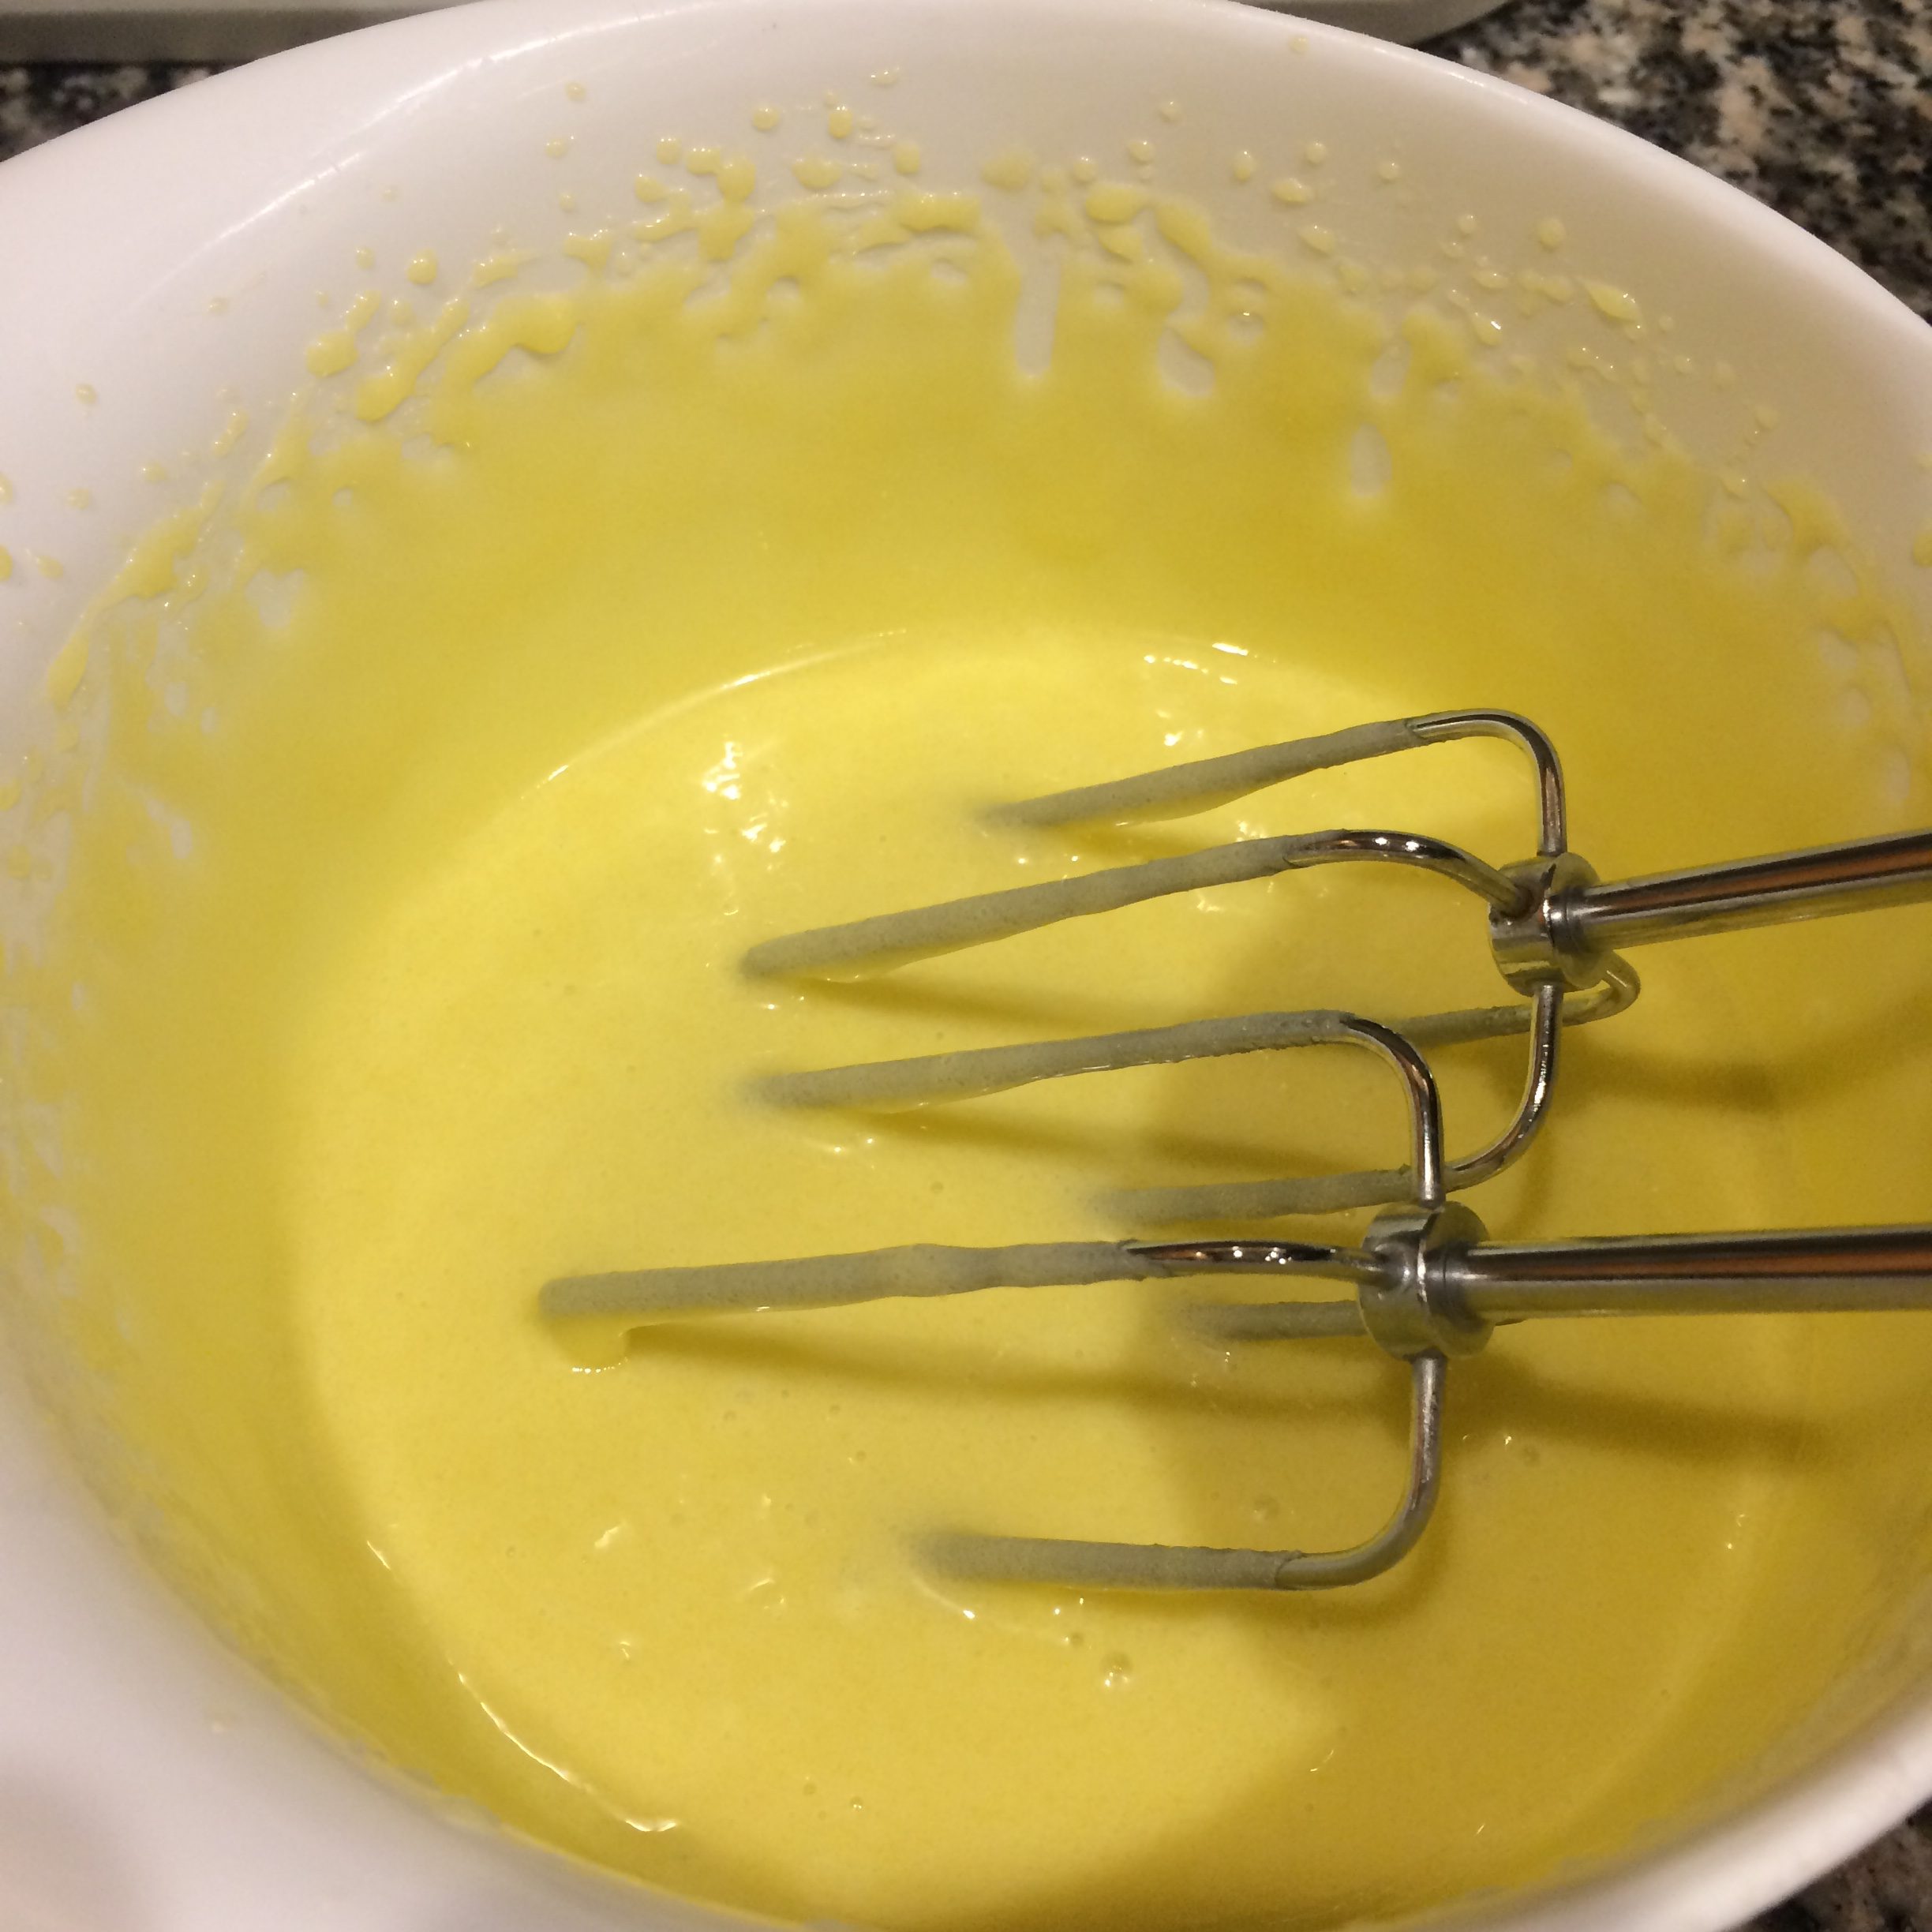
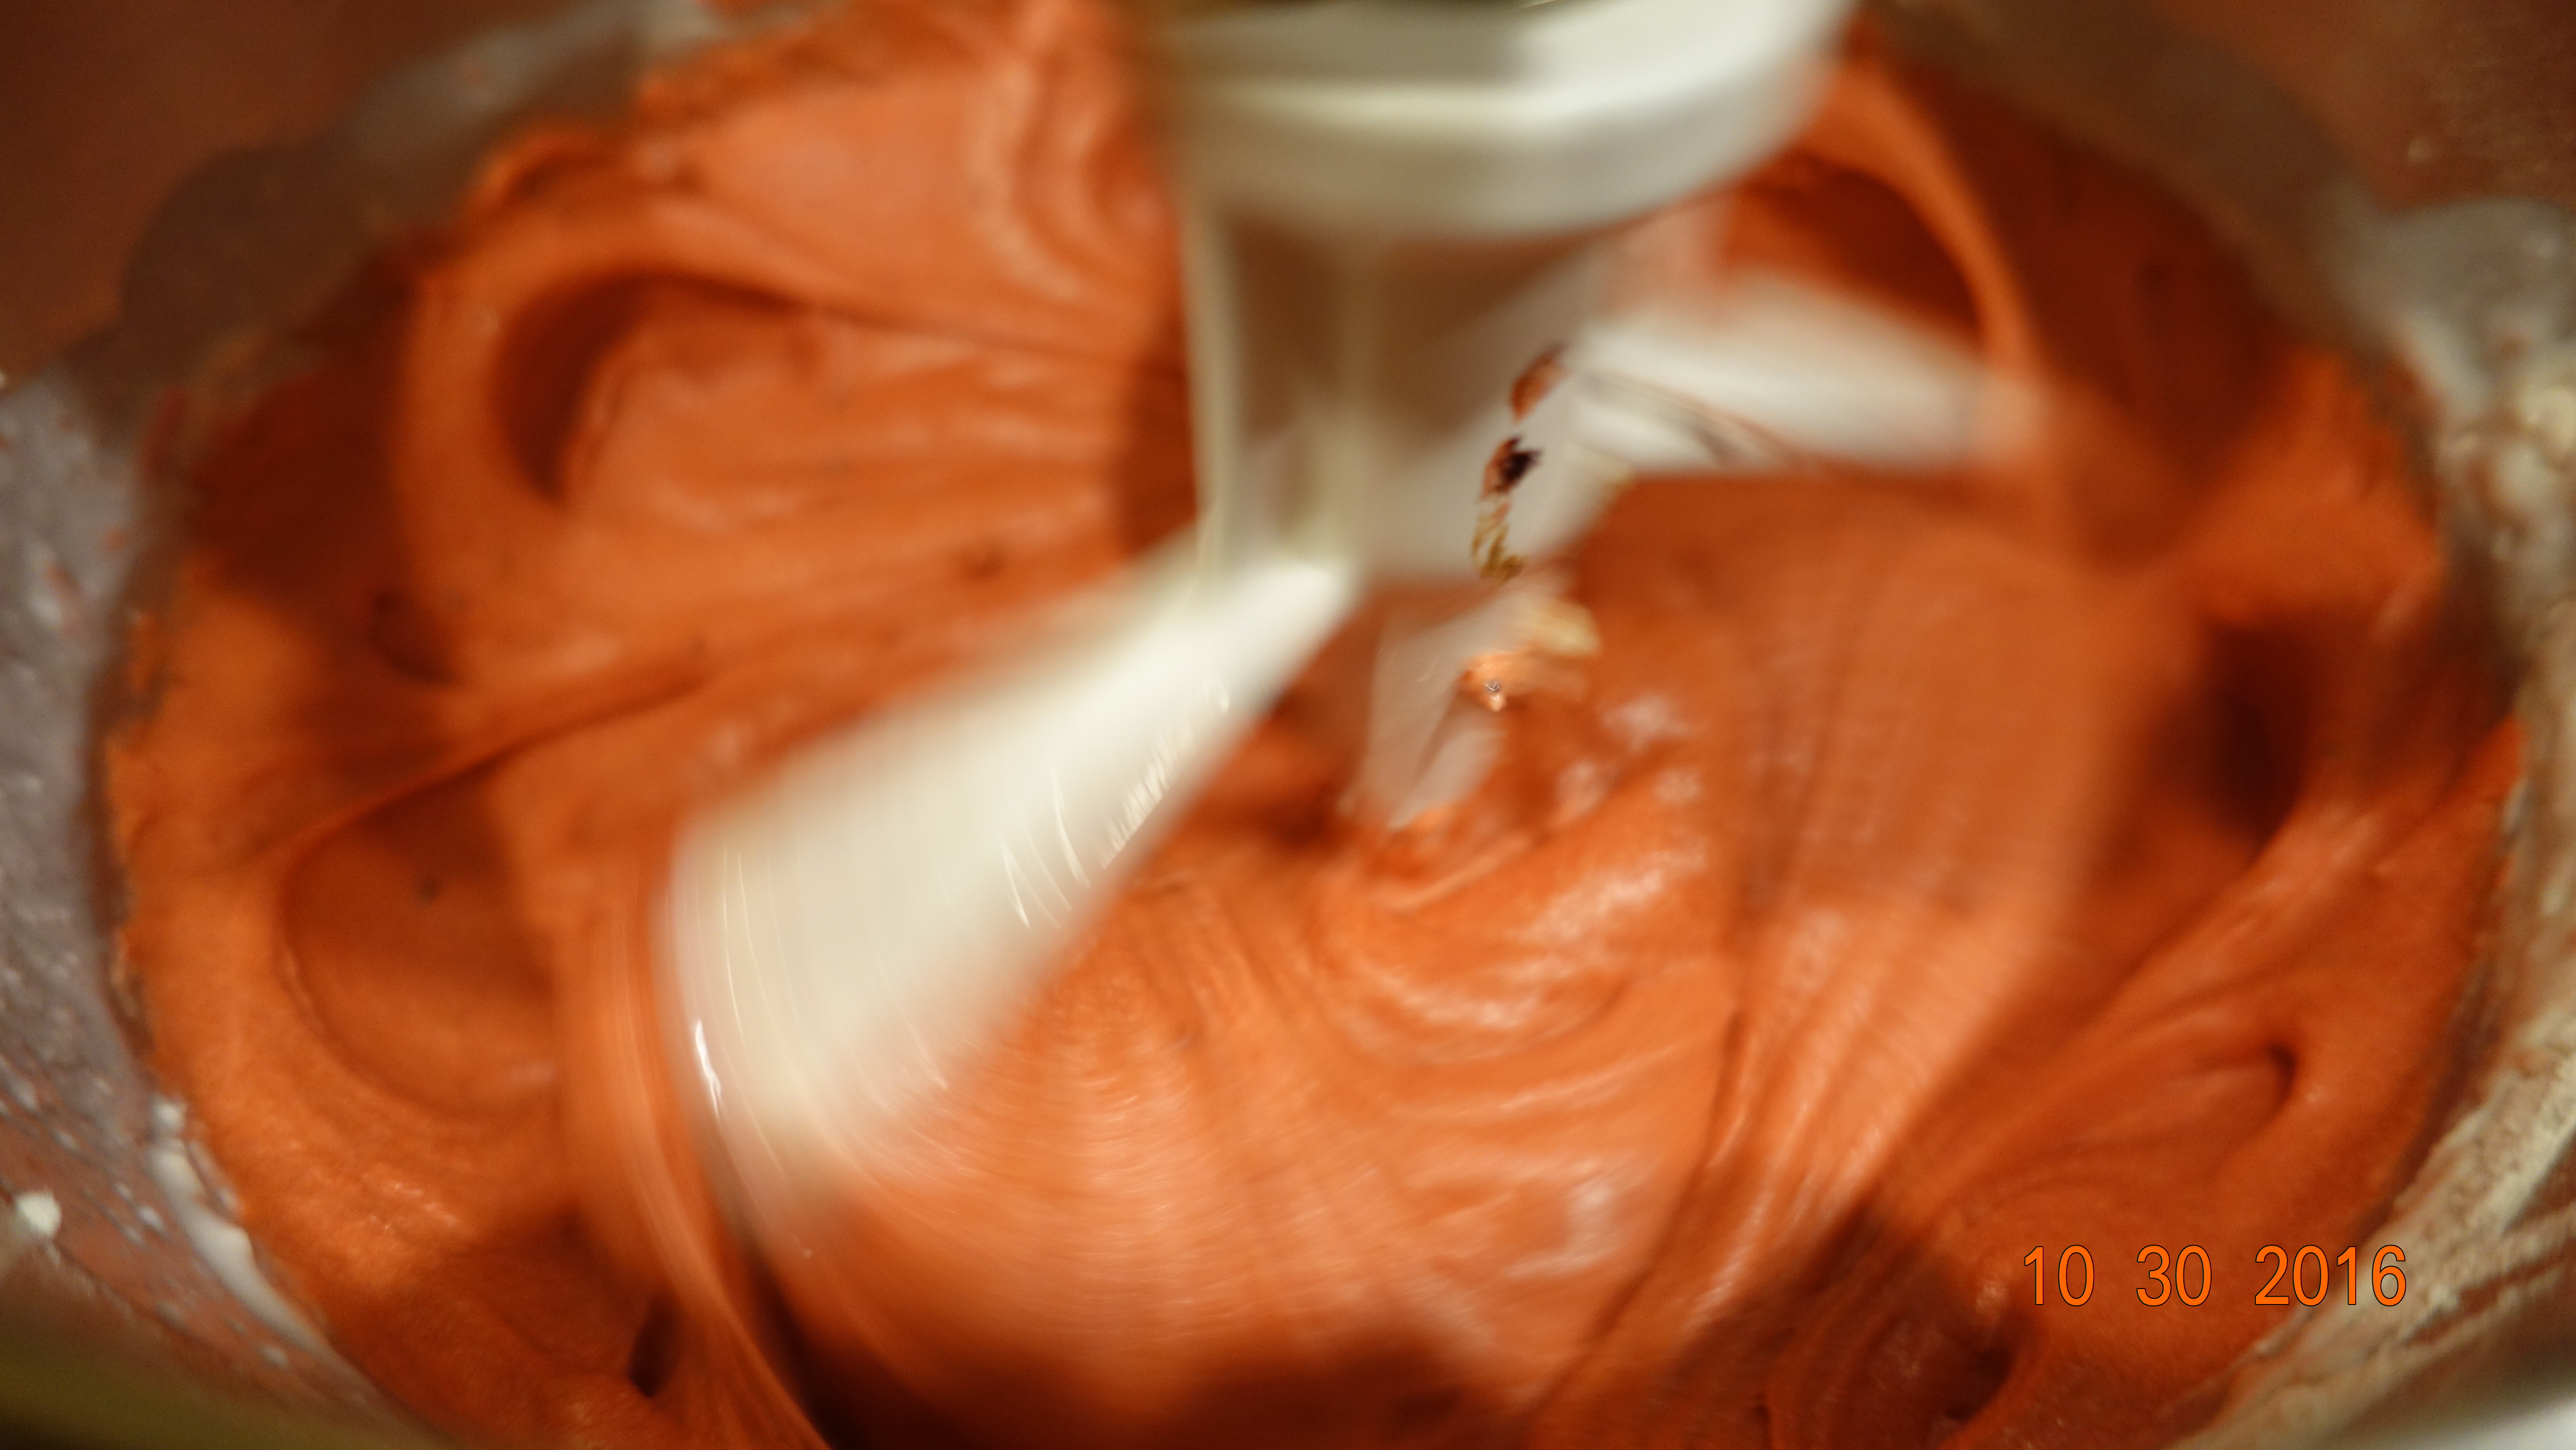
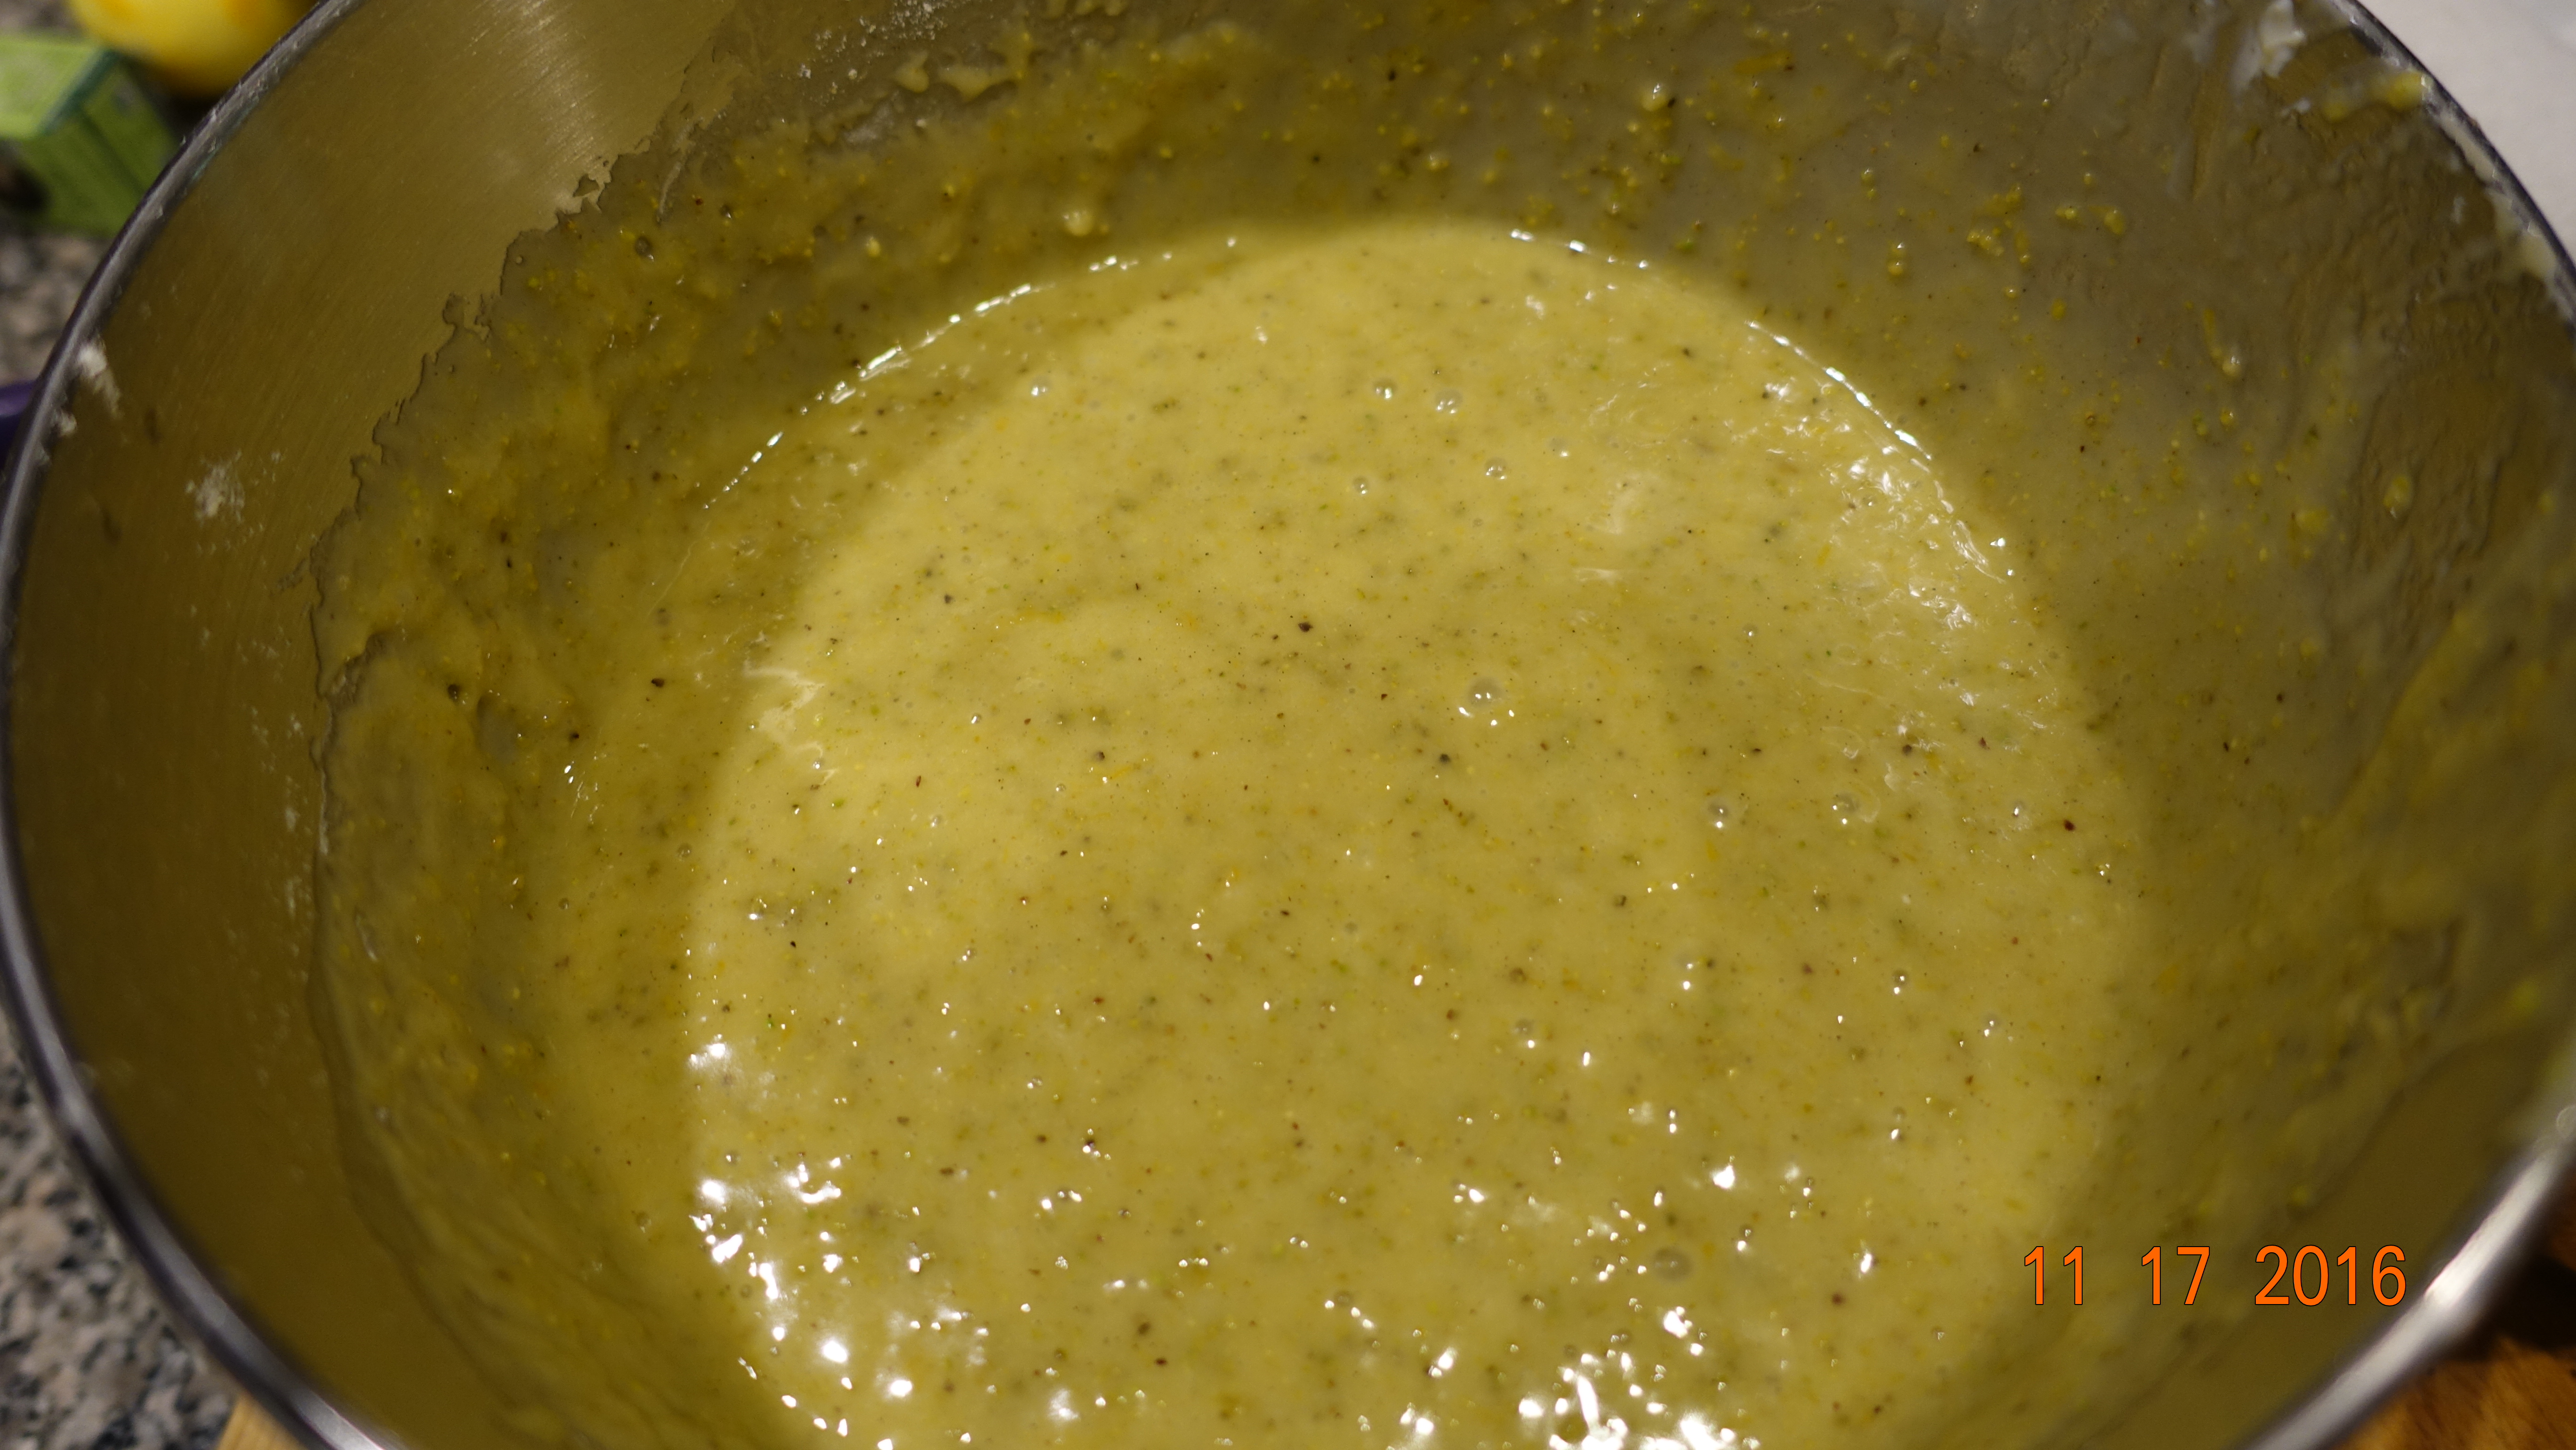
In a large bowl, mix Sugar, Olive Oil, Vanilla, Eggs, Yogurt and Lemon Zest until well incorporated.
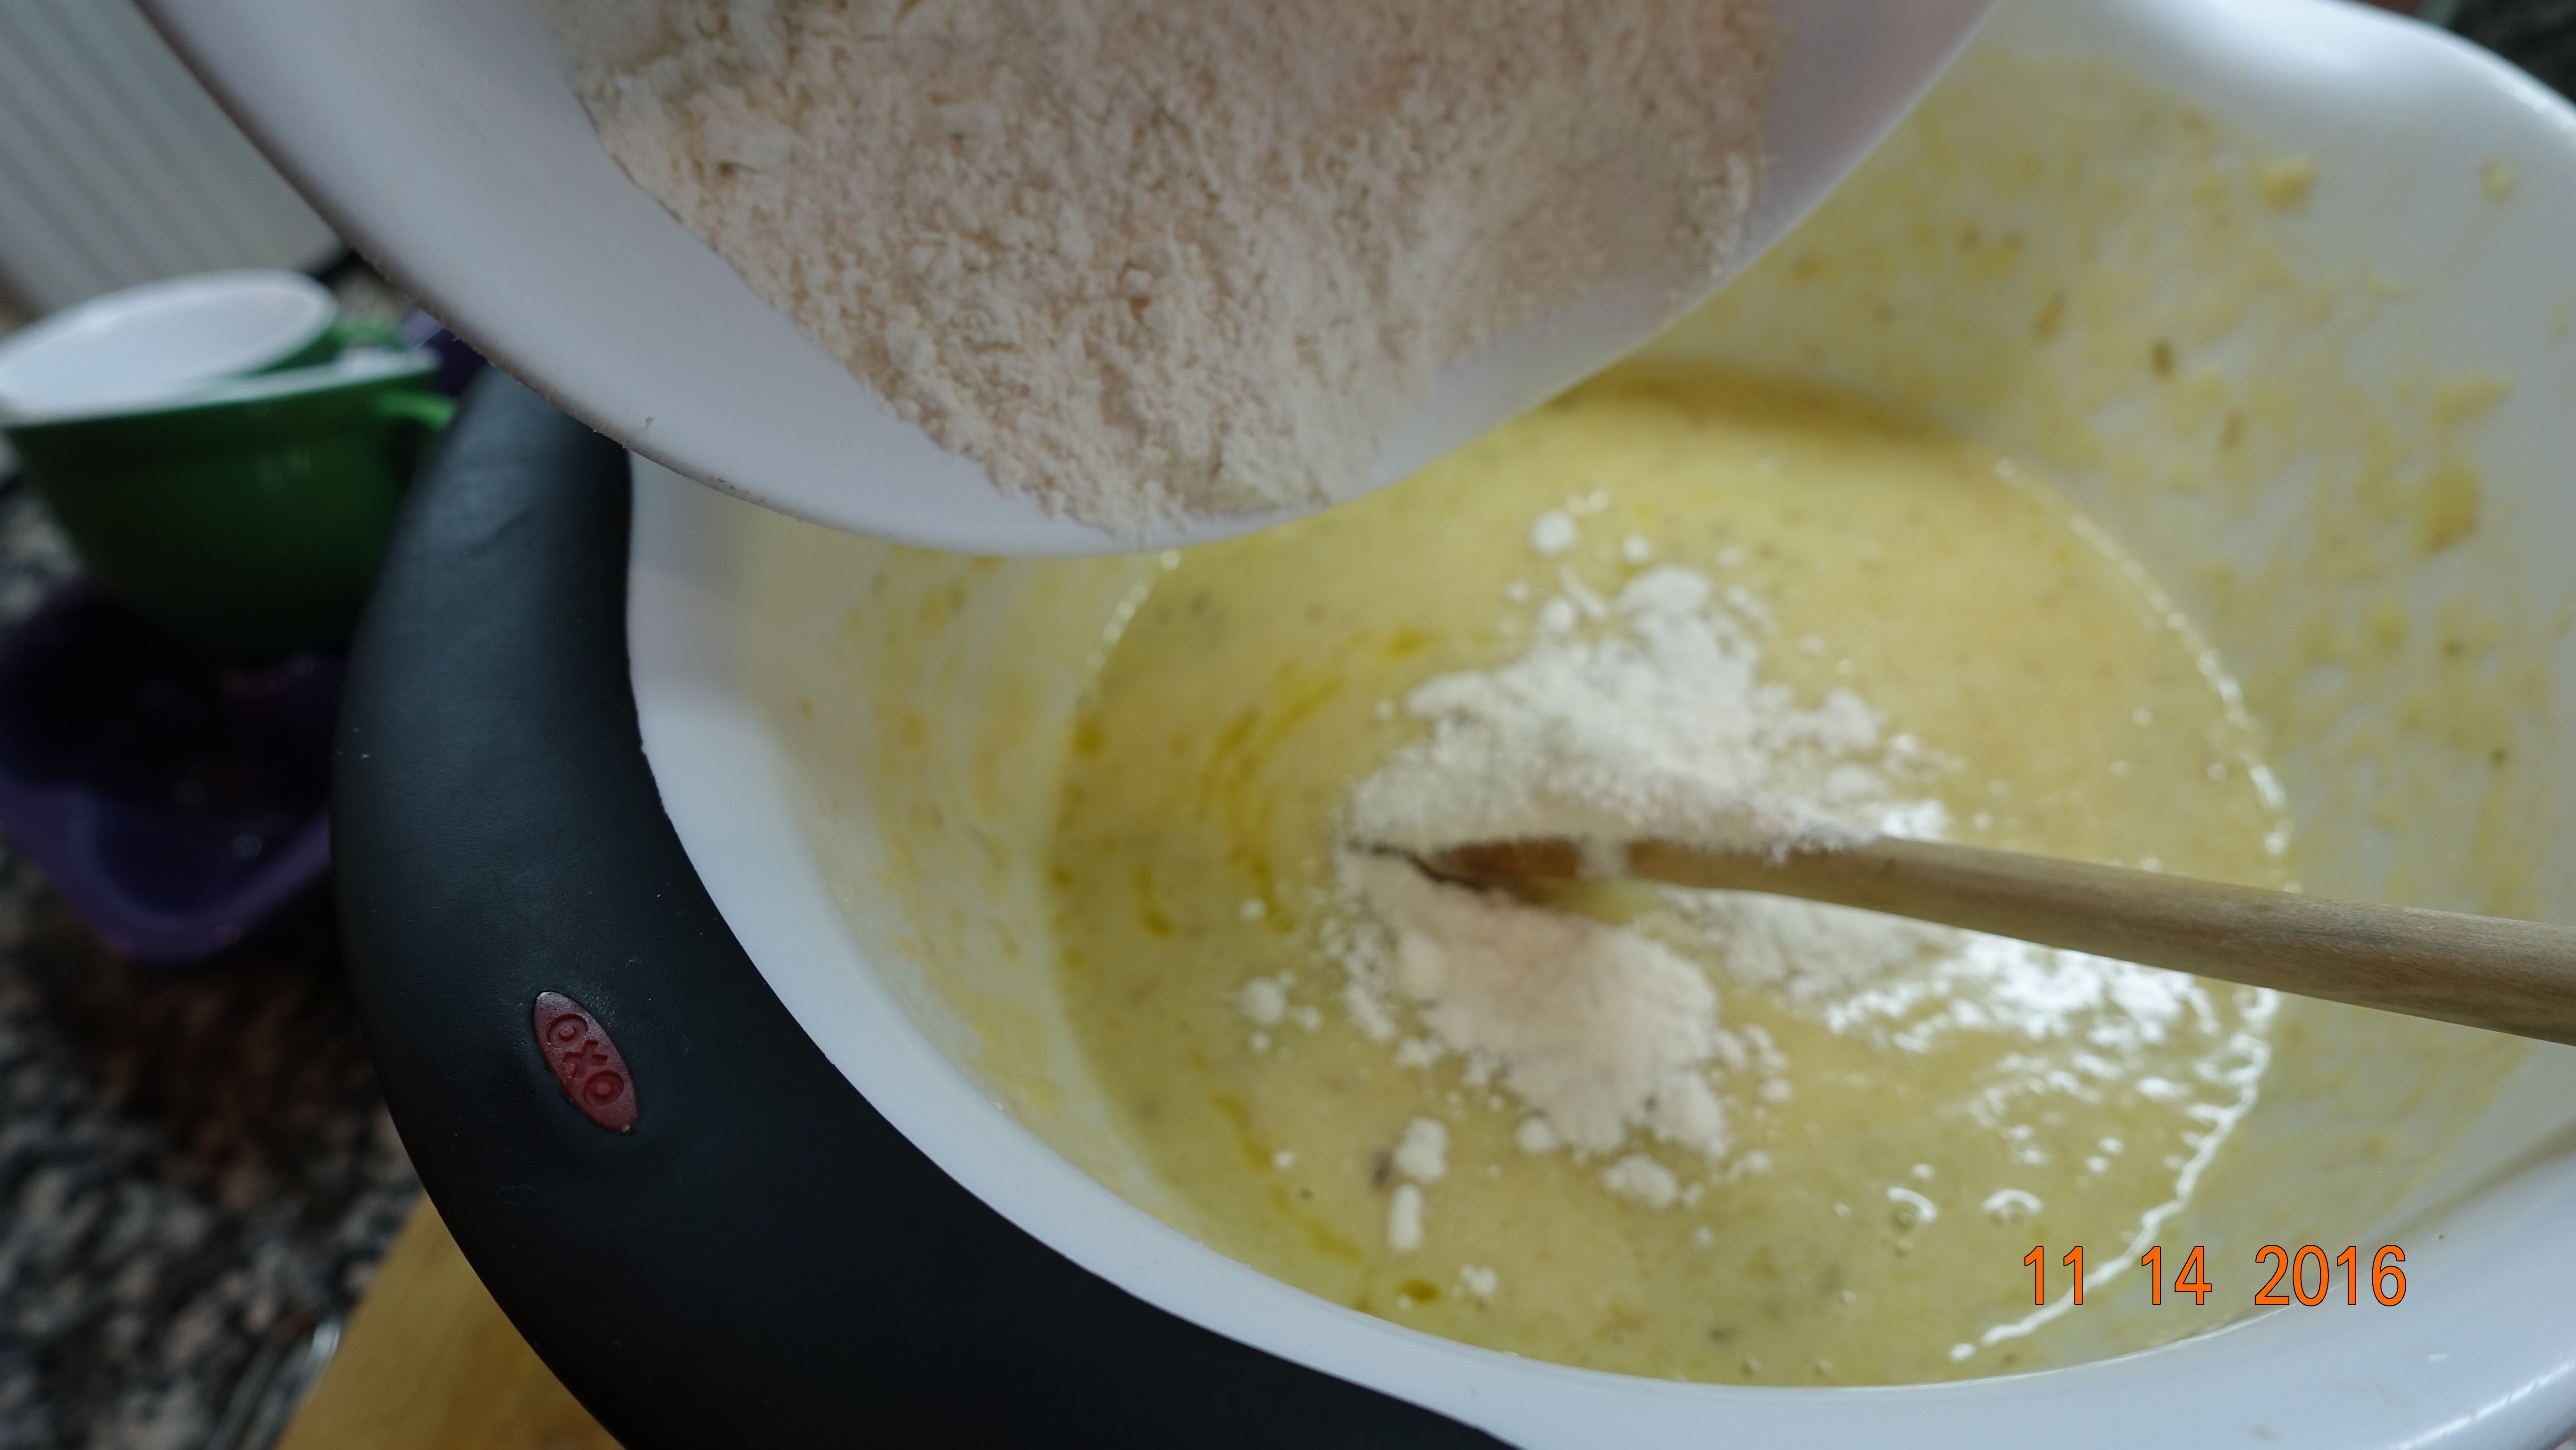
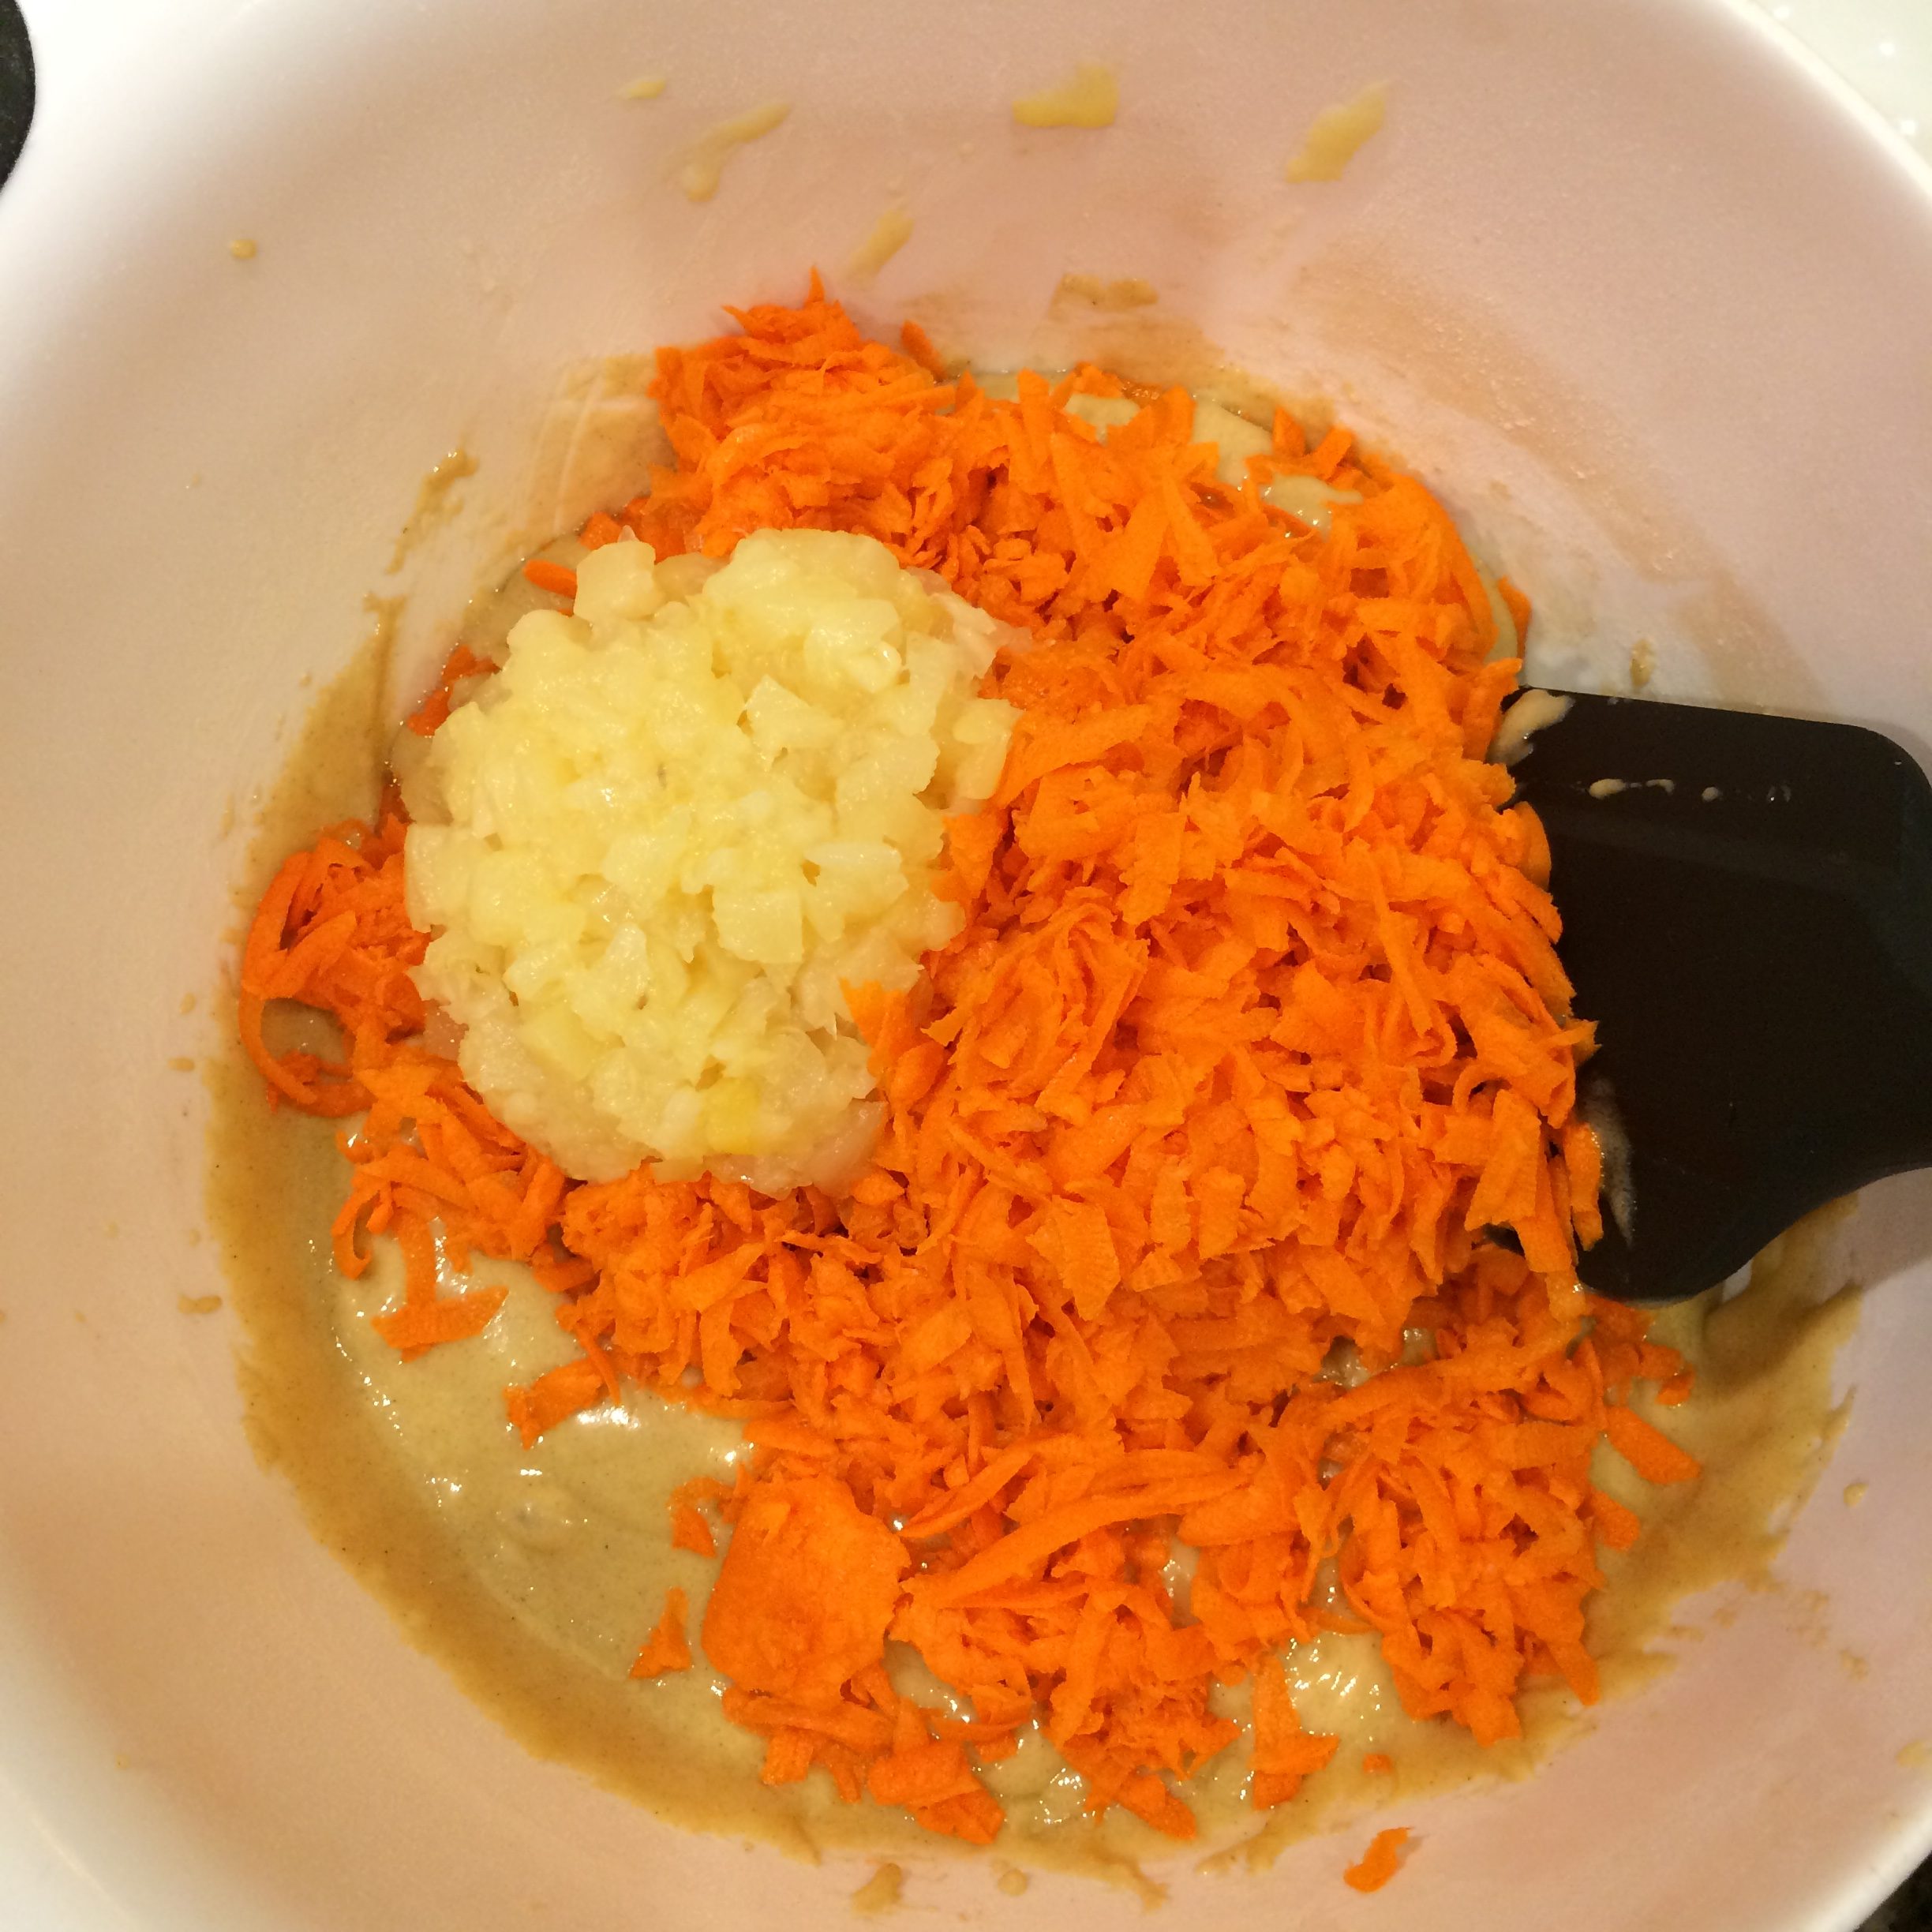
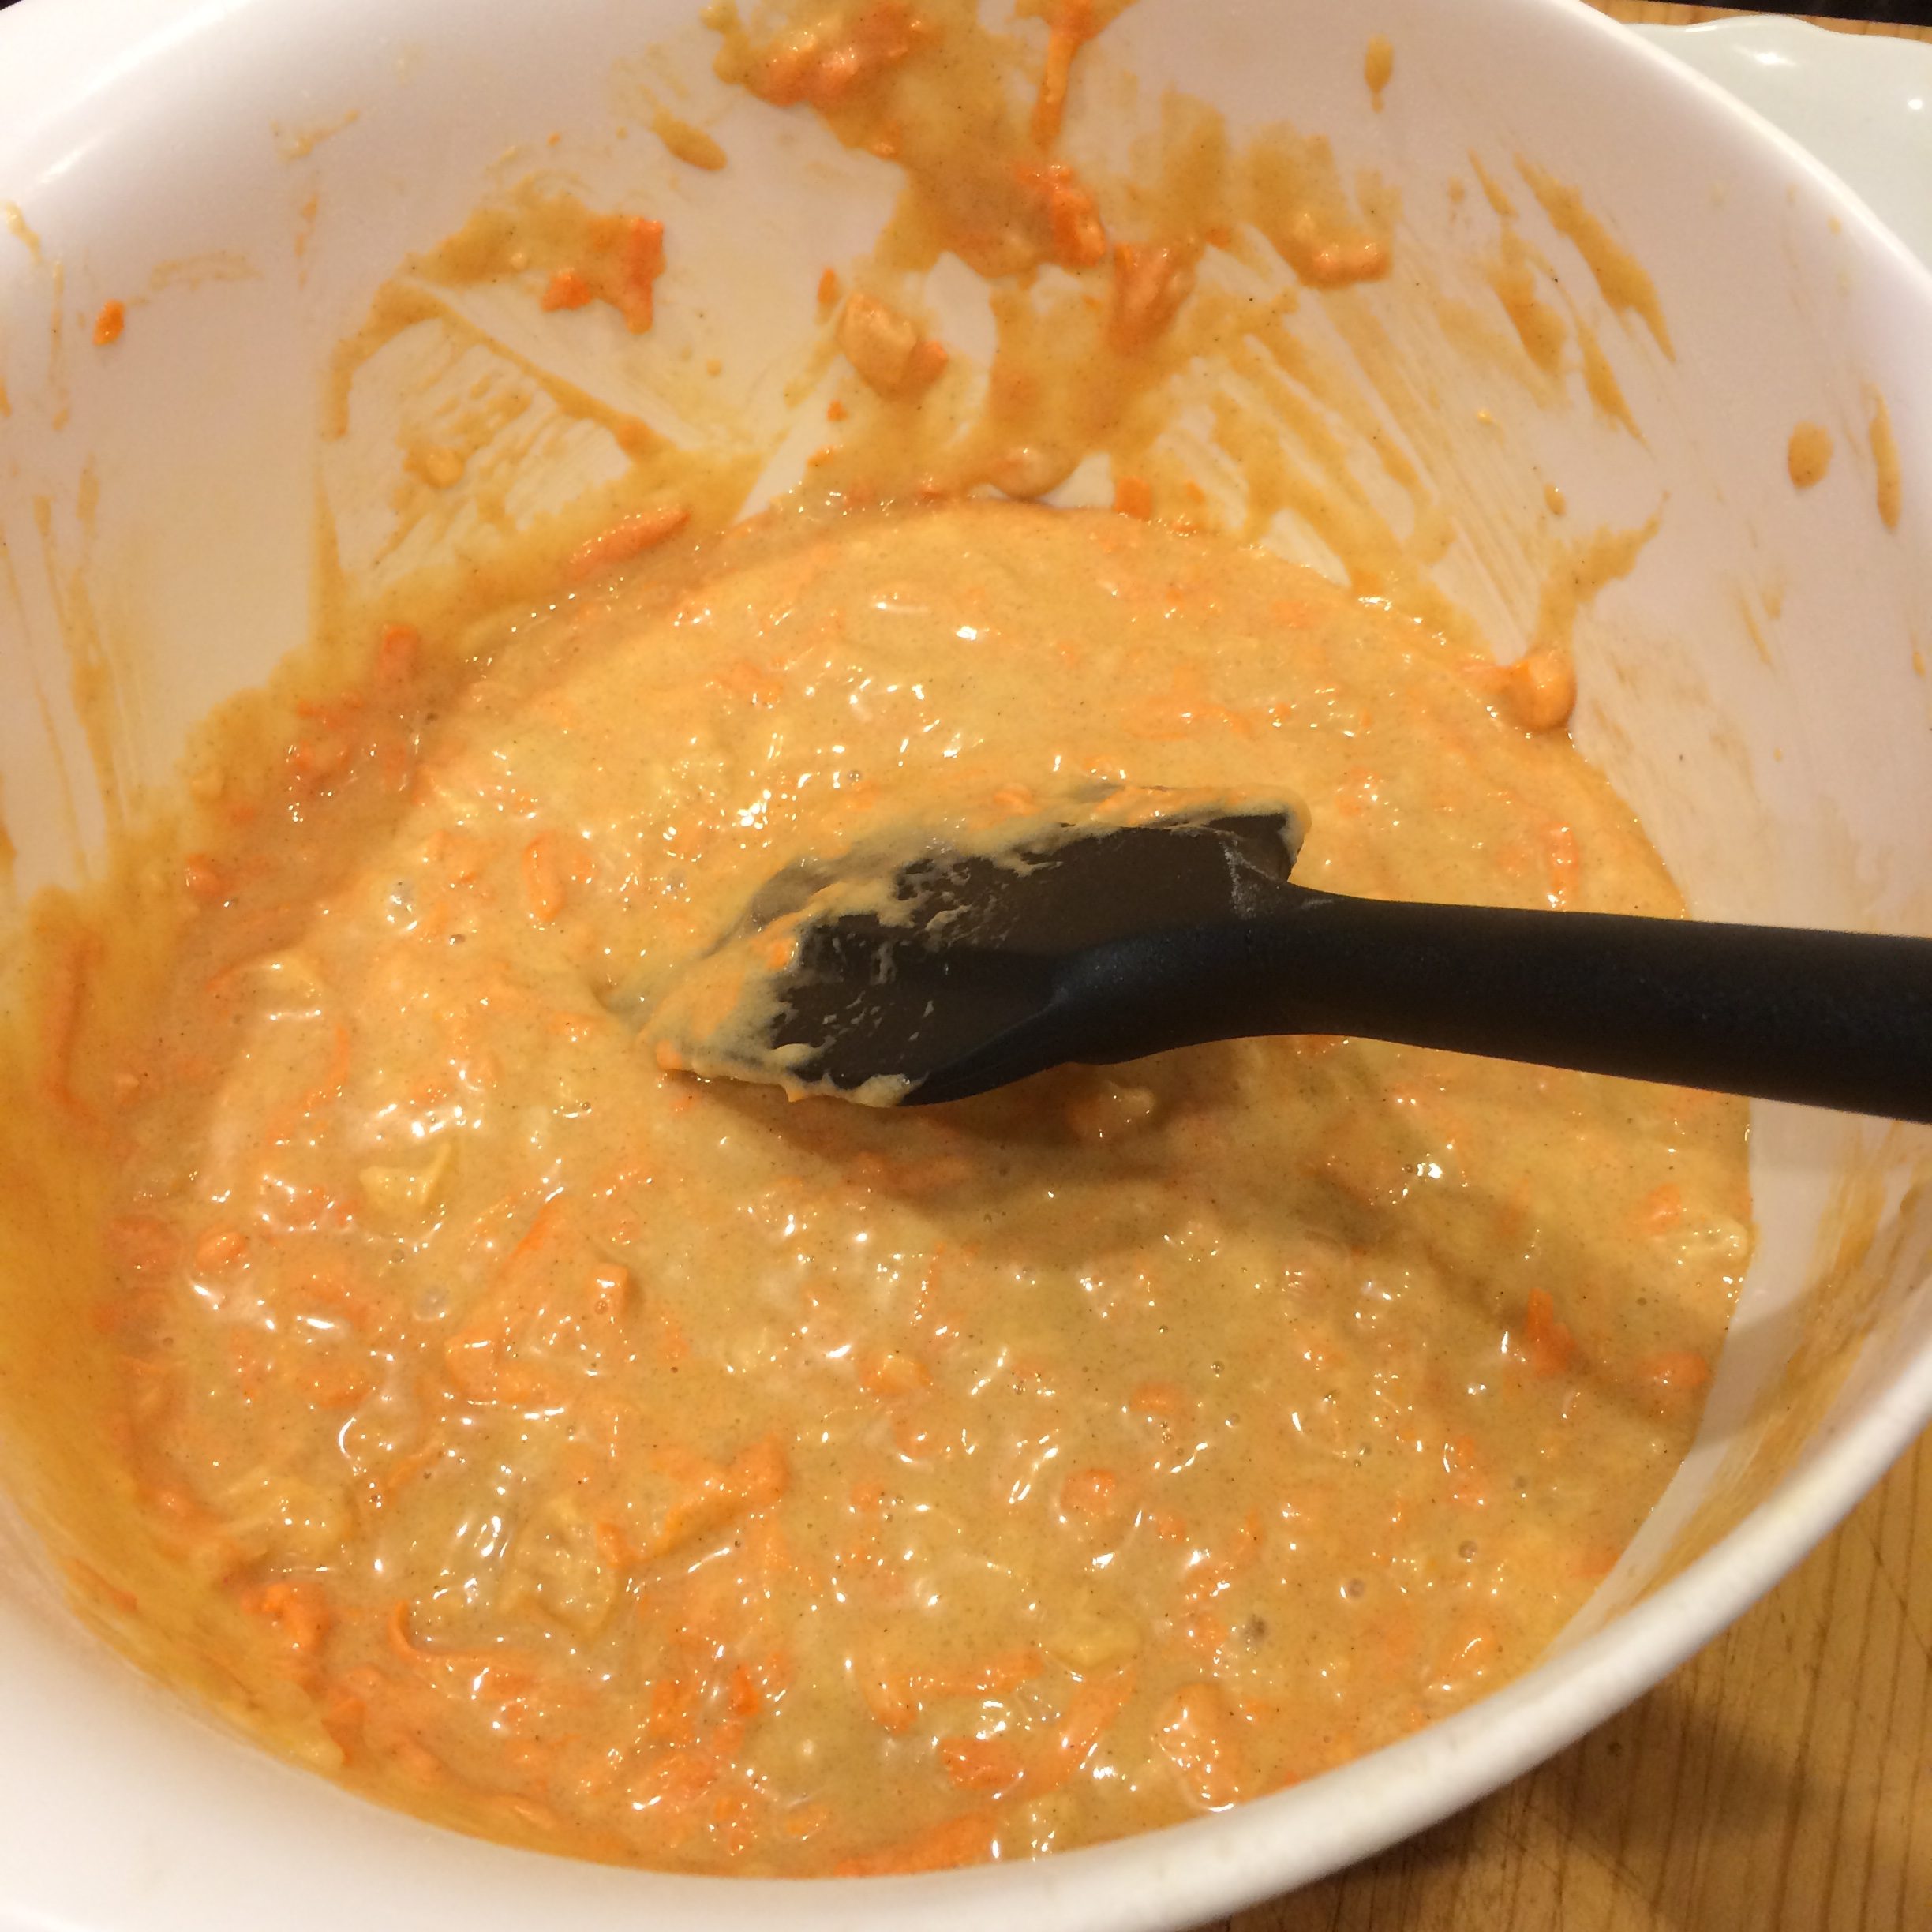
Mix in the dry ingredients.
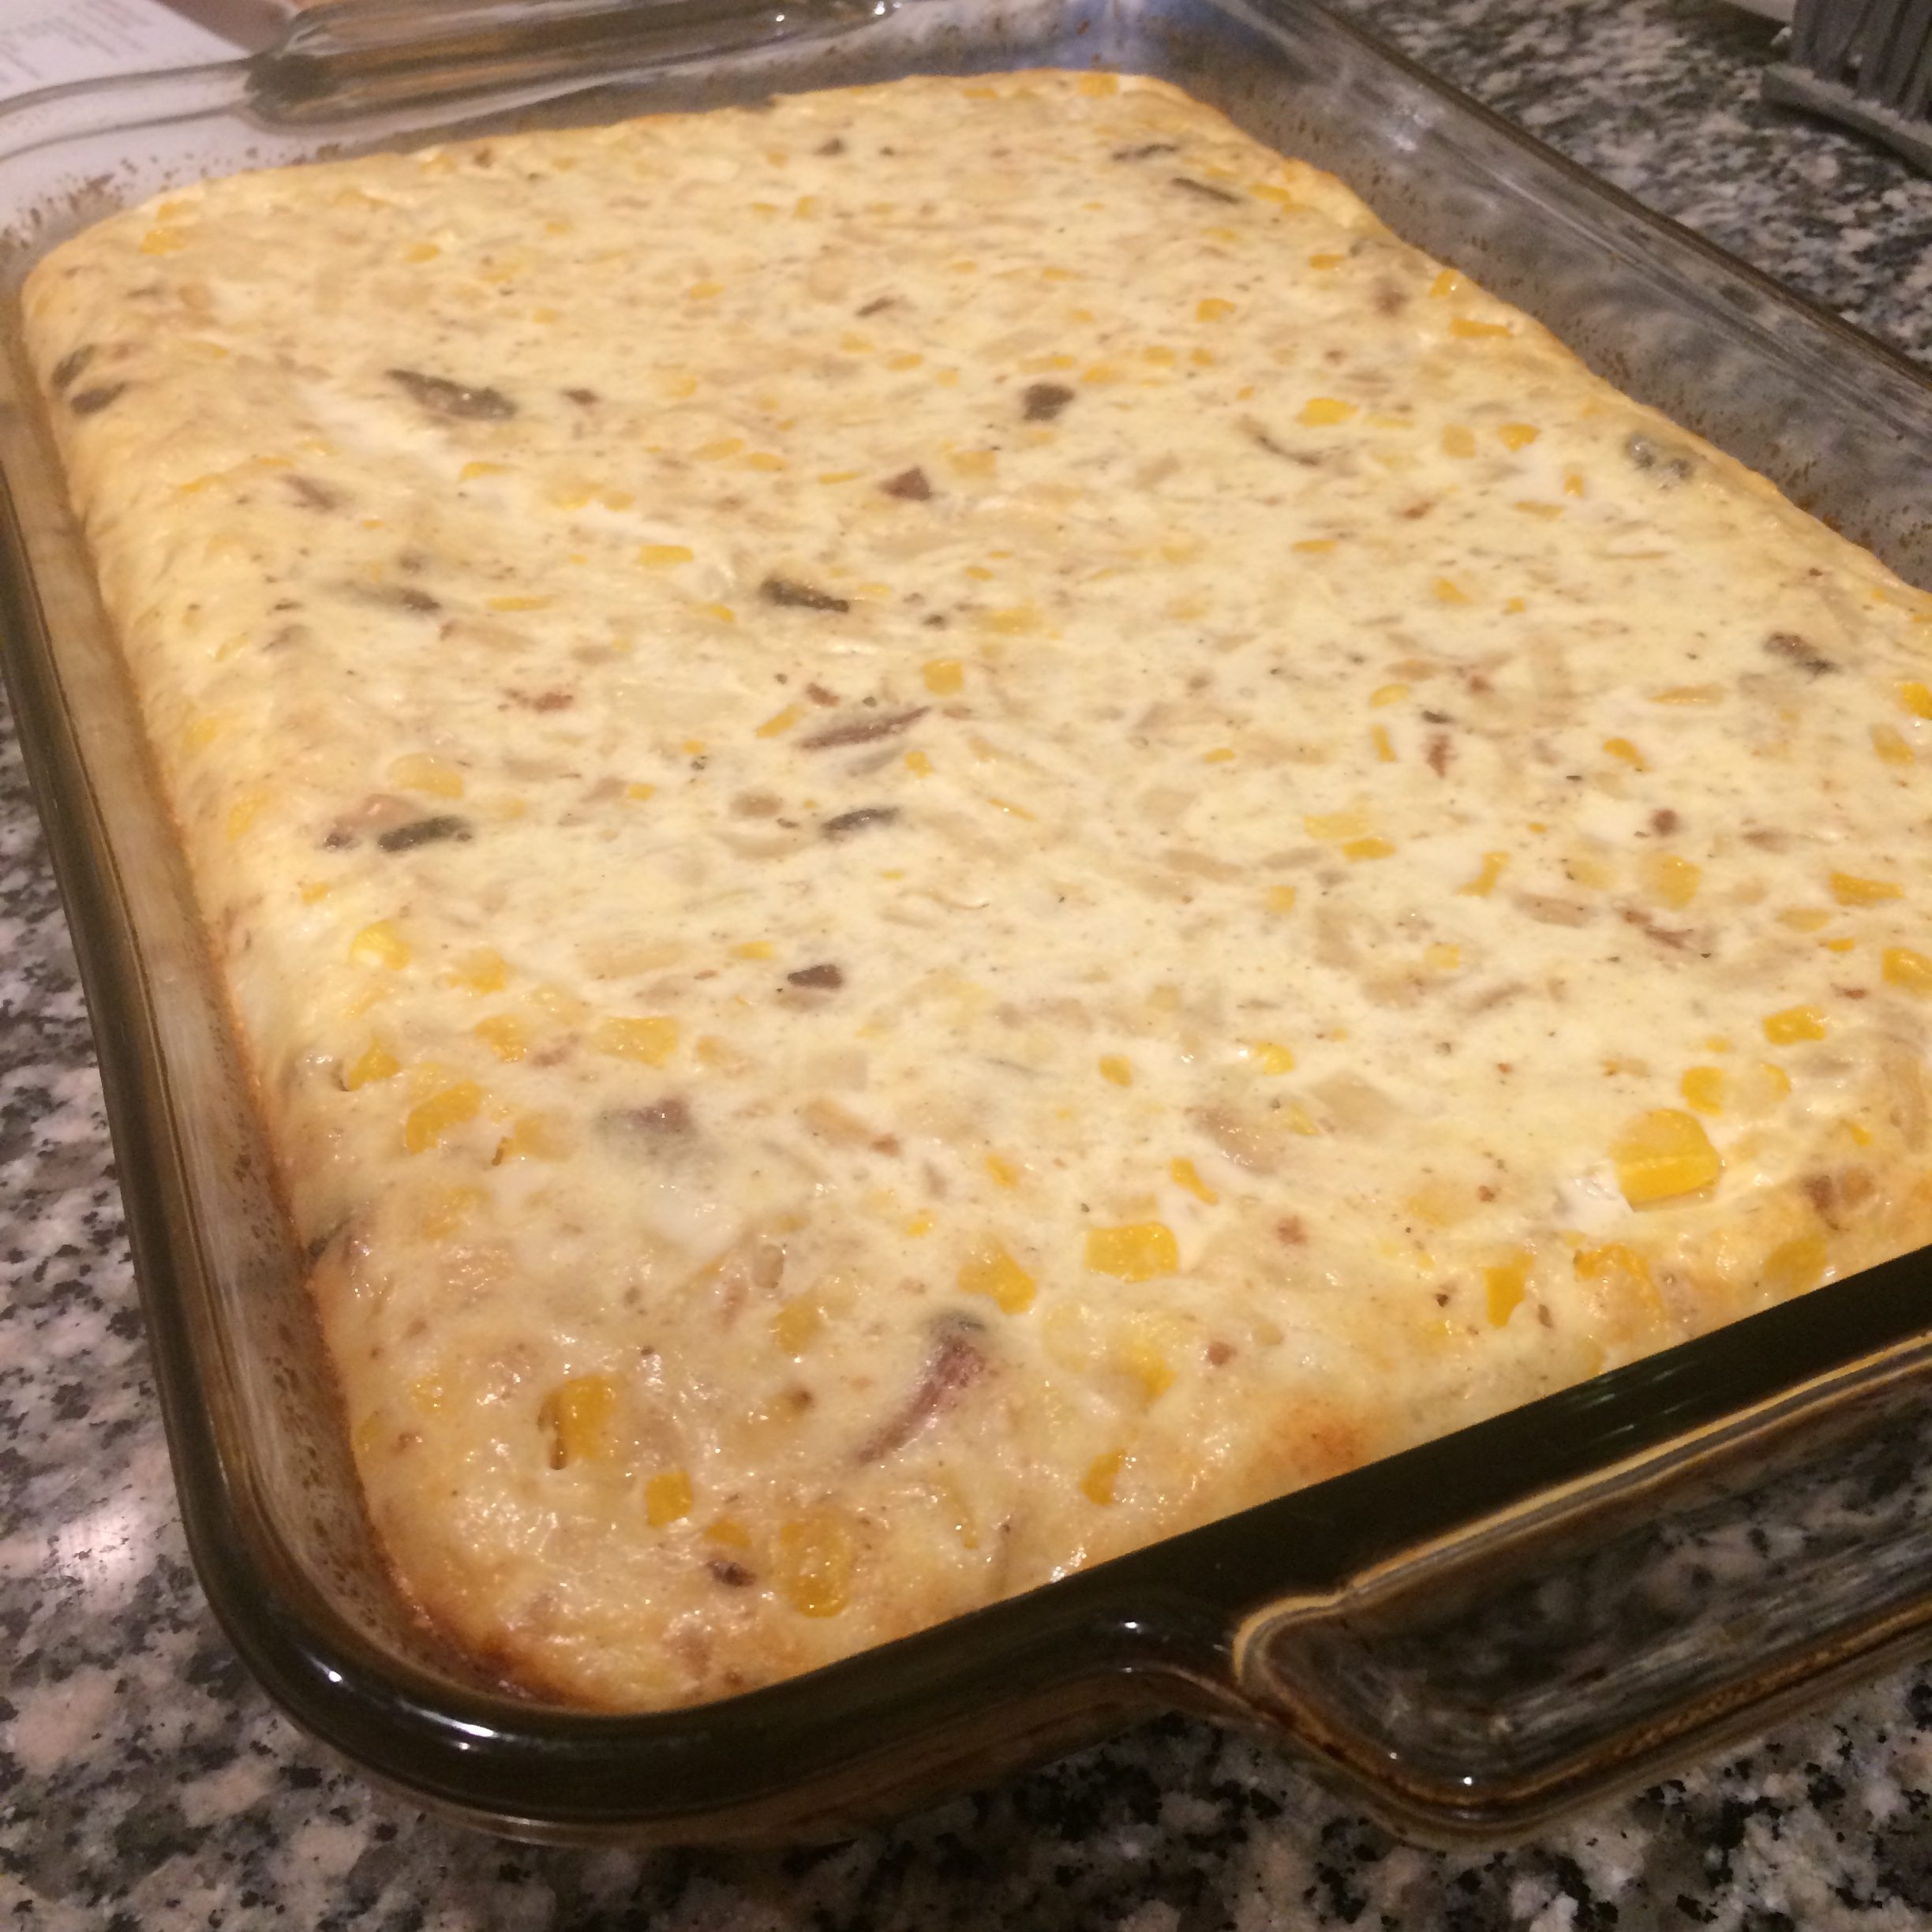
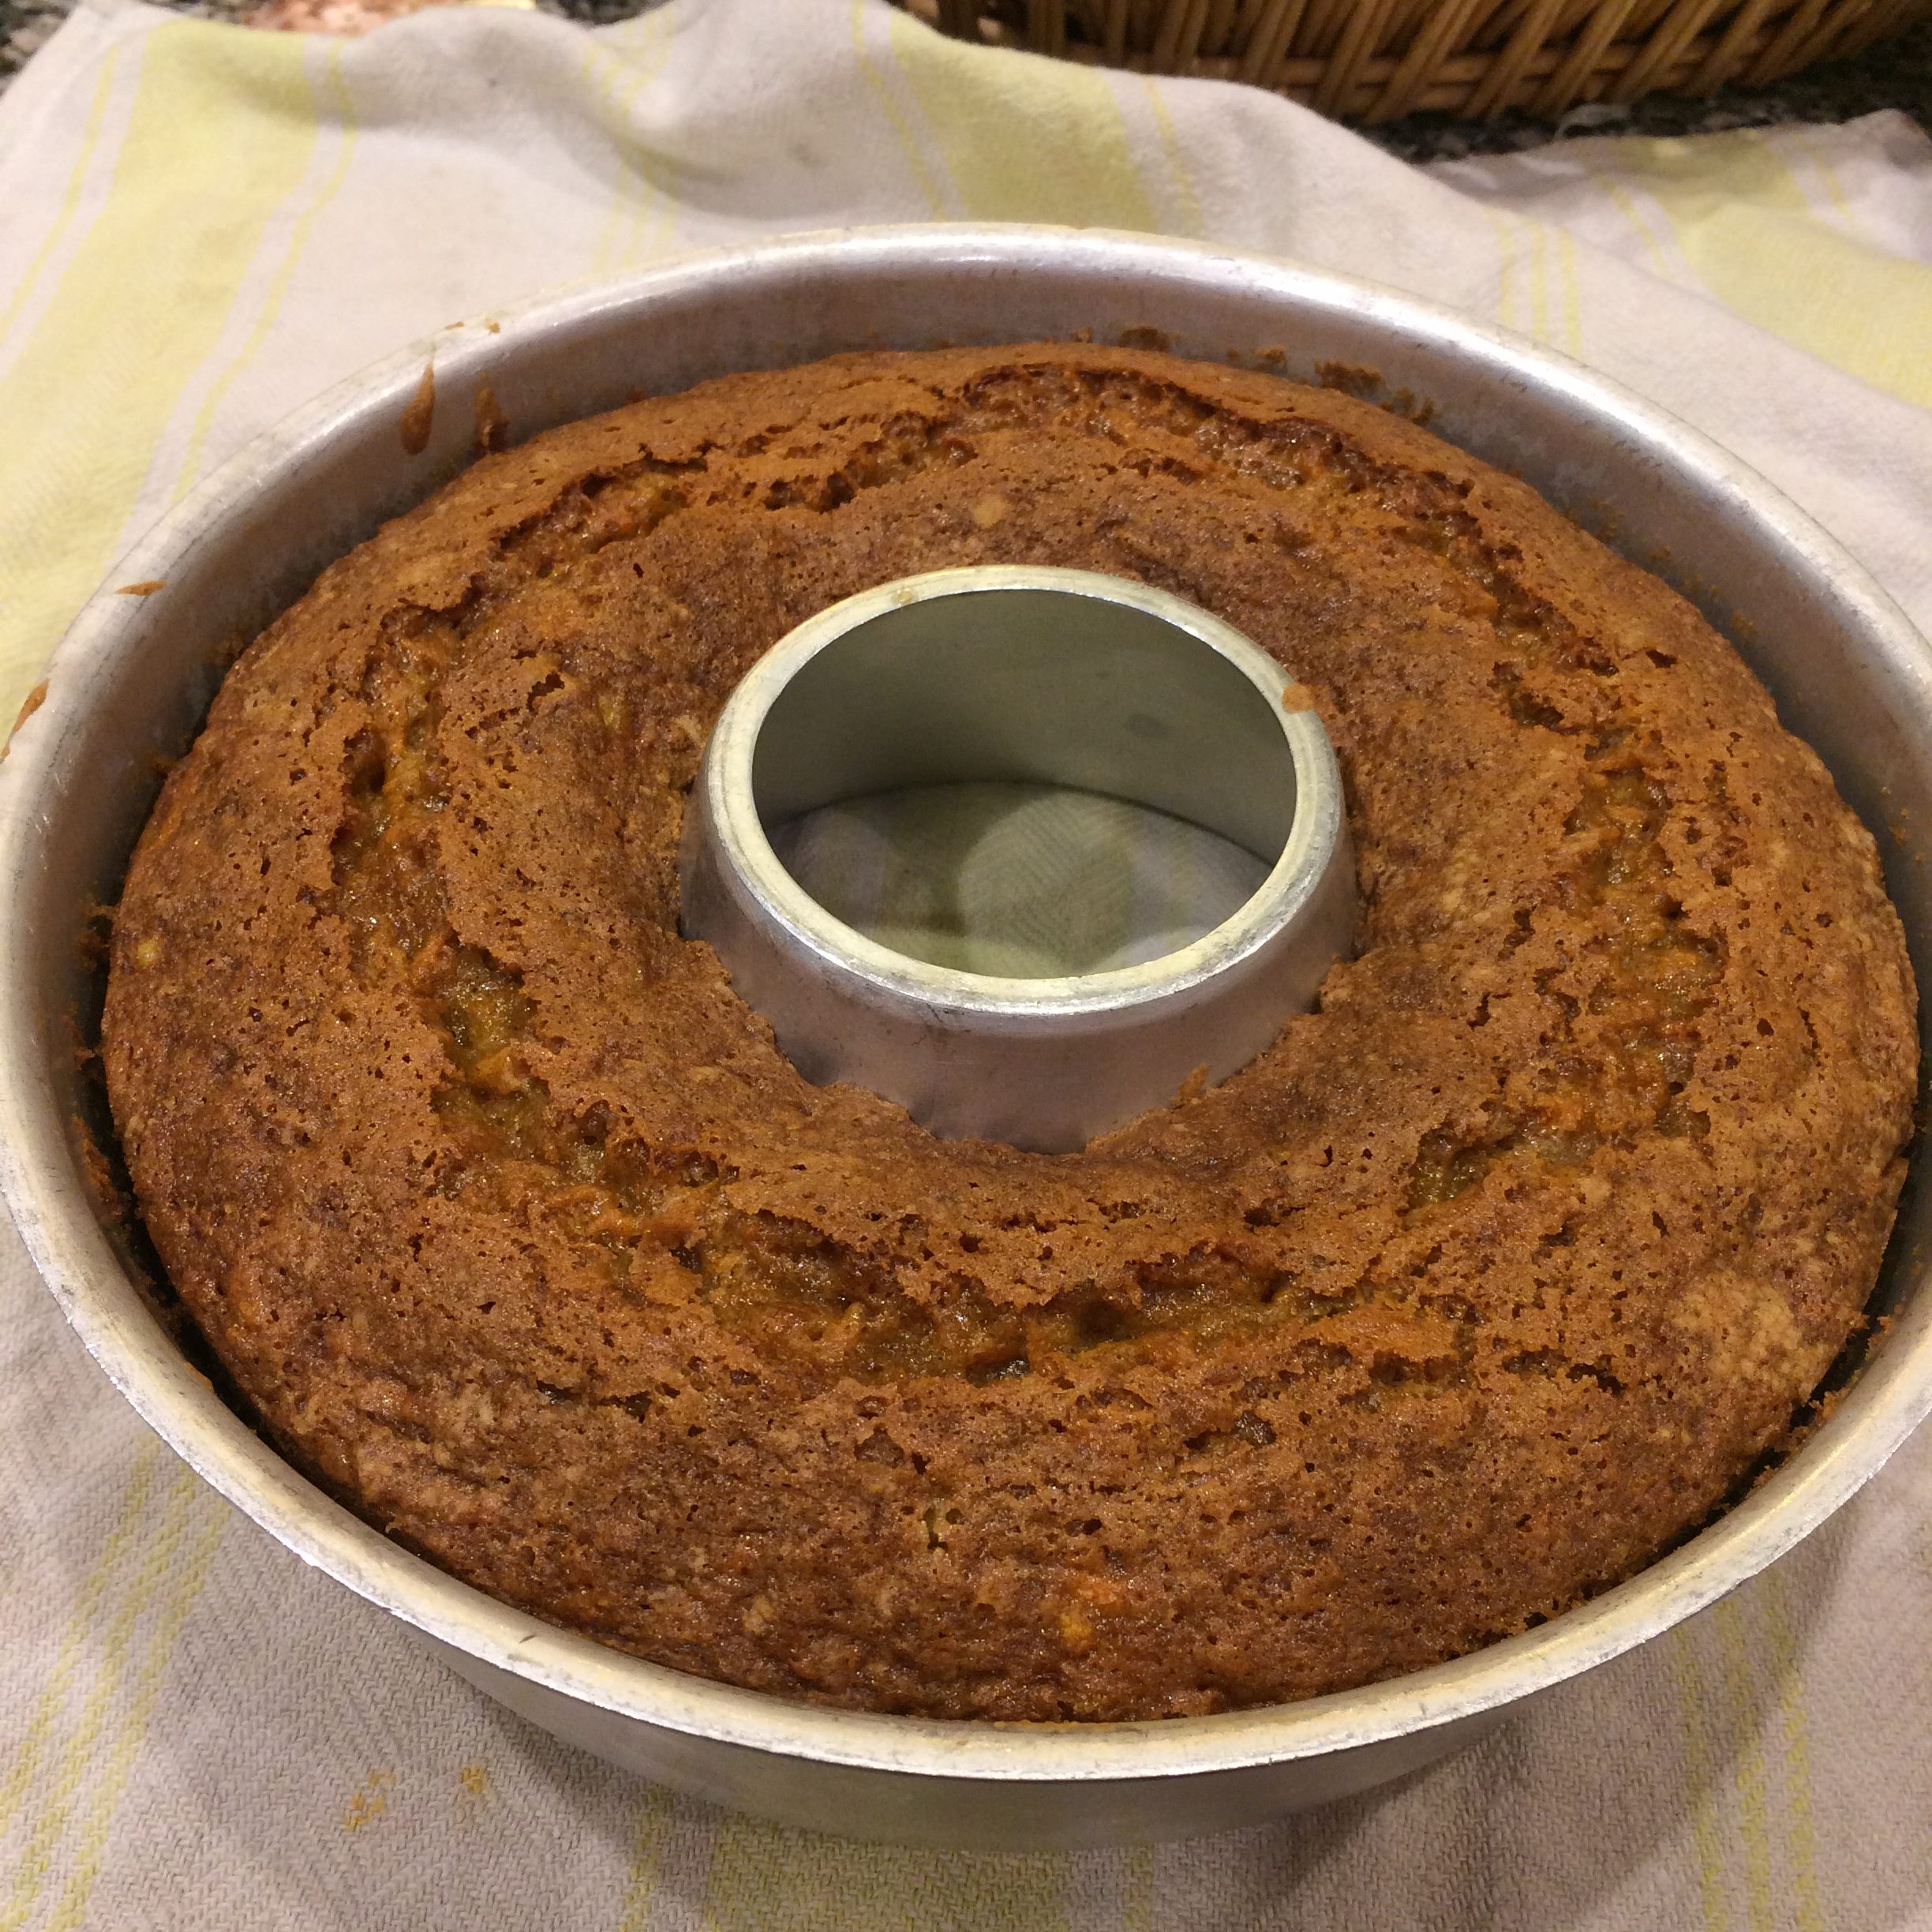
Pour batter evenly into the pans and bake until a wooden skewer inserted in the center comes out clean, 30-40 minutes. Cool in pan on a rack for 10 minutes.
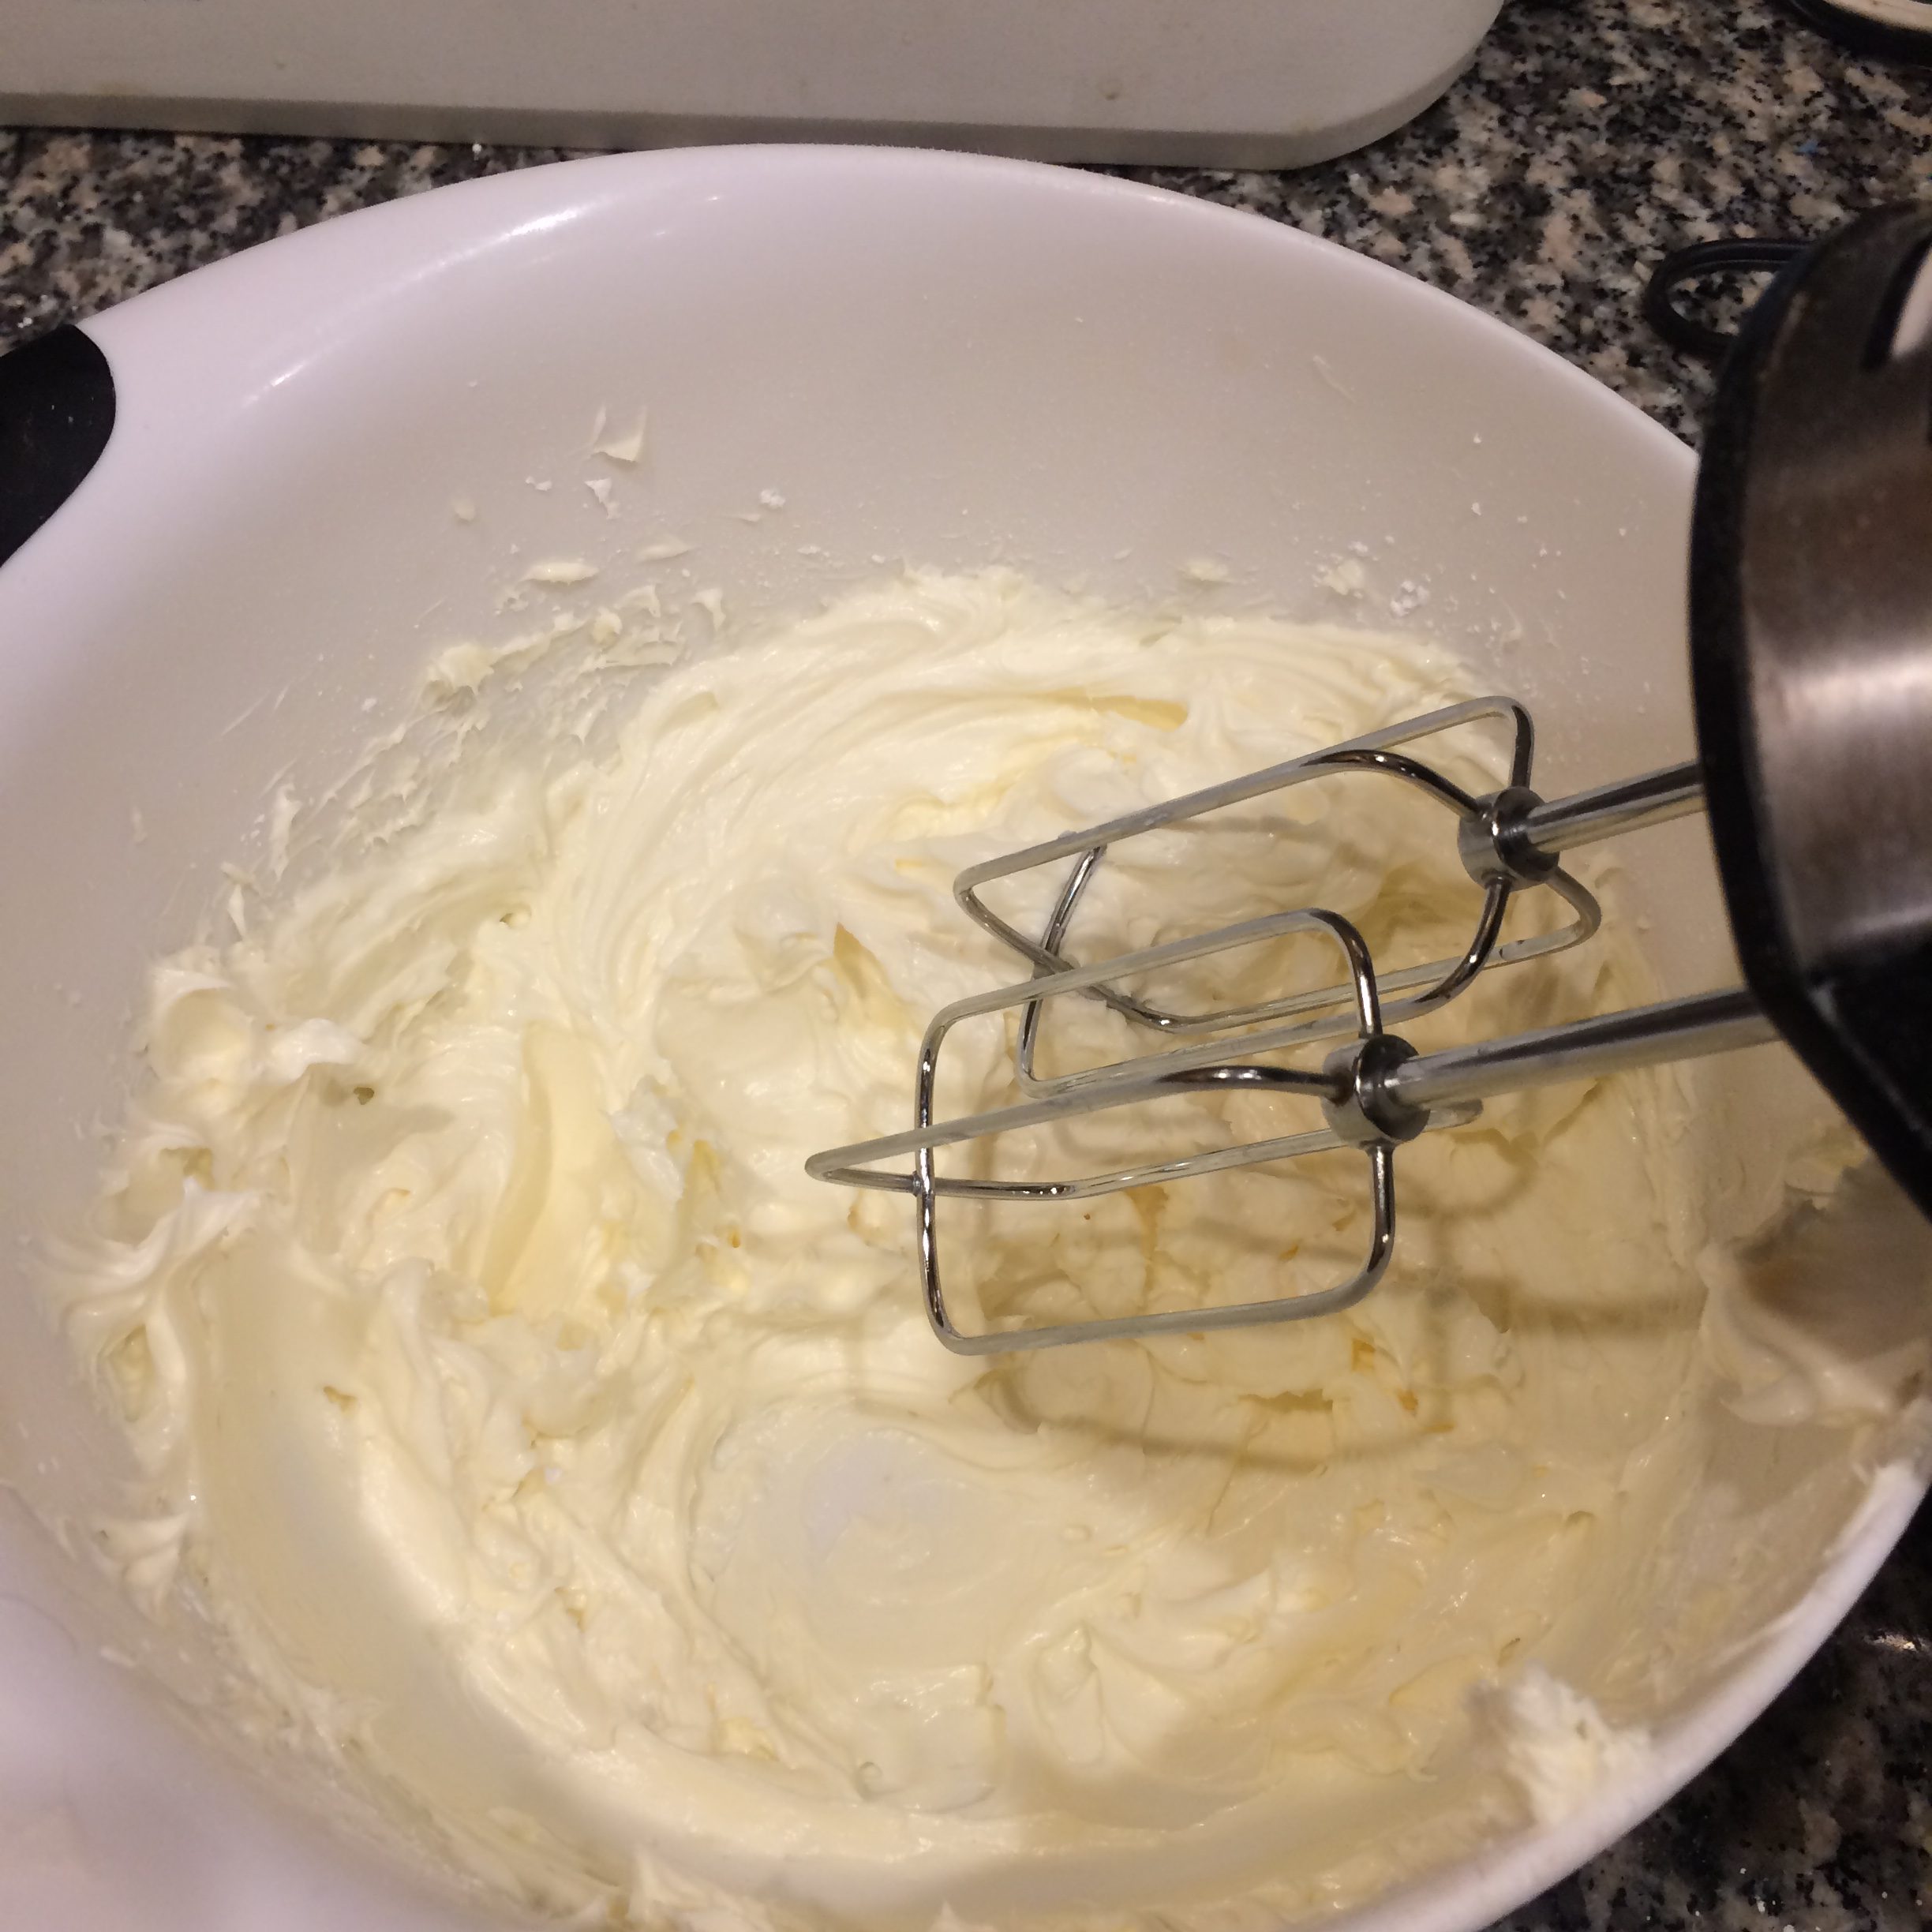
For FROSTING, beat all the ingredients until light and fluffy.
Once the cakes have cooled, run a knife around the cake to loosen and invert onto a rack.
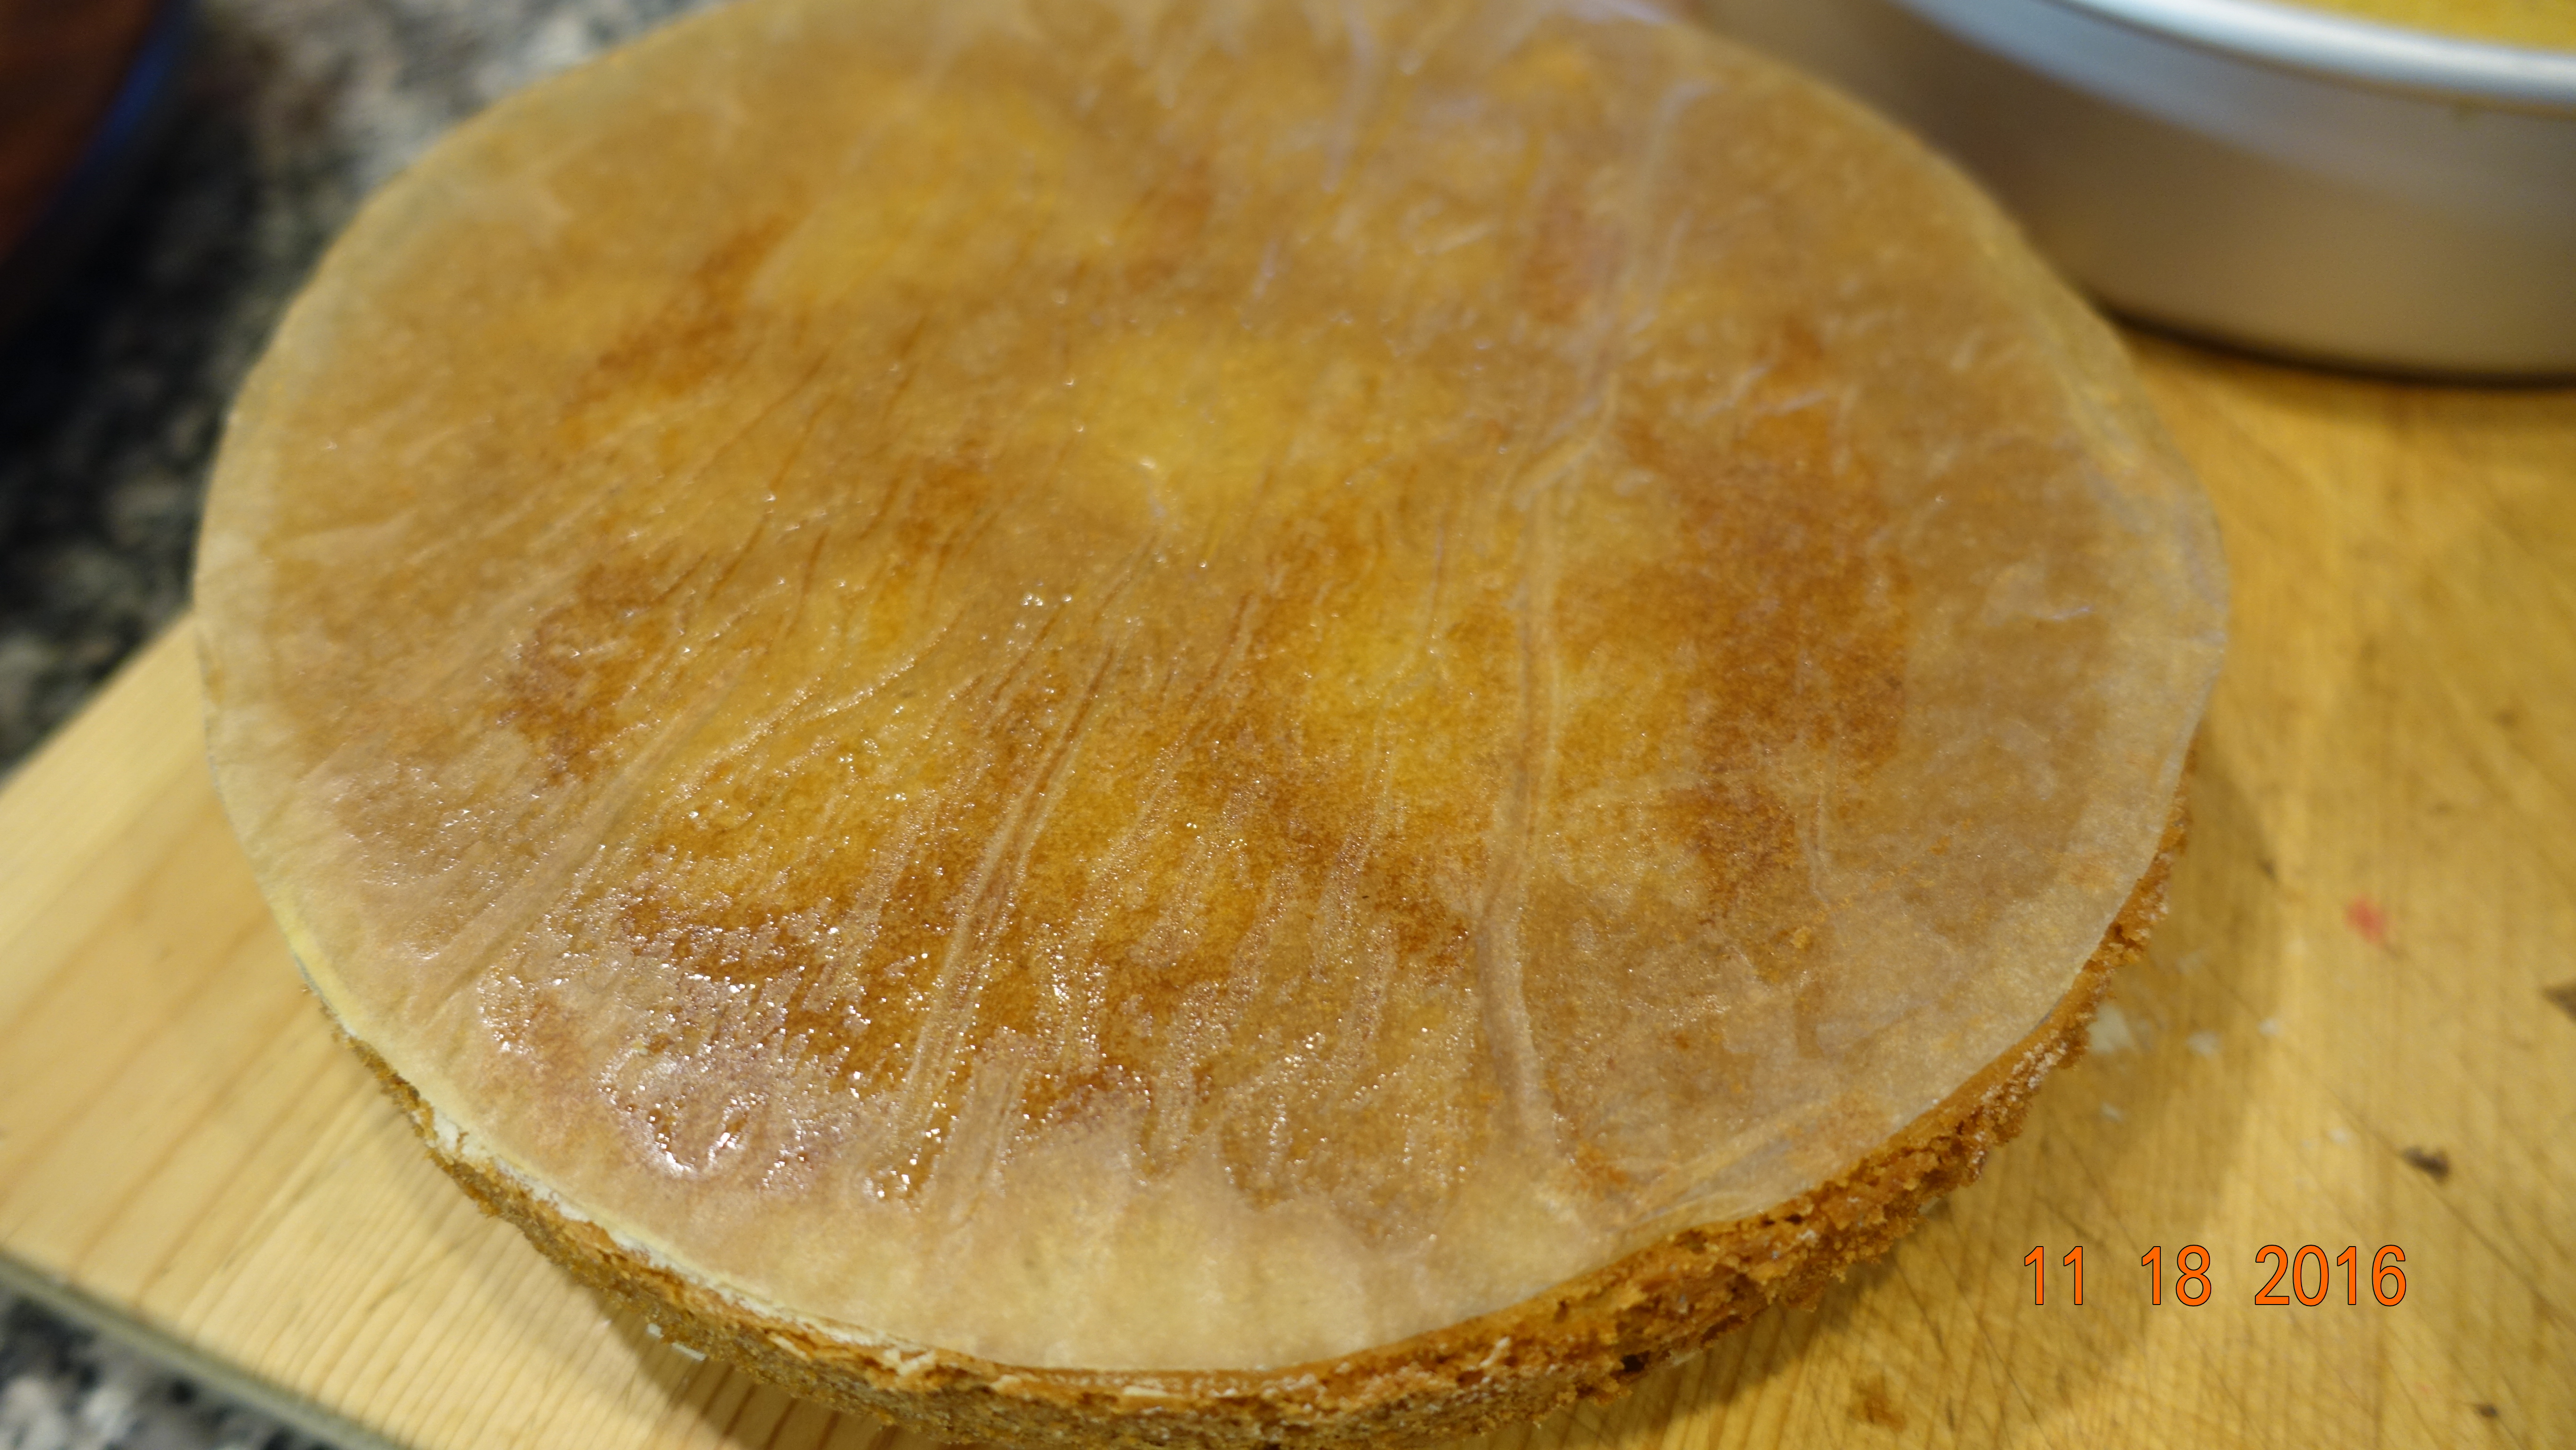
Remove parchment paper and level out the tops of each cake by slicing with a serrated knife. (I passed on the last line. I would eat all the shavings plus I don’t care if my cake is a little rustic. It still looks great. But if you are a perfectionist, you will be pleased to make the tops of the cakes flat, I’m sure.) This makes the cake even.
Divide the buttercream into thirds. Place one layer on a cake plate. Put a few pieces of wax or parchment paper underneath to keep the plate clean while frosting.
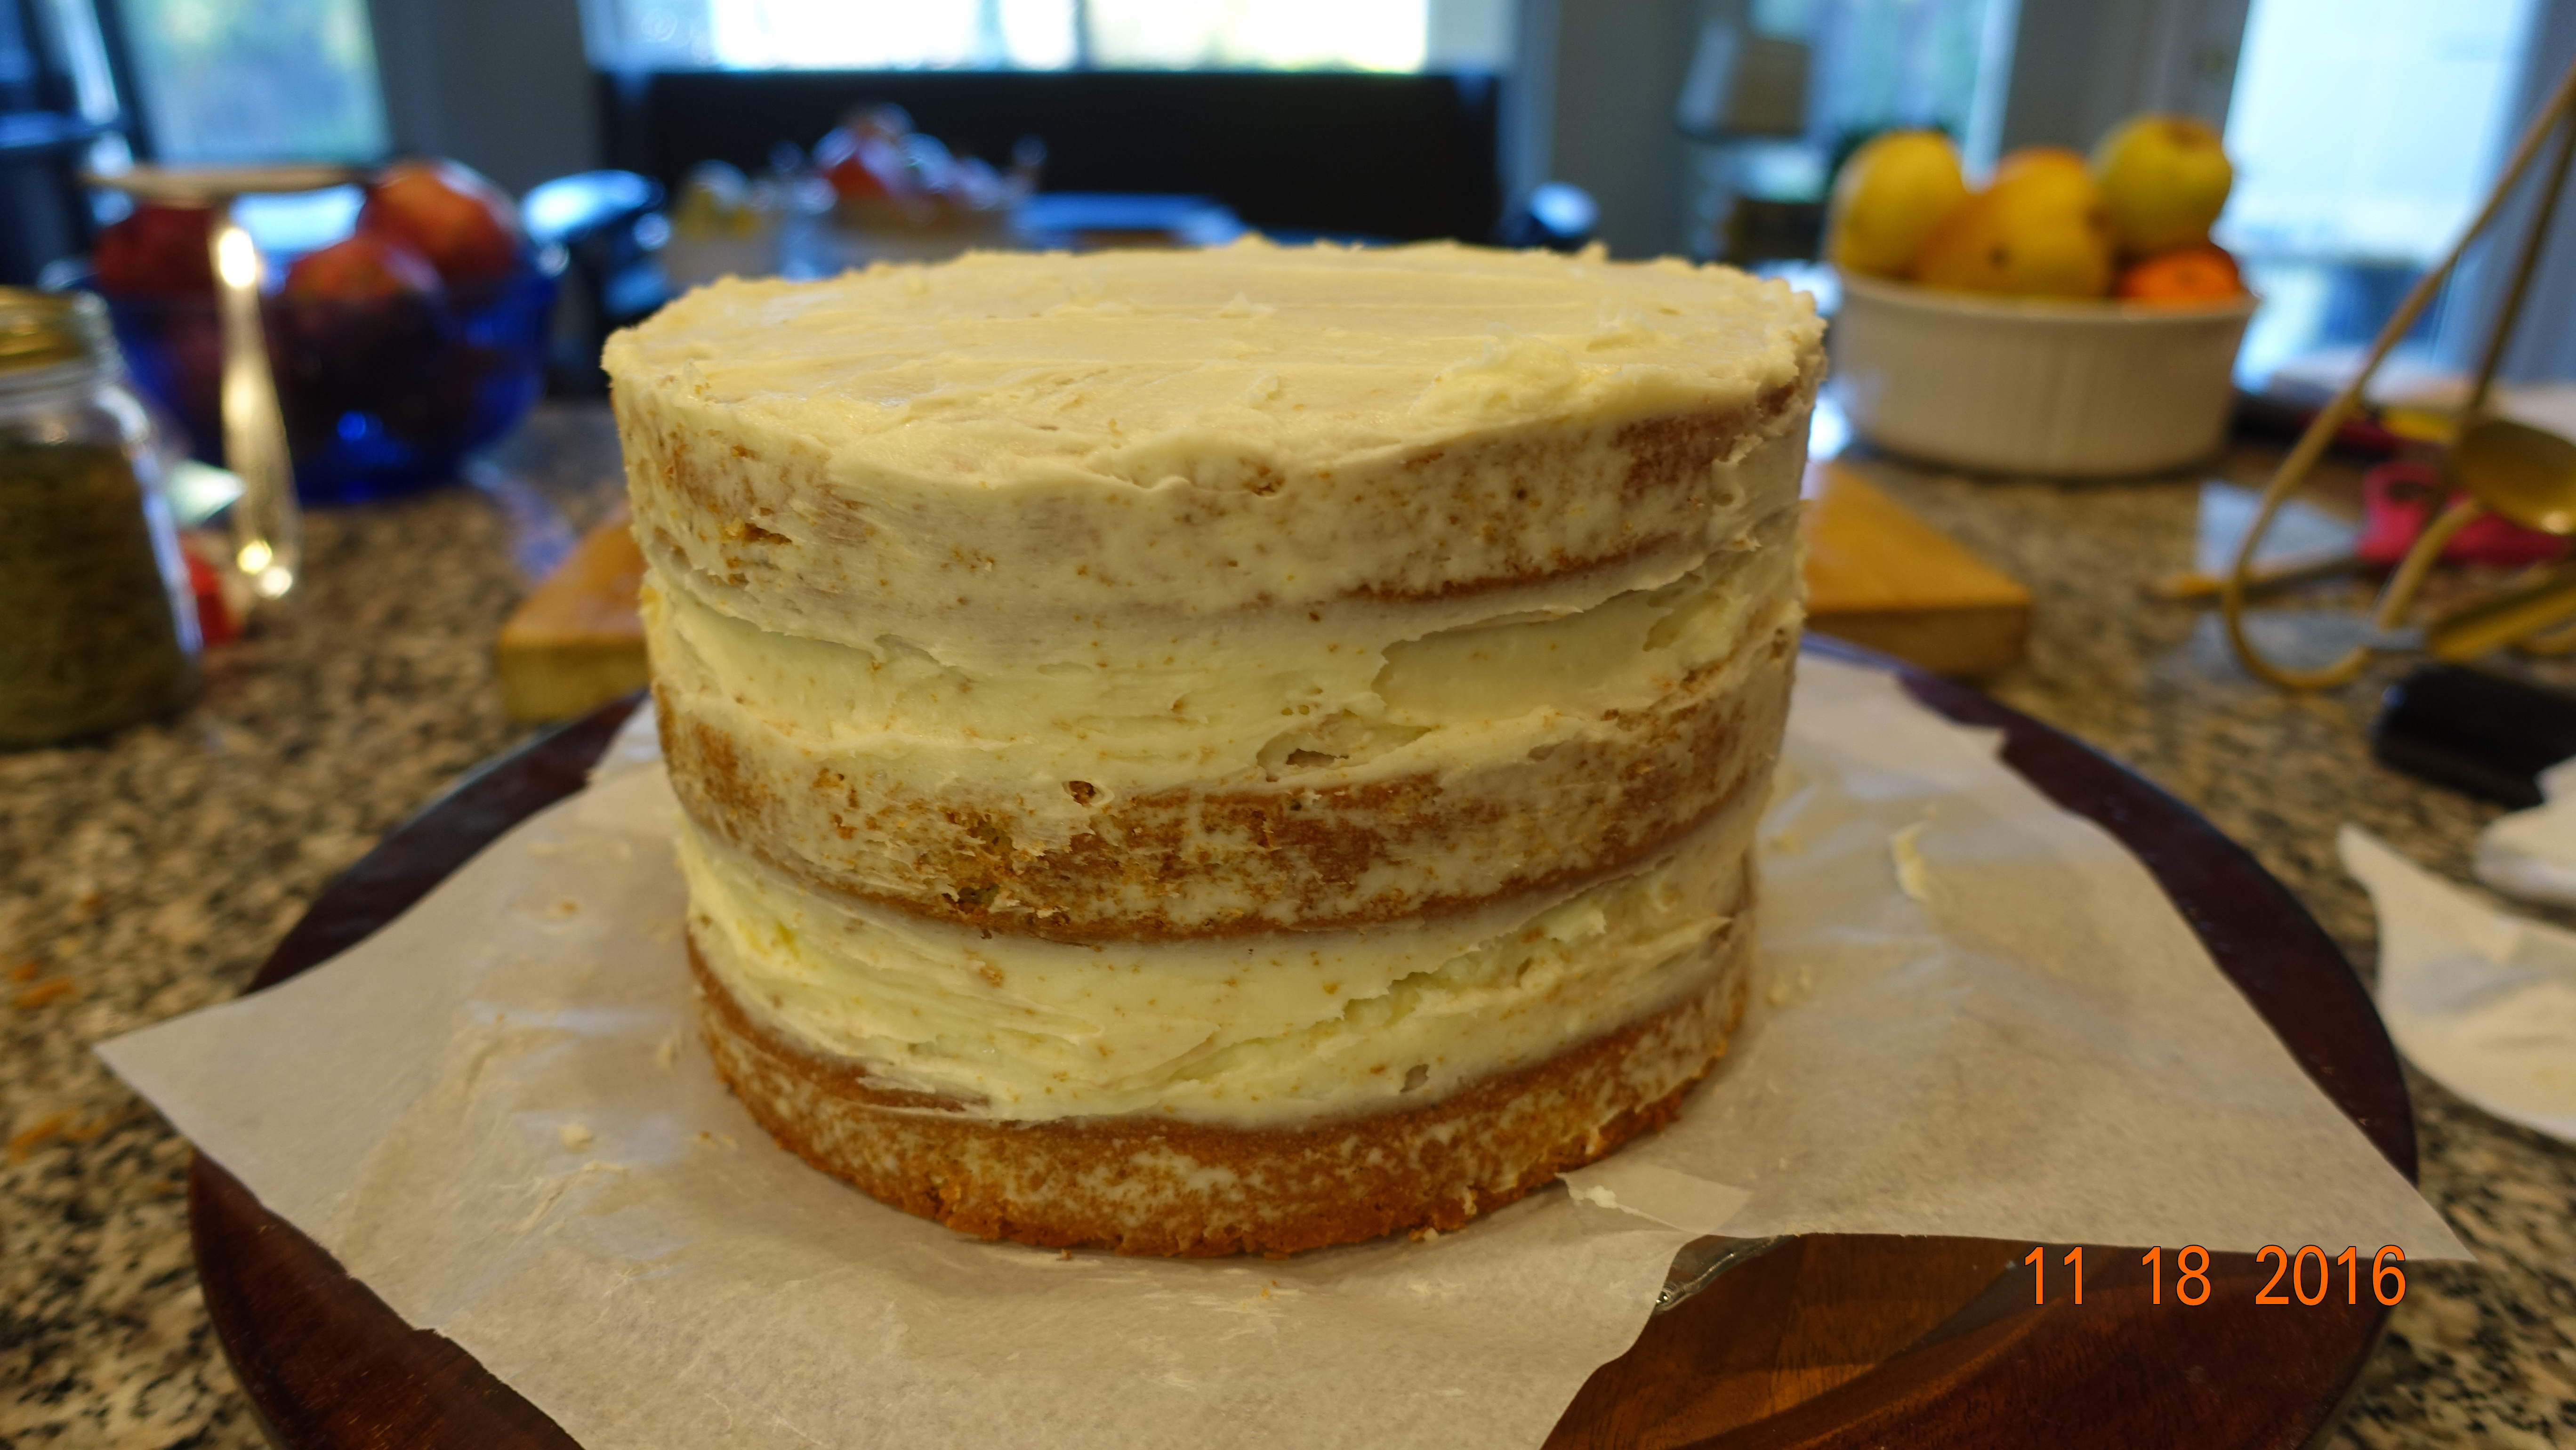
Spread one third of the frosting on cake. Repeat with 2nd layer. Place the third layer on the cake and form a very thin layer frosting on the top and sides of the cake.
Remove the wax/parchment paper.
I do hope that you try it for your next special occasion or just to celebrate any day in your life.
TIPS:
Parchment paper can be a slippery dude. To fit the paper for your pan. Put the pan on the paper and trace the bottom of the pan with a pencil. Cut out the shape with a scissors. Butter the bottom of the pan and place the paper, pencil side down. Then continue with the instructions. In this cake, you are to butter and flour the paper and the sides of the pan.
I thought I’d throw in another of my tips. I like to keep empty butter wrappers, especially of the butters that were left at room temperature. I fold the wrappers in half and put them in a baggie in the frig.
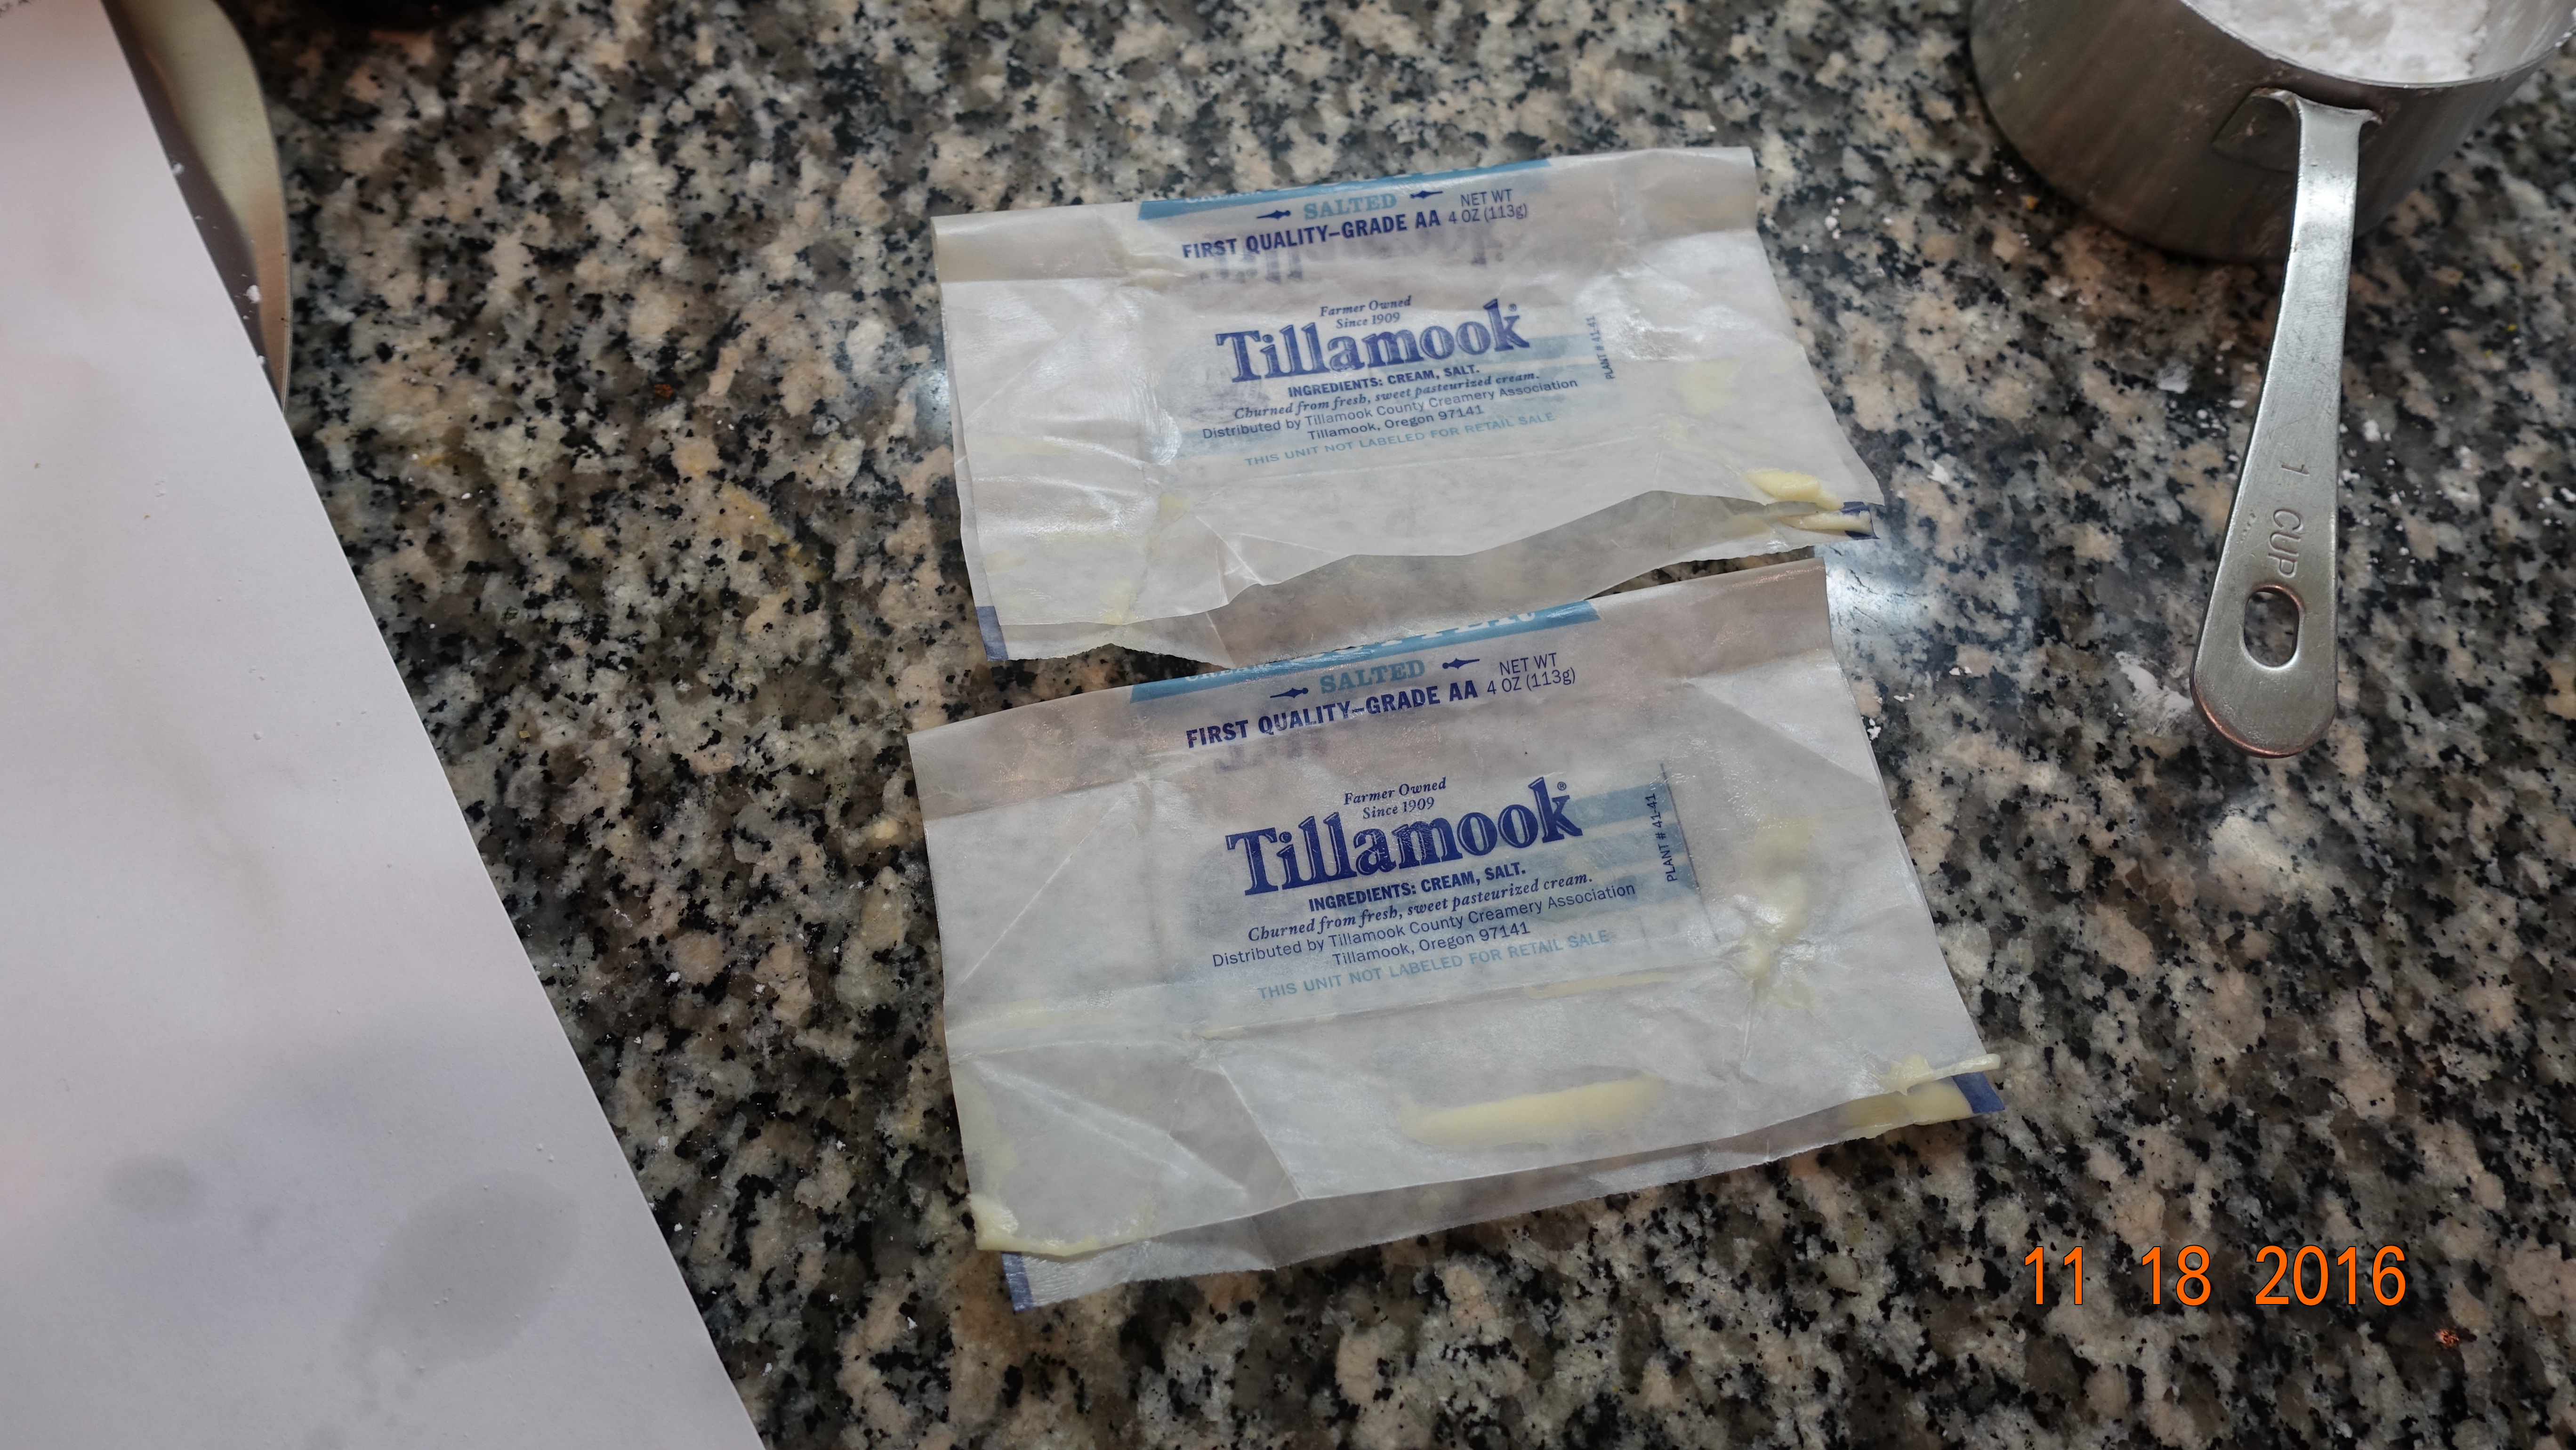
Then, when I need to butter a pan, I find there is enough butter left on the wrap to do the trick and if there isn’t, I add a little more. It makes for easy smoothing and I don’t get my hands all buttery.

This was a long one! Thanks for sticking with me to the end. I appreciate it. I hope your life is full of celebrations. And until we meet again, eat well, drink well and live well.